
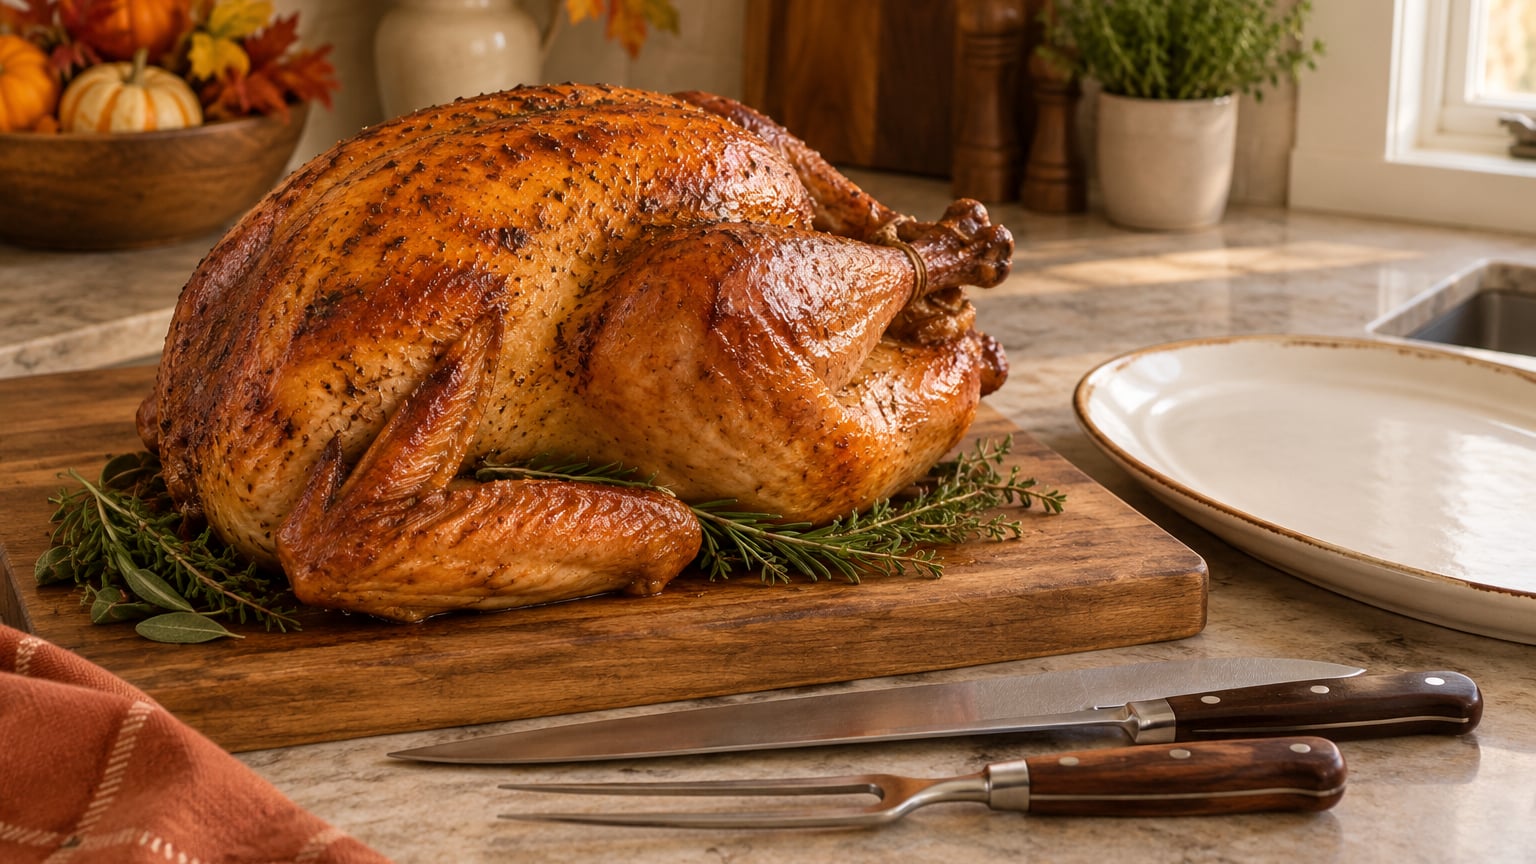
How to carve a turkey is mostly about patience and a sharp knife. Rest the bird 30 to 45 minutes after it comes out of the oven, then work joint by joint: legs, wings, breast, and finally thin slices across the grain. Set aside the carcass and you get broth for free.
The part that catches people out is not the knife work, it is the waiting. Cut into a turkey the moment it hits the counter and the juice runs out onto the board instead of staying in the meat. Everything below is built around avoiding that.
If this is your first time, read the whole thing once before you pick up the knife. Ten minutes of reading beats a holiday table with dry breast and a pile of trimmings.
Table of Contents
- What You Need to Carve a Turkey
- Step-by-Step: How to Carve a Turkey
- Frequently Asked Questions
- Is it easier to carve a turkey when it’s hot or cold?
- Do you cut a turkey breast with the grain or against the grain?
- How long should a turkey sit out before you carve it?
- What is the best knife for carving a turkey?
- Can you carve a turkey without a cutting board?
- How long can carved turkey sit out, and how do I reheat it?
- Conclusion
What You Need to Carve a Turkey
A carving set does not have to be expensive, but it does have to be sharp and it does have to be stable.
- A sharp carving knife. A long, narrow blade around 8 to 10 inches reaches from skin to breastbone without the tip disappearing into a rib. A chef’s knife works fine if that is all you own.
- A stable cutting board. Put a damp towel underneath it, or set one end on the edge of the counter. A board that slides halfway through the breast is how people nick fingers.
- A carving fork or kitchen tongs. The fork pins the meat so your slicing hand stays free. Tongs are steadier, and nobody expects the two-handed carving fork anymore.
- A large platter. Big enough to lay slices flat without piling them. Warm it in the oven while the turkey rests and the meat stays hot longer on the table.
- Paper towels or folded kitchen towels. Turkey skin is greasy. Dry hands, dry fork tines, and a dry board handle are the difference between a clean carve and a slip.
- Kitchen shears. For cutting the trussing twine before the bird is even on the board.
For the bird itself, make sure it hit 165°F (74°C) in the thickest part of the breast before it came out of the oven, and let it rest somewhere between 140°F and 170°F while you set up. USDA guidance is to get carved turkey into the refrigerator within two hours of serving.
Step-by-Step: How to Carve a Turkey
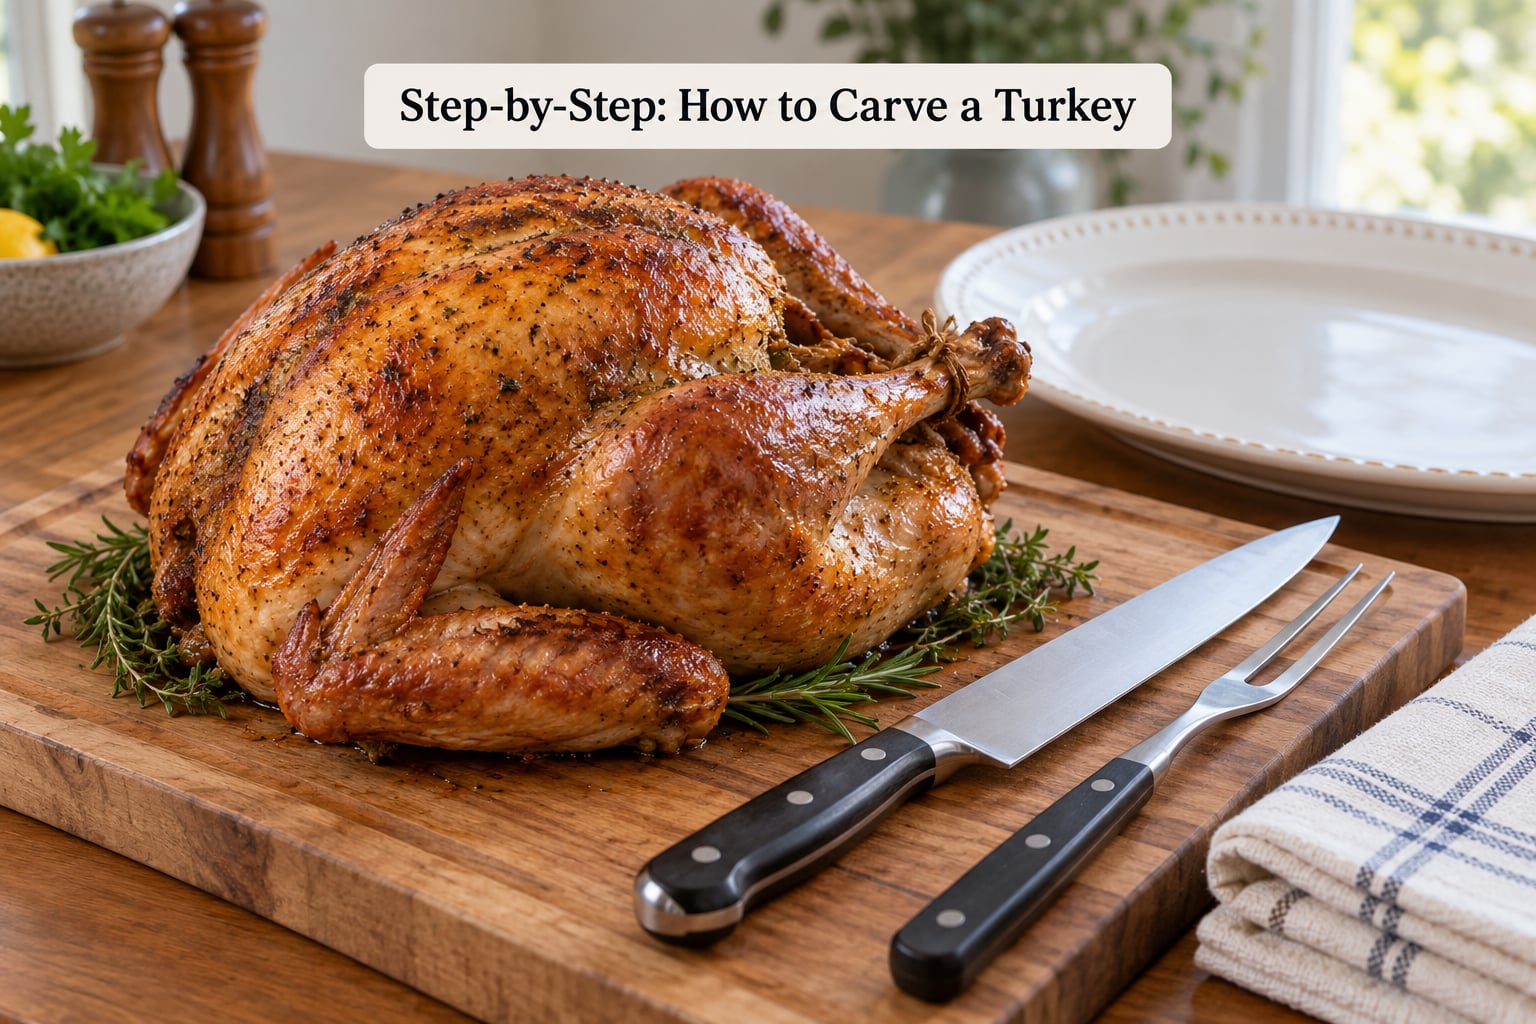
Step 1: Let the Turkey Rest
Resting is not optional. When you take a hot bird out of the oven, the muscle fibers are tight and the juices have nowhere to go except out. Give them 30 to 45 minutes and the fibers relax, so the juice stays in the meat when you cut.
Bigger birds need longer. A 12 pound turkey can handle 30 minutes, an 18 pound bird wants closer to an hour. Rest it breast-side up on a board or platter, loosely tented with foil if the kitchen is chilly, and put it in the oven or a warm corner of the kitchen.
Rest it loosely covered, not sealed. Tight foil traps steam and softens the skin you worked hard to crisp.
Step 2: Position the Turkey and Identify the Parts
Set the turkey breast-side up with the neck end pointing away from you and the tail end toward your cutting hand. The legs sit at the wide end, the wings tuck against the narrow neck end.
Before you cut anything, find four landmarks. Look at the wide end and see the rounded thigh and the drumstick below it, joined to the body by a ball-and-socket hip joint. At the narrow end, the wing lies against the breast with a small shoulder joint underneath it. In the center, a ridge runs the length of the bird. That is the keelbone, or breastbone, and it is the handle for the whole breast carve.
Also look for the oyster, the small dark lump of meat on the back near the base of the thigh. There are only two per bird and most people throw them away. Pull one off after the legs come off and put it on the platter for whoever wants the treat.
Step 3: Remove the Legs and Thighs
Start at the wide end. Place the blade just above the tail, angled slightly upward, and cut through the skin where the thigh meets the body. Push the knife in until you hit bone or cartilage, then stop.
Now do the thing that makes this step easy or awful. Grasp the drumstick and thigh together and bend them back and up, away from the body, rotating slightly. The hip joint pops like an elbow and the whole leg comes free at once. That popping feeling is your cue that you found the joint and there is no bone to saw through.
If it does not pop after a firm bend, you are probably cutting into the hip bone rather than around it. Reposition the knife a little closer to the tail and try again. Repeat on the other side.
Do not throw the legs away once they are off. Twist the drumstick out of the thigh by holding the two and twisting in opposite directions, which is far easier than trying to cut it apart. Set the wing tips aside too; they are the second-best part of the bird after the thigh.
Step 4: Carve the Breast
There are two ways. The whole breast method gives you one clean plate and looks best on the table. The side-by-side method is faster and easier for a first timer, since you cut each breast off while the bird is stable.
For the whole breast, lay the knife flat against the top of the breast bone with the tip pointing away from you, and slice down toward the neck end to expose the bone. Turn the blade so the edge follows the curve of the keel bone, then run the blade along the rib cage from top to bottom. The meat releases in one piece. Repeat on the other side if the knife is too short, and join the two halves on the board.
Keep the skin on. That sheet of skin on top of the breast is the entire reason the slices look good, and it keeps the meat from drying out by the time it reaches the third guest.
For a quick carve, skip the whole plate. Cut straight down along the center bone to divide the breasts, then run the blade along the rib cage and under the skin to lift one half away from the bone. Same result, less knife work.
Step 5: Slice the Thighs and Serve
Turn the breast slices on their side and cut across them, roughly a quarter inch thick, in one long stroke per slice. Not a sawing motion. Push, let the blade do the work, lift, push again. Sawing tears the muscle instead of separating it, and torn meat leaks juice.
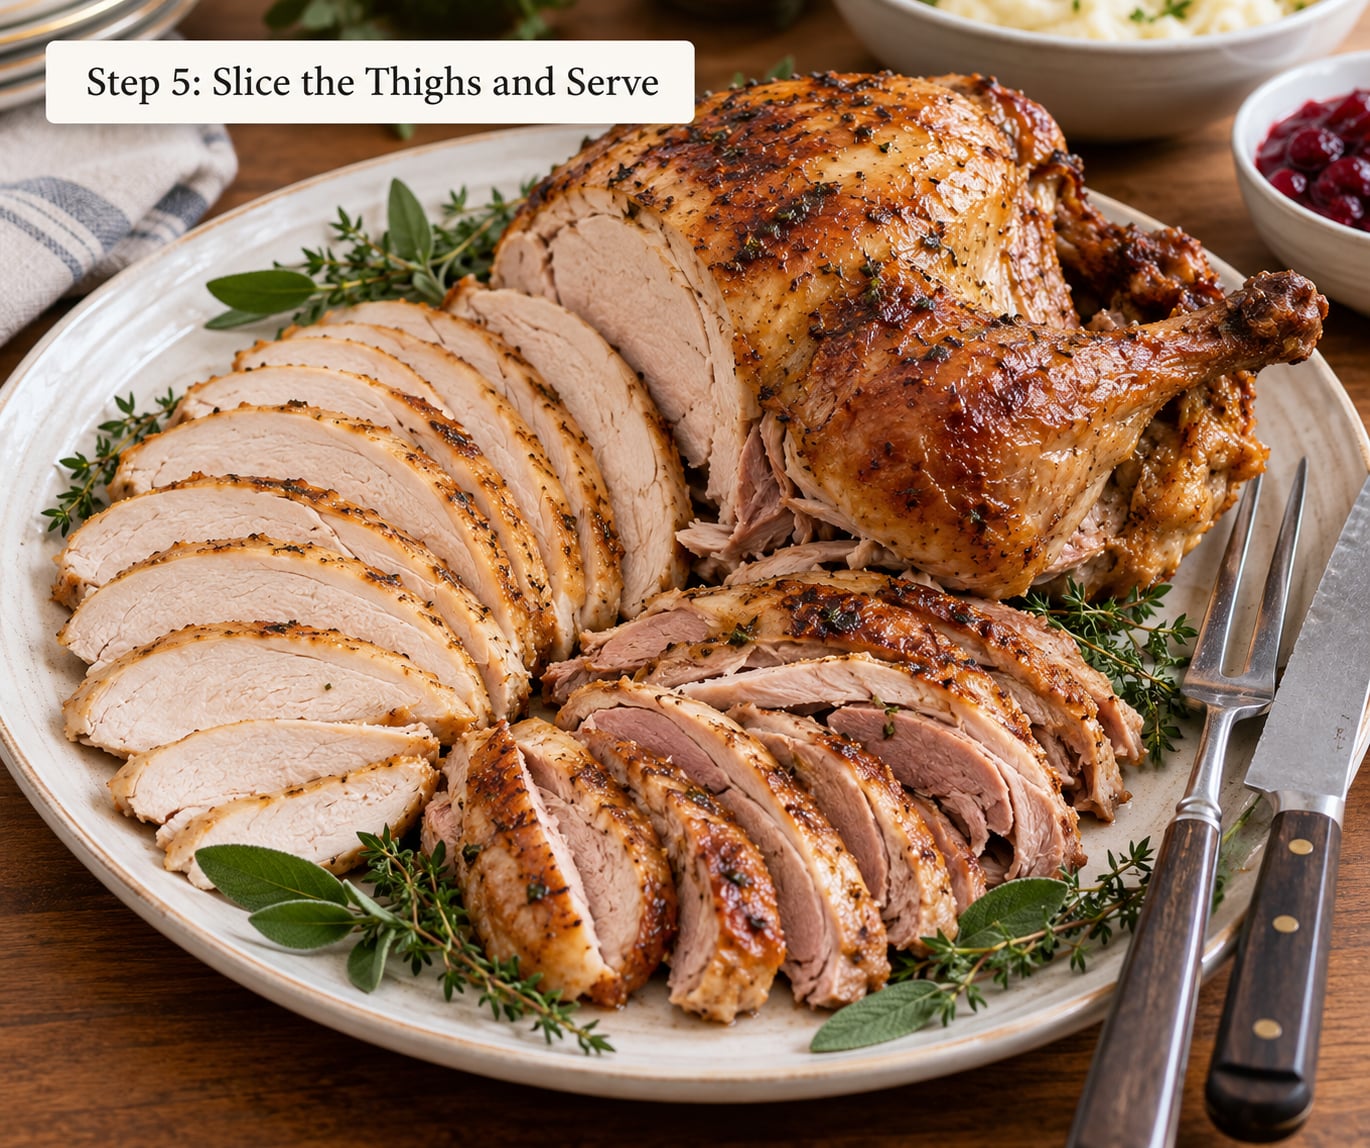
Serve the breast with the skin side up, or shingle the slices so each one overlaps the last. Slice the thigh meat into similar pieces and the drumsticks serve whole, standing in a shallow dish of the juices they rested in.
Refrigerate carved turkey within two hours of setting it on the table. Cooked turkey keeps three to four days in the fridge, and cooked breast is a little drier than the thigh, so cover it well. If you are not eating leftovers in that window, freeze the slices in a single layer first so they do not clump.
Reflavored slices make a better sandwich than straight-from-the-oven meat, so it is worth carving the whole bird instead of slicing only what fits on the first platter. If that is the plan, our leftover turkey sandwich ideas cover the good ones, and we wrote about which cheese works best on a turkey sandwich, including why provolone is not always the answer.
Do not toss the carcass. Break the leftover frame into pieces, cover it with water in a stockpot, and simmer it for a few hours with an onion and a bay leaf. You end up with a gallon of turkey broth that no carton matches.
Common Mistakes When You Carve a Turkey
Every one of these shows up on holiday tables every year, and every one has a straight fix.
- Carving straight out of the oven. Fix: wait the full rest. If you are hosting a formal dinner, the extra waiting time is invisible because the sides and drinks are still going.
- Slicing with the grain. Fix: look at the cut face before you slice. If the fibers run away from you with the cut, turn the breast around. Breast sliced against the grain is noticeably tenderer.
- Chopping straight at the joint. Fix: bend the limb back until it releases before you cut. Bending is faster than cutting and far less likely to leave meat on the bone.
- Cutting toward the bone. Fix: turn the blade so the edge faces away from the knife hand and the spine rides along the bone. The knife stops instead of skating.
- Pulling the skin off before carving. Fix: leave it alone. Skin on top keeps the breast moist and gives you those clean slices with a crisp cap.
- Sawing back and forth. Fix: long strokes, one slice per push. Put the heel of your hand on the back of the blade near the spine for control.
- Working on a board that slides. Fix: a damp towel underneath. It takes five seconds and it prevents the worst possible moment of the day.
- Carving the bird in the pan it roasted in. Fix: lift it out. The sides of a roasting pan are narrow and awkward, and the juices splash over the edge as you work.
Frequently Asked Questions
Is it easier to carve a turkey when it’s hot or cold?
Neither. Carve it warm but not hot, which is exactly what resting delivers. Straight out of the oven the meat is so firm the slices tear and the juice runs out. Completely cold, the fat has congealed and the skin pulls away from the breast in strips. Thirty to forty-five minutes of rest after a 165°F finish gives you meat that holds together and slices cleanly.
Do you cut a turkey breast with the grain or against the grain?
Against it. After removing the breast from the bone, turn it so the cut face points up and cut across the visible fiber lines in slices about a quarter inch thick. The grain on a turkey breast usually runs lengthwise, so crosswise slices are the fastest way to get tender pieces. Slicing with the grain is fine if you are in a hurry, but the slices will feel noticeably chewier.
How long should a turkey sit out before you carve it?
Thirty to forty-five minutes for a typical holiday turkey, and up to an hour for anything over 18 pounds. Resting lets the muscle fibers relax so the juice stays in the meat when you cut. Keep the bird loosely covered and breast-side up in the oven or a warm corner of the kitchen. Do not seal it in foil, since trapped steam softens the skin.
What is the best knife for carving a turkey?
A long, narrow carving knife with a sharp point, roughly 8 to 10 inches, is the easiest tool for the job because the tip reaches the rib cage without you having to turn the bird over. A sharp chef’s knife works nearly as well. Whichever you use, hone it before the meal. An electric knife makes very even slices and needs almost no technique, but you give up control, and it is awkward for finding joints.
Can you carve a turkey without a cutting board?
You can, but not easily. If you have no board, set the turkey on a large rimmed baking sheet with a folded towel underneath for grip, or on a platter with a damp towel under it. Just do not carve it in a roasting pan. The narrow sides and the pooled juices make the bird unstable and messy, which is the opposite of what a clean carve needs.
How long can carved turkey sit out, and how do I reheat it?
Cooked turkey should not sit at room temperature for more than two hours. Refrigerate it in covered containers, where it keeps three to four days. Reheat breast slices in a skillet over medium-low heat for a few minutes, loosely covered with a splash of broth, and add the lid only once the outside has warmed through. That keeps it from drying out the second time.
Conclusion
First action: let the turkey rest 30 to 45 minutes before anything else. That single habit fixes the juicy texture problem that most people blame on their oven.
After that, it is a sharp knife, a board that does not move, and patience at three joints: the hip, the shoulder, and the breastbone. Cut through the skin, bend the joint until it pops, and slice the breast across the grain. You can carve a turkey this way every year and still not remember which step you skipped.