
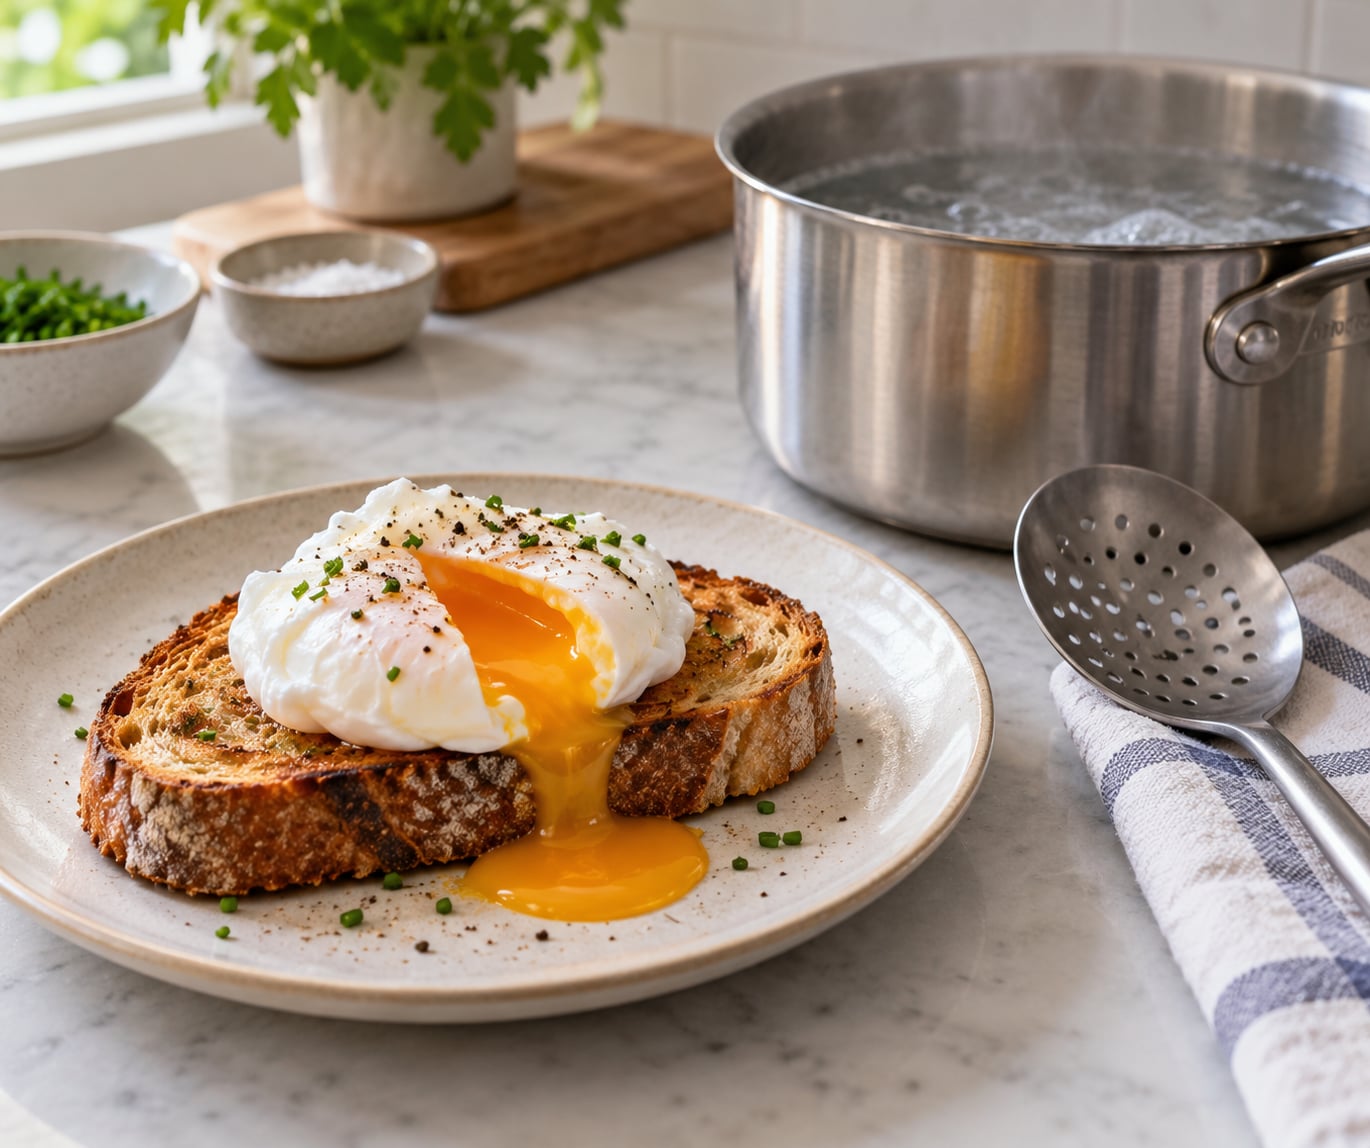
Poaching an egg perfectly comes down to three things: water barely bubbling at around 180°F (82°C), the egg lowered in gently rather than dropped, and enough depth for the white to wrap around the yolk instead of spreading. Fresh eggs help more than any gadget, and the whole process takes about three minutes of actual cooking. Once you control the heat, results stop being luck.
I ruined a lot of eggs before this stuck. The fix was mostly boring: a wider pot, lower heat, and taking the egg out while the yolk still moves. This guide covers the technique that works, plus what to do when an egg tears anyway.
Table of Contents
What You Need
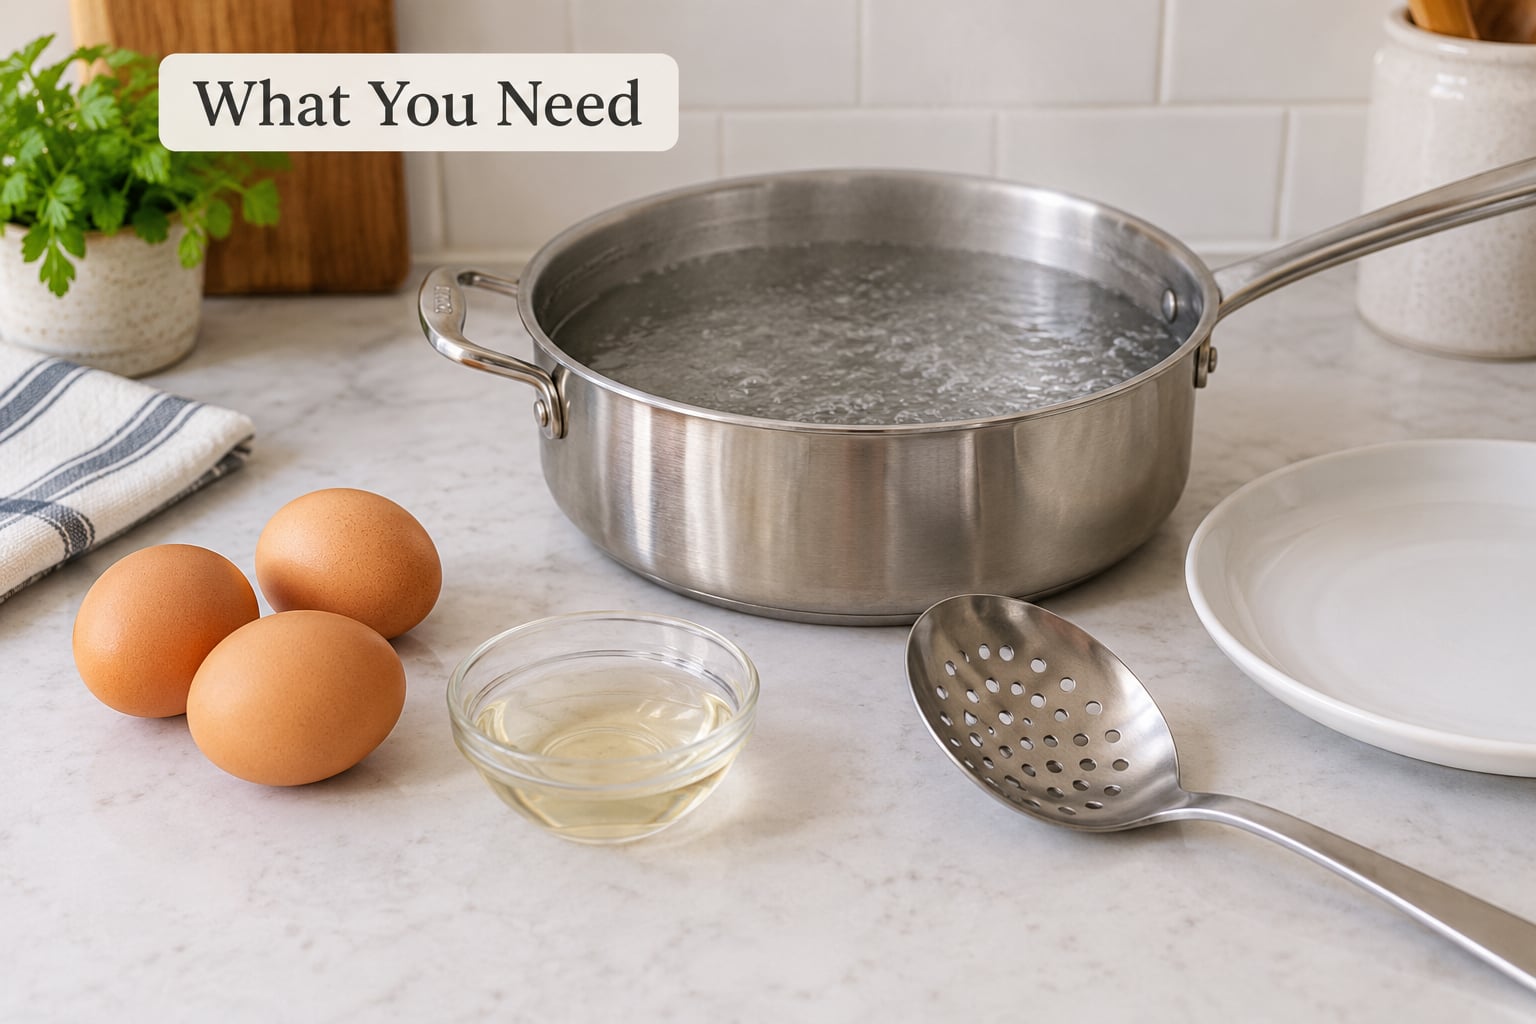
A wide saucepan matters more than any specialty poacher. With at least 4 inches (10 cm) of water, the egg has room to sink and set into a teardrop; in a small pot it hits the bottom and spreads flat like a fried egg.
- Wide saucepan with 4 inches (10 cm) or more of water
- Freshest eggs you can find — an egg that floats in a bowl of water is weeks old
- White vinegar, 1 tablespoon, optional but helpful
- Fine-mesh sieve to strain away the thinnest raw white
- Slotted spoon with a wide head
- Small cup or ramekin for cracking each egg
- Paper towel and salt for draining and finishing
Freshness is the variable most guides state and never explain. An older egg’s white has lost water and thinned out, so it runs loose and leaves wispy threads in the pot. A very fresh egg has a thick white that holds the shape. Test for age by floating the egg in cold water — if it lies flat on the bottom it is fine, if it stands upright or floats, use it for baking instead.
Step-by-Step: How to Poach Eggs Perfectly
1. Prepare the Water and Eggs
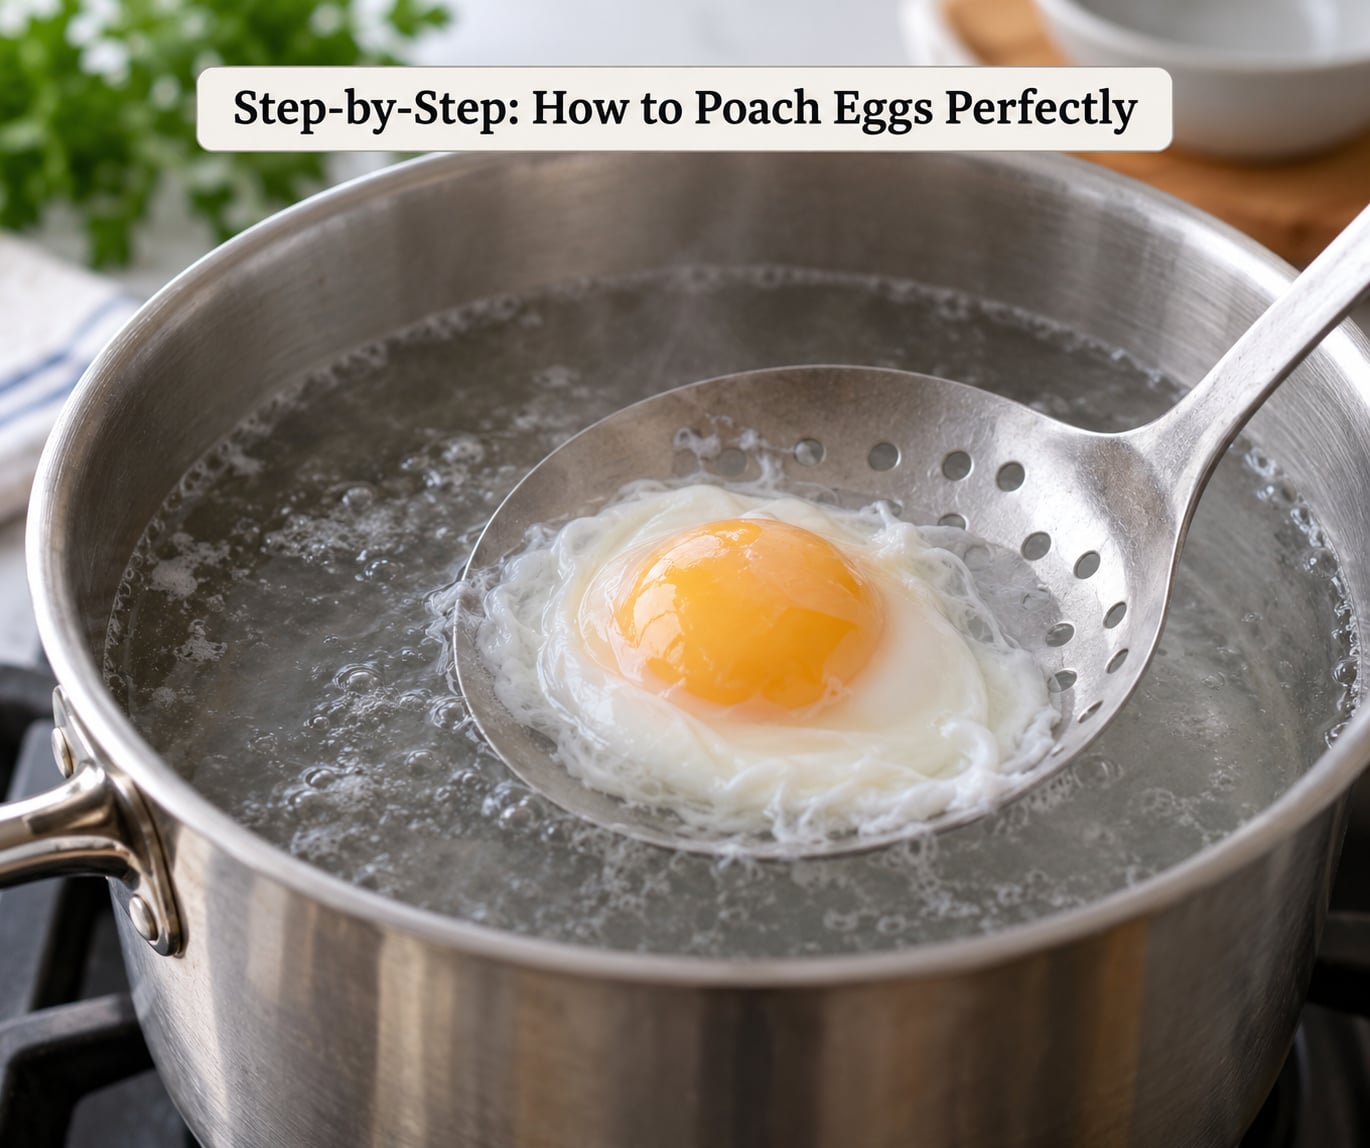
Bring the water to a full boil, then turn the heat down until it settles into a gentle simmer with small bubbles on the surface and a steady shimmer. That target band is roughly 180°F (82°C). A rolling boil tears the white into shreds and turns the outside rubbery before the center catches up.
Stir in the tablespoon of vinegar. It slightly raises the acidity of the water, which helps the albumen coagulate and grip the yolk instead of drifting away. One tablespoon is genuinely tasteless at the end; the internet fear that eggs taste of vinegar comes from people pouring in half a cup.
Fill a second bowl with cold water and ice for an ice bath, and set out your slotted spoon before you crack anything.
2. Crack the Egg Carefully
Crack one egg into a small cup rather than straight into the pot. Check it for shell fragments and break up the chalazae, the little twisted cords you see attached to the yolk, with the edge of the cup. Those are what create the stringy filmy bits people complain about.
Now push the egg through a fine-mesh sieve set over another cup for about 30 seconds. This drains off the loose watery albumen and leaves the yolk wrapped in the thicker part of the white. Do it gently and quickly — readers report that draining too hard leaves you holding nothing but a naked yolk.
Tip the sieved egg into a ramekin so you can slide it in with control, or lower it directly from the cup with the spoon. Either way, let it enter the water at the lowest point you can manage.
3. Cook Until the Whites Are Set
Lower the egg into the center and keep the water at a bare simmer. You want to see the white turn opaque and gather around the yolk within the first 20 to 30 seconds. That fast initial set is what gives you a neat round shape.
Time it from the moment the egg goes in:
- 2½ to 3 minutes — white fully set, yolk runny and loose
- 3½ to 4 minutes — white firm, yolk thick and still flowing
- 4½ to 5 minutes — white set all the way through, yolk just barely soft
- 6 minutes — fully cooked yolk for someone who wants no run at all
If the egg floats or a white strand trails up to the surface, nudge it down gently with the spoon. You are not stirring; you are just keeping loose ends contained.
4. Lift, Drain, and Finish
Slide the slotted spoon under the egg and raise it slowly, letting the water drain off for a few seconds. Blot the bottom on a paper towel before placing it on a plate — that thin wet layer is what makes a poached egg soggy underneath.
Season right away with flaky salt and pepper while the yolk is still glossy. Poached eggs go on toast, English muffins, grain bowls, or over grilled vegetables, and a spoonful of hollandaise or a slice of avocado on top works about as well as anything.
Common Mistakes
Nearly every disappointing poached egg traces back to one of five things, and all five are fixable:
- Water at a rolling boil. The white sets unevenly and shreds. Turn the heat down until you see small bubbles and a surface shimmer, not a churning pot.
- Eggs added too fast. Dropping three in at once cools the water and gives the whites time to spread. Lower them one at a time, 20 seconds apart, and nudge the heat up slightly between eggs.
- Old eggs. The thin white escapes and leaves wispies. Use eggs bought within a week, and float-test anything you are unsure about.
- Moving the egg after it enters. Swirling it around in the pot breaks the forming white. A quick swirl of the water before the egg goes in helps; swirling after does not.
- Leaving it in too long. Carryover heat keeps firming the yolk after you lift it out. Pull it a shade early and rest it on a warm plate.
Two more that catch people out: too shallow a pot produces flat, fried-looking eggs, and skipping the ice bath is fine for immediate eating but leaves residual heat cooking the yolk while it sits. If the egg feels tough or rubbery at the edges, it sat too long, not too briefly.
For a batch, keep the water barely simmering and use a larger pot so the temperature does not crash when the eggs go in. A gentle whirlpool in the pot before each egg is worth doing for a single egg and pointless for six.
Updated for 2026.
Frequently Asked Questions
How long should I poach an egg for a runny yolk?
Three minutes in gently simmering water gives you a set white and a runny yolk. Start your timer the moment the egg touches the water, not when you stir the pot. For a thicker, still-fluid yolk, go to four minutes. Because the egg keeps cooking after you lift it out, pull it slightly early if you are fussy about runniness.
Do I need vinegar to poach eggs?
No, and plenty of experienced cooks skip it. A tablespoon of white vinegar raises the acidity just enough to help the white set tighter around the yolk, which matters most on older eggs. More than that is where the sour taste people complain about comes from. If your eggs are very fresh and you sieve well, you can leave it out.
Should the water boil when poaching eggs?
Bring it to a boil first to get the pot up to temperature quickly, then turn the heat down until it barely simmers at roughly 180°F (82°C). Cooking in a rolling boil is what makes whites shred into wisps and turn rubbery at the edges. You want small bubbles at the bottom of the pan and a gentle shimmer across the surface.
Are fresh eggs better for poaching?
They are the single biggest improvement you can make. A very fresh egg has thick, viscous albumen that wraps around the yolk and holds a round shape. As eggs age, that white thins and runs, which is where loose threads and wispies come from. Float-test them in cold water: an egg that stands on the bottom is fresh, one that floats is too old for poaching.
How do I poach multiple eggs at once?
Use a wider pot and lower the eggs in one at a time, waiting about 20 seconds between each so the water temperature stays steady. Give the heat a nudge upward after each egg if it looks like the simmer has stalled. For four eggs or more, cook them in two batches; crowding drops the temperature and produces ragged whites rather than saving you time.
Can I poach eggs in advance?
Yes, and it is how restaurants do it. Poach the eggs, then transfer them straight into cold water and refrigerate them submerged for up to 24 hours. To serve, warm them gently in a bowl of hot tap water for a few minutes rather than microwaving, which makes the white rubbery. The texture is slightly firmer than a freshly poached egg, but the shape holds well.
Conclusion
Start with water at a bare simmer, lower each egg in gently at the deepest part of the pot, and take it out the moment the white is set but the yolk still moves under pressure. Those three habits fix most failures. Then adjust the clock — three minutes for a runny yolk, five for a firm one — until the timing matches how you like your eggs.