
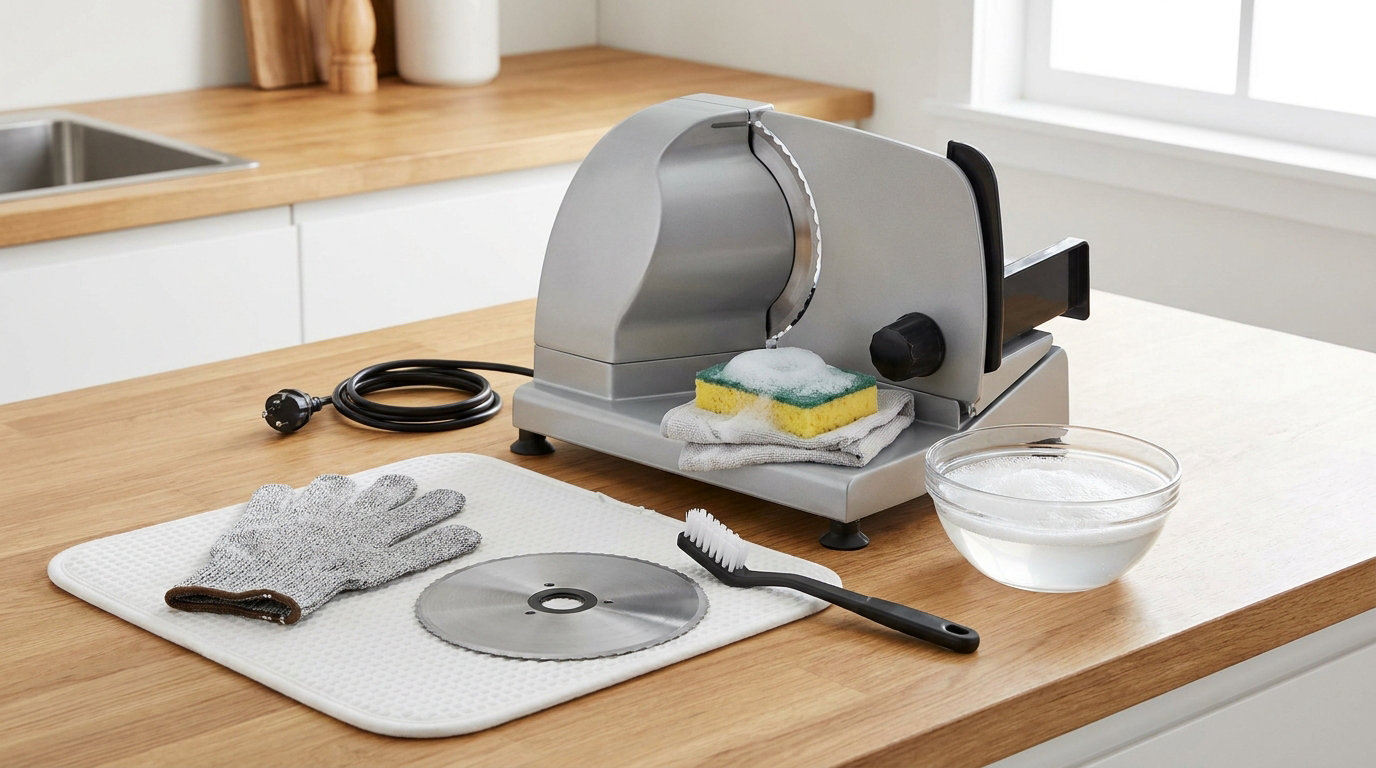
To clean a home meat slicer without cutting yourself, unplug it, set the thickness dial to zero, let the blade stop completely, then remove parts in the order the manual lists and move every scrap with a tool instead of your fingers. The blade stays razor sharp whether the machine is powered or not, so power is only the first of three locks you need: disconnection, zero thickness, and no hand contact with the edge.
A full clean takes about fifteen minutes once you know your model. Most of that time is washing, not cutting. The reason people get hurt is almost never the motor — it is reaching around the back of the blade to wipe grease off a face they cannot see.
What follows is a single procedure rather than a menu of options. I have seen enough forum accounts of slicer cuts to be deliberately unhelpful about alternatives: there is one correct order, and it starts before you pick up a cloth.
Table of Contents
- What You Need
- Step-by-Step: How to Clean a Home Meat Slicer Without Cutting Yourself
- 1. Read the Manual and Map the Removable Parts
- 2. Finish the Cutting Cycle and Disconnect Power
- 3. Remove Trays and Set Up a Stable Cleaning Station
- 4. Brush Loose Food Away Before You Wipe
- 5. Remove Parts Only as the Manual Directs
- 6. Wash Removable Parts and Wipe Fixed Surfaces
- 7. Clean the Blade and Sharpener by Controlled Contact
- 8. Sanitize Food-Contact Surfaces and Check the Result
- 9. Reassemble, Test Safely, and Store Perishables Properly
- Common Mistakes
- Frequently Asked Questions
- Can I remove the blade from a home meat slicer to clean underneath it?
- Can I wash a meat slicer with soap and water?
- How often should I clean and sanitize a home meat slicer?
- Is it safe to clean a meat slicer with the blade guard removed?
- What should I do after using a meat slicer for raw chicken or pork?
- How do I clean a slicer sharpening system safely?
- Conclusion
What You Need
Set out everything before you start the machine, because the moment you begin pulling parts off, you will want to stop and go find something.
- The manual for your exact model. Not a generic slicer guide. You are looking for the shutdown and lockout procedure, the blade removal sequence, which components are removable, and whether the blade may be washed at all.
- Access to the outlet so you can unplug without unplugging something else. Cord management is a real part of cleaning, not a detail.
- A cut-resistant glove and a nitrile glove if you plan to handle the blade or the sharpening stones. Read the honest limits of this below.
- A soft, food-safe brush or an applicator with a long handle, plus tongs or a wooden utensil for picking up loose food.
- Warm water, mild dish soap, and clean cloths or paper towels.
- A manufacturer-approved food-contact surface sanitizer, used exactly as its label directs.
On gloves, one correction worth making now. Cut-resistant gloves and chainmail gloves protect against incidental slashes from a sharp fragment or a sudden slip. They do not protect the fingers inside the glove if you deliberately bring the hand to the cutting edge, and a cut can end up sealed inside the glove where you do not see it. Gloves reduce exposure. They do not make reaching near the blade safe.
Also useful: cotton swabs or a narrow bottle brush for the grooves around the thickness dial and the slide rod collars, and a small flashlight. Crevices you cannot see are where dried meat hides and where a camera-free guess goes wrong.
Step-by-Step: How to Clean a Home Meat Slicer Without Cutting Yourself
1. Read the Manual and Map the Removable Parts
Before anything else, find the shutdown procedure, the blade removal instructions, the sharpener instructions, the carriage release, and the cleaning section.
This matters more than it sounds. A manual-wheel slicer, a hand-crank slicer, and a combination slicer with a belt drive do not come apart the same way. Guards, interlocks, and sharpening systems differ, and a small home unit often has a plastic pusher and a smaller, less shielded blade than a commercial machine. You are trying to learn your machine’s sequence in three minutes, not to skip this step.
Layout check: lay the parts out in removal order on a dry towel as you take them off. If you cannot name a part, photograph it before it comes off and compare against the manual’s diagram later.
2. Finish the Cutting Cycle and Disconnect Power
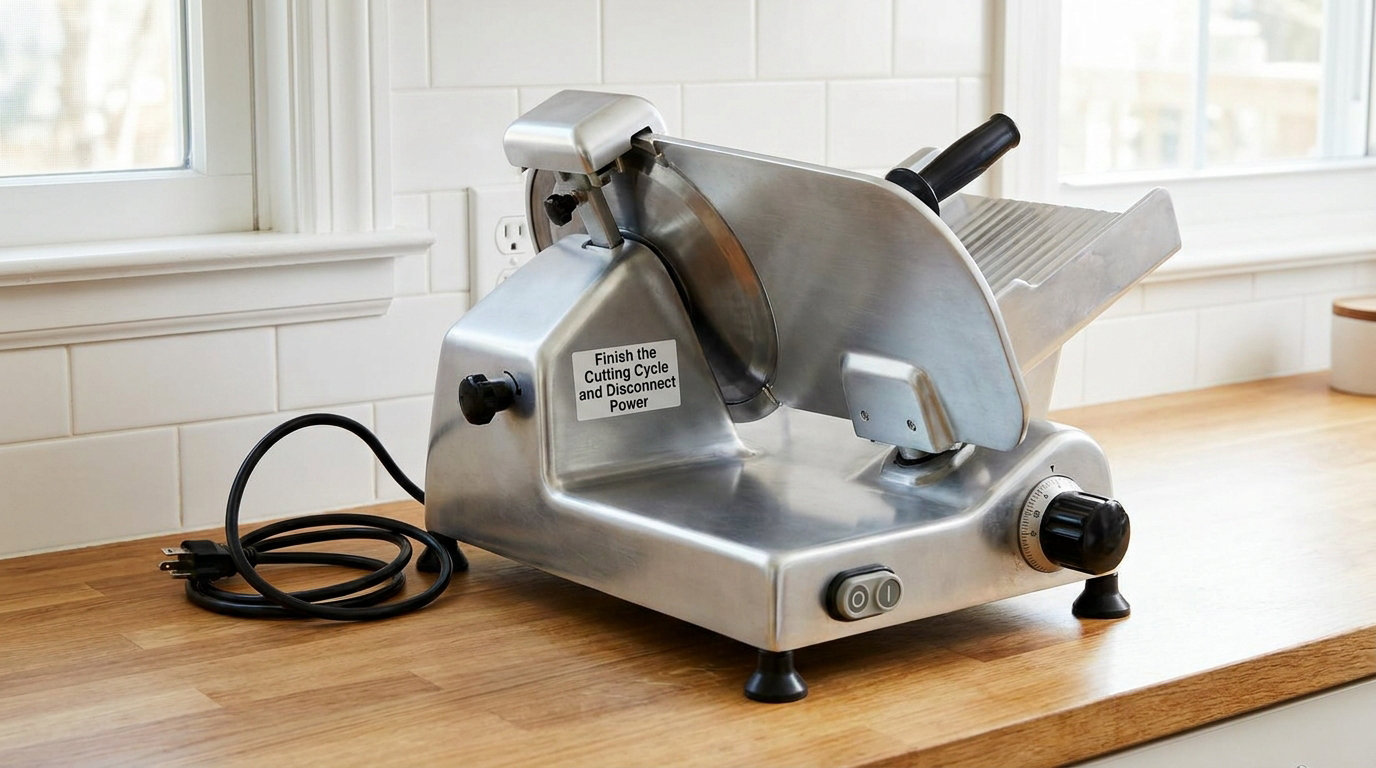
Stop the carriage, switch the machine off at the control, and unplug it at the wall.
Do not rely on the off position. Many home slicers hold the blade spinning for a moment as the motor slows, and a few hold it mechanically after power is gone. If your model has a lockout or release cycle, the manual will describe it — follow that cycle exactly, then confirm the blade has stopped before your hand comes anywhere near the machine.
For a battery-powered unit, remove the batteries and set them away from your cleaning area so a wet cloth and a loose battery are not neighbors. The way to know you are done is simple: the blade is stationary, the cord is out of the wall, and you could not restart the machine without deliberately reconnecting it.
One method to rule out right here: wiping the blade while it turns. It circulates on kitchen and restaurant forums, and it is how fingers meet steel with the machine running. The blade is either off and stopped, or it is not being touched.
3. Remove Trays and Set Up a Stable Cleaning Station
Empty the food tray and the catch tray, set them aside, and clear a dry area of counter beside the machine.
Keep the slicer from sliding. A wet machine on a wet counter is a slip, and a slip toward a fixed blade is the worst combination in this article. Place a damp towel under the base only if your manual allows it to sit damp, and keep drippings away from the plug, the outlet, and the power switch.
Move the machine to a sink only if it is small and light enough to carry with two hands on its base, away from the blade. Never lift a slicer by the carriage, the gauge plate, or the blade guard — those parts are not handles.
4. Brush Loose Food Away Before You Wipe
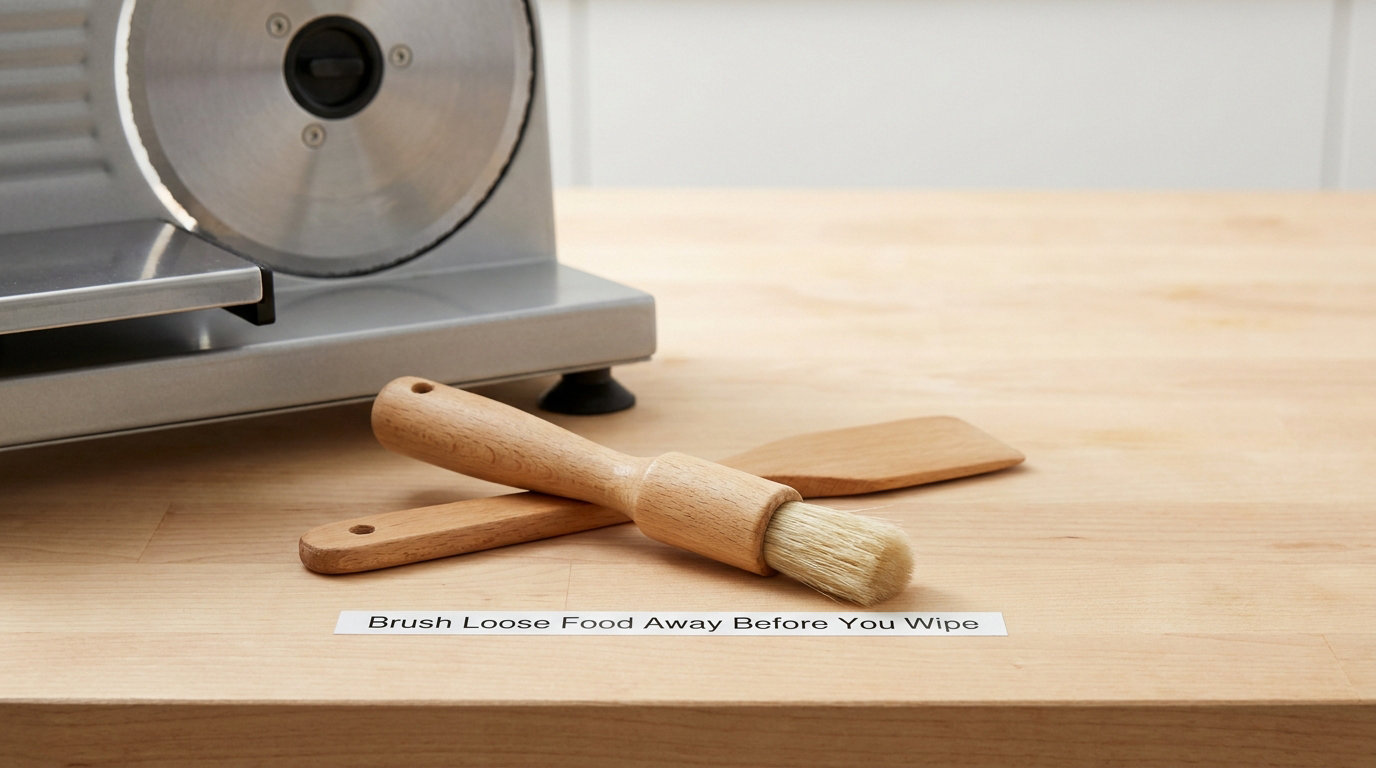
Pick up loose scraps first with tongs, a wooden utensil, or a soft brush, working from the outside of the machine toward the blade and never sweeping debris across it.
Debris pushed against a spinning edge is what turns a light wipe into a cut, and a falling chunk of food can bounce off a sharp edge in a direction you did not plan for. Your fingers, your cloth, and a loose glove should all be out of the blade’s path while you do this.
You know the step is complete when the visible surfaces are free of loose pieces and nothing is left balanced on the edge or perched in the carriage return. The old-fashioned trick of pulling a folded paper towel through under the blade is a reasonable home workaround, and it is worth explaining why it works: the cloth moves by its own stored tension, so your hand stays on the safe side of the machine. Use a damp cloth, move it once, and never back up a cloth already dragged through the blade gap.
5. Remove Parts Only as the Manual Directs
Take off the carriage or product tray, the food tray, the slice deflector, the blade cover, and the removable sharpener assembly in the order your manual gives.
Two habits make this safe. First, support a part with one hand at its body while the other hand works the fastener, so nothing free-falls. Second, carry a loose blade edge-first, flat, with the sharp side facing away from you and your palm on the flat back — and set it down flat on the towel immediately rather than balancing it on a counter edge.
Never reach under the blade to catch a screw, never bypass a guard or interlock to make a part come free, and never use force on a part that has not released. If it will not release as the manual describes, stop and find the step you missed rather than levering it. A slightly bent gauge plate or a cracked plastic guard is a permanent sharp-edge hazard in your kitchen.
6. Wash Removable Parts and Wipe Fixed Surfaces
Wash the removable food-contact pieces in warm water with mild dish soap, rinse them, and dry them. Wipe the fixed surfaces with a damp cloth instead.
The rule that gets broken most often: the motor housing, the drive cover, the vent slots, the thickness dial, and the blade assembly on most home models are wiped, not washed. Liquid running into a vent or down a shaft reaches the motor, and corrosion around a damp base is the slow, obvious sign you have been over-washing for months.
Unless the manual explicitly says a component is dishwasher safe, keep it out of the dishwasher. Agitation, detergent residue, and a blade rattling around a rack do no favors to a thin circular blade or a plastic pusher, and dishwasher detergent is not formulated for a food-contact surface you will slice deli meat against.
Keep cleaner out of the vents: spray onto the cloth, never into the machine, and keep the plug and outlet out of the splash zone.
7. Clean the Blade and Sharpener by Controlled Contact
Clean the blade from the center outward with a damp cloth, working away from the cutting edge, and never dragging a cloth along the edge toward your body.
That single directional rule is the whole technique. Starting at the hub, a folding blade’s height increases gradually as you move outward, so the cloth meets increasing resistance and you stay in control. Reversing direction means the edge catches the cloth and drags it, and your hand follows the edge into a cut.
Work on the flat side of the blade with the edge facing away. For the back, use a long-handled applicator or brush from the side the manual designates, with the carriage fully open and your hand kept behind a guard. If your manual gives no safe access method for the back of the blade, that is the answer for how to clean a home meat slicer without cutting yourself: you stop and leave that surface, or you have the blade serviced. Guessing at access is where the worst injuries come from.
Never grasp a cutting edge, even with a glove on, and never pick a blade fragment up with your fingertips. The honing stones come out the way the manual shows, are cleaned dry or with a barely damp cloth, and go back the same way — greasy stones will not sharpen, and a stone installed backwards ruins an edge.
8. Sanitize Food-Contact Surfaces and Check the Result
Sanitize the cleaned food-contact surfaces with a product the slicer manufacturer approves, following that product’s dilution and contact time exactly, then rinse if the label calls for it.
Cleaning and sanitizing are different jobs. Washing removes food and grease; sanitizing reduces bacteria that survived the wash. Do both, in that order — sanitizer applied over a greasy surface is wasted product, and a wash alone leaves organisms alive in the crevices behind the blade and around the motor cover.
Follow the label rather than a fixed number of minutes, since contact time differs by product. If you use a bleach solution, mix it to the strength on its own label and never mix cleaning products — bleach with ammonia or with an acidic bathroom cleaner produces toxic gas.
A finished job looks like this: no visible food or grease film, no pooled moisture in the carriage well, no loose sharp fragments anywhere, no residue around the guards or vent slots, and every part dry enough to reassemble. A slicer that looks clean but still has a bead of water sitting under the gauge plate will be rusty by next month.
9. Reassemble, Test Safely, and Store Perishables Properly
Reinstall the sharpener, blade, guards, deflector, and carriage without forcing anything, return the carriage to its starting position, and set the thickness dial back to zero.
If a part will not seat, back it out and check the orientation. A guard that is clipped on crooked leaves a gap the next operator will reach through. A brief low-speed test run, as the manual describes, confirms nothing is rubbing and the carriage returns smoothly — and it is the one moment you let the blade turn with no cloth anywhere near it.
Put a drop of food-grade lubricant on the slide rods and guide shafts if your manual calls for it, then wipe off the excess. Over-lubricating is its own problem, because oil near a food-contact surface is a contamination risk and odor follows it.
For the food itself: refrigerate sliced perishable meat within two hours, or within one hour if the ambient temperature is above 90°F. Cook poultry to 165°F internally, ground meat to 160°F, and whole cuts and fish to 145°F. A slicer pushes bacteria across a whole batch with every pass, so time and temperature are doing real work here, not paperwork.
Common Mistakes
Almost every cleaning injury traces back to one of these, and each has a straight fix.
- Unplugging too late. Pulling the plug after you have already removed the blade guard or a tray means you were working on a live machine. The fix is not “be careful,” it is a fixed sequence: finish the cycle, stop, switch off, unplug, then touch nothing.
- Bare hands near a sharp blade. A dull blade is safer than a sharp one, and a clean blade is sharper than a dirty one — dried residue dulls an edge. Wipe with tools, not fingertips.
- Soaking or rinsing the motor base. Water in a motor housing is a repair bill, and the base is a fixed surface. Wipe it, and stop when the cloth is clean.
- Spraying cleaner directly into the machine. Overspray reaches vents, the dial, and the sharpener. Spray the cloth.
- Bypassing an interlock or holding a guard open. Interlocks exist because hands go where guards are. If a part will not come out, the answer is the manual, not a workaround.
- Scraping with a hard tool. Steel wool, abrasive pads, and metal scrapers scratch stainless steel, shed fibers into crevices, and leave dull spots that trap more food next time. Manufacturer manuals typically prohibit abrasives outright.
- Reassembling before parts are dry. Trapped moisture causes corrosion and a musty smell. Air-dry everything, and wipe the blade dry rather than letting it air-dry with a hard-water spot pattern.
Two more worth adding. Never use compressed air to blow debris out — it drives particles into the sharpener, the bearings, and the vents, where moisture will later make them stick. And clean after every use rather than every few uses; forum users are consistent on this, and the build-up that turns a fifteen-minute job into an hour is the same build-up that eventually forces someone to reach behind a blade to scrub at it.
If you do get cut: stop the machine if it is running, apply firm direct pressure with clean cloth or gauze for several minutes without lifting to check, then clean the wound, cover it, and get medical attention for a deep or gaping cut, any cut that involves a fingertip or a joint, or bleeding that will not slow after ten minutes of pressure. Deep puncture wounds from a blade can reach tissue that looks fine on the surface, so err toward being seen.
When time is short, a five-minute routine still beats nothing: unplug, brush the scraps off, wipe the blade from center outward, sanitize the food-contact surfaces, dry, reassemble. It is not a deep clean, but it is the version you will actually do at the end of a long cook, and it is enough to break the build-up cycle.
Frequently Asked Questions
Can I remove the blade from a home meat slicer to clean underneath it?
Only if the manual for your model tells you to, and only with the machine unplugged, the blade fully stopped, and the thickness dial at zero. If the manual gives no removal procedure, that surface is not meant to be reached at home, and you clean what you can access. When you do remove a blade, carry it edge-first and flat, set it down on a towel instead of a counter edge, and reinstall it in the same orientation. Many home models are fixed-blade, so check before you plan around the task.
Can I wash a meat slicer with soap and water?
Wash the removable food-contact parts in warm soapy water, then rinse and dry them. Wipe the fixed surfaces with a damp cloth instead, and never immerse the motor housing, drive cover, or blade assembly unless the manual explicitly permits it. Water in the vents and around the slide rods causes corrosion, and detergent sprayed straight into the machine leaves residue where the next batch of meat will sit. The base is a fixed surface, not a dish.
How often should I clean and sanitize a home meat slicer?
Clean it after every use, and sanitize the food-contact surfaces at the same time. Between food types it matters even more: a full wipe-down and sanitize before you move from raw chicken or pork to cooked meat, cheese, or smoked sausage, otherwise you are spreading bacteria across a batch meant to be eaten as-is. If you must wait, keep the slicer unplugged, covered, and refrigerated. Build-up is what turns a fifteen-minute clean into a deep one.
Is it safe to clean a meat slicer with the blade guard removed?
Only unplugged, stationary, and only for as long as your manual describes. Removing a guard to reach a hidden surface is the situation behind a lot of slicer injuries in forum reports, because a guard off means nothing between your hand and a razor edge. Never hold a guard open with one hand while wiping with the other, and never defeat an interlock. If a part will not release as the manual describes, stop rather than levering it.
What should I do after using a meat slicer for raw chicken or pork?
Treat it as a raw-meat cleanup, in full. Unplug, set the thickness dial to zero, let the blade stop, remove the carriage, trays, deflector, and any removable blade as the manual directs, wash everything in warm soapy water, then sanitize the food-contact surfaces for the contact time on the product label. Refrigerate the leftovers within two hours, or one hour above 90°F, and cook poultry to 165°F internally before serving.
How do I clean a slicer sharpening system safely?
Unplug first, then follow the manual’s removal sequence for the sharpener assembly and its honing stones. Clean the stones with a barely damp cloth or dry, keep your fingers off any exposed stone edge or nearby blade, and reinstall each part in the orientation the manual shows, since a reversed stone will not sharpen and can damage an edge. Do not soak the sharpener housing. If the stones are chipped or glazed, replace them rather than cleaning harder.
Conclusion
To clean a home meat slicer without cutting yourself, three things have to be true before a cloth touches the machine: you have read your manual, you have disconnected power and confirmed the blade has stopped, and you are moving debris with a tool rather than your hand. Wipe from the center outward, never along the edge toward you, and leave a surface alone when the manual gives you no safe way to reach it.
Start with the boring part. Scrape the scraps off with a brush or wooden utensil while the machine is still cold and unplugged. Everything after that is easier.