
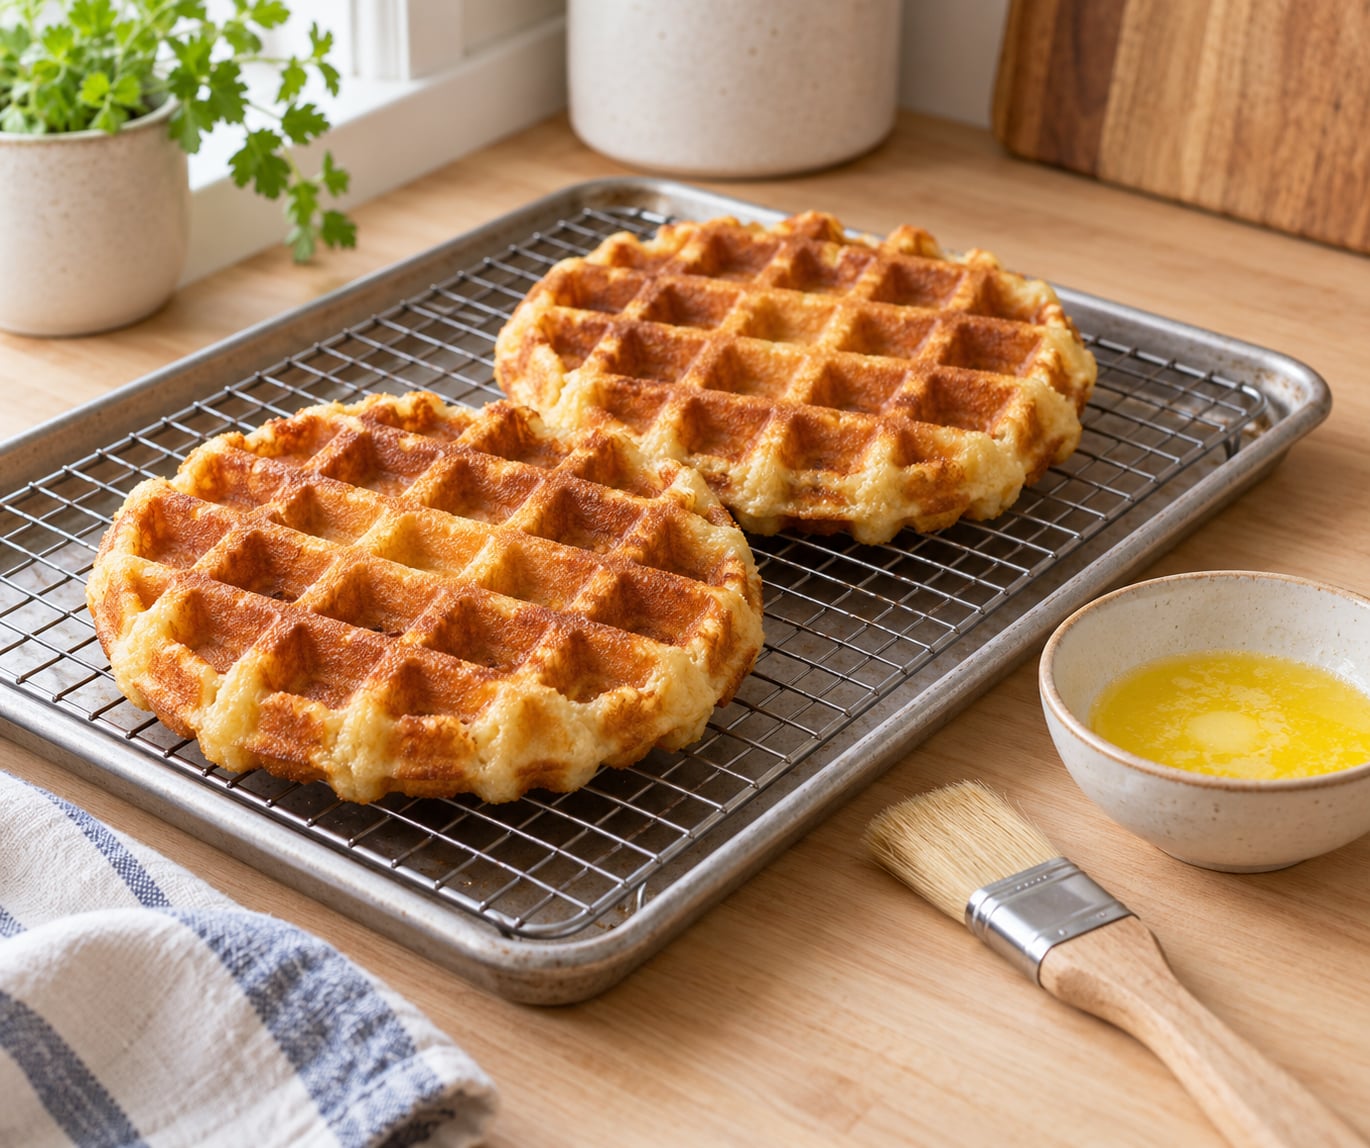
To make crispy waffles at home, add 2 tablespoons of cornstarch to your dry ingredients and cook each waffle 30 to 60 seconds longer than the iron’s signal light tells you to. That is most of it. The rest is a very hot, well-greased iron, a batter you barely mix, and eating them within a few minutes.
Crispness is not a flavor or a secret ingredient so much as a physics problem. A waffle is wet batter pressed between two hot plates; the water in it has to go somewhere. If it leaves as steam through an open, well-browned surface, you get a shell that shatters. If it stays trapped, it condenses on the cooling rack and turns the outside soft within minutes.
Most soggy waffles are not undercooked. They lose their crunch after they leave the iron, which is why the fixes have to happen on both sides of cooking: in the batter, then in the oven or on the rack.
Table of Contents
What You Need
A standard round waffle iron is fine. Belgian-style irons give you deeper pockets and more surface area to brown, which helps, but a basic flip iron with a decent nonstick plate can absolutely produce a crisp waffle if you treat it right. Save the [how to make crispy bacon for BLTs in bulk](https://www.hillcrestsandwich.com/how-to-make-crispy-bacon-for-blts-in-bulk/) method for the topping; the waffle itself does not need bacon fat.
Ingredients
- 1 cup (125 g) all-purpose flour (structure)
- 2 tablespoons (16 g) cornstarch (the single biggest crispness upgrade; it cuts gluten and dries the crust)
- 2 teaspoons baking powder (the lift)
- 1/2 teaspoon baking soda (works with the acid in buttermilk for a golden-brown finish)
- 1/4 teaspoon salt (and a pinch more if your butter is unsalted)
- 1 tablespoon (12 g) sugar (caramelizes on the hot plate for extra browning)
- 2 large eggs, separated (whites whipped to stiff peaks give lift)
- 3/4 cup (180 ml) milk (liquid)
- 1/2 teaspoon vanilla extract (flavor)
- 6 tablespoons (85 g) butter, melted and cooled slightly (rich flavor and a browned surface; oil works too)
- Buttermilk or clabbered milk (optional; see the flour swaps section)
That is roughly four Belgian waffles on a deep-pocket iron, or six to eight on a standard round one. Cup measures work; if you weigh, the gram figures are the ones I trust because flour packs differently than it measures.
Equipment
- Waffle iron, any type, plugged in and ready to preheat
- Mixing bowl plus a whisk or fork
- Measuring cups or a kitchen scale
- Wire cooling rack set over a baking sheet
- Pastry brush or neutral oil, or nonstick cooking spray
No specialty waffle mix is required. If you want the crunchy-edge version of this, [how to make a sandwich that still tastes fresh at lunch](https://www.hillcrestsandwich.com/how-to-make-a-sandwich-in-the-morning-that-still-tastes-fresh-at-lunch/) covers the same batch-it-ahead, keep-it-crisp logic for a different kind of bread.
Step-by-Step: How to Make Crispy Waffles
Step 1: Mix the Batter Until Smooth
Whisk the flour, cornstarch, baking powder, baking soda, salt, and sugar together in a large bowl first. Dry-mixing the cornstarch into the flour matters, because cornstarch clumps love to hide in wet batter and land on the plate as a gummy patch.
Whisk the egg yolks into the milk and vanilla in a second bowl. Beat the whites on high until stiff, glossy peaks hold when you turn the bowl. A pinch of sugar at the peaks stage helps them hold while you work.
Fold the wet into the dry in three additions, then fold the whipped whites in last. Stop the moment the streaks disappear. Overmixing develops gluten, and gluten is exactly what you do not want: it makes a dense, chewy, pale waffle. Lumps are fine. They open into airy pockets, and readers who follow that rule end up with lighter waffles than the smooth-batter crowd.
Let the batter sit for ten minutes. The flour hydrates, the cornstarch disperses, and the mixture thickens enough to spread without running under the lid.
Step 2: Preheat and Grease the Waffle Iron
Plug the iron in before you mix. A cold or half-hot plate batters the surface instead of browning it, which is the number one reason people conclude their waffles will never be crisp.
Once the indicator light is on, brush the plates with melted butter or a very light film of neutral oil. Spray works, but it leaves a faint vegetable taste and, applied too close to the hot plate, can gummy the pockets. Butter browns with the batter and tastes better.
If you want proof the iron is genuinely hot, toast a slice of bread on it for 30 seconds. Any decent iron gives you dark golden bread. If it barely warms, no recipe will save you, and that is an equipment problem, not a batter problem.
Step 3: Cook Until Golden and Set
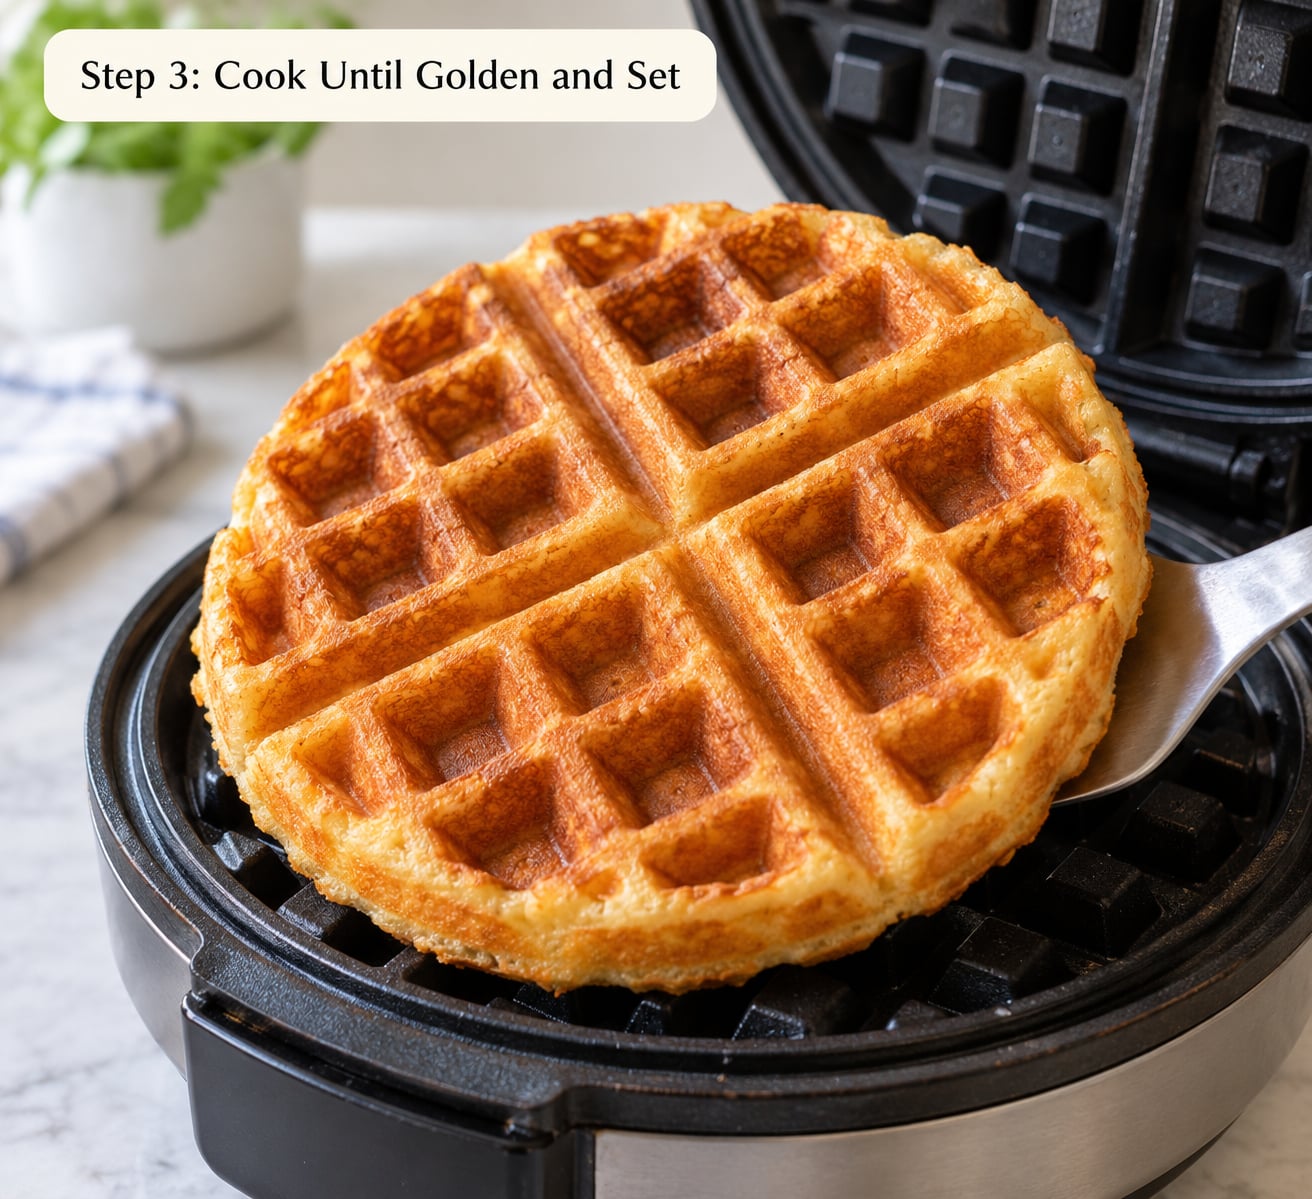
Pour about 3/4 cup of batter into the center of the iron, close the lid, and let it go. On a standard round iron that is 4 to 5 minutes. On a thick Belgian iron it can be 6 to 7.
Here is the move almost everyone skips: cook 30 to 60 seconds past the moment the light goes off or the steam stops. That extra minute of contact is what drives the last of the surface moisture out and sets the crust.
Open the lid and look before you lift. The waffle should be golden brown across the ridges and you should be able to see through the thinnest part to the shadow underneath. If the top is pale, cook another 30 seconds. If you lift it and the center still looks wet and glossy, it is underdone and it will collapse and go soggy on the rack.
That first waffle is a temperature test as much as breakfast. Note how it looked and how long it took, then adjust the next one. It is also the ugliest one, which is the traditional reason people throw it away. You are welcome to eat it standing over the sink instead.
Step 4: Keep the Waffles Crisp After Cooking
Slide the waffle off the iron and onto a wire rack, never a plate. A plate traps steam under the bottom and softens it within two minutes. A rack lets moisture escape from both sides.
Serve immediately, the way you would a good bowl of fries. If there is any delay, hold the waffles in a single layer in a 250°F (120°C) oven for five to ten minutes with the door slightly ajar. That low, dry heat finishes the job without turning them into crackers.
Do not stack warm waffles under a towel or a plate cover. The trapped steam softens the crust and the towel steals the last of the snap.
Crispness Techniques at a Glance
These five techniques stack on each other, and you can use them one at a time. The table below is what each one actually does.
| Technique | How it works | Effort | Best for |
|---|---|---|---|
| 2 tablespoons cornstarch | Dilutes gluten and leaves a drier, starchier crust that browns instead of steaming | None, just measure it | Every single time |
| Cook 30-60 seconds longer | Drives off surface moisture the iron’s light stops too early to catch | None, ignore the light | Waffles that pale out fast |
| Whipped egg whites | Lifts the interior so the waffle is airy, which makes the thin shell read as crisp | 3-4 minutes and a bowl | Tender centers that still snap |
| 250°F oven finish | Residual moisture evaporates on a wire rack without drying the crumb | 5-10 minutes, one rack | Batch cooking and parties |
| A little sugar | Caramelizes on the hot plate and adds a deeper, toasted edge | None | Sweet, restaurant-style shells |
If you only change one thing, make it the cornstarch. It costs nothing and it moves the needle more than anything else on this list.
Why Your Waffles Are Not Crispy (and the Fix)
Searchers type this question more than any other waffle problem, so here are the causes in the order they usually show up.
- The iron was not hot enough. Batter hits a cold plate and steams instead of browns. Preheat fully, and toast-test the iron if you are suspicious.
- You lifted the waffle at the signal light. That light means done, not dry. Give it another 30 to 60 seconds.
- The batter got overmixed. Gluten tightens into a dense, pale, tough waffle that reads as chewy rather than crisp. Fold, do not stir.
- You stacked them warm. Steam condenses between layers and softens everything within a few minutes. Single layer on a wire rack, always.
- The batter had no cornstarch or extra starch. A plain flour batter browns fine but dries soft as it cools. Two tablespoons changes that.
A sixth cause is worth naming because it is not your fault: some irons simply do not get hot enough to brown a waffle properly, and some do not hold temperature across four waffles in a row. If your results are thin, pale, and soft every single time no matter what you change, the iron is the weak link. Cooking two test waffles back to back will tell you which it is.
Keeping Waffles Warm and Crispy for a Crowd
Batch cooking is where most people’s crispness dreams go to die. The first waffles are limp before the last ones leave the iron. Fix it with a low oven and airflow rather than a pile.
- Heat the oven to 250°F (120°C).
- Set a wire cooling rack on a baking sheet inside the oven.
- Place cooked waffles on the rack in a single layer with air moving around each one.
- Hold for up to 10 minutes and start serving after about 5.
Past 10 minutes at that temperature the edges start to shrink and go hard, so check early. If you are feeding a big group, cook in waves and keep the second batch of batter in the fridge, covered, while the first batch comes out. The same single-layer logic applies to anything else you are cooking for a crowd; I wrote about the equivalent problem in [how to make a sandwich that still tastes fresh at lunch](https://www.hillcrestsandwich.com/how-to-make-a-sandwich-in-the-morning-that-still-tastes-fresh-at-lunch/).
Reheating and Freezing Crispy Waffles
Cold waffles re-crisp better than people expect, as long as you skip the microwave. Microwave reheating is what turns a waffle into a chewy brick, and it is why most people give up on leftovers.
- Toaster, plain setting: 1 to 2 minutes, fastest and crispest result.
- Waffle iron: 2 to 3 minutes with no batter added. This is the most-repeated tip in cooking communities and it works because the iron is essentially a shaped griddle. Let the frozen waffle sit out 10 to 15 minutes first.
- Toaster oven: 350°F (175°C) for 5 to 7 minutes, flipped once.
- Full oven: 350°F (175°C) for 6 to 10 minutes on a rack.
- Air fryer: 350°F (175°C) for 4 to 6 minutes, single layer.
- Microwave: 20 seconds, then 30 seconds in a dry skillet. Not worth it on its own.
For freezing, lay the cooked waffles on a parchment-lined sheet and freeze them flat for an hour, then transfer to an airtight container or bag with a sheet of parchment between layers. Flash-freezing is what keeps them from welding into one solid block. They freeze well for a month, and if you are batching breakfast on a weekend, freezing them alongside something like these [breakfast sandwiches you can make ahead and freeze](https://www.hillcrestsandwich.com/best-breakfast-sandwiches-to-make-ahead-and-freeze/) makes a very short weekday morning.
Flour Swaps and Shortcuts
No cornstarch. Swap in an equal weight of flour for 1 tablespoon of the cornstarch and add 1 more tablespoon of flour. Expect a softer, cakier edge. Blending 2 tablespoons of cornstarch with 1 cup of flour and measuring that blend with a 1/4 cup scoop is the neatest workaround.
No buttermilk. Add 2 tablespoons of lemon juice or white vinegar to 2 cups of milk, stir, and wait 5 minutes until it thickens and looks slightly separated. That is clabbered milk and it works. A spoonful of Greek yogurt stirred into plain milk does the same job.
Gluten-free. A 1-to-1 gluten-free flour blend works, and the cornstarch becomes optional since those blends already carry starch. Expect a crumbier, drier waffle, which for a crispy crust is usually not a problem.
Pancake mix. You can do it, and the waffles will be pleasant, but pancake mix is formulated for a tender, moist crumb rather than a shell that snaps. Add the cornstarch and the extra cook time on top and you get most of the way there. Nothing beats a real batter for the last 20 percent.
Common Mistakes and Tips
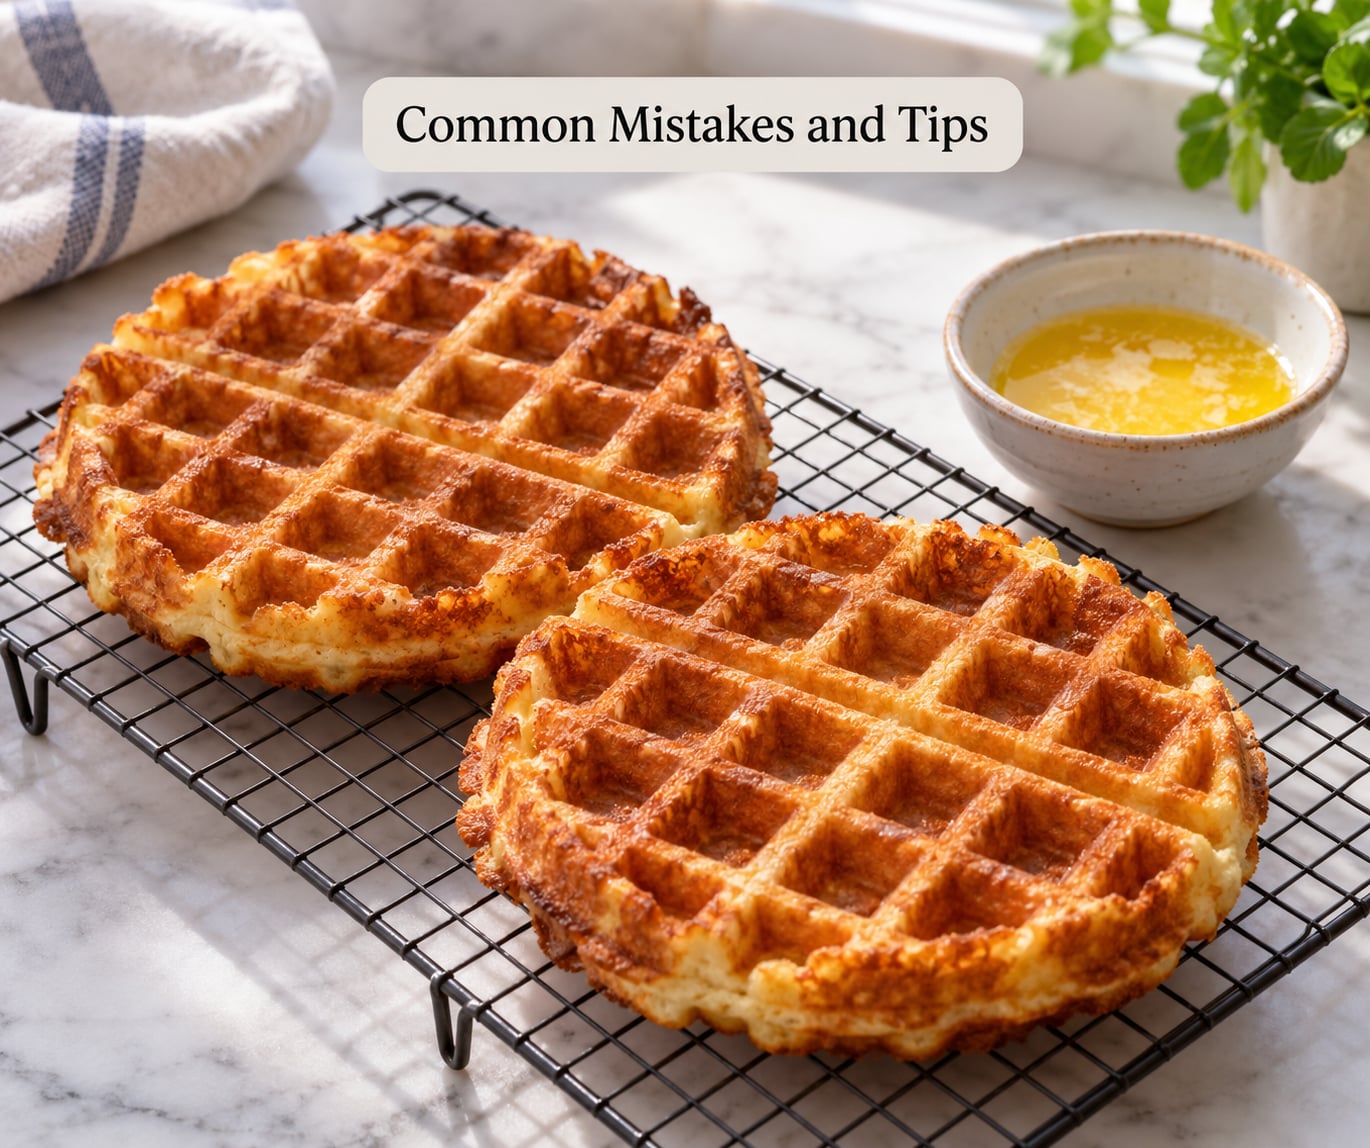
Almost every waffle complaint falls into one of five buckets, and all five have the same fixes listed above: cold iron, under-cooked crust, overmixed batter, stacked waffles, or a batter with no starch in it. Work down that list before you change the recipe.
A few things that matter more than they sound:
- Rest the batter ten minutes. Thicker batter spreads less and browns more.
- Use more oil than feels necessary. A waffle plate is a griddle; fat is flavor and color.
- Adjust for the iron, not the manual. Some irons run 1 to 2 minutes longer than the stated time, and the first waffle tells you which kind you own.
- Salt balance is worth a second look. A batter that tastes too salty is usually over-salted butter, and halving the butter in favor of oil fixes both the salt and the heaviness people complain about.
- Syrup goes on at the table, never on the waffle in advance. It soaks straight through the shell.
Frequently Asked Questions
Why are my waffle maker waffles not crispy?
Usually the iron was not fully preheated, or the waffle came off the moment the indicator light switched off. That light means set, not dry. Cook 30 to 60 seconds longer and preheat the plates before the batter goes in. Overmixing is the second cause; it develops gluten, which makes a dense, chewy waffle that never crisps.
Do you need a special waffle iron to make crispy waffles?
No, but the iron matters more than most recipes admit. Any iron that reaches full temperature and holds it across several waffles will brown a cornstarch batter properly. To test yours, toast a slice of bread on the plates for 30 seconds. Dark golden bread means the iron is hot enough; barely-warm bread means no batter will save you.
How to reheat waffles so they’re crispy?
Use a toaster for one to two minutes, or put the waffle back in the waffle iron with no batter for two to three minutes after letting it sit out 10 to 15 minutes. A toaster oven or air fryer at 350°F (175°C) takes four to seven minutes. Avoid the microwave on its own; it makes waffles chewy and limp.
How to keep waffles warm and crispy for a party?
Set the oven to 250°F (120°C) and rest cooked waffles on a wire rack over a baking sheet, in a single layer, for five to ten minutes. Air circulation is what keeps the crust dry, and stacking warm waffles is the fastest way to undo everything. Start serving after about five minutes and pull the last batch by 10, before the edges get hard.
Can I make crispy waffles without cornstarch?
Yes, though the crust will be a little softer and more cakelike. If you have cornstarch-free flour, add one extra tablespoon of flour for each tablespoon of cornstarch you would have used. Blending 2 tablespoons of cornstarch into a cup of flour and scooping with a quarter-cup measure is an easy way to keep the starch without buying anything new.
Can I freeze crispy waffles?
Yes, and they re-crisp well. Lay the cooked waffles on a parchment-lined sheet, freeze flat for an hour, then move them to an airtight container or bag with parchment between layers so they do not stick together. They keep about a month frozen. Reheat from frozen in a toaster, toaster oven, air fryer, or back in the waffle iron.
Conclusion
Preheat the iron fully, use a batter with 2 tablespoons of cornstarch in it, and stop mixing while streaks of flour still show. Cook past the light until the waffle is golden and you can see light through the thinnest part. Slide it onto a wire rack instead of a plate and eat it while it still snaps.
That is the whole method for how to make crispy waffles, and it holds up on a standard iron, in a batch for a crowd, or on a Tuesday morning when the waffles came out of the freezer an hour ago.