
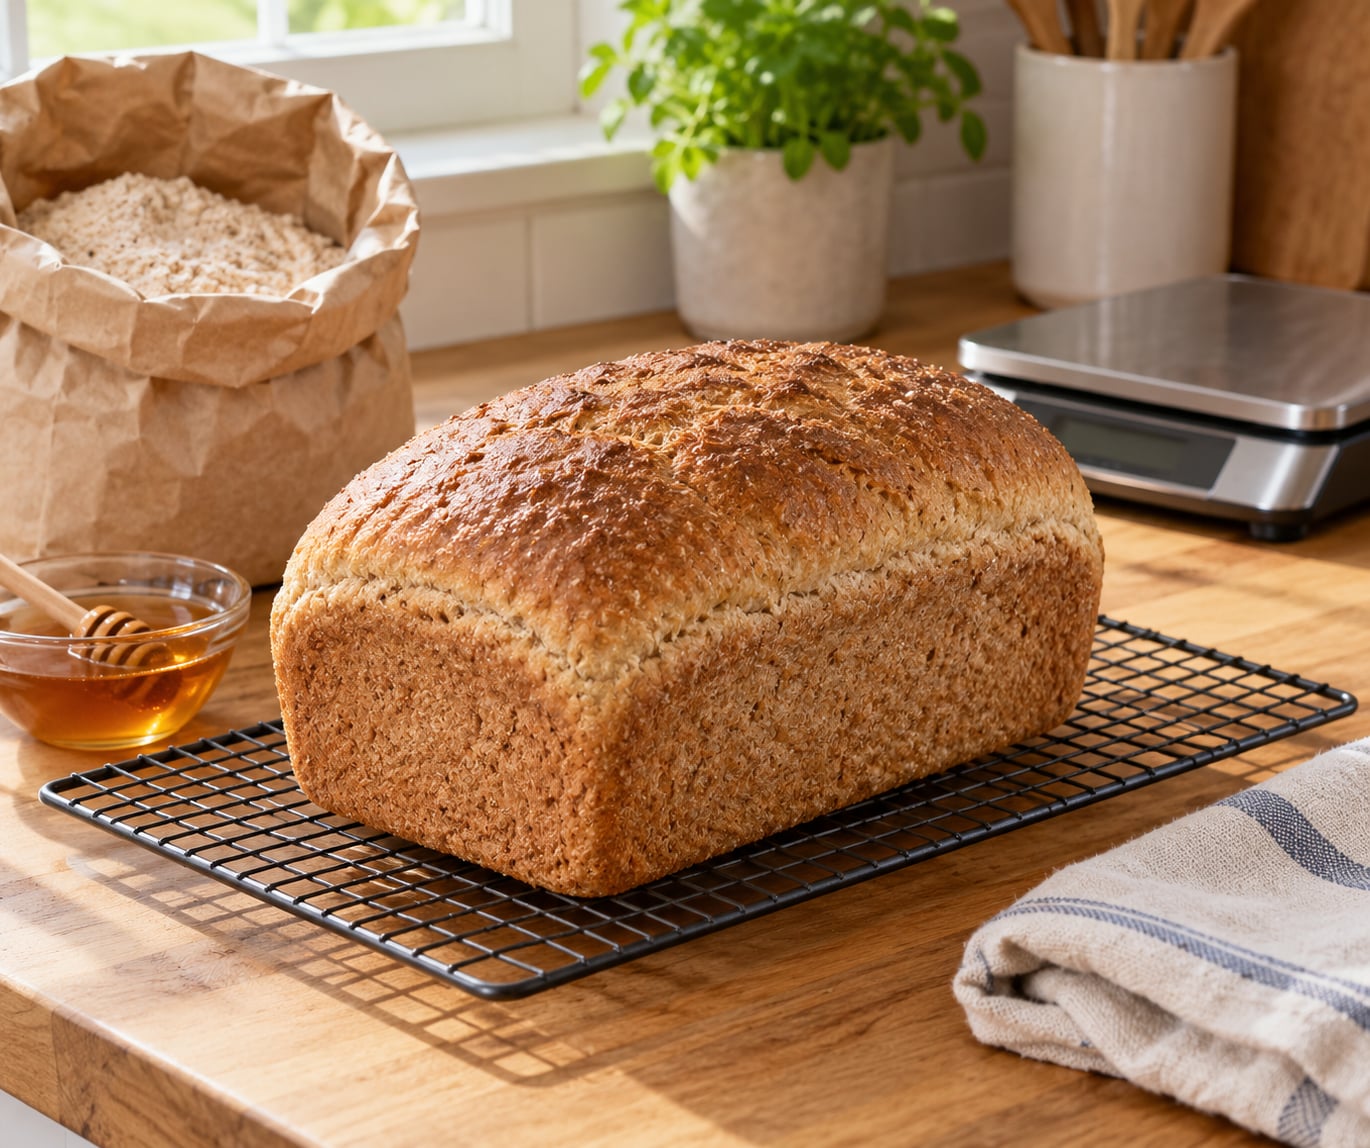
Whole wheat bread bakes up dense for two reasons: whole wheat flour carries less protein than white flour, and the bran and germ it does have make the dough heavy and thirsty. To make whole wheat bread soft and fluffy, you rebuild the structure with vital wheat gluten or a bread flour swap, hydrate the dough properly, and give it a slow first rise and a full proof before it hits the oven. Allow about 3 hours start to finish, most of it waiting.
I have baked enough dense wheat loaves to know that the crumb is decided long before the dough goes in the pan. Hydration, gluten strength and fermentation time decide it. Oven temperature and cooling only protect what those three already built.
If your wheat sandwich loaves turn out tight and crumbly across the board, my whole wheat troubleshooting walkthrough covers the density problem in more detail. You will also want a serrated knife that does not compress the crumb, and I rounded up the best bread knives for soft sandwich bread here.
Updated for 2026.
Table of Contents
- What You Need to Make Whole Wheat Bread Soft and Fluffy
- Step-by-Step
- 1. How to Make Whole Wheat Bread Soft and Fluffy: Build the Dough
- 2. Mix and Knead Without Making the Dough Tough
- 3. Let the Dough Rise Fully
- 4. Punch Down and Let the Dough Relax
- 5. Shape and Proof for a Tender Loaf
- 6. Bake Until the Loaf Is Properly Browned
- 7. Cool Completely Before Slicing
- Common Mistakes
- Frequently Asked Questions
- Can I make whole wheat bread soft without adding milk or butter?
- Why does my whole wheat loaf stay dense even though it has risen?
- Does whole wheat bread need to be kneaded longer than white bread?
- Can I use sourdough starter instead of commercial yeast?
- How should whole wheat bread be stored so it stays soft?
- Conclusion
What You Need to Make Whole Wheat Bread Soft and Fluffy

The full list is short, and nearly every item is pantry basics. The three that actually move the needle are more water than a white dough wants, a protein booster, and fat.
Essentials for one 9×5-inch loaf:
- 3 cups (360 g) whole wheat flour or white whole wheat flour
- 1 1/2 cups (355 ml) warm water at about 110°F (43°C), divided
- 2 1/4 teaspoons (7 g) instant yeast or 2 1/4 teaspoons active dry yeast
- 1 1/2 teaspoons (9 g) kosher salt, or 1 teaspoon table salt
- 2 tablespoons (18 g) vital wheat gluten
Optional tenderizing ingredients: whole milk in place of some or all of the water, 2 to 3 tablespoons (30 to 45 g) melted butter or olive oil, a tablespoon (15 ml) honey or maple syrup, and a teaspoon of apple cider vinegar or lemon juice to take the edge off bran bitterness. Buttermilk works too, and its acid gently tenderizes the crumb over the long rise.
Equipment: a digital scale (grams beat cups once hydration is in play), a large mixing bowl, a dough hook or your hands, a 9×5-inch loaf pan, a bench scraper, an oven mitt, and an instant-read thermometer for the doneness check. A wire cooling rack is not optional if you want a soft crust.
Substitutions that work: whole wheat for white whole wheat one-for-one, honey for sugar one-for-one, olive oil for melted butter one-for-one, and milk for water at the same volume, going 10 ml over because milk solids thicken the dough slightly. If you swap in bread flour, drop it to 50/50 rather than all-at-once, since a mostly white loaf is a different bread entirely.
Step-by-Step
1. How to Make Whole Wheat Bread Soft and Fluffy: Build the Dough
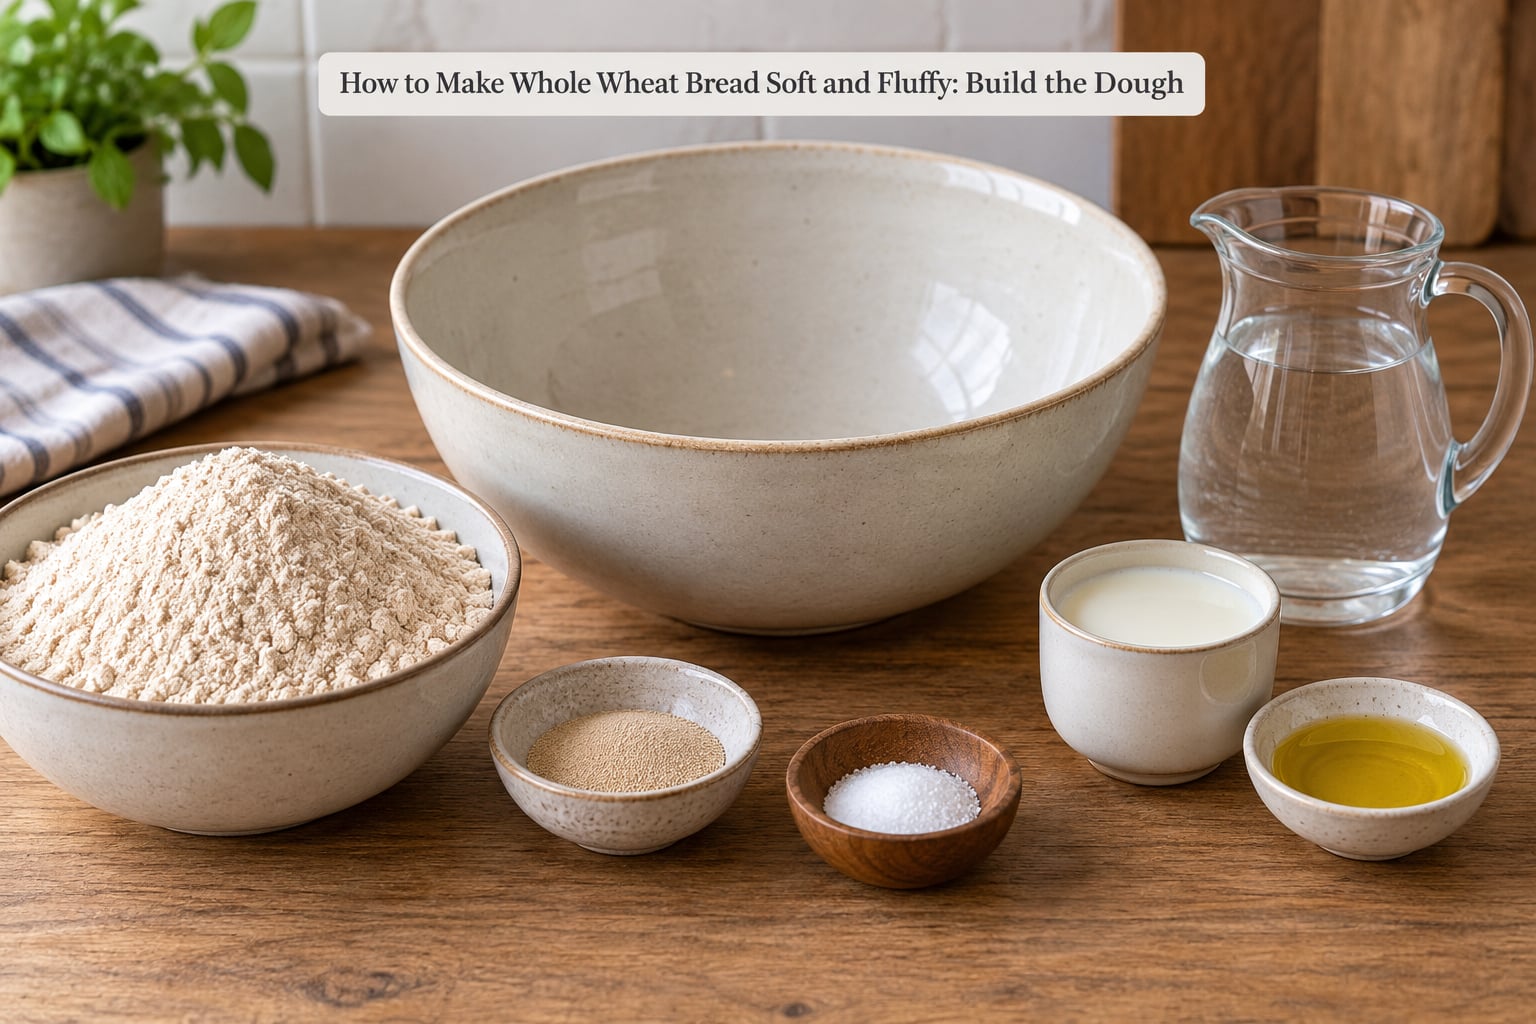
Whole wheat flour soaks up roughly 15 to 25 percent more water than white flour because the bran absorbs like a sponge. That is why the classic 60 to 65 percent hydration white dough feels like paste here, and why holding back water matters.
Stir 1 cup (120 g) of the whole wheat flour with 120 ml of the warm water and 1 teaspoon of the yeast. Let that mixture sit 60 to 90 minutes until it is loose and bubbly. This is the sponge or preferment, and it pre-digests some of the bran so the loaf tastes milder and rises taller. Skip it if you are short on time, but expect a heavier crumb.
Add the remaining flour, the vital wheat gluten, the salt, the honey, the vinegar or lemon juice, and the remaining warm water. If you are using milk, scald a cup of it first: boiling it and letting it cool to warm thins the milk proteins, which softens the finished crumb. Keep the olive oil or melted butter out of the mix for now, and add it after the first knead so it coats the gluten rather than sealing it off.
2. Mix and Knead Without Making the Dough Tough
Whole wheat dough should feel smooth and elastic when it is ready, not tight or shaggy. Mix on low for 2 minutes until no dry flour is left, then knead 8 to 10 minutes on medium or by hand until the dough passes the windowpane test.
For the windowpane test, pull a small piece of dough and stretch it thin between your thumbs. You should see light shining through a smooth, unbroken membrane. Whole wheat rarely reaches a perfect windowpane, so look for a translucent, elastic sheet rather than a perfect one. A dough that tears in ragged pieces needs more kneading; one that snaps back instantly and feels tight needs more water.
Hold back the last 60 ml (1/4 cup) of water and add it a tablespoon at a time during kneading. The dough will slacken and go from tearing to stretching. Once the gluten is developed, knead in the 2 to 3 tablespoons of melted butter or oil and knead another 2 minutes.
3. Let the Dough Rise Fully
Cover the bowl and let the dough rise until it is visibly puffy and roughly doubled, 1.5 to 3 hours depending on your kitchen. Whole wheat ferments faster than white but also gives up sooner once it passes peak, so watch it instead of trusting the clock.
Kitchen temperature is the variable people miss. Under 70°F (21°C) the dough can stall for three hours or more, and bakers on baking forums consistently fix slow rises by moving the bowl near a heating vent rather than adding more yeast. Above 82°F (28°C) you can be overproofed in under 90 minutes.
A sourdough starter works in place of commercial yeast, at roughly 100 g of active starter in place of the 7 g of yeast. Expect a slower rise and a tangier loaf. A long cold overnight proof in the fridge also works well, and the slow fermentation gives the bran time to soften.
4. Punch Down and Let the Dough Relax
Punch straight down in the middle of the dough once, then fold the edges to the center and turn it bowl-side-up. Let it rest 30 to 45 minutes, loosely covered, then knead briefly for 30 seconds.
This short second rise is not decoration. Degassing redistributes the gas evenly and relaxes a gluten network that tightened during the first fermentation, which is what lets the loaf hold a soft, even crumb instead of a heavy bottom with holes on top. Bakers who skip it and shape immediately get a denser, more uneven slice.
5. Shape and Proof for a Tender Loaf
Turn the dough onto a lightly floured surface, pat it into a rectangle, and fold the short edges toward the center, then roll it into a tight log. Roll the seam to seal it and place it seam-side down in a greased loaf pan.
Pressing out the seam is what stops the classic split along the side of the loaf. Proof until the dough is puffy and about 1 inch above the rim, roughly 45 to 90 minutes.
Use the poke test, not the clock. Press a floured finger about half an inch into the dough. A quick spring-back means keep waiting; a slow rise means it is nearly there; no spring-back at all means you have overproofed and the crumb will come out coarse, gummy and flat. Once the dough holds its shape but the surface still springs at the edges, it is ready for the oven.
6. Bake Until the Loaf Is Properly Browned
Bake at 350 to 375°F (175 to 190°C) for 35 to 45 minutes, with a preheated oven and the rack in the lower third. Bakers who want an oven spring boost set a heavy cast-iron pot or a metal pan on the rack, preheat it for 30 minutes, and bake the loaf covered for 20 minutes, then uncovered.
The covered phase traps steam that keeps the crust soft and flexible so the loaf can expand before it sets. Misting the loaf with water and covering it loosely with foil does the same job in a normal oven.
Judge doneness on color and temperature, not time. The crust should be a deep golden brown, and an instant-read thermometer pushed into the center should read 190 to 200°F (88 to 93°C). A pale loaf is underbaked, and underbaked wheat bread stays gummy. Going a shade deeper brown than feels comfortable adds flavor without drying the crumb out, since the moisture is locked in by the starch that has already set.
7. Cool Completely Before Slicing
Turn the loaf out onto a wire rack and let it cool until the center no longer feels warm, 1.5 to 2 hours. Do not cut it earlier, however good it smells.
Starch finishes setting as the loaf cools, and moisture redistributes from the crumb toward the crust. Slicing a warm loaf cuts those setting starches short, which is exactly why a hot wheat loaf feels gummy and doughy. Cutting it warm also releases steam that softens the crust and makes it gummy the next day.
For an extra-soft crust, drape a clean damp towel loosely over the cooling loaf for the first 30 minutes, then remove it so the crust can dry. Once fully cool, you can baste the top with melted butter and let it soak in. Homemade bread has no preservatives, so anything you do at this stage buys you days, not weeks.
Common Mistakes
Almost every dense or tough wheat loaf traces back to one of a handful of causes. Match your symptom to the cause, then fix that one thing on the next bake.
| Symptom | Likely cause | Fix |
|---|---|---|
| Dense, tight crumb that crumbles when sliced | Too little whole wheat structure and not enough kneading | Add 2 tablespoons vital wheat gluten, or blend 50/50 with bread flour, and knead 8 to 10 minutes |
| Dough feels slack and sticky, loaf spreads flat in the pan | Over-hydrated, often from adding all the water up front | Hold back 1/4 cup of the water and add it gradually during kneading |
| Dough tight, shaggy, tears instead of stretching | Under-hydrated or underdeveloped gluten | Add water a tablespoon at a time and knead until the windowpane test passes |
| Slow or stalled rise | Cold kitchen, often under 70°F (21°C) | Warm the bowl, place it near a heating vent, or use a longer cold proof in the fridge |
| Loaf bursts or cracks along the side | Under-proofed, the seam was on top, or the oven was too hot | Place the dough seam-side down, proof to 1 inch above the rim, and drop the temperature 25°F |
| Gummy interior | Sliced before cooling, or baked under 190°F (88°C) | Cool 2 hours and check the internal temperature next time |
| Bitter or sour taste | Heavy bran, over-long fermentation, or stale flour | Add a teaspoon of lemon juice or apple cider vinegar, shorten the rise, and buy flour that is less than a few months old |
| Fine, tight crumb with no open texture | Overproofed, especially in a warm kitchen | Punch down earlier and shorten the second rise by a third |
Flour blend comparison: the blend decides flavor, density and rise before you ever touch the yeast.
| Blend | Flavor | Density | Rise | Best for |
|---|---|---|---|---|
| 100% whole wheat | Full wheaty, slightly sweet | Densest | Moderate, sensitive to temperature | Bread where the grain flavor is the point |
| 75% whole wheat, 25% bread flour | Noticeably milder | Moderate | Reliable | Everyday sandwich loaves |
| 50/50 whole wheat and bread flour | Mild, close to whole wheat with sugar | Light | Tall and forgiving | Kids, guests, and anyone new to wheat bread |
| 100% whole wheat plus 2 tablespoons vital wheat gluten | Full wheaty | Light, close to the 50/50 blend | Tall | Keeping the loaf 100 percent whole wheat and soft |
Rise times by kitchen temperature, for the first rise:
| Kitchen temperature | First rise | Second rise |
|---|---|---|
| Under 70°F (21°C) | 2.5 to 3.5 hours | 60 to 90 minutes |
| 70 to 75°F (21 to 24°C) | 2 to 2.5 hours | 45 to 75 minutes |
| 75 to 80°F (24 to 27°C) | 1.5 to 2 hours | 35 to 60 minutes |
| Over 80°F (27°C) | 60 to 90 minutes | 25 to 45 minutes |
Five habits cover most of it: hydrate generously, boost the protein, give the rise real time, watch the poke test instead of the clock, and let the loaf cool completely. Fix one variable per bake so you learn what your kitchen is actually doing.
Frequently Asked Questions
Can I make whole wheat bread soft without adding milk or butter?
Yes. Fat and dairy are helpful, not required. Plain water dough gets most of its tenderness from hydration, vital wheat gluten and a full rise instead. Skip the butter, use 1 1/2 cups (355 ml) warm water, add 2 tablespoons (18 g) vital wheat gluten, and let the loaf cool fully on a rack. You will lose a little richness, but the crumb stays soft for two to three days.
Why does my whole wheat loaf stay dense even though it has risen?
A risen loaf only proves the dough trapped gas, not that the crumb will be light. Density comes from weak structure: too little protein, bran cutting through gas pockets, or not enough kneading. Add vital wheat gluten or blend in bread flour, knead 8 to 10 minutes to the windowpane stage, and hold back 1/4 cup of water to add gradually. A dense loaf also means the crumb did not cool before you cut it.
Does whole wheat bread need to be kneaded longer than white bread?
Usually yes, and the reason is bran. Whole wheat flour has weaker gluten interrupted by bran fragments, so it takes longer to develop an elastic network. Give it 8 to 10 minutes rather than 5 to 7, and add water gradually if the dough feels tight. Kneading longer will not rescue a dough that is starved of protein, so pair it with vital wheat gluten or a bread flour blend.
Can I use sourdough starter instead of commercial yeast?
Yes. Replace the 2 1/4 teaspoons of yeast with roughly 100 g of active starter and expect a slower, tangier loaf. Build it overnight at room temperature instead of a warm one-hour rise, and proof the shaped loaf in the fridge for 8 to 12 hours for a deeper flavor and easier shaping. Judge the proof by the poke test rather than the clock, since starter loaves move at their own pace.
How should whole wheat bread be stored so it stays soft?
Cool the loaf completely, then store it at room temperature in a plastic bag or sealed container for two to four days. Drop a slice of the previous loaf into the bag and it softens the crust of the new one as starch slowly turns back into sugar. For longer storage, slice it and freeze it airtight for up to three months, then toast or warm it straight from the freezer. Discard any slice with visible mold.
Conclusion
If your next loaf is dense, change four things and nothing else. Use a tender blend, either 50/50 whole wheat and bread flour or 100 percent whole wheat with 2 tablespoons of vital wheat gluten. Hydrate fully at 355 ml of water per 360 g of flour, holding back a quarter cup to add during kneading. Give the first rise the full time your kitchen needs, judged by the poke test. Then cool the loaf for two full hours before slicing.
Keep notes on the next bake, too. Dough temperature, how long the rise actually took, and how the crumb looked tell you more than any recipe, and your flour and your kitchen will not match mine anyway.