
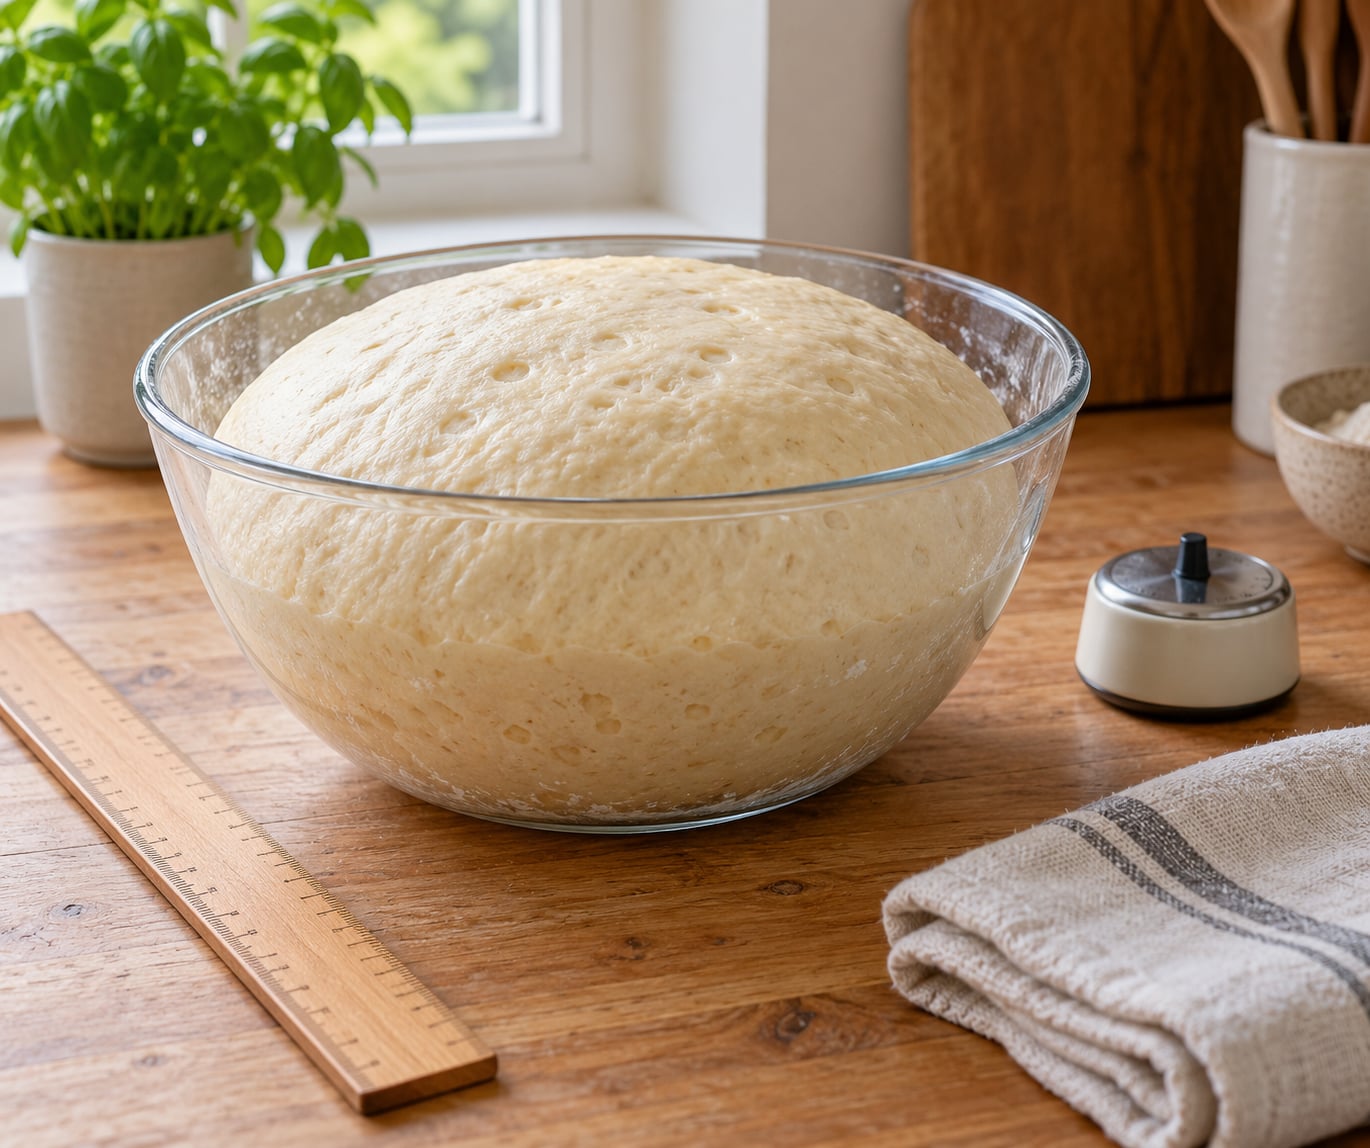
The fastest way to tell whether your dough is ready is to watch the volume, then press a floured finger into it. When a proofed dough has roughly doubled, feels pillowy and jiggly, and the dent you leave fills back in over about ten seconds instead of snapping up or staying open, it is time to shape and bake.
Recipe times are a starting point, not a verdict. Yeast activity swings with the temperature of your kitchen, the hydration of the dough, the freshness of your starter and the amount of salt and sugar you folded in, so a four-hour rise in one house can be a two-hour rise in another. Updated for 2026, this guide walks through the checks that hold up regardless of the clock.
Table of Contents
What You Need
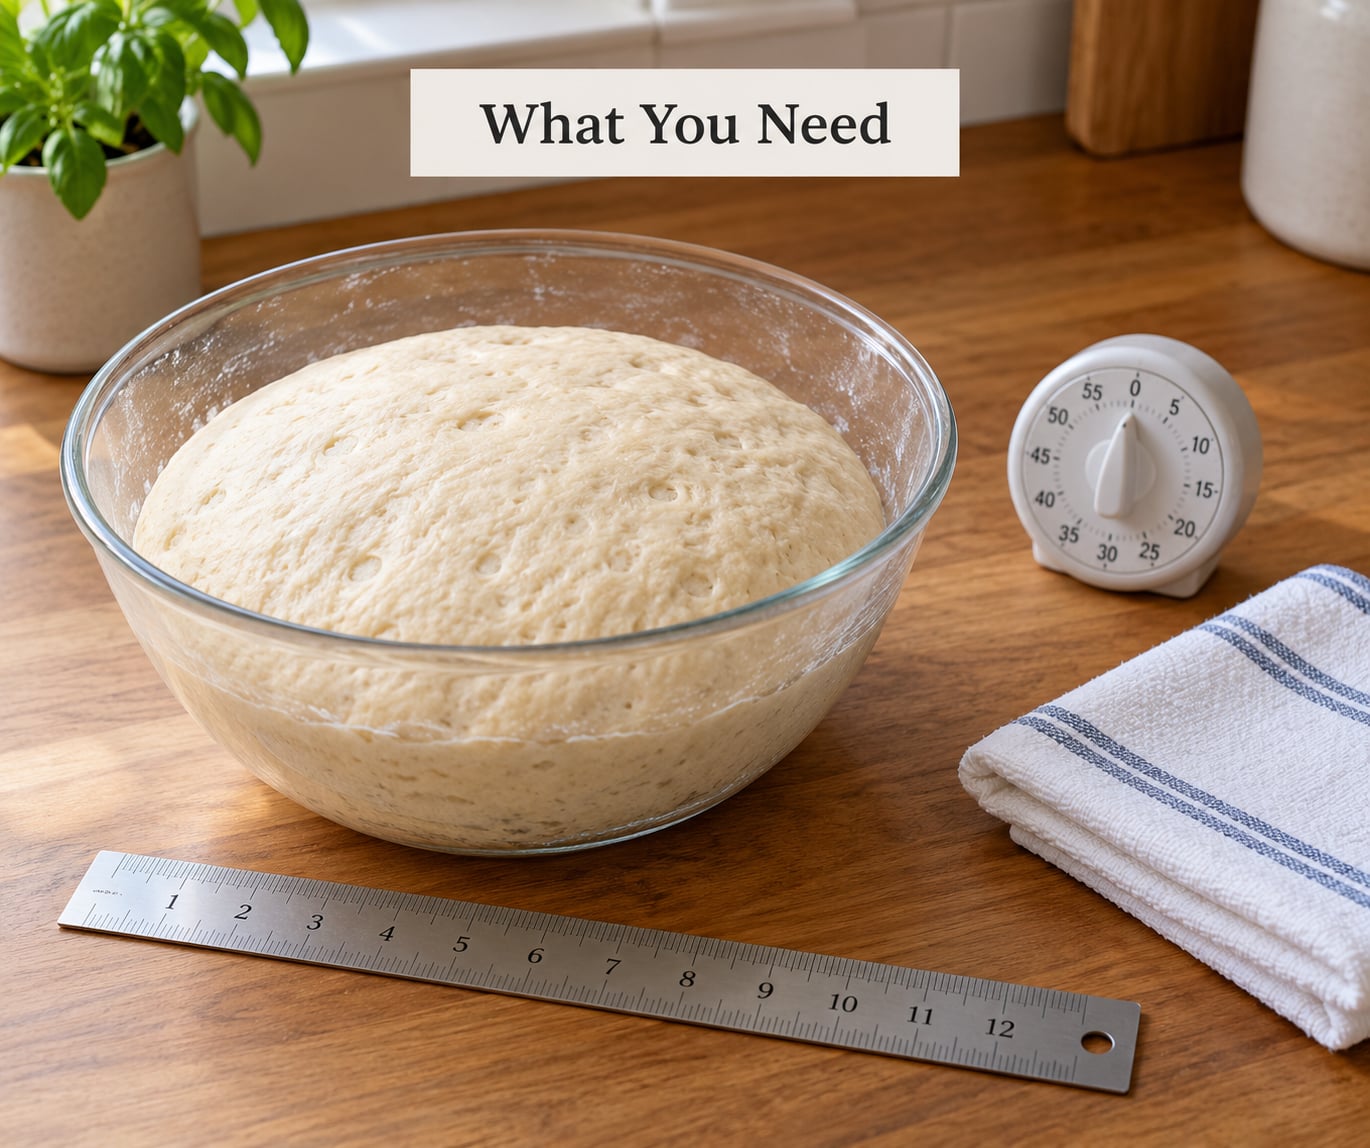
None of this is specialised equipment, and you can skip any piece of it. But a few cheap additions turn guesswork into a repeatable check.
- The dough and a straight-sided container. A clear tub or glass bowl lets you measure the rise against a mark instead of guessing.
- A ruler or measuring tape. Mark the starting height on the container with a piece of tape or a rubber band before the dough goes in.
- A kitchen timer. Not for timing the whole rise, but for timing your poke and for setting 20-minute re-checks.
- A little flour for the finger. Sticky dough grabs skin and gives you a false reading.
- A probe thermometer (optional). Knowing your dough temperature separates slow dough from unready dough.
- Oven mitts. Plenty of ready dough goes straight into a preheated oven, and the pan is hot.
Step-by-Step: How to Tell When Bread Dough Has Proofed Enough
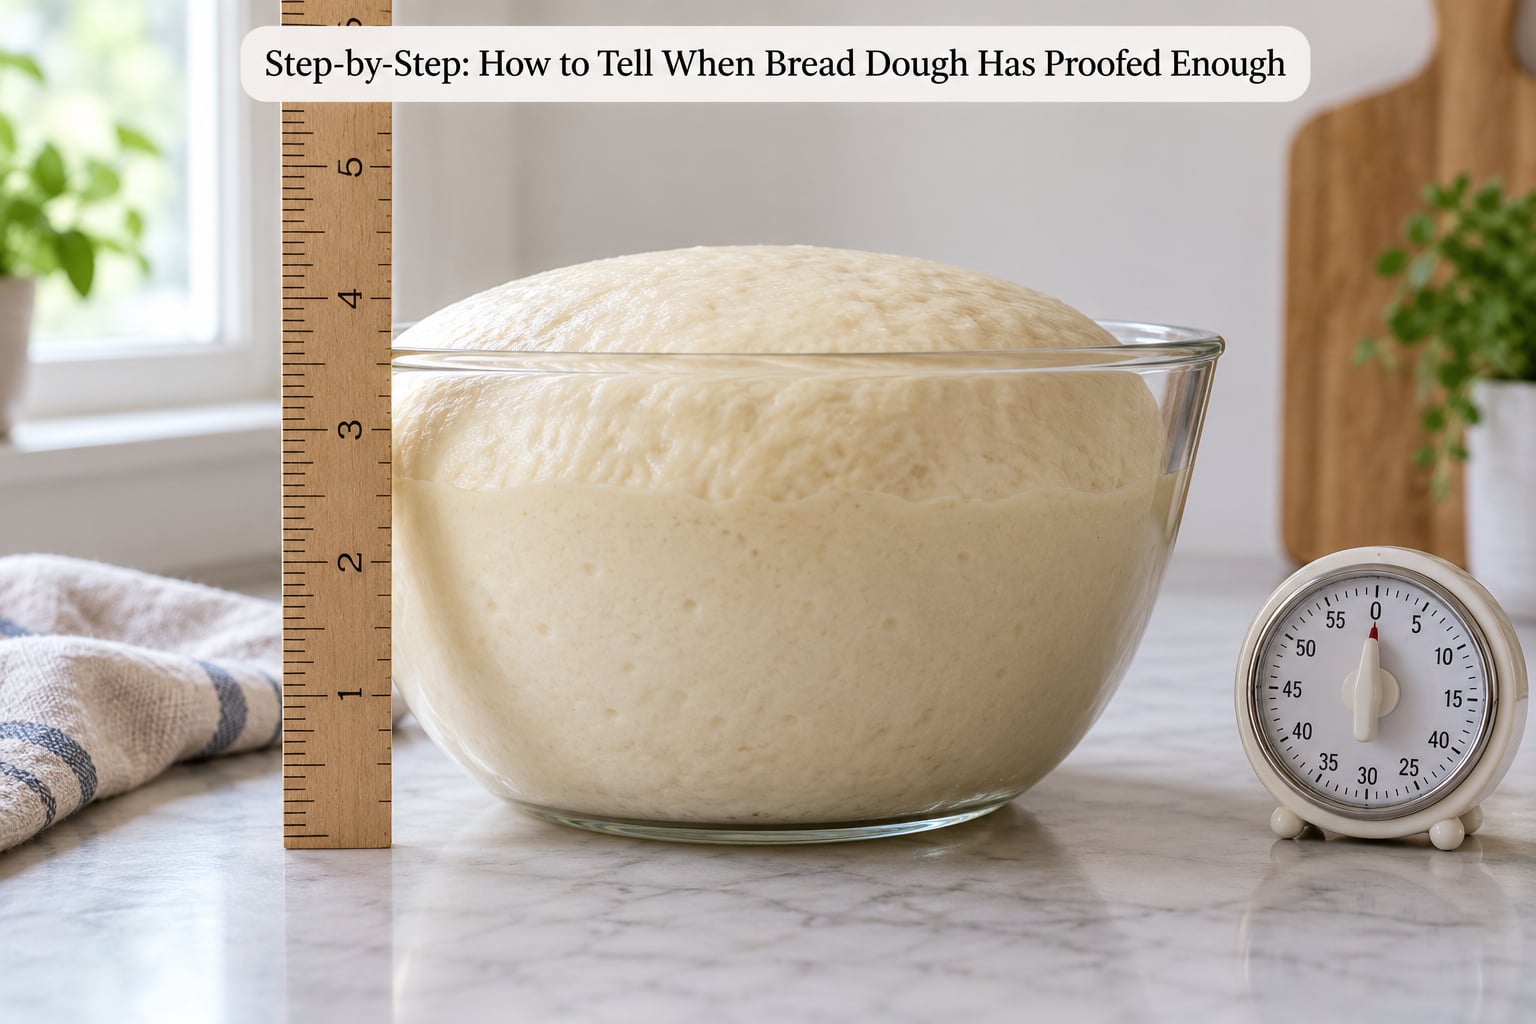
Run these five checks in order. Each one alone can mislead you, but together they settle the question in under a minute.
1. Check the Dough’s Rise
Measure from where the dough sat when you started it, not from the top of the container. Most doughs are ready somewhere around double their starting volume, and for a pan loaf the top of the dough should sit roughly an inch above the lip of the pan before baking.
Notice that this is a range, not a rule. A lean dough with firm flour and a pinch of yeast may take several hours to double in a cool kitchen, while a warm, wet, energetic dough can overshoot well before it reaches double. Doubling is your reference line, not a deadline.
2. Look for Bubbles and Surface Changes
Fermenting dough usually domes slightly in the middle, sits a little slack in the corners of the container, and shows small bubbles along the sides and across the surface. Enriched doughs with milk, butter, egg or sugar brown and tighten into a smooth elastic skin instead, so judge those on volume and the poke test.
| What you see | What the finger does | How the dough feels | How the baked loaf turns out |
|---|---|---|---|
| Underproofed | Dent springs straight back within a second or two | Tight, dense, resists the press, holds a sharp indentation | Dense loaf, tight gummy crumb, splits along the score |
| Proofed enough | Dent fills back in slowly over roughly ten seconds, leaving a soft dent | Soft, pillowy, jiggly, holds its shape when you move it | Even rise in the oven, open crumb, good oven spring |
| Overproofed | Dent barely fills or stays open, dough slumps and spreads | Slack, fragile, tears at the edges, no tension left | Flat loaf, coarse crumb, score blows out sideways |
If your last loaf came out dense, a tight crumb is the classic signature of dough that was still underproofed when it went in the oven. Dense sandwich bread usually traces back to the same cause, so it is worth reading why homemade sandwich bread comes out dense before you bake again.
3. Perform the Poke Test and Tell When Your Dough Has Proofed Enough
Flour the tip of a finger and push straight down about half an inch to an inch, without dragging, so you do not tear the surface. Pull away and start the timer.
If the dent fills in almost instantly, the dough still has tight gluten and needs more time. If it fills slowly over about ten seconds, leaving a faint dent behind, the dough is proofed. If it barely fills at all and the dough stays dented, deflated or slumped, it has gone past ready.
Adjust the depth of that reading for the dough in front of you. Soft, enriched or high-hydration dough springs back more slowly than a stiff lean dough, so a slow fill on a wet dough is exactly right, while the same slow fill on a firm dough usually means it needs another half hour. Poke gently; one hard jab can deflate the dough and leave it underproofed for the next check.
4. Check the Dough’s Texture and Weight
Lift a corner of the dough with floured hands and notice how it feels. Properly proofed dough feels lighter than it did at mixing, jiggly when you jiggle your hand, and slightly springy, with visible bubbles breaking under the skin. Underproofed dough feels heavy and tight for its size.
You do not need to cut the whole dough open or slice a piece off. That costs gas and leaves you with a hole in the loaf. If you work with sourdough, one small nick at the edge is enough to watch the interior texture, and for shaped loaves in a banneton, how it releases when you tip it onto the counter tells you a lot: ready dough peels away with slack, overproofed dough smears and drags.
5. Confirm the Timing and Bake
Now check the recipe’s estimated proofing time as a final cross-check rather than the deciding factor. If the clock says two hours and the dough has doubled, feels pillowy and passes the poke test, bake. If it says three hours and the dough is still tight, deflated and springing back fast, give it more time even though the recipe window has passed.
Preheat the oven while the dough finishes so that shaping, scoring and loading happen fast. The window after the poke test is narrow; ready dough keeps relaxing and can slide from proofed to overproofed while the oven heats. Once it passes the checks, shape, score and get it in.
Common Mistakes
Waiting the full time on the recipe card. Dough at 70°F ferments roughly half as fast as dough at 77°F, so a fixed two-hour rise can be ready in one or still be raw at four. Start poking ten minutes before the low end of the stated window, then re-check every 20 to 30 minutes.
Trusting the clock even when the dough is clearly ready. If the dough has doubled and passes the poke test, waiting an extra hour for the recipe’s upper limit turns a good loaf into a flat one.
Poking too hard or too often. A deep jab ruptures gas cells and deflates the dough, and the second poke then reads slower than reality. Press gently, once, and wait for the next check.
Reading cold dough wrong. Dough straight from the refrigerator is stiff and springs back fast no matter how well fermented it already is. Bring it out early enough to warm up, judge the rise and volume instead, and skip the poke test for cold dough from the fridge.
Calling sticky dough underproofed. Stickiness depends on hydration and flour absorption, not on readiness. Dust the finger with flour and test the edge rather than the middle.
Poking dough that has already collapsed. Once a dough has flattened out and lost its dome, more waiting will not fix it. Shape it gently, let it recover for about 20 minutes if you have time, and bake it right away to use it at its best.
Baking in a cold oven. Preheating is part of the test. Oven spring happens in the first minutes of baking, and a cold oven means a tight loaf even when the proof was perfect.
Frequently Asked Questions
Is 4 hours too long to let dough rise?
Four hours is fine for a slow dough and far too long for a fast one. If your kitchen runs cool or you used whole wheat flour, four hours may leave the dough barely started. If your kitchen sits near 75°F with active starter or a generous yeast amount, four hours can mean overproofed dough. Judge the rise, the jiggly feel and the poke test instead of the number.
Does proofing bread longer make it fluffier?
Only up to a point. Extra time lets more gas expand the crumb and gives a lighter loaf, which is why bakers often extend the final proof. Past that point the gluten relaxes, the dough spreads out and the loaf bakes flat with a coarse crumb. The sweet spot is when the dough has doubled, feels pillowy and springs back slowly from a finger poke.
How do I tell if bread is under or over proofed?
Use the poke test and compare the dent to three outcomes. Springs straight back means underproofed. Fills back in slowly over about ten seconds means ready. Stays dented, slumped or deflated means overproofed. Underproofed dough also feels tight and heavy for its size, while overproofed dough feels slack and spreads in the container. Volume helps too: roughly double at the start is the reference point.
Can I still eat overproofed bread?
Yes. Overproofed bread is a texture and shape problem, not a safety problem. It is safe to eat as long as it was baked properly and stored correctly, though the loaf bakes flat, spreads on the pan and has a coarse, airy crumb with a flatter flavor. The same advice applies to unbaked overproofed dough: bake it promptly rather than waiting longer.
How long should bread rise the second time?
The final proof usually takes 45 to 90 minutes at room temperature, but a poke test tells you far more than that range. Shape the dough, let it rest, and test once it looks close to doubling. Pan loaves are ready when the dough sits about an inch above the lip of the pan; free-form loaves are ready when the dough puffs, holds its shape after a gentle poke and releases from the banneton without dragging.
Should I trust the poke test on dough from the fridge?
Not on its own. Cold dough is stiff, so it springs back quickly even after a long overnight ferment, and the poke test will tell you it is underproofed when it is not. Instead, check how much the dough rose in the container, whether it looks domed and aerated, and whether it relaxes once it warms up to room temperature. Poke it again after that warming period for a truer reading.
One more thing worth sorting out early: if the bread is meant for lunchboxes or for a week of sandwiches, the crumb matters as much as the bake. Slice it only once it has cooled completely, and see how to meal prep sandwiches for the week without soggy bread for storage that keeps it soft.
Conclusion
Start checking before the recipe’s proofing time runs out, and trust five signals together: the dough has roughly doubled, bubbles show at the surface, it feels light and jiggly, a finger dent fills back in over about ten seconds, and the kitchen conditions match what the recipe assumed. When those line up, preheat the oven and bake right away.