
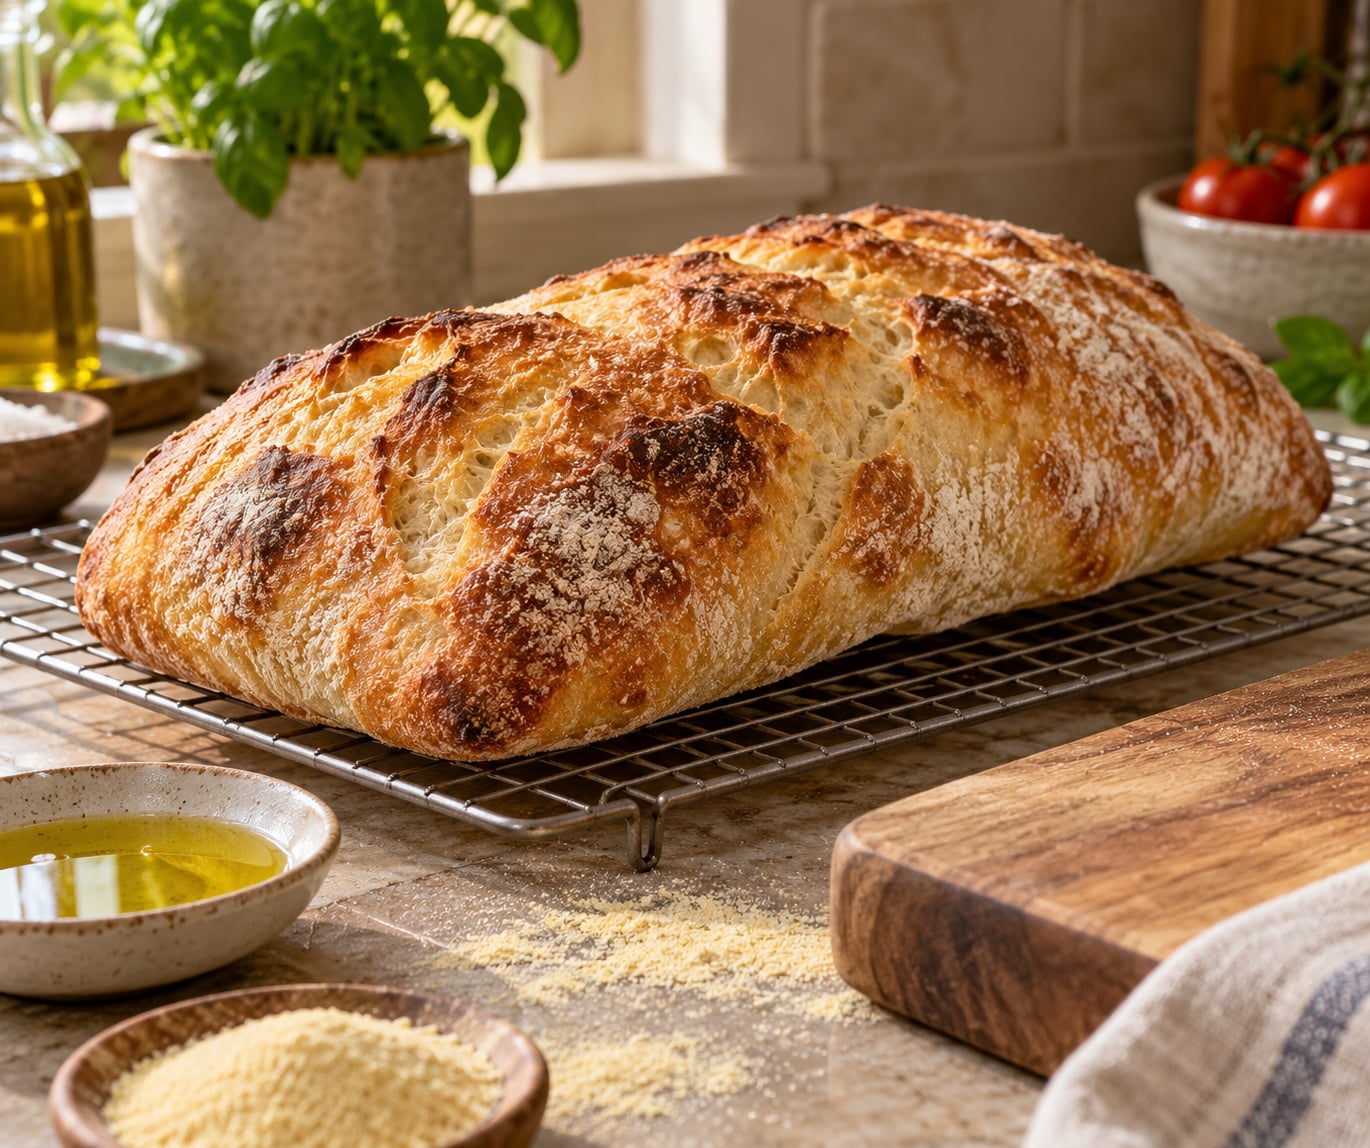
Ciabatta gets its crackly crust from three things working together: a very wet dough, a long overnight pre-ferment called a biga, and a blast of steam in the first 15 minutes of a 475°F bake. That sounds fussy, but the whole loaf takes about 30 minutes of actual work spread across a day and a half, and there is no kneading involved.
If you have never baked high-hydration bread before, this is a forgiving place to start because ciabatta is supposed to look messy. A torn surface, a lopsided edge and a blistered, uneven crust are all normal. If you want the sliced result, check out our sourdough vs rye vs ciabatta sandwich bread comparison once you have a loaf to slice.
Table of Contents
- What You Need
- Step-by-Step: How to Make Ciabatta Bread with a Crispy Crust
- Common Mistakes
- Tips for Extra-Crispy Ciabatta
- Frequently Asked Questions
- Can I make ciabatta without olive oil?
- What flour is best for ciabatta bread with a crispy crust?
- How do I get a crackled ciabatta crust without burning the loaf?
- How long should ciabatta cool before slicing?
- How do I keep ciabatta crust crisp after baking?
- Can I use a baking sheet instead of a pizza stone?
- Conclusion
What You Need
Buy a scale before anything else. Bread baking lives and dies by weight, and cups will quietly make your dough wetter or drier than the recipe assumes.
Biga (the overnight pre-ferment)
- 100 g bread flour (about 3/4 cup)
- 100 g water at room temperature (about 1/3 cup plus 1 tablespoon)
- 1 g instant yeast (about 1/4 teaspoon)
Final dough
- 400 g bread flour (about 3 1/3 cups), plus more for dusting
- 330 g water at room temperature (about 1 1/3 cups)
- 20 g of the ripe biga, torn into pieces
- 10 g fine sea salt or kosher salt (about 1 1/2 teaspoons)
- 2 g instant yeast (about 1/2 teaspoon)
- 1 tablespoon extra-virgin olive oil
- Semolina or rice flour for the surface (optional but nice)
The biga is optional in the sense that a loaf will still taste like bread without it. What you lose is the mild tang, the chewier crumb, and better color in the crust, which is exactly what you came here for.
Equipment that matters
- Baking stone or steel — the single biggest upgrade. It stores heat and gives you oven spring on the bottom as well as the top.
- Spray bottle — for a quick surface mist right before the loaf goes in, or for making your own steam.
- Sharp lame or razor-blade knife — a clean slice needs a blade. A serrated knife tears the crust and drags dough across the surface.
- Parchment paper — for proofing and for carrying the shaped loaf to the oven.
- Digital scale — required, not optional.
- Bowl or covered container — for bulk fermentation.
A pizza peel, bench scraper, dough whisk and couche are nice extras. None of them rescue a loaf that was underproofed.
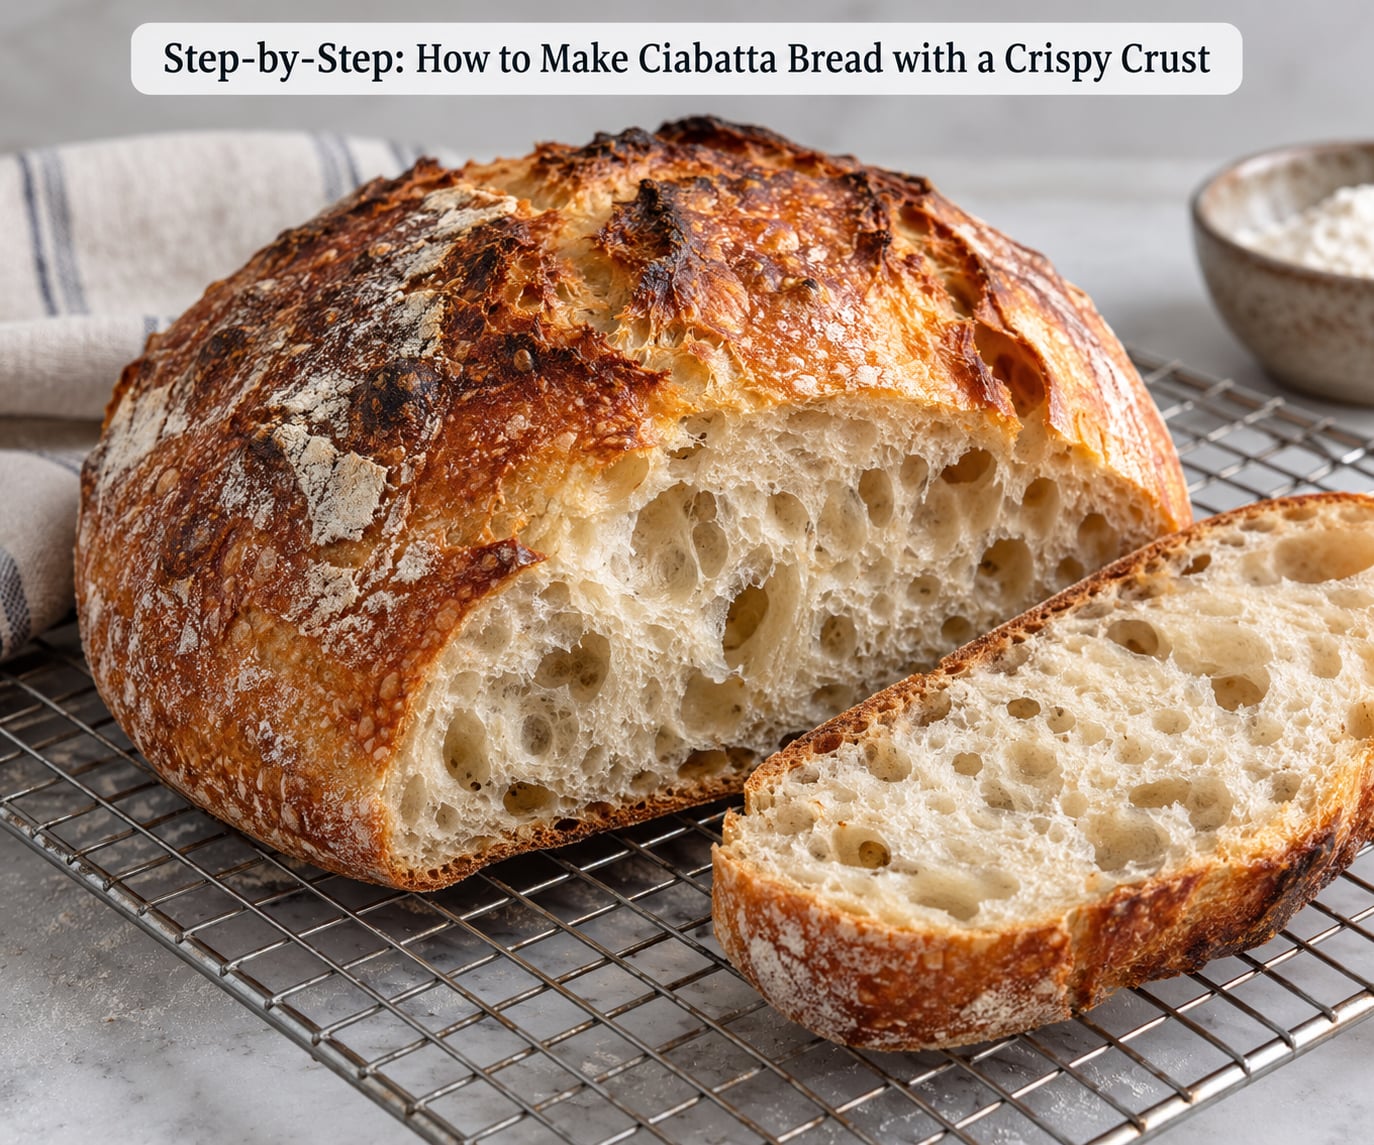
Step-by-Step: How to Make Ciabatta Bread with a Crispy Crust
1. Mix the Dough
The night before you bake, stir the biga ingredients together in a small bowl until no dry flour is left and the mass looks like thick paste. Cover and leave at room temperature for 8 to 16 hours. It is ready when it smells like bread and the surface is domed and lightly bubbly, not collapsed.
To mix the main dough, combine the 400 g flour, 330 g water and the torn biga in a large bowl. Stir with a spatula until it is roughly combined, then leave it to rest for 20 minutes. Sprinkle the salt and remaining yeast over the top, wet your hands, and mix again until everything disappears into a wet, shaggy mass.
Finish with the olive oil. The dough should look rough, lumpy and almost pourable. That alarming stickiness is correct, and it is the whole point of ciabatta: more water than flour means more steam in the oven and a more open crumb.
2. Complete the First Fold or Knead
Do not knead this. Instead, wet your hand, reach over the bowl, and grab one side of the dough and stretch it up and fold it back on itself. Turn the bowl a quarter turn and repeat. Four folds over about 20 minutes will turn the ragged mass into something cohesive and glossy while leaving the gas you just made intact.
If you prefer to knead, work it on an unfloured surface for 6 to 8 minutes until it feels smooth and elastic and passes the windowpane test. Hand kneading is harder on ciabatta than on sandwich bread, so the folds are the easier route for beginners.
3. Bulk Ferment Until Airy
Cover the bowl and let the dough rise at room temperature, roughly 72°F, for 2 to 3 hours. Do not set a timer and walk away. Watch it instead.
The signs of ready are a dome that has risen by half to two-thirds, a surface covered in fine bubbles, and a jiggle when you shake the bowl that feels like gelatin. Poke it with a floured finger: a slow spring back with no collapse means keep going. A quick rebound means it is ready, and a dent that stays means it is overproofed and will bake flat.
If your kitchen is cold or you are using active dry yeast, expect the rise to take closer to four hours. Warm it up by putting the bowl in the oven with just the light on.
4. Pre-shape and Relax the Dough
Tip the dough onto a work surface you have dusted well with flour. Do not deglove it, and do not press it. Use a bench scraper to draw the edges into the center, then flip it over and let it sit for 15 to 20 minutes.
This rest is doing real work. It lets the gluten relax so the dough stops fighting you when you stretch it, and it lets the surface moisture redistribute. Skipping it is why so many home bakers end up with a loaf that tears instead of stretching.
5. Shape a Wide, Flat Loaf
Turn the dough out again and press it gently into a wide oval, roughly 9 by 5 inches, with a domed center and thin edges. Think of a flattened rugby ball. Ciabatta is defined by that low profile, and a tall boule will bake into something else entirely.
Use the bench scraper and your knuckles rather than a rolling pin. Cup the dough, tuck the edges underneath, and drag it gently across the floured surface to build surface tension. It should feel like a slack, pillowy pillow.
6. Proof and Score the Loaf
Lay a sheet of parchment on a flat surface, dust it heavily with flour or semolina, and set the loaf on it seam-side down. Cover with a towel or a bowl and proof for 45 to 90 minutes until the dough looks inflated, wobbly and ready to fall over slightly. Poking should leave a slow dent that rebounds halfway.
Preheat the oven with the stone inside at 475°F for at least 45 minutes. A cold stone means a flat bottom, so give it the full time.
Right before the loaf goes in, mist the surface generously or rub it with a wet hand so the skin is damp and slightly shiny. With a lame held at about a 30-degree angle, make one confident slash across the top, cutting about a quarter inch deep. Shallow cuts seal shut and give you a pale loaf; deep cuts collapse and dump your crumb.
7. Bake Until Deeply Golden
Slide the parchment with the loaf onto the hot stone. Pour a cup of boiling water into a sturdy metal tray set on the oven floor, or throw in a handful of ice cubes, and close the door fast. Keep the door shut for the first 15 minutes.
That trapped steam is the single biggest factor in most ciabatta recipes, and getting how to make ciabatta bread with a crispy crust at home right depends on it more than anything else. It keeps the crust soft and pliable so the loaf can expand fully, and it gelatinizes the surface starch. Once the crust has set, the moisture has to leave, or you get a chewy, rubbery shell.
After 15 minutes, vent the steam, drop the oven to 450°F, and bake for another 20 to 25 minutes. You are looking for a deep chestnut brown with darker blisters and a hollow sound when you tap the bottom. Internal temperature should land around 205°F for a fully baked loaf.
You can also bake in a covered Dutch oven or casserole with the loaf inside and the lid on for 25 minutes, lid off for 15. The trapped steam does the same job without a stone or a steam tray.
8. Cool Before Slicing
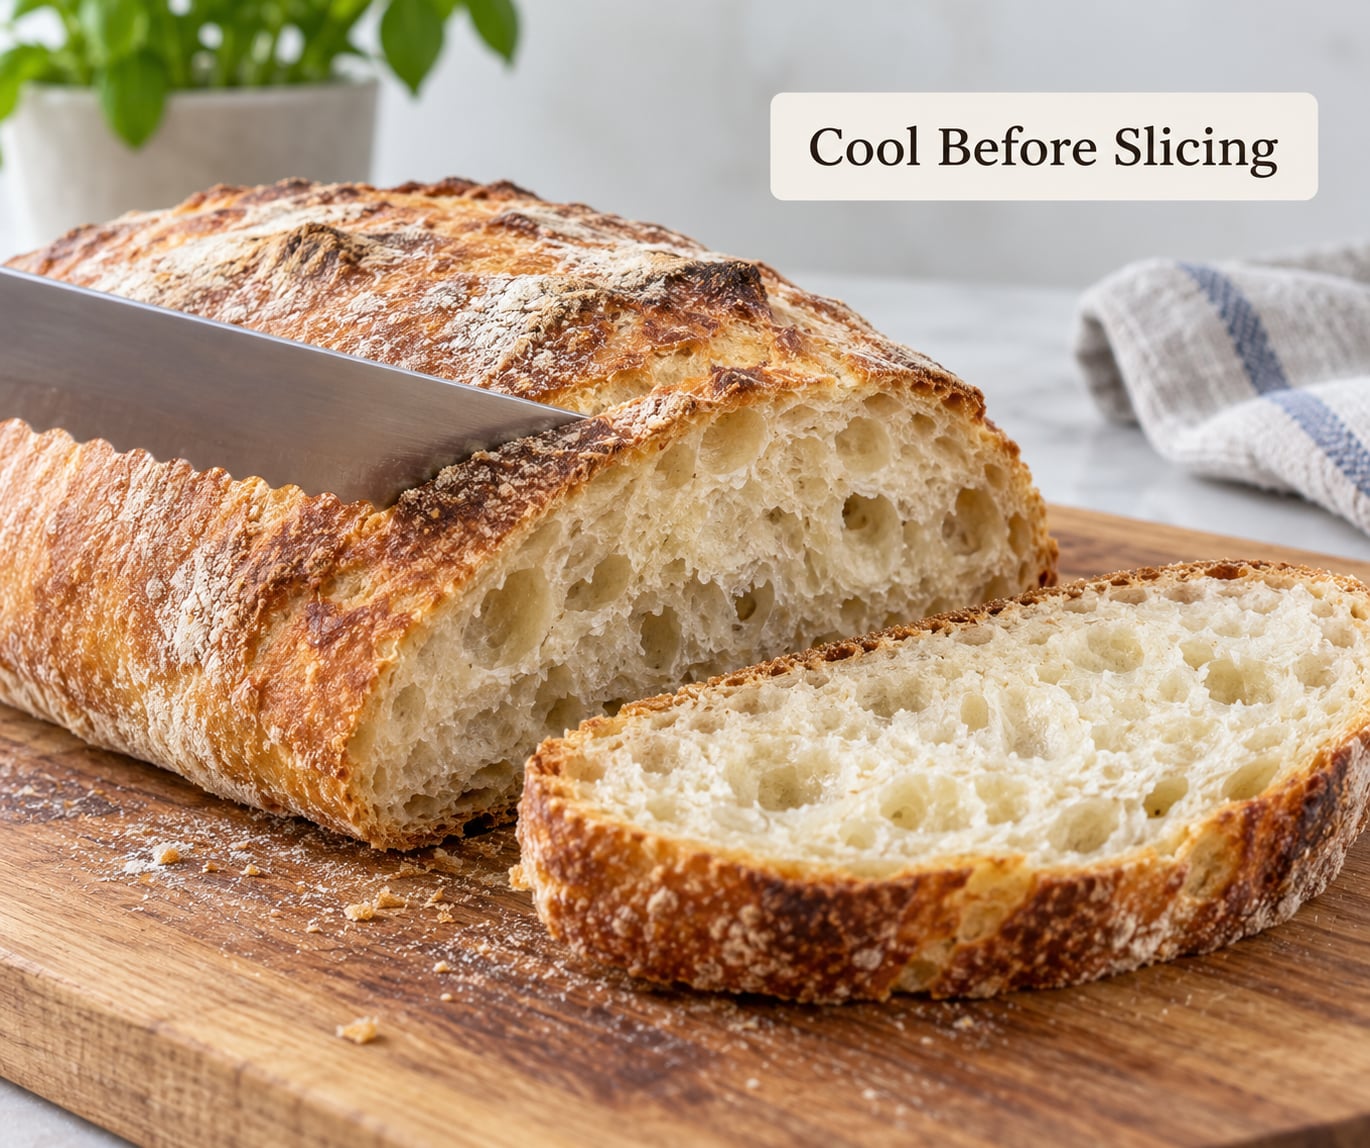
Wait at least an hour, longer if the loaf is small. The crumb is still setting as steam escapes, and a knife through a warm loaf will compress it into something gummy and tear the crust into shards.
When you do cut it, use a long serrated knife with a sawing motion. Warmed ciabatta is a sandwich, bruschetta base and soup companion all at once, and a proper long blade keeps the crust intact rather than shattering it.
Common Mistakes
- Chewy or rubbery crust. You kept the steam in for the whole bake, or the loaf was underbaked. Vent at 15 minutes and bake until the crust is genuinely brown, not tan.
- Pale crust. Usually underproofed dough plus a cool oven. Confirm your oven runs hot by baking a batch of breadsticks, and push the final proof until the dough wobbles.
- Tunneling, one giant hole down the middle. The dough was rolled, degassed, or handled too firmly during shaping. Stretch and fold in the bowl instead, and treat the dough like it is full of Jell-o.
- Dough stuck to everything. Wet dough clings to wet plastic. Use a glass or metal bowl, oil it lightly for bulk, and flour the parchment heavily for the final proof.
- Dense, tight crumb. Almost always a short bulk ferment. Time is a poor guide here; use the doubling, the bubbles and the jiggle.
- Dough that deflated when moved. It was fully proofed before you shaped it. Proof on parchment and transfer by sliding the paper, not by lifting the dough.
- No oven spring. The oven or stone was not hot enough, or you scored too shallow. Preheat for a full 45 minutes and cut deeper.
- Sliced too early. Warm crumb compresses into gum. One hour on a rack, minimum.
Tips for Extra-Crispy Ciabatta
- Use semolina or a flour-and-semolina blend on the proofing surface. It stays gritty after baking and gives you that bakery dust.
- Feed the dough cold. A 12-hour retard in the fridge after shaping deepens flavor and makes scoring easier because the skin firms up.
- Add 5 g of malted rye flour for a deeper, more complex crust. Even a small percentage darkens the color noticeably.
- Fill a preheated tray with lava rock or ceramic beads instead of water if your oven is picky about steam hitting the element.
- Bake ciabatta rolls rather than loaves when you want more crust per serving: divide the dough into 8 pieces instead of one, and cut each one slightly thicker.
- Store the loaf cut-side down on a board under a towel, or in a paper bag. Plastic traps moisture and softens the crust within hours.
- Try the dough in a stand mixer with a dough hook for 12 to 15 minutes if stretching feels awkward at first, though hand folds still give the most reliable results.
Frequently Asked Questions
Can I make ciabatta without olive oil?
Yes. Olive oil adds a faint fruitiness and keeps the crumb tender, but nothing structural depends on it. Leave it out and add 10 g more water to keep hydration the same. The loaf will still blister and crack, and it will be very slightly less soft after a day. Many Italian bakers use a spoon of oil only on the loaf itself.
What flour is best for ciabatta bread with a crispy crust?
Bread flour, by a wide margin. Its higher protein content (about 11 to 13 percent) is what holds up a hydration near 80 percent without collapsing. All-purpose flour works, but expect a slightly tighter crumb and add a couple of extra folds. A blend of 80 percent bread flour and 20 percent whole wheat gives more flavor at the cost of some openness.
How do I get a crackled ciabatta crust without burning the loaf?
Keep the steam for the first 15 minutes, then drop the temperature to 450°F and finish the bake there. The steaming phase lets the loaf expand without the surface setting; the lower, drier phase browns it without catching. Watch the color, not the clock, and pull it the moment the crust is deep chestnut with darker blisters.
How long should ciabatta cool before slicing?
At least one hour, and two for a large loaf. The crumb is still firming as moisture escapes from the center, so a warm loaf slices gummy and drags the crust off in strips. If you want it warm, wait the full hour and then warm individual slices in a 350°F oven for about five minutes rather than cutting the whole loaf early.
How do I keep ciabatta crust crisp after baking?
Let it cool uncovered on a wire rack so steam escapes instead of pooling. For same-day eating, store it cut-side down on a board under a towel. A paper bag works for a day or two; plastic and sealed containers trap moisture and soften the crust fast. For longer storage, freeze sliced, then re-crisp in a 350°F oven for 8 to 10 minutes.
Can I use a baking sheet instead of a pizza stone?
You can, and the loaf will still be good, but expect a paler, flatter bottom with less oven spring. Preheat the sheet for a full 45 minutes, dust it well with semolina or cornmeal so the dough does not weld itself down, and lower the baking temperature by about 25°F to protect that thin crust. A baking steel is the better upgrade if you bake bread often.
Conclusion
The formula behind a crisp ciabatta is short: a wet, extensible dough built on an overnight biga, a bulk ferment that ends airy rather than merely doubled, a loaf shaped wide and handled gently, and a 15-minute steam phase followed by a hot, dry finish. Miss one of those and you get a chewy crust or a tight crumb, which is exactly what most people hit on their first try.
Start tonight. Mix the biga before bed, mix the main dough in the morning, and let it do the slow work while you do something else. If you need a knife for the first cut, our guide to bread knives for crusty loaves is worth a look before you commit to the serrated edge.