
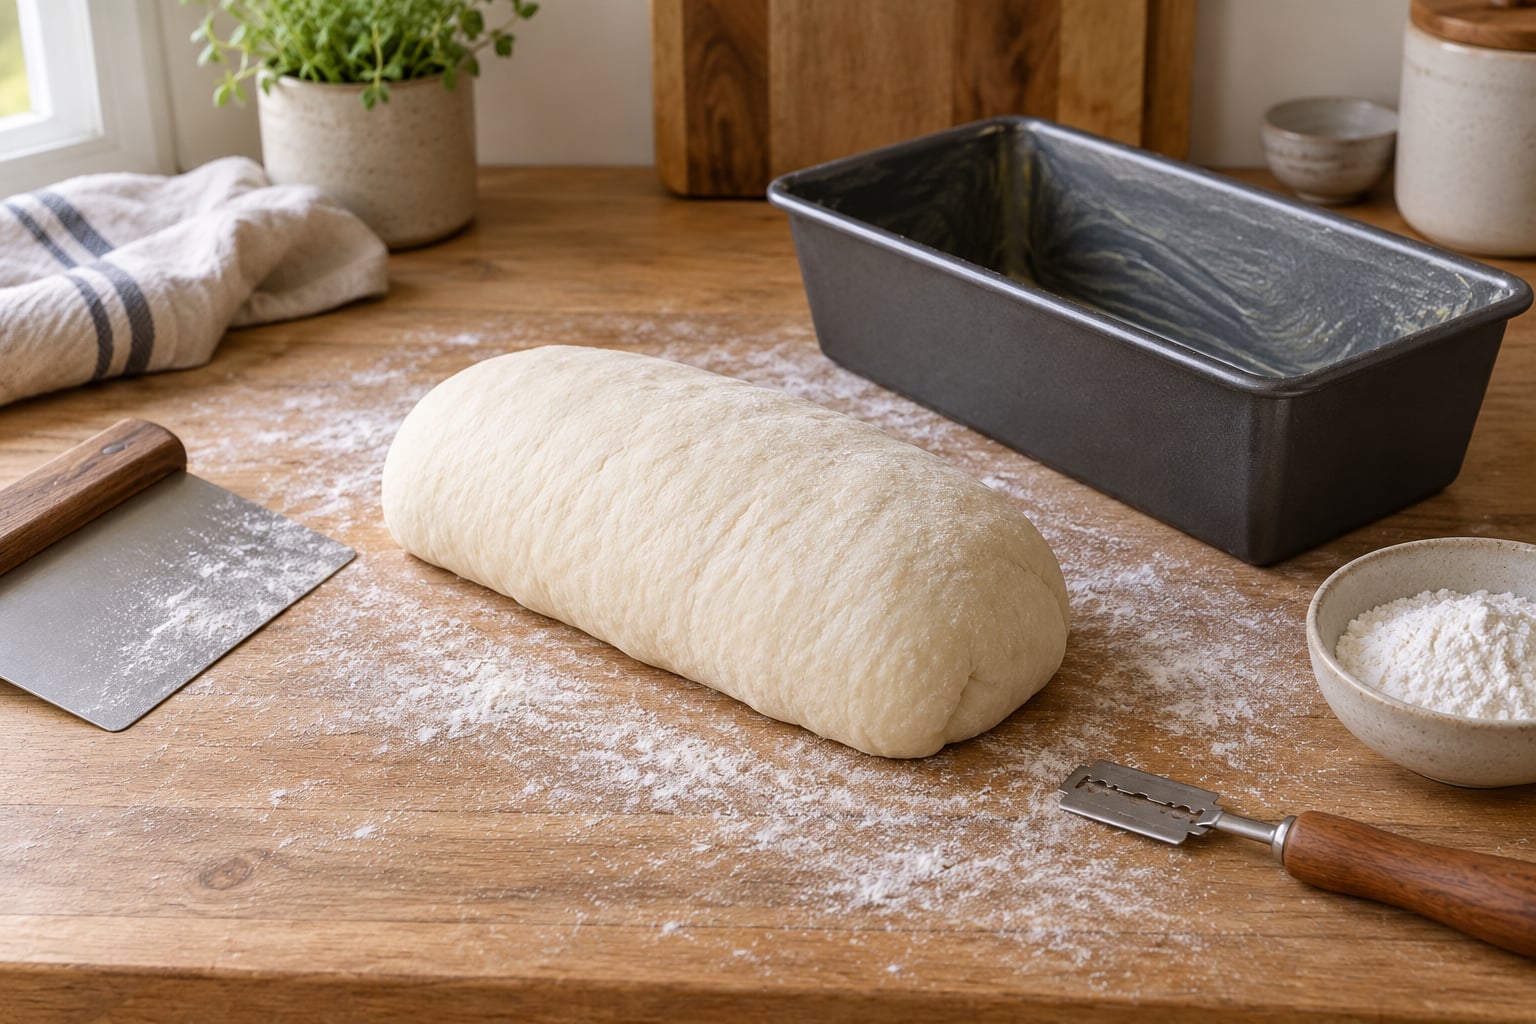
To shape a sandwich loaf for a tall, even rise, you build a taut, rested dough log and set it in the pan seam-side down so the sides push up instead of out. Divide and round the dough, rest it, stretch and fold it until the surface feels tight, log it up, then proof until the dough fills about two-thirds of the pan and springs back slowly from a gentle poke.
That is the whole method, but the details are where loaves go wrong. A sandwich loaf that spreads during proofing bakes short and dense with a torn, uneven top. The fix is nearly always in the shaping stage, not the recipe or the oven.
I bake a sandwich loaf most weekends, and the tall ones share three traits: dough strong enough to hold itself off the bench, a tight skin across the whole surface, and a seam sitting flat on the bottom of the pan. Miss any one of those and the loaf finds a weak place to spread.
Table of Contents
- What You Need
- How to Shape a Sandwich Loaf for a Tall, Even Rise Step by Step
- Common Mistakes
- Frequently Asked Questions
- How do I stop a sandwich loaf from rising unevenly?
- Should I shape sandwich bread dough before or after the final proof?
- Do I need to score the top of a sandwich loaf?
- Why does my sandwich loaf rise taller on one side?
- Can I shape sandwich loaf dough in a loaf pan?
- How do I know if shaped dough is overproofed?
- Conclusion
What You Need
Shaping takes about 20 minutes of active time, and almost all of the equipment is already in a kitchen drawer. The dough matters more than any tool, so check that first.
- A digital scale. Flour by weight, not by volume. A cup of flour varies enough between scoops to throw off hydration and change how the dough handles.
- A bench scraper. For dividing the dough cleanly and for lifting a sticky piece off the counter without tearing it.
- Rice flour or a light dusting of all-purpose flour for the bench. Rice flour keeps the dough from sticking and adds almost nothing to hydration.
- A loaf pan that matches your dough volume. A 9-inch by 5-inch standard pan, or a 9-inch Pullman pan for a straight-sided, square-slice loaf.
- A lame, razor blade, or very sharp knife for a single confident score.
- A Dutch oven or a metal bowl if you want to trap steam for extra oven spring.
Pullman pan or standard loaf pan: which one you should use
A Pullman pan has straight vertical sides, often with a sliding lid. The dough has nowhere to spread, so it rises vertically and you get a taller loaf with square corners and tidy sandwich slices. Home bakers switching from a tapered pan usually see more height from the same dough once the walls stop flaring.
A standard loaf pan flares outward at the top. It is easier to pull a tapered loaf out of, and a domed top is easier to achieve, but the walls actively invite the dough to spread. If you want the tallest possible loaf with level slices, go Pullman. If you want a simple bake with a rustic dome and an easy release, a 9 by 5-inch pan is fine.
Dough readiness beats tools
Shaping dough that is underdeveloped is the most common reason a sandwich loaf stays flat. You want a dough that feels smooth, holds a rough ball shape, and passes the windowpane test: stretch a small piece and you should see light transmission through a thin membrane without it tearing.
Overproofed dough is the opposite problem. It feels slack, sticky, and airy, and it deflates the second you touch it. That dough will not hold tension no matter how carefully you shape it. If you are working with a commercial yeast dough, a bulk ferment in the fridge for 8 to 18 hours both develops gluten and makes shaping far easier.
Once the dough is ready, pick a formula to start from. Our roundup of 10 best beginner homemade sandwich loaf recipes covers everything from enriched milk doughs to plain white sourdough. If you would rather not hand-shape at all, best bread machines for everyday sandwich loaves handle mixing, proofing, and baking in one cycle.
How to Shape a Sandwich Loaf for a Tall, Even Rise Step by Step
The short version:
- Divide the dough into even pieces and round each one, then rest 15 minutes.
- Stretch and fold each piece until the surface is taut and no slack edges remain.
- Rest again 10 to 15 minutes so the gluten relaxes.
- Fold into a log, seal the seam, pinch the ends flat.
- Place seam-side down in the pan and proof until the dough fills two-thirds of the pan.
- Score once down the length, bake hot, cool fully before slicing.
Now the technique behind each step.
How to pre-shape the dough for an even rise
Turn the dough out onto a lightly floured bench and divide it with your bench scraper, weighing each piece so they are identical. Uneven pieces bake unevenly, and the smaller ones always look short next to the larger ones.
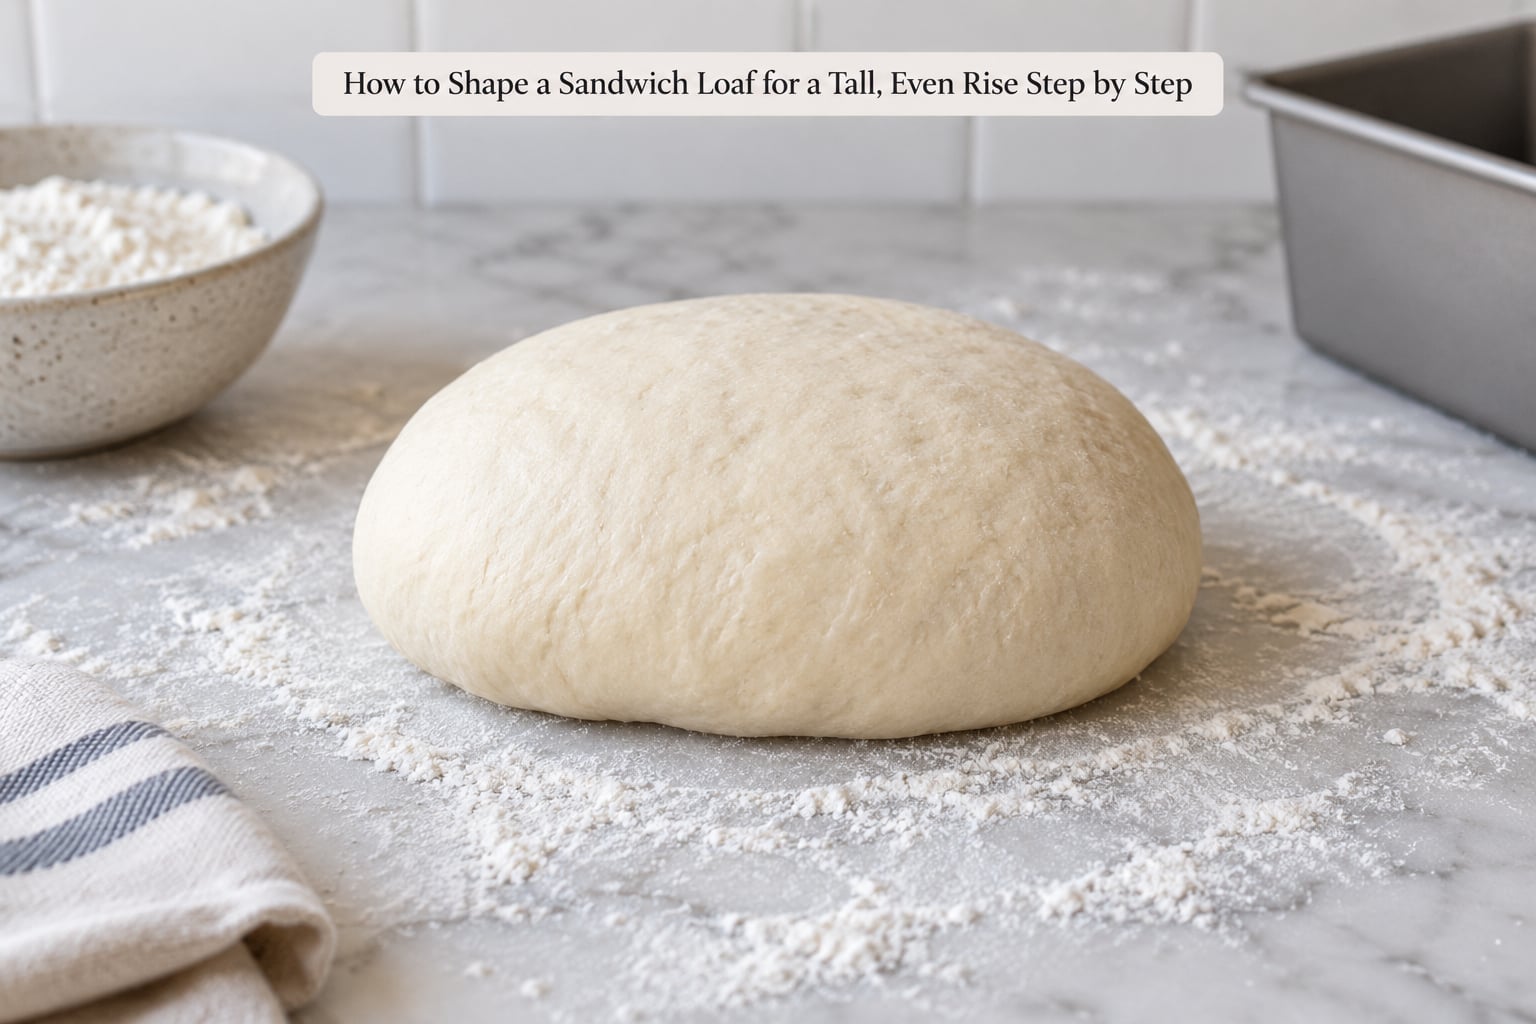
Round each piece by cupping your curved hand over it and rotating it against the bench in small circles. You are dragging a little dough underneath itself, not pressing down. Aim for a tight ball with no loose flaps hanging underneath.
Cover the balls and rest them 15 minutes. This rest is short but important. It relaxes the gluten just enough that the dough can stretch during final shaping instead of springing back and tearing.
How to create surface tension without tearing the dough
Surface tension is that taut skin you can feel when you run your hand over the dough. It keeps the loaf from spreading and it is what carries the gas upward in the oven.
Flatten the dough ball into a short rectangle with the heels of your hands. Pick it up, fold the right third over the center, then the left third over that. Turn it 90 degrees and repeat the same fold on the other axis. That is one round.
Do two to three rounds, picking it up between each fold. Each round tightens the gluten network and evens out the thickness. Stop when the dough feels smooth and springy and holds a tight shape the moment you set it down.
If your dough is very sticky, dust your hands rather than the dough, and work on a surface with more flour than you think you need. If it tears, you are stretching too aggressively or the dough is too developed. Give it five more minutes and try again with a lighter touch.
How to form a tall sandwich loaf
Two folds are common and both produce good loaves. The rectangle fold is quicker and forgiving, which makes it better for beginners and higher-hydration dough that spreads.
Flatten the rested dough into a rectangle about as wide as the pan is long. Fold the short edges toward the center, like folding a letter, then press the edges to seal. With the seam side down, roll the log away from you in one even motion, keeping the pressure on the ends so the log does not stretch thinner in the middle. Pinch the ends flat underneath.
The triangle fold gives a tighter skin and slightly more height, and it is the method King Arthur Baking teaches. Fold the dough into a triangle with three flaps, seal each with a pinch, then roll it into a log. It takes a minute longer and is worth it when the dough feels loose.
Place the log seam-side down in a greased pan. The seam belongs on the bottom because the top surface expands most and should be the single unbroken skin that domes in the oven.
How to proof the shaped loaf for a tall, even rise
The visual cue comes first: the dough should fill roughly two-thirds of the pan and have visibly domed above the rim before you bake it.
Then use the poke test. Lightly flour a finger and press gently into the side of the loaf, about a quarter inch in. If the dent springs back fast and completely, the dough needs more time. If it springs back slowly and leaves a slight dent, bake it now. If the dent stays and the dough feels fragile, it is overproofed and will likely collapse or bake flat.
Typical proofing time at room temperature runs 60 to 90 minutes, but temperature and yeast amount matter more than the clock. A kitchen at 75°F will run slower than one at 80°F. Watch the dough, not the clock.
Do not let shaped sandwich dough sit past its peak. Dough that has already collapsed will never recover the gas it lost, and the loaf will come out squat with a dense, holey crumb.
How to score and bake the loaf evenly
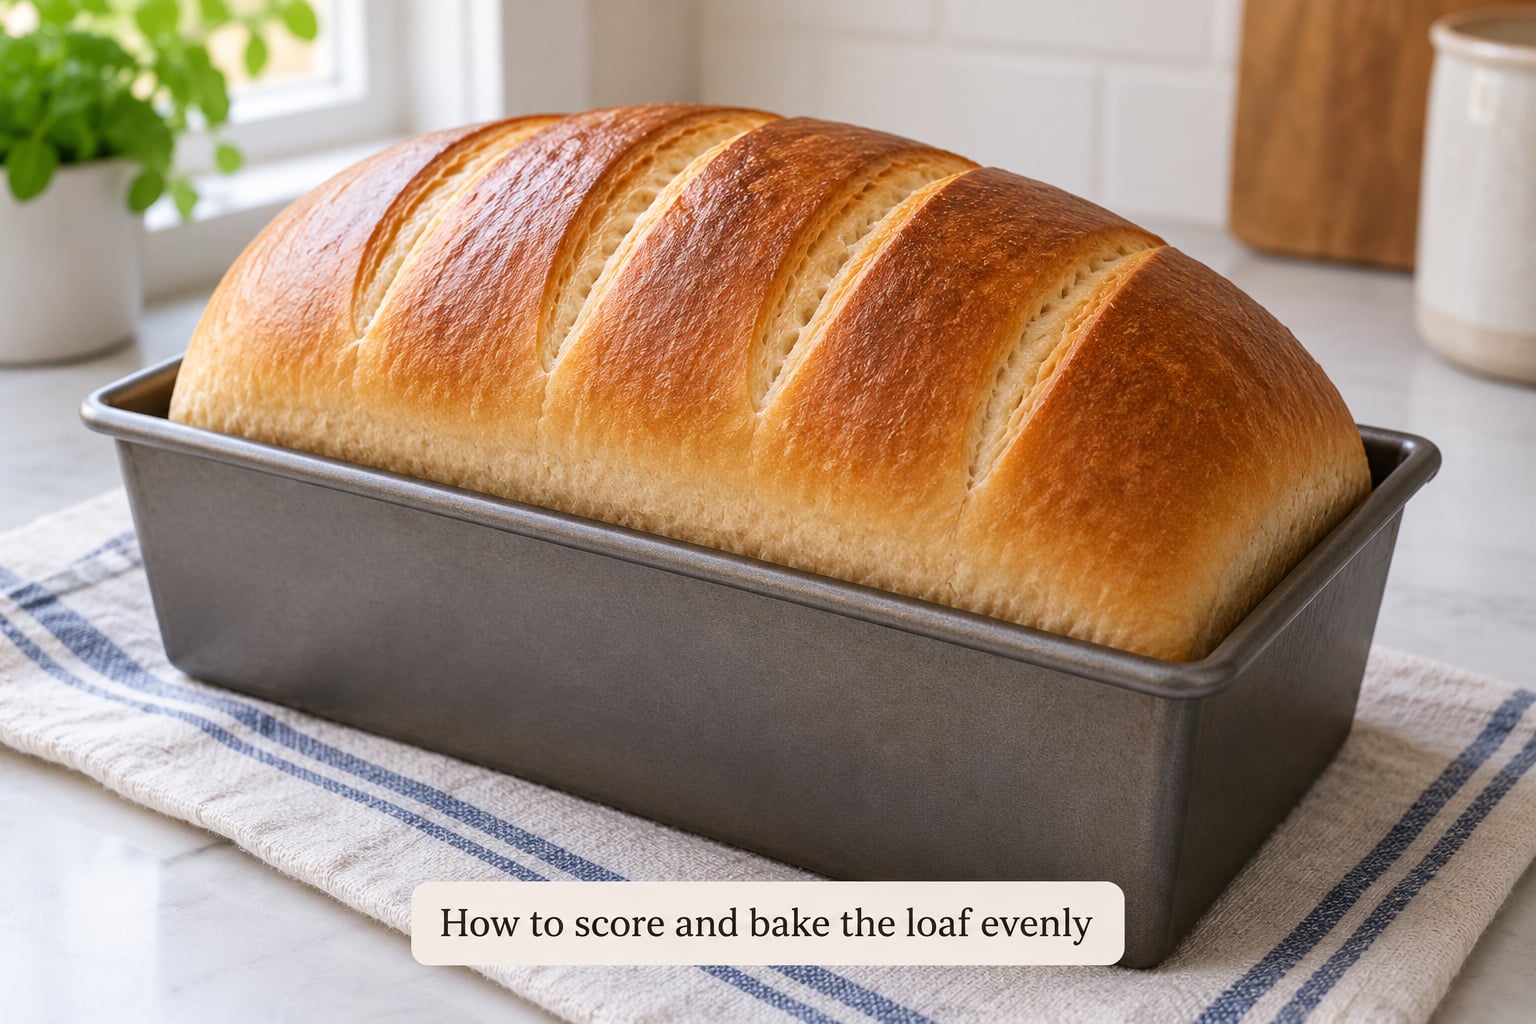
A single lengthwise slash down the top gives the loaf one planned escape route for expansion instead of letting it burst randomly at the sides. The slash should run about a quarter inch deep and be made at a shallow angle so the loaf opens rather than splits.
Score right before the loaf goes into the oven. A slash made too early lets the dough relax and deflate through the cut.
Preheat the oven thoroughly and heat the pan with it. Oven spring depends on the oven already being at temperature when the dough lands, and on moisture keeping the crust flexible long enough for the loaf to expand. Baking the loaf inside a covered Dutch oven, or adding a cup of boiling water to a metal bowl in the oven, keeps the crust soft during the first 15 minutes and gives a noticeably taller loaf.
Bake until the crust is evenly browned and the loaf sounds hollow when you tap the bottom, typically 30 to 40 minutes at 375°F. An instant-read thermometer in the thickest part should read 190 to 200°F.
Cool the loaf in the pan for 10 minutes, then turn it out onto a rack and let it cool completely, at least two hours for a full-size sandwich loaf. Slicing warm bread gives you gummy crumb no matter how well you shaped it.
Common Mistakes
Here are the failures I see most often, and what actually fixes them.
The loaf spreads and bakes flat. Almost always weak dough or a pan that is too large. Check your dough with the windowpane test before shaping, and if the dough is underproofed at shaping time, give it more time in bulk. Also confirm your pan size matches the dough weight in your recipe. Dough that belongs in a 9 by 5-inch pan and goes into a 10-inch pan will spread no matter how well you shape it.
One side rises taller than the other. The log was not straight, or the dough sat unevenly in the pan. Roll with even pressure on both ends, then level the dough with a bench scraper before it goes in. Oven hotspots are a secondary cause, so rotate the pan halfway through the bake if your oven runs unevenly.
The loaf bursts at the sides instead of the top. Either it was underproofed or it was not scored. Underproofed dough has too much gas and not enough structure to hold it, so it finds the weakest point. An unscored top leaves that weakness everywhere, so a single centered score fixes it.
The crumb is dense and full of big holes. That combination points at overproofing or a shaping gap. If the loaf spread as it baked and holes are irregular, the gluten was under-developed when the gas expanded. If the top dome is fine but the crumb is tight and gummy, you sliced it too warm.
The dough sticks to everything. Skip the all-purpose flour dusting and use rice flour, which absorbs very little water. Working on a floured cloth or a silicone mat also helps. If the dough is wetter than your recipe intends, a tablespoon or two of extra flour during folding will save the bake.
The loaf deflates after scoring. Score too early and you cut into gas that was still expanding. Score at a shallow angle immediately before baking, and if the dent from your poke test does not spring back, wait longer rather than scoring sooner.
Once the shaping works, the slicing matters as much as the bake. A serrated knife keeps the crumb from compressing, and our picks for best bread knives for crusty loaves and soft sandwich bread cover both ends of that range.
Frequently Asked Questions
How do I stop a sandwich loaf from rising unevenly?
Check three things in order: pan size against dough weight, dough development at shaping, and proofing endpoint. A pan that is too large lets the dough spread, so match the recipe to a 9 by 5-inch pan or 9-inch Pullman. Underdeveloped dough spreads because it cannot hold its own weight, so run the windowpane test before you shape. Finally, proof only until the dough fills two-thirds of the pan and the poke dent springs back slowly.
Should I shape sandwich bread dough before or after the final proof?
Shape before the final proof. Shaping after a full rise means handling dough that is already at its most fragile, and it is nearly impossible to build tension without tearing it. Bulk ferment, then shape, then do the final proof in the pan. That sequence gives you a rested, workable dough and lets you judge doneness with a poke test right before baking.
Do I need to score the top of a sandwich loaf?
Yes, one lengthwise slash helps a lot. Scoring gives the loaf a planned place to expand, which keeps the rise vertical instead of letting it burst at the sides. Make the cut about a quarter inch deep at a shallow angle, right before the loaf goes into the oven. Scoring earlier lets the dough relax and deflate through the cut.
Why does my sandwich loaf rise taller on one side?
It is usually shape, not the oven. A log rolled unevenly, or dough that was not leveled in the pan, will bake with one shoulder higher than the other. Roll with steady pressure on both ends and keep the log the same width from end to end. If the shape looks even going in, your oven may have a hotspot, and rotating the pan halfway through the bake will correct it.
Can I shape sandwich loaf dough in a loaf pan?
You can, but shaping on the bench works better. In a pan the dough spreads against the sides before you can build any surface tension, and it is hard to tuck edges underneath once it is against metal. Shape on a floured surface, place the log in the pan seam-side down, then press gently to fill the corners evenly before the final proof.
How do I know if shaped dough is overproofed?
Press a floured finger about a quarter inch into the side. Overproofed dough leaves a dent that does not spring back at all and feels fragile and slack. That dough will deflate in the oven and bake flat with a dense, irregular crumb. Bake slightly earlier than the recipe suggests on the next attempt, and watch the dough rather than following the clock, since warm kitchens proof faster.
Conclusion
Start with the dough, not the pan. Build gluten until it passes the windowpane test, give it a bench rest, then fold it until the surface is taut and no slack edges remain. Roll an even log, seal the seam, and set it seam-side down.
From there it is two checks: proof until the dough fills two-thirds of the pan and the poke dent springs back slowly, then score once right before it goes into a fully preheated oven. Those two habits fix most flat, lopsided sandwich loaves, and getting the shape right is the first action to take on your next bake.