
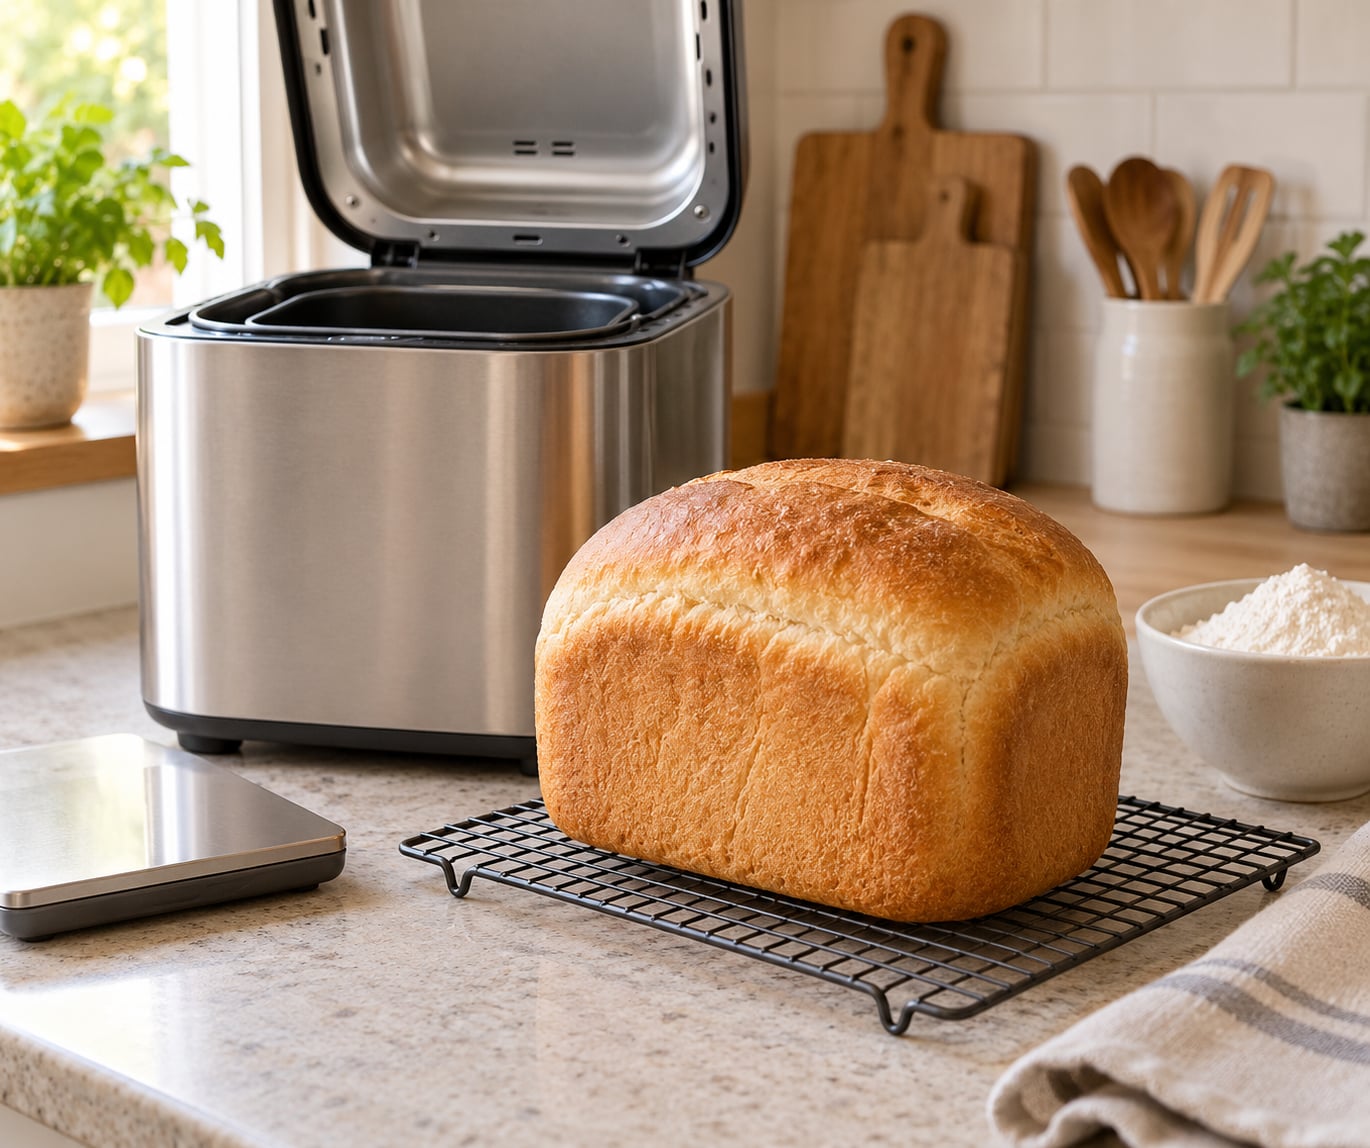
To use a bread machine, you load the removable pan with ingredients in a fixed order, pick a programme, loaf size and crust colour on the control panel, and press start. The machine then mixes, kneads, proofs and bakes on its own. From measuring to slicing, the whole process takes about 15 minutes of your attention and roughly three hours of machine time.
That last part trips up most first-timers. They measure by eye, dump everything in at once, and end up with a dense brick. How to use a bread machine for beginners comes down to three habits: measure accurately, keep salt away from the yeast, and check the dough ball partway through the knead.
One honest note before you start. Your first loaf will probably be edible but misshapen, and that is normal rather than a fault in the machine. If you are still shopping, the best bread machines for everyday sandwich loaves are a good place to start, but every machine follows the same loading rules described below.
Table of Contents
What You Need
A bread machine, its manual, and a small set of measuring tools are all it takes to bake your first loaf. A scale is the one item worth spending money on, because flour measured by cup can vary by 20 percent between scoops.
- The machine and its manual. The manual is the final authority on ingredient order, approved ingredients and pan capacity. Cycle names differ between brands, so a recipe written for a Zojirushi will not match your buttons.
- A kitchen scale. King Arthur Baking recommends weighing flour in grams rather than scooping, and it is the single biggest improvement most beginners can make.
- Measuring cups and spoons for liquids, salt, sugar and yeast, plus a liquid measuring cup so you read water at eye level.
- Basic ingredients: strong bread flour (or all-purpose flour for a first attempt), water, a little sugar, salt, oil or butter, and yeast.
- Oven mitts and a wire cooling rack for removing the loaf. The pan and lid come out far hotter than you expect.
Stick to the ingredients your manual approves. Some machines exclude whole eggs, canned ingredients or certain fats, and going past the maximum loaf size marked inside the pan is the fastest route to a dough overflow.
Step-by-Step: How to Use a Bread Machine
Seven steps cover a complete loaf, from reading the manual to cleaning up. Settings and cycle names vary by machine, so read yours and treat the manual as the final word whenever it differs from anything below.
1. Read Your Bread Machine Manual and Choose a Basic Recipe
Read the manual first, then start with a simple basic white loaf. Every machine lists its bread pan capacity in cups or grams, its approved ingredients and its available programmes somewhere in the first few pages.
Check two limits before you begin. Stay under the maximum fill line inside the pan, and stay inside the ingredient list your manufacturer approves. A basic white recipe is the right starting point because it has no extra fat to hide mistakes and bakes in about three hours.
2. Gather and Measure Your Ingredients
Measure everything before the machine is on, and measure it accurately. Weigh flour to the gram, measure liquids by volume at eye level, and level off cups rather than scooping and shaking them.
The order for a typical basic loaf is water first, then oil or melted butter, then sugar, then flour, with salt and yeast placed on top of the flour but kept apart from each other. Use room temperature fats unless your recipe says otherwise. If your water feels cold against your wrist, it is fine; if it feels hot, let it sit a few minutes.
3. Prepare the Bread Pan
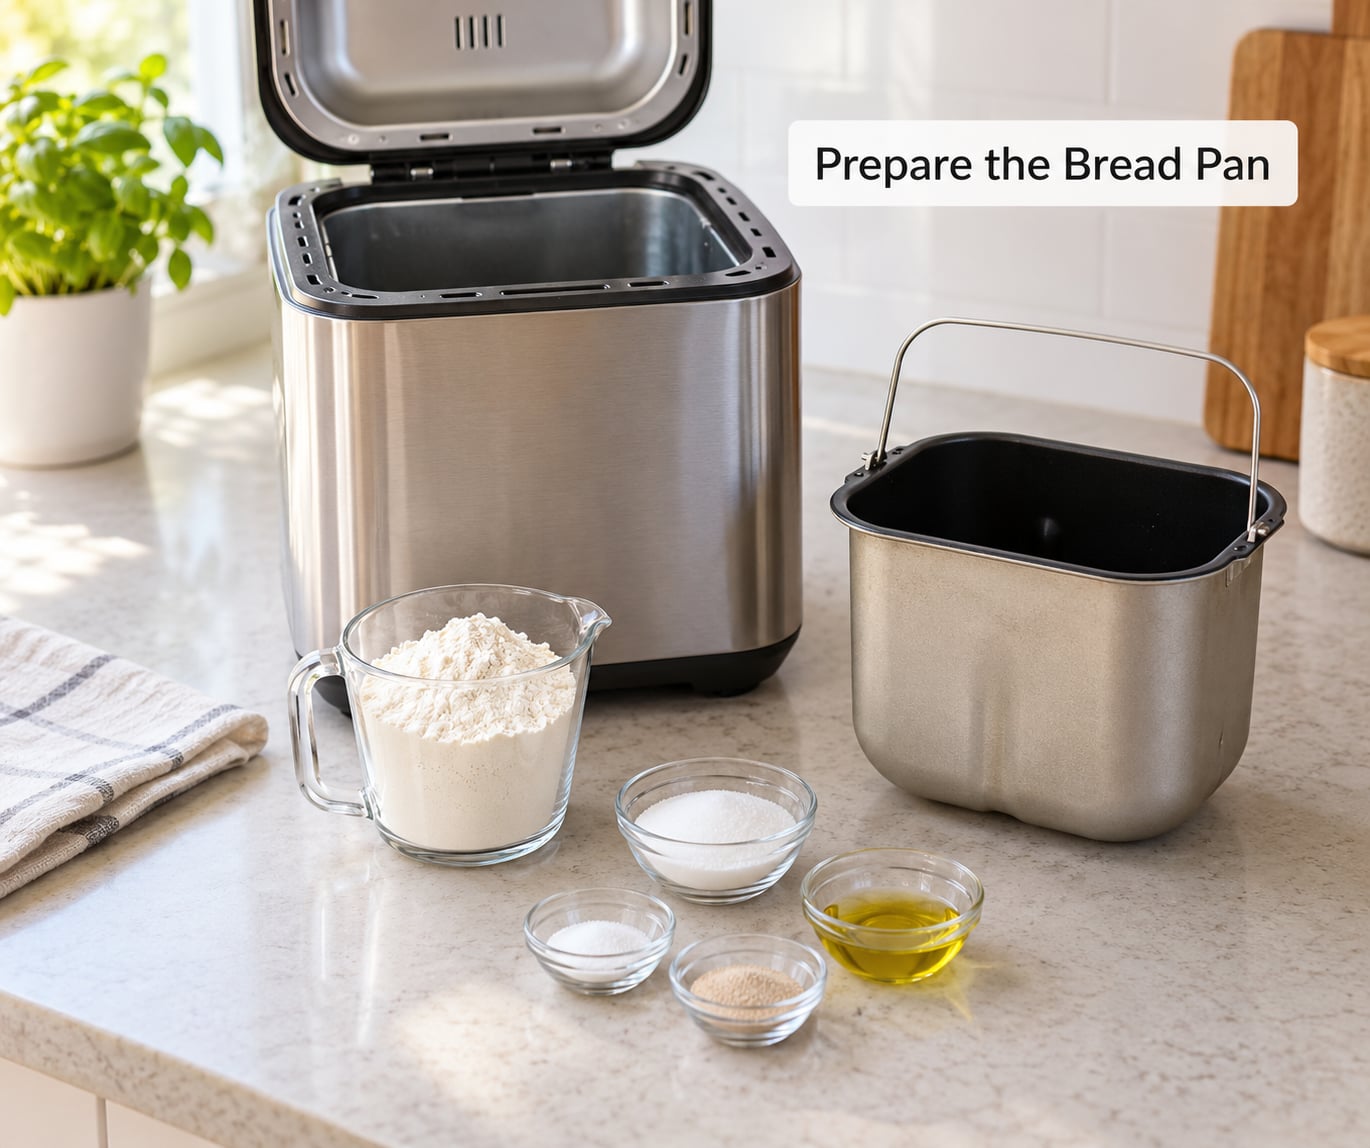
Prepare the pan by seating the kneading paddle on the drive spindle before anything goes in. If the paddle is loose or tilted, dough will wrap around it unevenly and the loaf will lean.
Then add the ingredients in the order your recipe or manual gives. Liquids go into the bottom of the pan, dry ingredients on top, and yeast last in a shallow well so it stays dry until the paddle drags it through the liquid. Fruit, nuts or chocolate go in at the dispenser if your machine has one, or when the machine signals you at the fruit-and-nut moment.
4. Select the Right Program and Start the Machine
Choose a basic or white bread programme, set the loaf size that matches your ingredient quantities, and pick a medium crust colour. A medium setting on a first loaf leaves you room to adjust without chasing a dark finish.
If the loaf size setting is wrong the machine under- or over-bakes relative to the dough you loaded, so match it to your recipe. Press start and the machine preheats before the paddle turns, which can look like nothing is happening for several minutes.
5. Let the Machine Knead, Rise, and Bake
Leave the lid closed and the machine alone. It runs through timed cycles on its own: mixing and kneading, a first rise, a second rise, and the bake. Opening the lid during the rise lets heat out and slows the proof.
About five to eight minutes into the knead, glance through the viewing window if your machine has one. You should see a smooth, rounded dough ball that moves as one piece, with no dry flour streaks sitting on the bottom of the pan. If loose flour is still visible after the knead cycle ends, the dough was not mixed, which usually means the ingredients were loaded out of order. Slicing matters later, though, so pick a serrated blade before the loaf comes out of the machine. Our guide to bread knives covers the main options.
6. Remove the Bread and Let It Cool
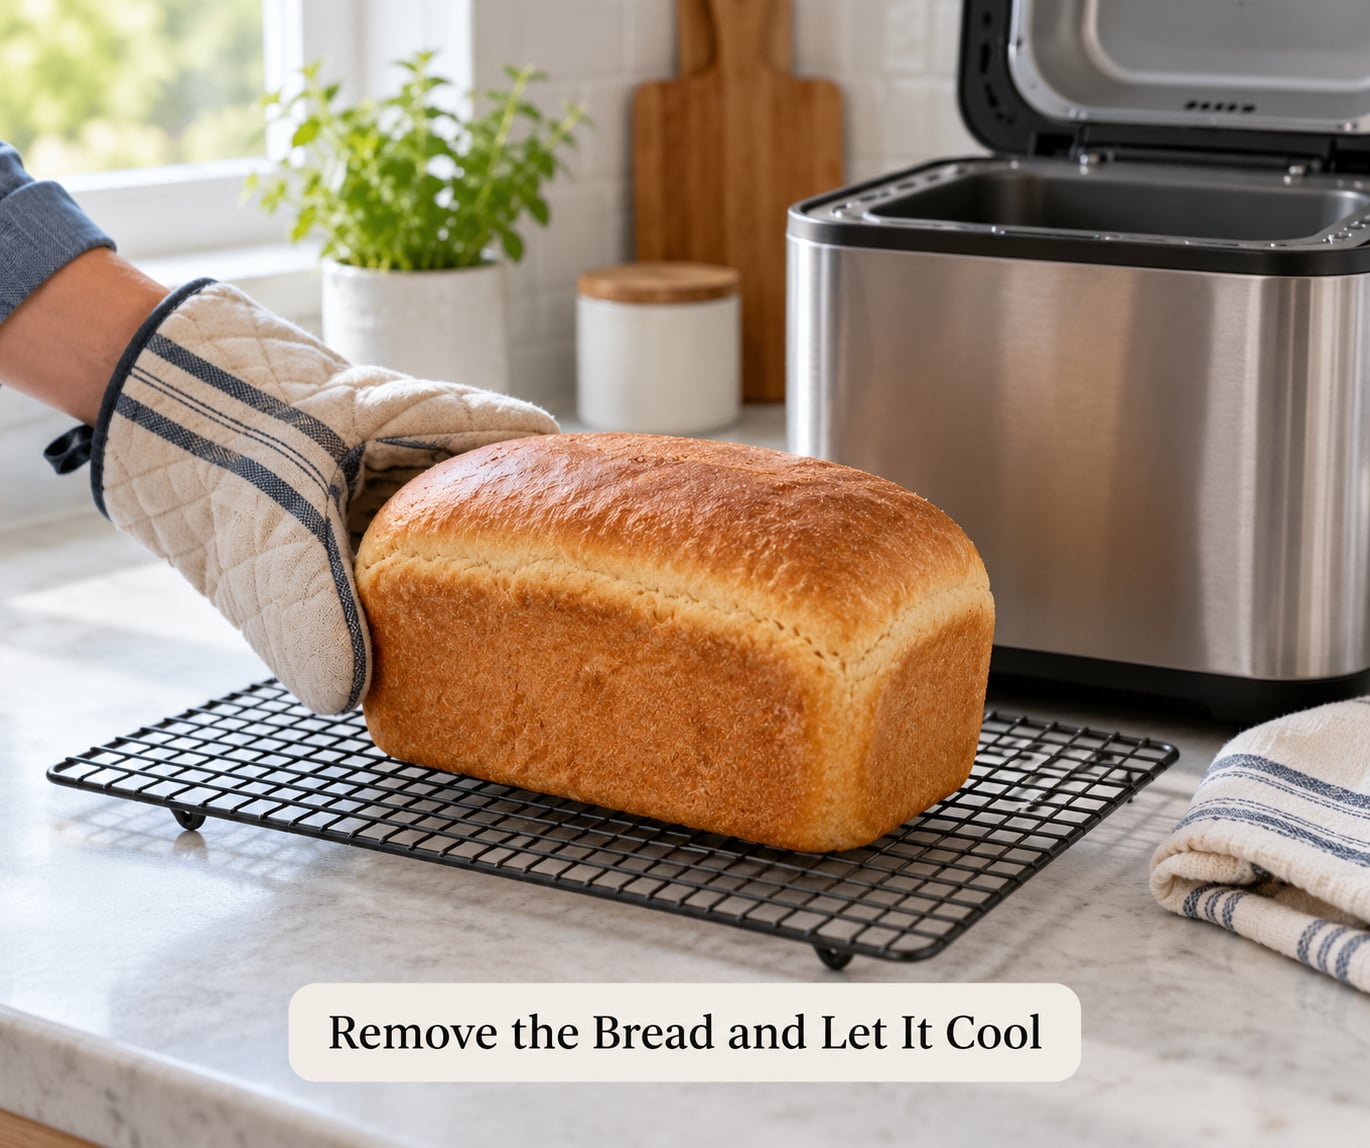
Remove the loaf with heat-resistant oven mitts, set the pan down, and turn it out onto a wire rack. A tight loaf sometimes resists, so run a knife around the inner edge of the pan before inverting it.
Wait 10 to 20 minutes before slicing. The crumb is still setting as it cools, and cutting too early gives you a gummy slice that compresses under the knife. Longer cooling makes slicing easier and improves the texture, which is why a dense-looking loaf sometimes looks better the next day.
7. Store the Bread and Clean the Machine
Store the finished loaf in an airtight container or a bread bag at room temperature for two to three days. Slice it only when you need it, because cut surfaces dry out faster, and freeze the rest for a month or more in a sealed bag or wrap.
Clean while things are cool rather than hot. Wash the bread pan, the kneading paddle and the lid in warm soapy water, wipe the baking chamber with a damp cloth, and dry everything fully before reassembling. Leftover moisture and stuck-on sugar are what cause the stale smell people complain about in machines that never get washed.
Common Mistakes
Almost every disappointing first loaf traces back to one of a handful of fixable problems. Work down this list and change one thing at a time, because two changes at once tells you nothing about what helped.
- Dense, heavy crumb. Usually under-rising or too much flour by volume. Weigh the flour, confirm the yeast is fresh, and check the water was lukewarm rather than cold.
- Collapsed or flat top. Often an underproofed dough, a bake that ran too hot, or opening the lid mid-cycle. Run the machine again without peeking.
- Pale crust with a pale crumb. The loaf was underbaked for its size. Match the loaf size setting to the dough and move crust colour up a notch.
- Sticky dough smeared on the pan sides. Too much liquid, or the machine kneading an overhydrated whole wheat dough. Reduce water by a tablespoon or two on the next loaf.
- Burnt edges and dark base. Fruit or chocolate added at the wrong moment, sugar sitting at the bottom of the pan, or an offset pan that is not level on the counter. Level the machine first.
- Uneven or lopsided loaf. A loose or misset kneading paddle, or a dough ball that was never formed because nothing sat on the spindle.
- A paddle hole in the base of the slice. The kneading paddle baked into the loaf. That is normal and unavoidable unless your machine has a collapsible blade; pull it out before slicing.
Dense loaves get their own long treatment, including the flour and hydration numbers that cause them, in our guide to why homemade sandwich bread comes out dense.
Tips for Better First Loaves
A few habits shorten the path from dense brick to decent sandwich bread. None of them are complicated, and together they cover most of what separates an average loaf from a good one.
- Weigh the flour in grams. A cup of flour can swing by several ounces between scoops, and dough does not forgive that.
- Check the yeast is alive. Instant yeast should smell faintly sweet and be within its best-before date. Old yeast is the quiet cause of flat loaves.
- Keep salt and yeast apart until mixing. Direct salt contact can kill the yeast before it activates, which means a loaf that never rises properly.
- Use lukewarm water, about 80°F (27°C). Cold water slows the yeast badly and hot water kills it outright.
- Run the correct programme for the flour. Whole wheat and gluten-free loaves need their own cycles because they behave differently from white dough.
- Write down what you did. A note with flour weight, water weight, programme, loaf size and crust colour turns loaf three into a fix instead of a mystery.
- Change one variable per bake. Adjust water, yeast or flour one at a time so you know what made the difference.
Frequently Asked Questions
What is the best bread machine setting for beginners?
Start with the basic or white bread programme, medium crust and a medium loaf size that matches your ingredient quantities. White dough is the most forgiving first bake, and a medium crust gives you room to adjust without chasing a dark finish. Only move to whole wheat, sweet or gluten-free cycles once a plain white loaf comes out well.
Do ingredients go in the bread machine in a specific order?
Yes, and order is one of the top causes of bad loaves. Liquids go in the bottom, then oil or butter, then flour, with sugar and salt on top and yeast added last in a shallow well. Keeping salt away from the dry yeast until the paddle mixes them protects the yeast from being killed before it activates.
Can I use all-purpose flour in a bread machine?
You can, and it is a fine choice for a first loaf. All-purpose flour has less protein than bread flour, so the crumb may be slightly tighter and the loaf a bit shorter. Weigh it accurately and stay at the flour amount your recipe gives rather than adding extra, because that is what makes the difference between a decent loaf and a dense one.
Why is my bread machine loaf dense?
The usual causes are flour measured by volume instead of weight, water that was too cold, yeast past its best-before date, or a loaf size setting larger than the dough you loaded. Check the dough ball five to eight minutes into the knead: it should be smooth and rounded with no loose flour on the bottom of the pan.
Should I open the bread machine while it is baking?
Leave it closed. Opening the lid during the first rise lets heat escape and slows the proof, and opening it during the bake can flatten the crust and make the loaf dry out. The one exception is watching the kneading cycle through a viewing window if your machine has one, which is how you check the dough ball without interrupting anything.
How do I keep homemade bread fresh after baking?
Cool the loaf completely on a wire rack first, then store it at room temperature in an airtight container or sealed bread bag for two to three days. For longer keeping, slice it, freeze it in a sealed bag or wrap, and thaw a slice at a time. Bread kept uncovered or sliced weeks ahead of time goes stale fast.
Start With a Simple Loaf
Make one straightforward white loaf and resist changing anything until you have seen how your own machine behaves. Pick a basic recipe at the middle of your machine’s loaf size, weigh every ingredient, load them in order and let the machine finish without opening the lid.
When the loaf comes out, note what happened: was the dough ball smooth at the eight-minute mark, did the crust colour match the setting, how long did it cool before you cut it. Those notes are what make the second loaf better than the first, and how to use a bread machine stops being guesswork after a couple of rounds. If the crumb was tight, adjust water or flour next time rather than baking harder or longer.