
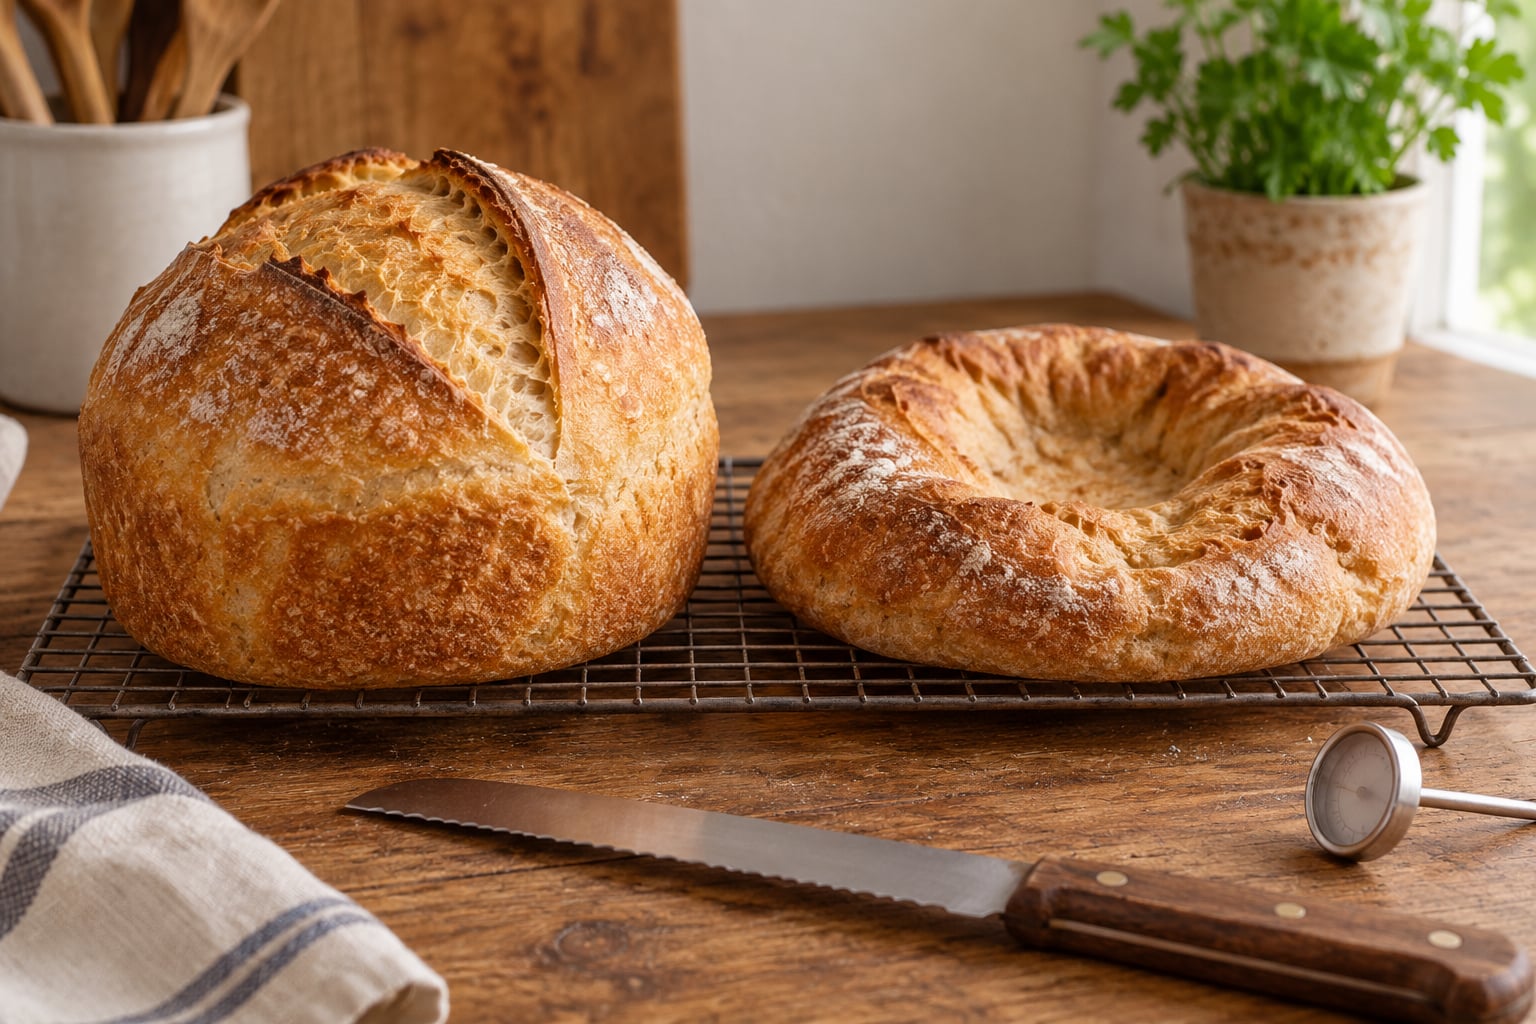
If you’re asking why did my bread collapse after baking, the short answer is that the gas structure holding the loaf up gave out before the crumb could set. Overproofed dough, weak gluten, too much liquid and underbaking are the usual suspects, and which one you hit shows up in the shape of the loaf and the crumb inside it.
That’s the frustrating part. A collapsed loaf often looks perfect for the first half of the bake, rises beautifully in the oven, and then drops in the last ten minutes or right after it comes out. By the time you can see the problem, the loaf is already out of the oven, so the diagnosis has to come from the shape and the crumb rather than from watching it happen.
The good news is that a collapsed loaf is a variable in a system, not a personal failure. Weight your flour, adjust one thing, bake again. Most bakers who start diagnosing instead of guessing fix it within two or three loaves.
Table of Contents
- What Does a Collapsed Loaf Look Like?
- Quick Diagnosis: What Shape Did Your Bread Collapse?
- Why Did My Bread Collapse After Baking?
- Why Does Bread Collapse While It Cools?
- How to Fix a Collapsed Loaf on Your Next Bake
- Can You Rescue Bread That Collapsed After Baking?
- How to Tell Which Problem Caused the Collapse
- Frequently Asked Questions
- Why did my bread sink in the middle while baking?
- Can I still eat bread that collapsed after baking?
- Why did my bread deflate after coming out of the oven?
- Does a collapsed loaf mean the dough was overproofed?
- Should I let bread cool completely before slicing?
- How do I stop sandwich bread from spreading while baking?
What Does a Collapsed Loaf Look Like?
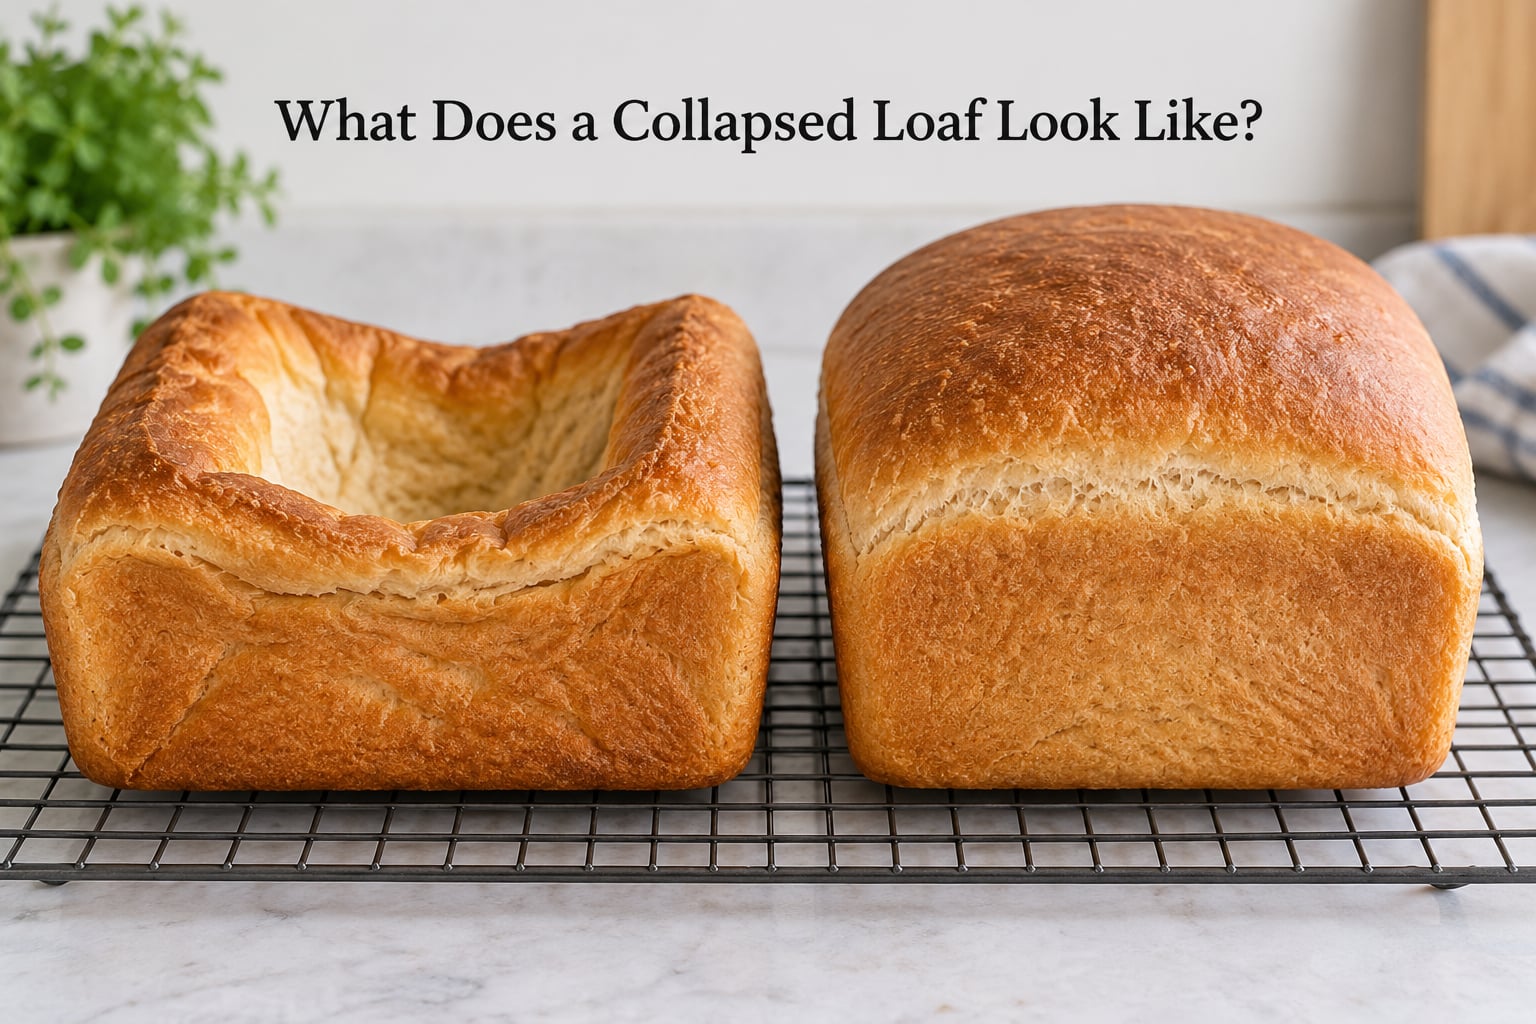
Collapse isn’t one thing. A loaf can sink straight down in the middle while keeping its edges, or it can spread outward into a flat disc. Those two look completely different and come from different problems.
A center sink means the top of the loaf caved inward, usually while it was still in the oven or in the first minutes after. The crust stays intact around the rim, and the middle looks like a shallow crater. This is the classic underbaked or weak-structure failure.
A spread means the loaf lost its height and widened instead. The sides bulge out past the edges of the pan or scoring line, and the profile is squat. That’s the overproofed signature, the failure bakers most often blame everything else on first.
A sideways slump is a third shape. One shoulder of the loaf is noticeably lower than the other, usually because the dough was placed in the pan without tension and the heavy side settled. If the loaf looked fine in the oven and only sank on the cooling rack, that’s a different story again, and it’s covered further down.
Quick Diagnosis: What Shape Did Your Bread Collapse?
Match your loaf to a row below before you change anything. The location of the collapse and the look of the crumb narrow it down faster than any amount of guessing.
| What the loaf looks like | What the crumb shows | Most likely cause |
|---|---|---|
| Sunken in the center, edges still up | Dense, slightly gummy base; top pulled down in the oven | Underbaked crumb, or weak gluten |
| Spread flat and wide, low profile | Ragged, shrunken holes and torn bubbles | Overproofed dough |
| Fine for 10 minutes, then drops | Large uneven tunnels with dense patches | Underproofed or underdeveloped dough |
| One side lower than the other | Tight, compressed crumb on the low side | Weak shaping, no surface tension |
| Held its shape in the oven, sagged on the rack | Gummy or tacky slices, dense overall | Underbaking, or moved too early |
| Dented exactly where you scored | Otherwise open, even crumb | Score too deep or at the wrong angle |
Why Did My Bread Collapse After Baking?
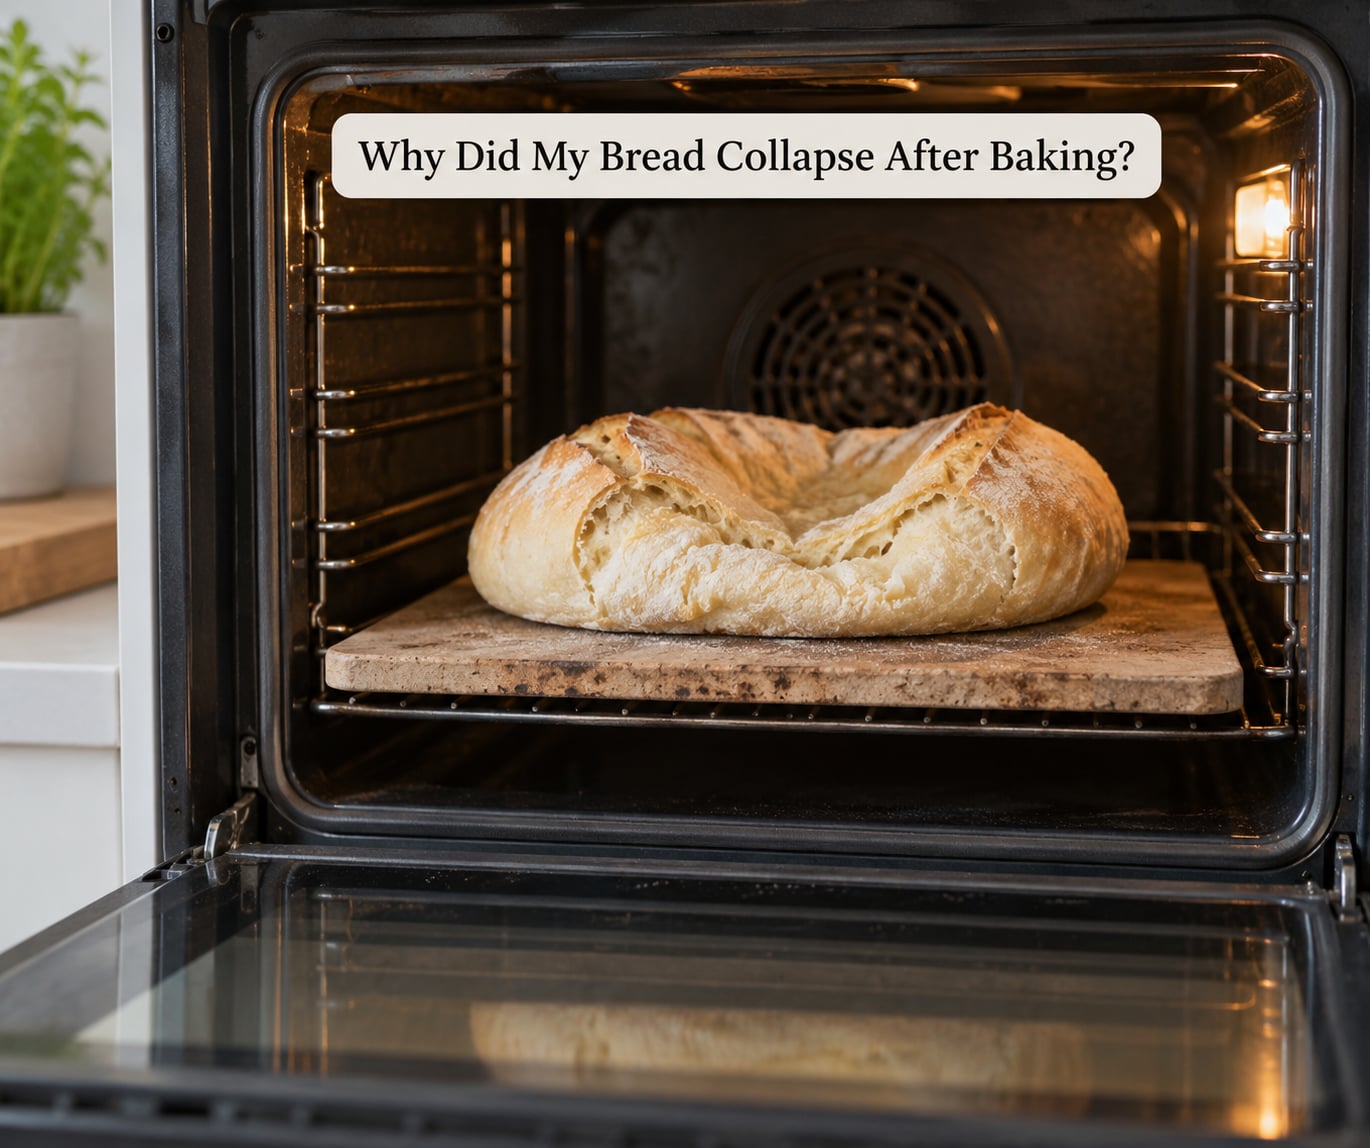
There are six causes that account for nearly every collapsed loaf. Here they are in the order I’d check them, starting with the ones that show up most often.
Overproofing or underproofing
Overproofing is the most common cause. During a long or warm fermentation the gluten network weakens and the gas cells break down, so the loaf can no longer hold itself up. It hits the oven, gets its first burst of oven spring, then spreads at the score line and folds down. Bakers on baking forums consistently describe the same timing: the loaf looks right going into the oven and falls within the first 5 to 10 minutes.
Underproofing is the mirror image and far less often blamed. Dough that never got enough gas has too few, too-large cells to distribute the pressure, so the loaf rises slowly, bakes heavy, and caves in as you handle it. The crumb tells you which one you have: ragged, shrunken, irregular holes mean overproofed, while a few big uneven tunnels and a dense base mean underproofed.
Weak Gluten or Poor Dough Development
A loaf is a balloon, and the gluten network is the rubber. If the gluten never developed, the balloon stretches before it can set. Underdeveloped dough feels slack and sticky, tears instead of stretching when you pull it, and spreads rather than holding a round profile on the bench.
Common culprits are too little kneading for a high-protein flour, a machine cycle that’s too short, and a whole wheat or high-hydration dough that got mixed into a glue rather than a dough. Adding vital wheat gluten, roughly a tablespoon per cup of whole wheat flour, fixes most of the whole wheat and spelt loaves that collapse every single bake. A windowpane test tells you where you stand: pull a small piece and stretch it thin, and if you can see light through it without it tearing, the gluten is ready.
Yeast Problems and Excess Gas Production
Too much yeast produces gas faster than any dough can absorb, and the structure gives out before the crumb sets. A fresh jar of yeast that’s more vigorous than the one you had before is a real cause here. Reducing the yeast by a quarter to half teaspoon and increasing salt by the same amount has fixed more than one suddenly-collapsing loaf in the comments on bread-troubleshooting threads.
Old, dead, or unusually acidic starter does the opposite, producing a loaf that barely rises and then slumps. A starter that smells strongly of acetone and doubles slowly is too far gone to build gas. Even distribution matters too: yeast that hasn’t been mixed through the flour creates pockets of gas that stretch one area past its limit.
Oven Temperature, Steam, and Baking Problems
A dangerously hot oven shocks the loaf early. The crust sets in a few minutes, then the still-expanding interior pushes through it. Check with an oven thermometer, and give the oven a full 15 minutes past the preheat signal rather than trusting the beep.
Opening the door in the first 15 minutes drops the temperature sharply enough to stop oven spring. Slamming it does the same thing, and so does moving a loaf to a cold rack while it’s still soft. Too much steam early in the bake keeps the crust soft and delays the set; too little lets the crust harden before the interior finishes expanding.
Shaping, Panning, and Scoring Issues
Shaping is where surface tension comes from. If the dough is tucked loosely and dropped into the pan, it spreads on the first real push of heat. Drag the seam seal with the heel of your hand, cup the dough, and give it a final gentle drag across the bench to build a taut skin before it goes in.
Pans matter as much as technique here. A pan that’s too small forces the dough upward and outward at once, and an oiled or greased pan gives the dough nothing to grip. A dough ball that springs back the moment you push it is over-tensioned and will split at the score instead of rising.
Scoring too deeply is a common self-inflicted collapse. A score a full centimeter deep opens a flap that folds under its own weight. Score about a third of the way down at a shallow angle and the loaf can open along it without collapsing into it.
Humidity, Altitude, and Ingredient Problems
High altitude changes everything because gas expands more at lower pressure, so a dough that behaves at sea level can over-extend in a mountain kitchen. Humid days absorb into your flour and make an already-hydrated dough slack without you adding a drop of water.
Measurement drift is the quiet culprit behind the “it worked for two years and now every loaf fails” story. Switching flour brands changes the protein content and absorption, and a new bag can be measurably thirstier than the last one. Weigh everything on a digital scale. Bakers who switched to grams report the most consistent results of any change, including users who had been through dozens of misshapen loaves.
Quick breads are a separate system. Banana, pumpkin and zucchini loaves use baking soda or baking powder, and they sink for entirely different reasons. An expired leavener, overmixed batter, a loaf pan filled too high, or a bake short of the 200 to 205°F internal target all drop the center long after the crust looks done. Whole wheat and rye collapse for the same gluten reason as white bread, with less margin for error. If the loaf is dense all the way through rather than sunken on top, why homemade sandwich bread comes out so dense covers the other half of the diagnosis.
Why Does Bread Collapse While It Cools?
Some loaves bake fine and fall apart the moment you move them. That’s a different failure, and it usually means the crumb never finished setting. Yeast bread keeps releasing steam and contracting as it cools, and an underbaked interior is still soft enough to take the weight of the loaf and buckle under it.
Other bakers report a loaf that held its shape perfectly in the oven, then deflated a few minutes after coming out. That points back to structural weakness, usually overproofing, because the gas cells that were holding the loaf are collapsing as the dough cools and contracts. The shape was temporary, and the fall just made it permanent.
A fully cooled loaf losing a little moisture is normal, not a defect. But if the base feels gummy or dense, that’s a doneness problem, not a cooling problem. Let the loaf sit in the switched-off oven for 10 to 15 minutes before moving it, then cool on a wire rack where air reaches the underside.
How to Fix a Collapsed Loaf on Your Next Bake
Change one or two variables at a time, and keep notes. Baking is a system, and adjusting everything at once tells you nothing about what mattered.
- Weigh everything. Grams instead of cups, starting with flour and water. Most hydration disasters are measurement drift, not technique.
- Check hydration. Aim near 65 percent for a pan loaf, roughly 2.5 to 3 cups of flour for every 1.25 to 1.5 cups of liquid. If the dough ball sticks to your hand after the first kneading cycle, take out a tablespoon of liquid.
- Balance salt and yeast. 2 percent salt by flour weight, yeast at roughly 1 percent. Too much yeast with too little salt is the classic overproofing recipe.
- Shorten the fermentation. If your kitchen runs warm, or the dough doubles faster than you expect, cut bulk time by a third and watch the dough, not the clock. A bulk that ends when the dough is domed and jiggly, not flat, keeps more structure.
- Build gluten. Add two or three sets of stretch and folds 30 minutes apart, or extend the knead until the windowpane test passes. Add vital wheat gluten for whole grain or spelt.
- Shape with tension. Pre-shape, rest 15 minutes, then shape tight. Drag the seam to tighten the skin before the dough goes into the pan or banneton.
- Score shallowly. A third of the way down at a shallow angle, at a slight angle to the loaf’s axis so it opens rather than splits.
- Bake to temperature, not time. Yeast loaves and quick breads are done around 200 to 205°F internal, measured in the center with an instant-read thermometer. Carry over to 205 to 210°F for a heavier enriched or fruit loaf.
- Leave the door alone. No peeking for the first 15 minutes, and hold the oven door gently when you do open it.
- Cool before you cut. 2 to 3 hours on a wire rack for yeast bread. A quick bread needs 30 to 45 minutes.
Can You Rescue Bread That Collapsed After Baking?
A sunken center can’t be pushed back out, but the loaf is usually still good to eat. The failure is structural, not a flavor or safety problem, and most bakers report that a collapsed loaf tastes fine once it’s sliced thin.
Slice it with a serrated knife and toast it. The dense middle turns out well as croutons, garlic toast, or a thick slice with butter and soup, where the texture reads as hearty rather than flat.
If the base is gummy rather than dense, the loaf was simply underbaked. Put it back on a rack in a 325°F oven for 10 to 15 minutes and test again. A gummy crumb is a doneness problem and a second bake fixes it.
Store the loaf at room temperature for up to two days, and skip the refrigerator, which dries bread faster than the loaf goes stale on the counter. A dense loaf also makes a fine binder for meatballs or a stuffing, if you end up with more than you can eat.
How to Tell Which Problem Caused the Collapse
Run through this before your next bake. The questions in order usually isolate the culprit in a couple of minutes.
Where did it collapse? Center means underbaking or weak gluten. Sideways means shaping and surface tension. Spread wide means overproofing.
When did it collapse? In the first 10 minutes of the bake points to overproofing or weak structure. During cooling points to underbaking. Only after slicing points to cutting too early.
What does the crumb look like? Ragged, shrunken holes mean overproofed. A few large uneven tunnels mean underproofed. A gummy, compressed base means underbaked. A dense crumb with tight roll structure means the dough got mixed too hard, as in a stand mixer on high speed.
How did the dough look before it went in? Spread wide on the counter, slack and sticky, means underdeveloped gluten or too much liquid. Bubbling, tearing easily and doubled well past expectations means overproofed. Flat and barely domed means underproofed or dead yeast.
Did the crust color lie to you? Dark crust over a pale, gummy interior points to the oven running hot and the bake finishing on the surface first. Install an oven thermometer and check it.
Did anything change recently? New flour bag, new yeast jar, different water source, a colder kitchen, or a new pan. Flour brands vary in protein content, and a swap alone explains a recipe that worked for two years and then didn’t.
Frequently Asked Questions
Why did my bread sink in the middle while baking?
A center sink usually means the crumb never set before the loaf’s own weight caught up with it. Underbaking is the first thing to check: a yeast loaf should reach 200 to 205F inside, measured in the center, and so should a quick bread. If the crust browned early, the outside set while the middle was still wet, so the top folded inward in the oven.
Can I still eat bread that collapsed after baking?
Yes, usually. A collapsed loaf is a structural failure, not a food safety problem, and the flavor is often fine because the same fermentation and baking steps happened anyway. A gummy or doughy center is a doneness issue, so finish it on a rack at 325F for another 10 to 15 minutes. Discard only if it smells off, shows mold or has sat out for days.
Why did my bread deflate after coming out of the oven?
Deflating right after the oven points to structural weakness rather than underbaking. The gas cells that supported the rise collapse as the loaf cools and contracts, and an overproofed or low-gluten dough has nothing left to hold its shape. Underbaked loaves also sag on the rack, because a soft base takes the weight of the whole loaf and buckles under it.
Does a collapsed loaf mean the dough was overproofed?
Not always. Overproofing is the most common cause, but a loaf can also collapse from too much liquid, weak gluten, or a pan that was too small. The crumb tells you which one you have: overproofed bread shows ragged, shrunken holes and spreads wide at the score line the moment it hits a hot surface, while underproofed bread keeps large uneven tunnels and a dense base.
Should I let bread cool completely before slicing?
Yes, and for yeast bread that means 2 to 3 hours on a wire rack. The interior is still setting as steam escapes, and cutting early compresses the crumb and can make a loaf look collapsed when it simply was not finished. Quick breads are more forgiving, but 30 to 45 minutes keeps the crumb from tearing.
How do I stop sandwich bread from spreading while baking?
Weigh everything on a scale and hold hydration near 65 percent, or about 2.5 to 3 cups of flour for every 1.25 to 1.5 cups of liquid. Check the dough ball after the first kneading cycle, and if it sticks to your hand, reduce the liquid by a tablespoon. A tighter dough spreads less and keeps a square profile in the pan.
So: why did my bread collapse after baking? Read the shape, read the crumb, and change one variable on the next bake. Start with the gram scale, then check your fermentation time and your internal temperature, because those two account for most of the loaves that fail.