
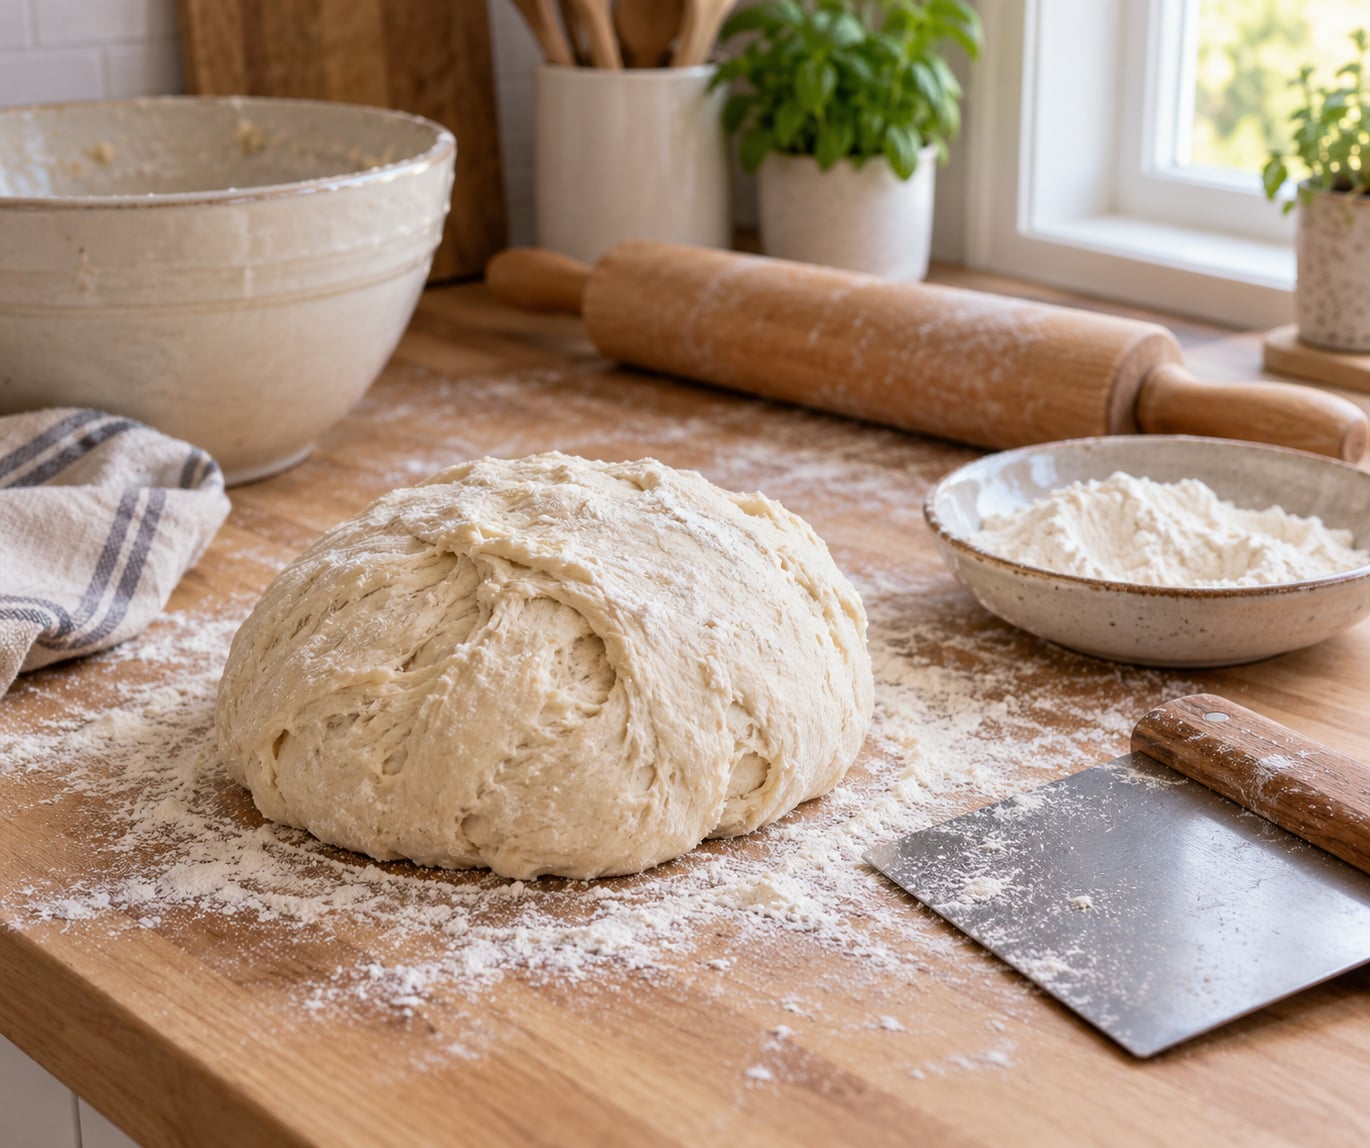
Learning how to knead dough by hand is simpler than most recipes make it sound. You push the dough away with the heels of your hands, fold it back over itself, turn it a quarter turn, and repeat that cycle for 8 to 10 minutes until the dough feels smooth and elastic. The whole point is building a gluten network strong enough to trap the gas your yeast makes, which is what gives you an open crumb instead of a dense brick. Ten minutes of real technique beats an hour of a mixer on autopilot.
Hand kneading also teaches you something a machine cannot: what correctly developed dough actually feels like. Once you know that texture, stretch and fold, a stand mixer, and even no-knead methods all make more sense. This guide covers the basic cycle, the two tests that tell you when to stop, the timing differences between dough types, and what to do about sticky, lumpy, or tear-prone dough.
Table of Contents
What You Need
Kneading needs almost nothing. That is the appeal of the method, and it is why plenty of bakers keep doing it long after buying a mixer.
- Flour. Bread flour or all-purpose flour both work. Refined bread flour usually runs 12 to 13 percent protein, and that higher protein is what forms a gluten network strong enough to hold structure. Whole wheat and other high-extraction flours behave differently and are covered later.
- Water. Room temperature is fine. Lukewarm water speeds things up slightly; cold water slows fermentation down.
- Salt. Salt tightens the gluten and controls yeast activity. Adding it late is easier on your hands, since early salt can make the dough feel tight and rubbery.
- Enrichment, if the recipe calls for it. Oil, butter, sugar, egg, milk, or whatever the dough is meant to be.
- A clean hard work surface. A wooden counter, a cutting board, or the back of a clean baking sheet. Carpet and fabric are out.
- Bench flour. A small dish of flour kept within arm’s reach while you knead. This is the single most useful tool on the list.
- A bench scraper. Useful for lifting sticky dough off the counter and for dividing it later. A metal spatula works nearly as well.
- Optional: a stand mixer with a dough hook, if your arms get tired before the dough is ready. Plenty of people knead by hand first and finish with the hook.
Before the dough ever touches the counter, scrape it out of the bowl, scrape the bowl clean with a scraper or a rubber spatula so you waste none of it, and dust your surface lightly. Give yourself room to push forward and pull back without walking into anything.
Step-by-Step: How to Knead Dough by Hand
Read this part as a rhythm, not a checklist. The push, the fold, and the quarter turn happen over and over, and the dough changes under your hands faster than the individual motions do. Most beginners do better with a timer set to 8 minutes than with none at all.
Step 1: Combine the Flour and Water
Mix the flour and water first, before anything else goes in. Work the water through the flour with your fingers until no dry pockets remain and you have a shaggy, sticky mass. It will look nothing like dough at this stage, and that is expected. Letting it sit for 10 to 20 minutes before adding salt lets the flour drink the water fully, which is called an autolyse and makes the kneading that follows noticeably easier.
Add salt next, then the enrichment. If the recipe includes yeast, add it with the salt or right after. With butter or a large amount of oil, hold it back until the dough has had a few minutes of kneading, because fat coats the gluten strands and slows them down. A cinnamon roll or brioche dough that gets its butter at second one behaves differently from the same dough buttered at minute six.
Scrape the mixture out onto your floured surface and shape it into a rough ball. It should be tacky and hold together loosely. If it crumbles apart into dry chunks, you need a little more water; if it is a puddle, you need flour. Fix the hydration now, before you start, because adjusting it mid-knead is messier.
Step 2: Begin the Kneading Motion
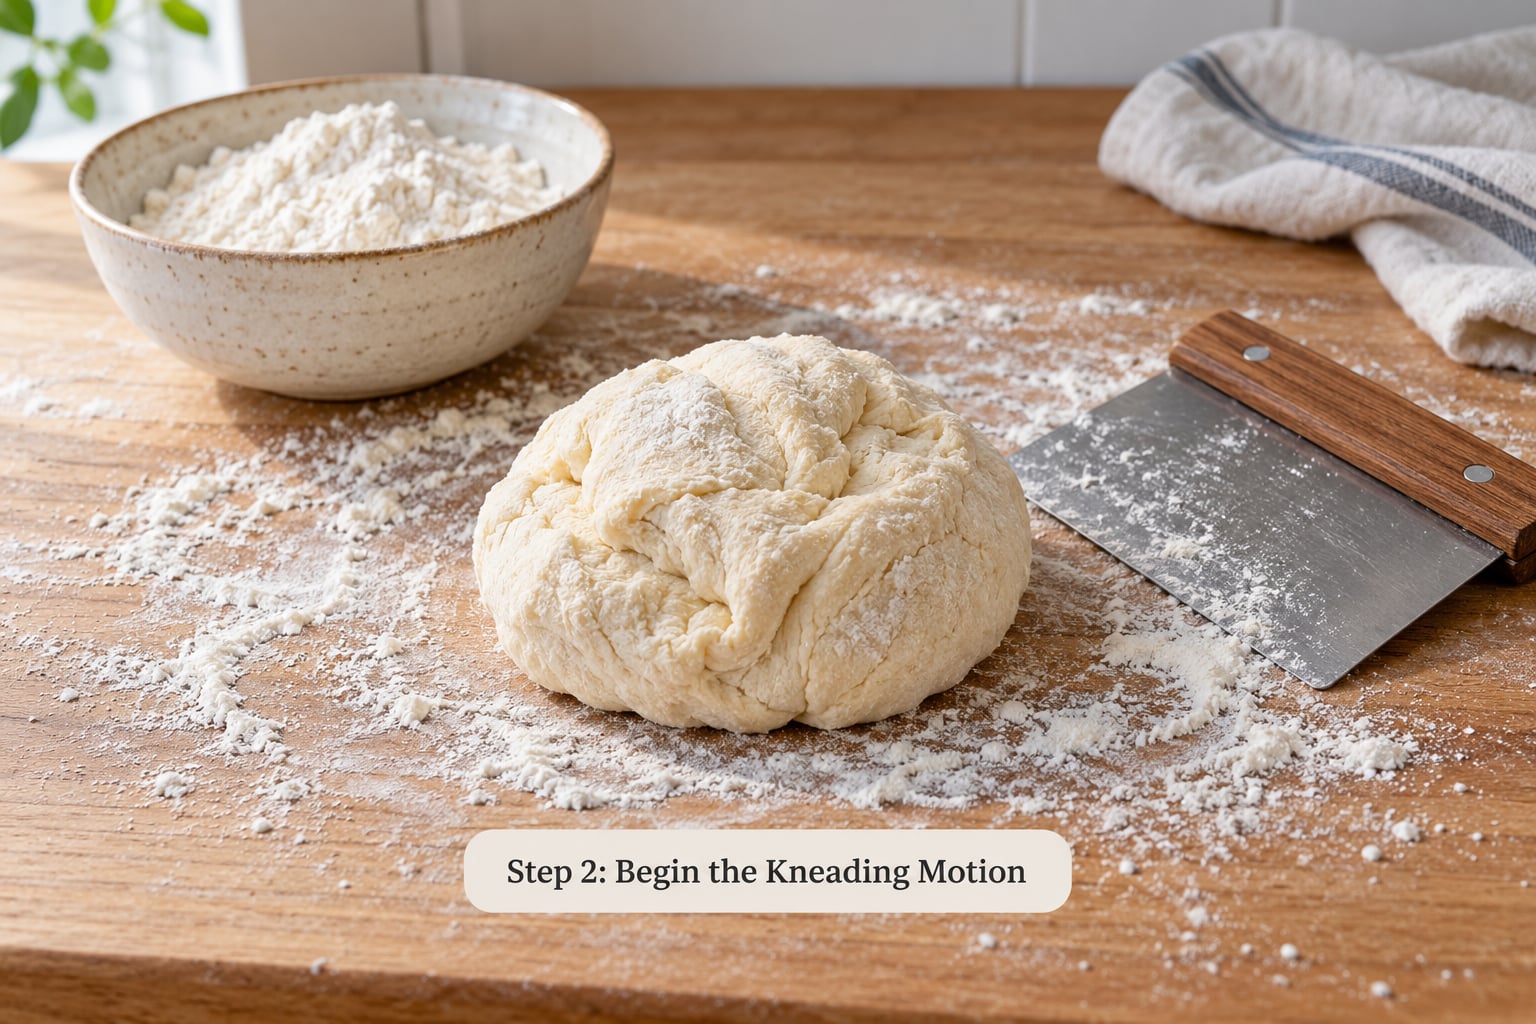
Start with the heels of your hands, not your fingertips. Place them near the far edge of the dough, press down and forward, then push the dough away from you across the counter with a firm, smooth roll. Do not stab at it or punch through the middle.
Then fold the dough back over itself from the far edge to the near edge. Grab the far side, lift it, and lay it on top, then turn the whole ball a quarter turn clockwise so the next push comes at a fresh face. Push, fold, turn. Push, fold, turn.
Most beginners lose the dough in the fold, so slow that part down. Let your fingers curl under and scoop rather than yank. If the dough tears as you lift it, that surface is too dry, and a sprinkle of bench flour will fix it. If it slides around without resistance, add a little more flour.
For a very wet dough that refuses to stay put, switch to the slap and fold. Pick the ball up, let it drop onto the counter, stretch it between your hands, fold it in half, and repeat. Bakers on bread forums report that 60 seconds of slap and fold handles a wet dough that would take a new baker 15 minutes of frustration. The stretch also develops gluten faster than the push, so it is useful even when the dough is behaving fine.
Keep your hands floured. Dip into the bench flour dish between cycles and rub it into your palms. This is why flouring your hands beats dumping flour into the dough: it stops the sticking without wrecking the recipe’s hydration ratio. Adding flour to the dough itself to cure stickiness is how you end up with a crumbly loaf that nobody warned you about.
Step 3: Knead Until the Dough Develops Strength
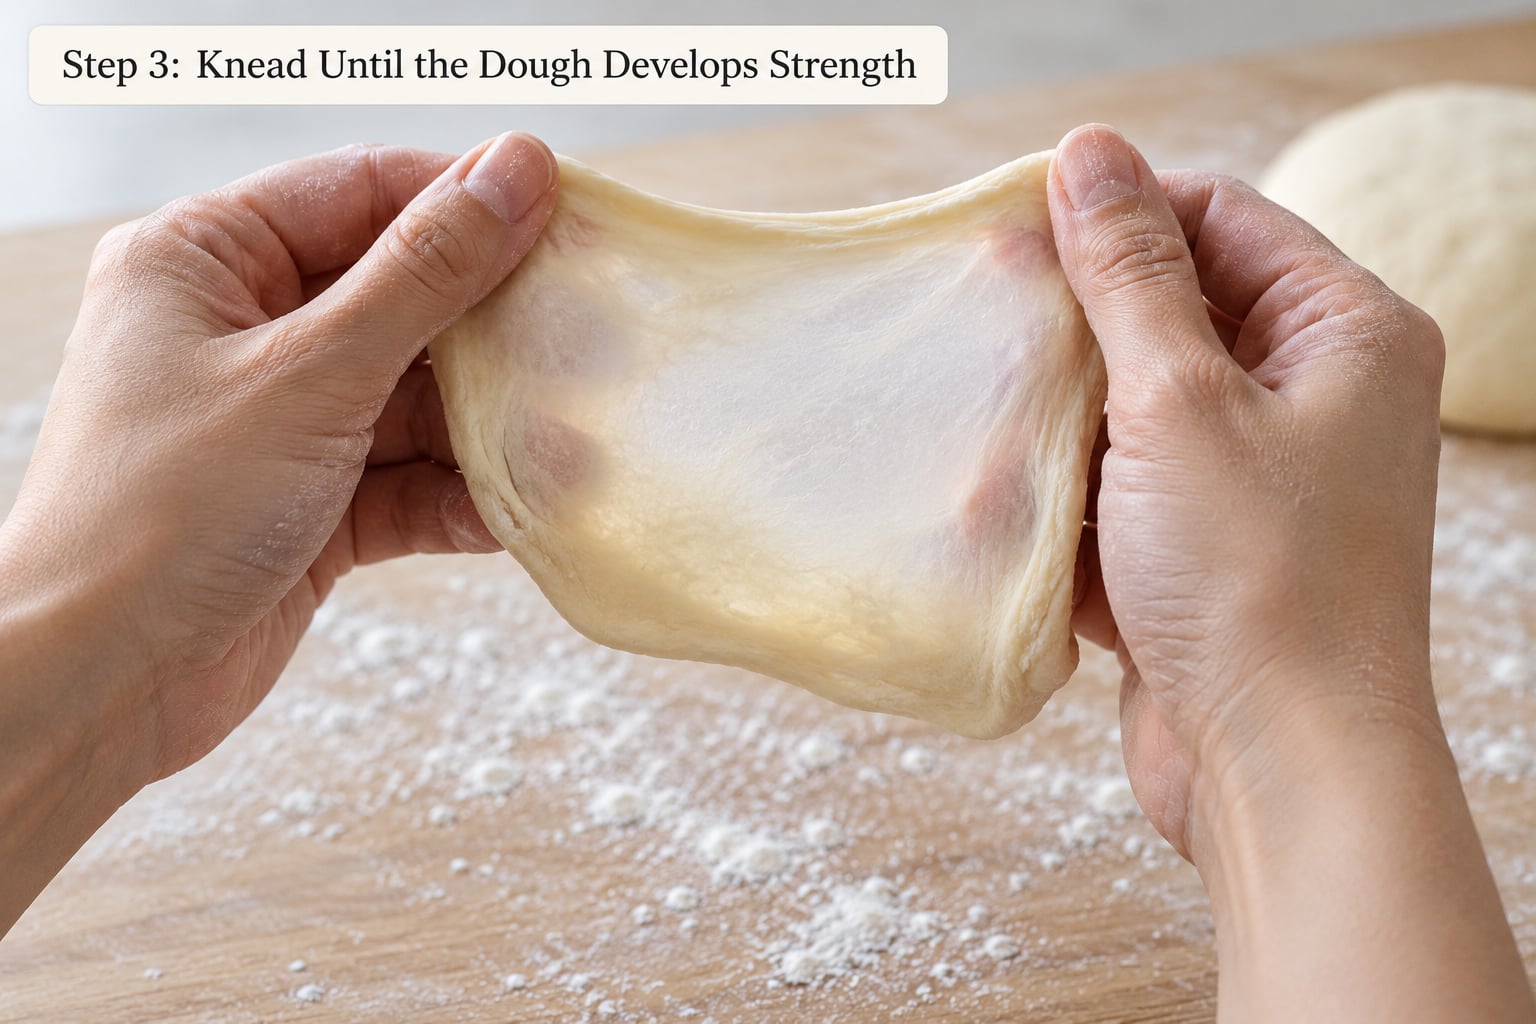
At about two minutes the dough should stop feeling paste-like and start pushing back against your hands. At four or five minutes the surface turns from ragged to smoother, and the ball rounds out as tension pulls it inward. By eight to ten minutes it feels soft, springy, and slightly bouncy, and a quick press with a knuckle leaves a dent that fills back in.
Here are the two tests that tell you more than the clock ever will.
The poke test. Press a finger about half an inch into the dough. If the dent springs straight back, gluten development is complete enough to move on. If the dent stays or only partly fills, keep kneading for another two or three minutes. This is a fine stopping point for a long ferment, because yeast does part of the work later.
The windowpane test. Pull off a small piece about the size of a coin and stretch it gently between your thumbs and fingers. Well-developed dough thins into a translucent membrane with no tears, like a pane of glass, and you can almost read the light through it. Pull too hard and it breaks; that is fine, it means you were nearly there. Test a small piece, never the whole ball, because stretching a full ball always looks like a failure.
Two caveats worth knowing. Whole wheat and high-extraction flours will rarely pass the windowpane test no matter how long you knead, and that is not a failure. Fat-rich doughs like brioche and cinnamon roll also lag behind, so use the poke test and the texture there instead of chasing a membrane you may never get.
Set a hard ceiling of about 15 minutes by hand. If the dough has not come together by then, more kneading will not fix it, and the usual culprits are flour protein, hydration, or dough temperature rather than effort. And you can stop halfway: cover the dough with an overturned bowl, let it rest 30 minutes, and come back to it. Long kneads get easier when you break them up.
Step 4: Check the Dough and Adjust
Judge the dough by feel, not by the timer, and adjust from there. Dough that is tacky but not sticky, that releases from the counter when you nudge it, and that springs back from a poke is where you want it. Add a tablespoon of water at a time for dough that feels dry and tight; add a tablespoon of flour at a time for dough that is unmanageably wet.
Different doughs want different amounts of work. Enriched doughs and whole wheat want more; pizza and bagel doughs want less, because overworking them makes them tough. Here is a rough guide:
| Dough type | Hand knead time | Best technique | Notes |
|---|---|---|---|
| Sandwich bread or lean yeast dough | 8 to 10 minutes | Push, fold, quarter turn | The baseline. Aim for a full windowpane before a long bulk ferment. |
| Pizza dough | 5 to 8 minutes | Slap and fold | Stop early. Extra kneading costs you extensibility and blistered toppings. |
| Bagel dough | 6 to 8 minutes | Push, fold, turn | Firm ball, slightly tacky. A windowpane is nice but not required. |
| Sourdough at 70 percent hydration | 8 to 12 minutes | Slap and fold or push-fold-turn | Learners do better starting near 65 to 68 percent hydration. |
| Whole wheat bread | 10 to 15 minutes | Push, fold, turn with firm pressure | Expect it to stay rough. The windowpane test will not apply. |
| Cinnamon roll or enriched dough | 10 to 12 minutes, butter added late | Push, fold, quarter turn | Knead before the butter goes in for better structure. |
| Brioche | 10 to 12 minutes, plus 5 after butter | Push, fold, quarter turn | Slack it with extra water; enriched dough needs more liquid than lean. |
Dough temperature matters more than beginners expect. Friction from kneading warms the dough, and dough that passes 80 degrees Fahrenheit ferments fast and loses structure it should have kept. If your kitchen is warm, rest the dough in the fridge mid-knead instead of pushing through.
If your hands or wrists object, use stretch and fold instead. Wet your hand, reach into the bowl, grab one side of the dough, stretch it up and fold it over, rotate the bowl, and repeat on all four sides every 30 minutes for the first two hours of bulk ferment. It develops 70 to 80 percent of the gluten a full knead would, with almost no downward pressure on the joints. A baker on The Fresh Loaf made more than 200 loaves this way after a mixer broke and rarely went back.
Common Mistakes
Nearly every hand-kneading problem has a simple cause. Work down this list before you change anything about your flour or your recipe.
Adding too much flour to fix stickiness
This is the most common beginner mistake and it is hard to undo. Dough that clings to your hands is normal, and the answer is to flour your hands and your counter, not the dough. Pouring extra flour into the ball shifts your hydration ratio and produces a dense, crumbly loaf that tastes short and bakes dense. Keep a bench flour dish within reach and dip into it every cycle.
Pushing through the middle of the dough
Stabbing or punching into the center tears the dough skin, and the tear spreads with every cycle until you have a lumpy, tough ball with no visible warning. Push from the far edge with the heels of your hands and let the dough roll forward under your own pressure. The motion should look like rolling, not like pressing straight down.
Kneading cold or stiff dough
Dough straight from a cold fridge or a cold mixing bowl resists you, and the resistance turns into tearing. Let the dough come to room temperature and run it under warm water briefly if needed. Kneading cold dough is the hidden reason some bakers describe their results as lumpy and gluey after a full ten minutes.
Under-kneading
Under-kneaded dough looks good right up until it bakes, then gives you a squat loaf with tight, gummy crumb and blowouts in random places. Signs are a rough, torn surface, dough that stretches without resistance but never develops spring, and a poke test dent that never fills back in. The fix is more kneading, and more technique: a smooth rolling push, not a fold-and-slam.
Over-kneading
Once gluten is fully developed, continued kneading breaks the network down. The dough goes from elastic to slack and greasy-feeling, stops springing back, and spreads flat when you let go. The crumb turns tight and crumbly rather than open. Hand kneading rarely causes this because 15 minutes is a natural stop, but mixers and long automated cycles do it all the time. Stop at the poke test rather than pushing to a fixed number.
Kneading unevenly
Skipping the quarter turn means every push lands on the same face, and the dough develops structure on one side while the rest lags behind. Fold with intention and turn after every single cycle, even when the dough feels like it is cooperating fine. Ten full cycles with four quarter turns beat twenty sloppy ones.
Kneading after the bulk ferment
Kneading is a before-ferment job. After the dough has risen, its gluten has relaxed and is being stretched by gas rather than by you; punching and kneading it again tears the gas cells you spent an hour building. You can degas a dough and fold it back together, but that is shaping and handling, not kneading.
One more reassurance worth having. Recipe times for kneading vary wildly, from 5 minutes to 15, and the variance is not a mistake in the recipe. It reflects flour protein, hydration, dough temperature, and how much enrichment is in there. Trust your hands over the number in the instructions.
Frequently Asked Questions
How long should I knead dough by hand?
About 8 to 10 minutes for a standard bread dough, timed from the moment your hands first touch the ball. Pizza and bagel dough need less, usually 5 to 8 minutes, because overworking them makes them tough. Whole wheat and enriched doughs need more, around 10 to 15 minutes. Treat 15 minutes as the ceiling: if it has not come together by then, more kneading will not fix it.
Why is my dough sticky after kneading?
Tacky dough is normal. Sticky dough usually means hydration is higher than your hands can manage, or the dough is warmer than you expected. Flour your hands and dust the counter instead of adding flour to the dough, and work the bench flour into your palms every cycle. If it stays unmanageable, let it rest 20 minutes; the flour finishes absorbing water and the dough firms up on its own.
How much flour should I add while kneading?
As little as possible. Keep a small dish of bench flour beside the dough and use it on your hands and the counter rather than in the dough. If you must adjust the dough itself, work in a tablespoon at a time, and only when the dough is genuinely dry and tearing rather than merely tacky. Adding flour to fix stickiness is the most common way beginners end up with crumbly bread.
How do I know when dough is kneaded enough?
Use two tests together. The poke test means pressing a knuckle about half an inch in; if the dent springs back quickly, the gluten is developed enough. The windowpane test means stretching a small piece the size of a coin until it thins into a translucent membrane without tearing. Test a small piece rather than the whole ball, and expect the windowpane result on refined bread flour only.
Can I knead bread dough without a stand mixer?
Yes, and most bread was made that way long before mixers existed. Hand kneading uses the same push, fold, quarter turn cycle a dough hook runs, and it reaches the same level of gluten development given enough time. If your arms tire, mix in a bowl first, knead on the counter until the dough is cohesive, then cover it with an overturned bowl and rest before finishing.
Is over-kneading dough harmful?
Over-kneading does real damage. Once the gluten network is fully developed, further kneading breaks the strands down, so the dough turns slack and greasy, stops springing back, and bakes into a tight, crumbly crumb instead of an open one. It is uncommon with hand kneading because 15 minutes is a natural stopping point, but it is common with mixers on long cycles. Stop at the poke test.
Conclusion
Start tonight with the simplest version: mix flour and water, scrape the dough onto a floured counter, and run the push, fold, quarter turn cycle for 8 to 10 minutes without stopping to check the clock. When the ball feels smooth, springy and slightly bouncy, and a knuckle press springs back, you are done. That texture, not the timer, is the whole skill. Keep your hands floured rather than the dough, cap the knead at 15 minutes, and let the two tests do the deciding for you.