
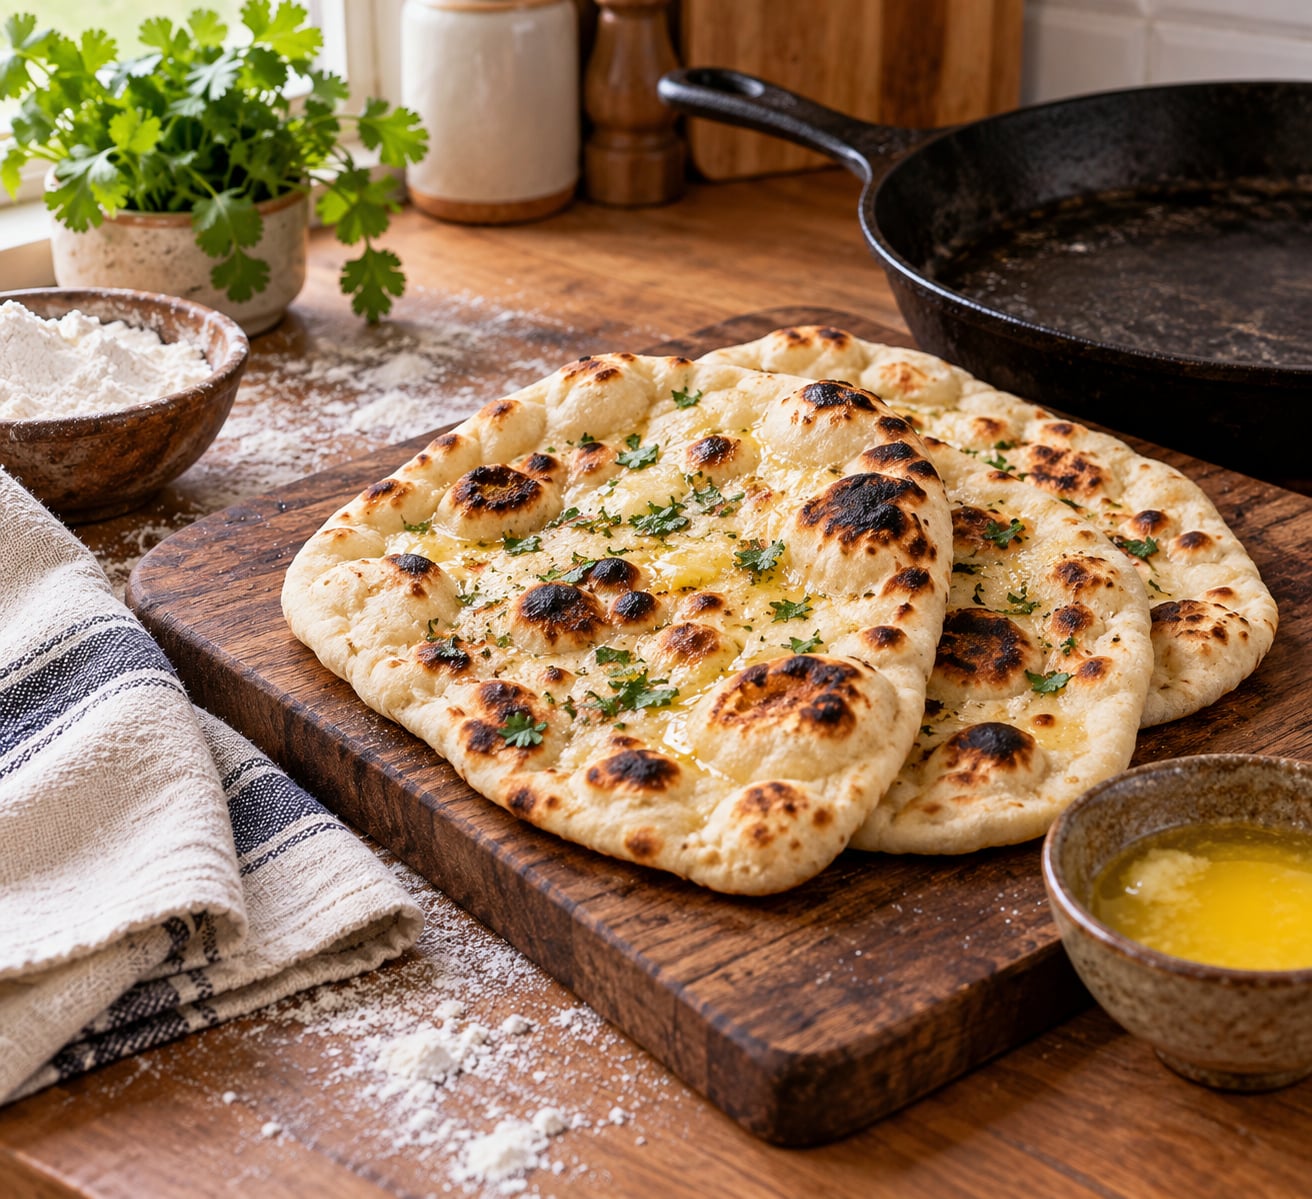
A tandoor reaches roughly 480°C, which is why restaurant naan blisters and puffs the way it does. You do not need one. Learning how to make naan without a tandoor is mostly a matter of preheating a heavy skillet until it is properly hot, cooking each rolled round for a minute or so per side, and finishing with ghee. The whole batch takes about two and a half hours, most of it spent waiting for dough to rise.
The part that trips people up is not the recipe. It is reading the pan. A skillet that is merely warm browns the bread like a pancake, and a skillet left on high heat scorches the bottom before the top cooks through. Once you know what to look for, stovetop naan is repeatable and honestly better than most takeout.
Table of Contents
What You Need
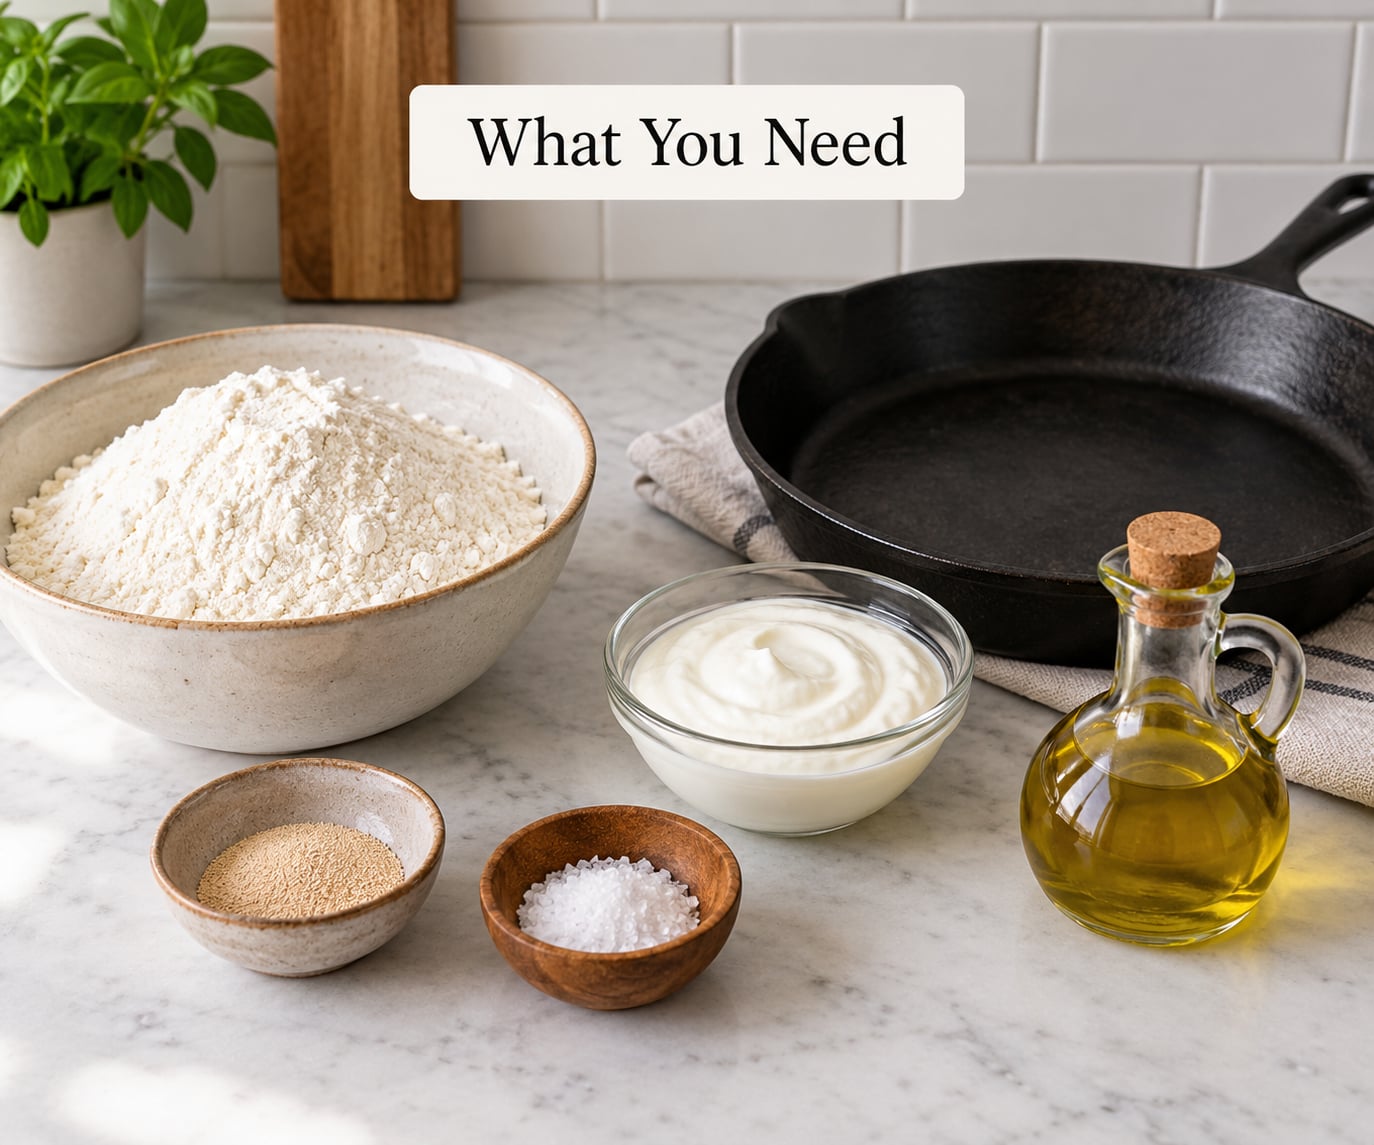
Naan is a lean, enriched dough, so the ingredient list is short. Measurements below are for four naan, which is about right for two people with a curry.
- 3 cups (360 g) bread flour or all-purpose flour. Bread flour gives more chew; all-purpose gives a softer, thinner result.
- 1 teaspoon instant yeast, or 2 teaspoons active dry yeast bloomed in warm water. Instant yeast needs no blooming.
- 1 teaspoon salt
- 1 tablespoon sugar, which feeds the yeast and gives a hint of restaurant sweetness
- 3/4 cup (180 ml) warm water, about 105°F to 115°F, warm like a bath, not hot
- 2 tablespoons plain yogurt for tenderness, plus 1 tablespoon melted butter or neutral oil
- Finishing fat for brushing after cooking: ghee, butter, or garlic butter
- Toppings if wanted: nigella seeds, sesame seeds, cilantro, chopped garlic, crumbled paneer or shredded cheese
Yogurt is optional and worth a word of caution. Home cooks often find it makes the dough heavier and gummier, especially at stovetop cooking times, so I use a small amount or leave it out. If your dough feels slack and hard to shape, that is usually the yogurt, not the flour.
For equipment, a 10 to 12 inch cast iron skillet is the closest thing to a tandoor wall. A carbon steel tawa works nearly as well. Skip non-stick for high heat cooking; the coating degrades at the temperatures you need here, and non-stick also releases the naan too easily for good blistering.
| Surface | How it performs | Watch out for |
|---|---|---|
| Cast iron skillet | Best heat retention, best char, easiest | Takes 5 to 8 minutes to preheat properly |
| Carbon steel tawa | Very close to cast iron, lighter and faster to heat | Needs oiling with each round |
| Non-stick skillet | Convenient, gentle on the bread | Coating degrades above high heat; no char |
| Inverted pressure cooker base | Concentrated bottom heat, authentic spotting | Handles are hot; use tongs and oven mitts |
| Oven broiler | Works without a stovetop, good blistering | Watch it closely, it browns fast |
| Air fryer | Convenient, less char, softer bread | Crowded basket flattens the puff |
Step-by-Step: How to Make Naan Without a Tandoor
1. Activate the Yeast and Make the Dough
For active dry yeast, stir it into the warm water with the sugar and wait 5 to 10 minutes. A foamy, slightly domed surface means the yeast is alive. If nothing happens, the water was too hot and killed it. Instant yeast skips this step entirely.
Add the flour and salt to the bowl and mix with a spoon until no dry flour remains, roughly 1 minute. The dough will look shaggy and slightly sticky. That is correct. Do not add more flour.
Knead for 3 to 5 minutes by hand, or 3 minutes on low in a stand mixer with the dough hook, until the dough turns smooth and springs back when you poke it. Naan is a no-knead or low-knead dough. Long kneading develops gluten and gives you a chewier, bread-like result rather than a tender one.
Stir the yogurt and melted butter in at the end, then cover and rest. You are looking for a dough that relaxes and spreads slightly under your hand.
2. Let the Dough Rise
Cover the bowl and let the dough rise until it has roughly doubled, 1 to 1.5 hours at room temperature. Doubled dough looks domed, airy, and pokes back slowly when you press a finger into it.
If your kitchen is cool, the rise stalls. Put the bowl in a turned-off oven with the light on, or in a warm cupboard, and expect another 30 to 45 minutes. Do not speed it up with hot water; the outside of the dough sets before the middle wakes up.
Fold the dough over on itself once or twice after the first rise, then rest it 15 minutes before dividing. That short second rest is what lets the bubbles form later, and it is the step most recipes skip.
3. Divide and Shape the Naan
Cut the dough into four equal balls and let them sit for 10 minutes so the gluten relaxes. A sticky dough is easier to handle at this point, not harder.
Shape one ball by pressing it flat with your fingertips, then stretching it gently from the center outward, turning it a quarter turn each pass. You are pushing air outward, not pressing hard. Leave a thicker rim and a thinner center, about 3 to 5 mm at the middle, and dimple the surface with your fingertips.
The dimples are not decorative. They are weak points where steam collects, which is where the big bubbles come from. The traditional shape is a tear-drop, wide at one end and narrowing at the other, and it works because the thin center cooks before the thick edge.
Do not use a rolling pin, and do not roll it thin. A rolling pin pushes out the air you spent an hour building, and very thin naan dries out and cracks in the pan.
4. Cook the Naan in a Skillet
Heat the cast iron skillet over medium-high heat for 5 to 8 minutes until it is very hot. A drop of water flicked onto the surface should sizzle and skitter, not sit there. Brush or drizzle the pan with oil, and wipe off the excess with a paper towel. You want a thin film, not a pool.
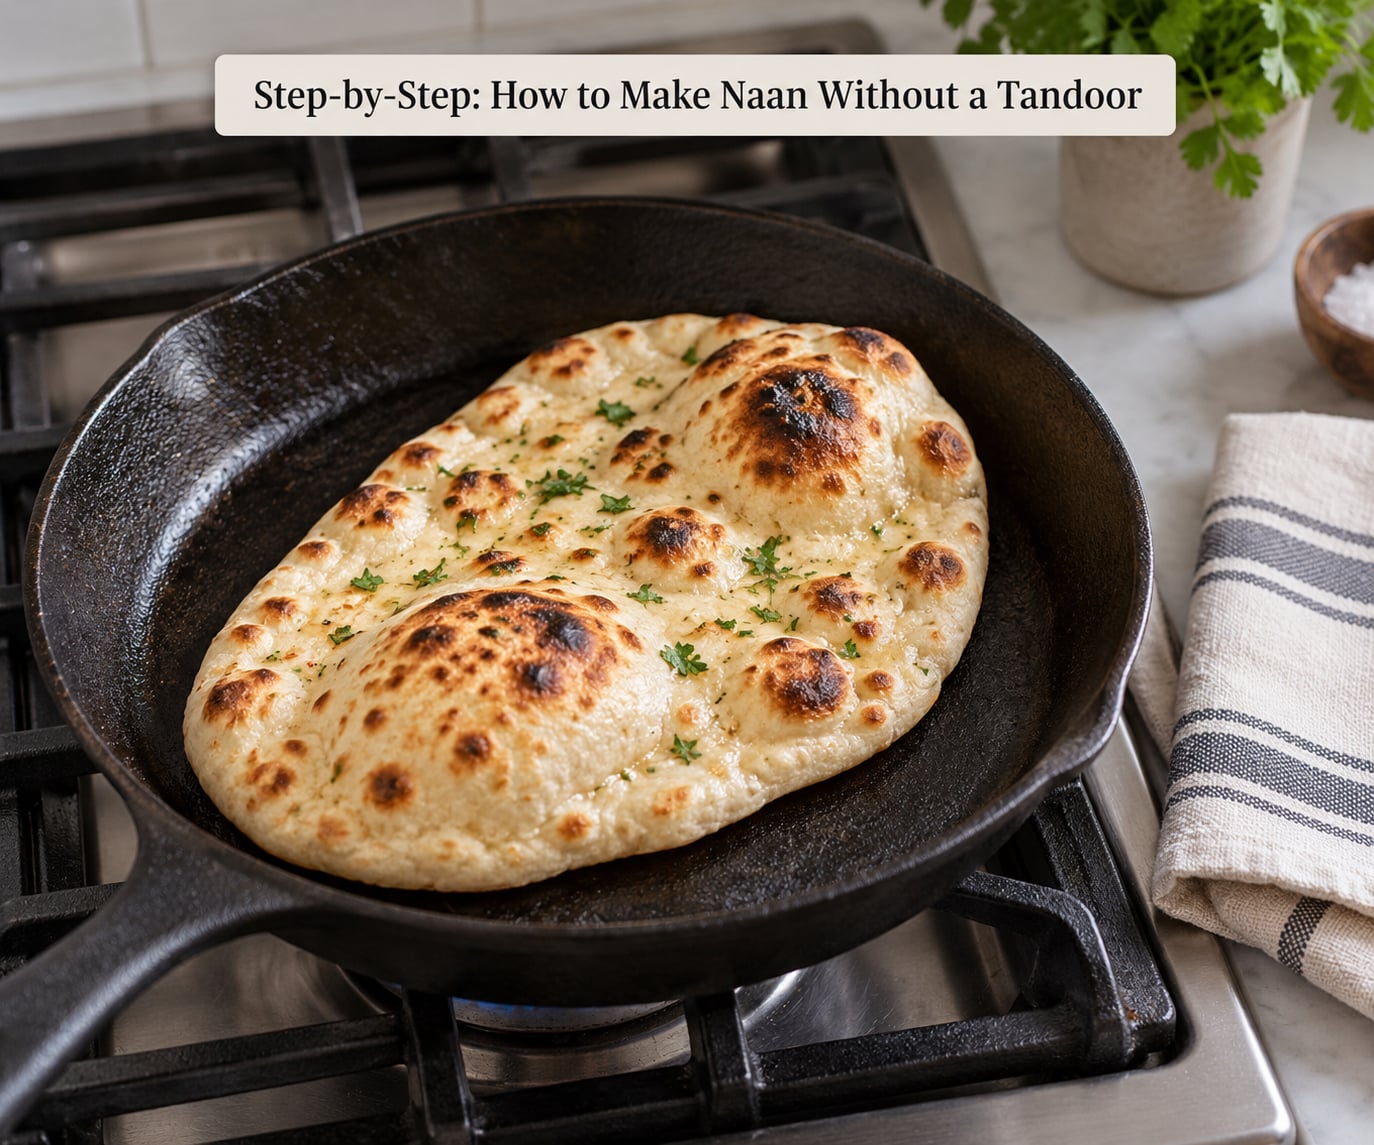
Lay the naan in the pan away from you and press it flat. Cook for 60 to 90 seconds, until the surface is dotted with bubbles and the edges look set and pale golden.
Now the useful trick. Splash a tablespoon of water into the hot pan beside the bread, not on it. The steam hits the underside, lifts the center, and gives you the puff you want. Flip with tongs and cook another 60 to 90 seconds, until the second side is browned with dark spots and the bread is puffed and no longer floppy.
If you cook over gas, you can finish the naan directly over the flame for 10 to 15 seconds using a wire mesh or the burner grate. That direct char is where the smoky restaurant flavor comes from.
5. Finish or Reheat the Bread
Stack the finished naan in a clean towel and cover it. Naan dries out fast because of its high fat and moisture content, and a towel traps the steam that keeps the crumb soft.
Brush each one with ghee or butter while hot. Garlic butter, made by softening a stick of butter with minced garlic and a pinch of salt, turns plain naan into garlic naan. Scatter nigella seeds or sesame over the butter while it is still glossy so they stick.
For extra blistering without standing over a burner, put the cooked naan on a rack under the oven broiler for 2 to 3 minutes, watching constantly, then butter immediately. I use this method when the stovetop is already busy, and the result is close to a tandoor finish. The same rack-and-broach thinking applies if you want to toast a sub at home without a commercial oven.
Serve immediately with curry, dal, or grilled meat. If you are using naan as a wrap for fillings, roll it while warm, and if it threatens to split, keep the wrap from splitting by folding the seam side down and not overfilling.
No-yeast naan in about 30 minutes
When you have no time for a rise, swap the yeast for 3/4 teaspoon baking powder plus 1/4 teaspoon baking soda. Rest the mixed dough 15 minutes, then roll and cook exactly as above.
The texture is different and worth knowing about. No-yeast naan is thinner, crisper, and less chewy, closer to a thick pita than to restaurant bread. It is a 30-minute bread, not a yeast bread, and no amount of resting will change that.
Common Mistakes
Almost every failed naan traces back to one of five things. Here is what went wrong and what to change.
| Problem | Cause | Fix |
|---|---|---|
| Dough did not rise | Water above 120°F killed the yeast, or the dough was not warm enough | Check yeast with a foamy bloom. Rise in an oven with the light on |
| Naan is thick and bread-like | Rolled with a pin, or dough not stretched thin enough | Stretch by hand to about 3 to 5 mm and dimple the surface |
| Burnt outside, raw inside | Pan too hot, bread too thick, cooked too long on one side | Lower to medium-high, cook 60 to 90 seconds per side |
| Stayed pale, no char | Pan not hot enough, or naan flipped before bubbles formed | Preheat 5 to 8 minutes, wait for bubbles before flipping |
| Tore or shrank in the pan | Overworked the dough, or the center was rolled thinner than the rim by too much | Knead 3 minutes only, and keep a thicker edge |
| Hard by the next day | Left uncovered, reheated without moisture | Store in a sealed bag, reheat with a damp towel |
Three habits fix most of it. Cook immediately after shaping, because the bubbles form in the window between rolling and hitting the pan. Use oil on the pan each round, not just the first, or the second piece will stick and tear. And keep cooked naan wrapped, because starchy bread loses moisture faster than almost any other bread.
One more thing about the water splash. It is optional, and it makes the center puff, but too much steam can gummy the middle. A tablespoon is plenty.
Frequently Asked Questions
Can I make naan without a tandoor or cast iron skillet?
Yes. Any heavy pan that holds heat will work, including a carbon steel tawa, a griddle, the base of an inverted pressure cooker, or an oven broiler. Cast iron gives the best char, but a non-stick skillet works at a slightly lower heat and trades blistering for a softer bread. Avoid non-stick over high flame, since the coating degrades at those temperatures.
What is the best substitute for a tandoor at home?
A cast iron skillet preheated for 5 to 8 minutes is the closest stand-in. It stores heat the way a tandoor wall does, so the naan hits an immediate high temperature, puffs in the center, and picks up dark spotting on the underside. A carbon steel tawa is a close second, and the inverted base of a pressure cooker is the next best option for concentrated bottom heat.
Why is my homemade naan chewy or dense?
Dense naan almost always means underproofed dough or dough that was worked too hard. Check that the dough doubled during the first rise and had a 15 minute rest afterward. Chewy, bread-like naan points the other way, toward over-kneading or using a rolling pin, which develops gluten and pushes out the air. Bread flour also adds chew, so switch to all-purpose if that is not what you want.
Can I make naan ahead of time?
Yes, and the dough actually improves. Mix the dough, cover it, and refrigerate it for up to 24 hours before baking. This gives a slower, deeper rise and more flavor. Let the dough come out of the fridge about 30 minutes before shaping so it relaxes and stretches. Cooked naan keeps at room temperature in a sealed bag or cloth for one day, and freezes well for a month.
How do I reheat naan so it stays soft?
Wrap the naan in a slightly damp towel and warm it in a hot skillet for about 30 seconds per side, or in a 350°F oven for 5 to 6 minutes. A light spritz of water before heating restores the moisture the bread lost. Skip the microwave, which heats unevenly and leaves the edges hard and chewy while the center stays damp.
Can I make naan in a regular oven without a pizza stone?
You can, and you do not need a stone. Set a heavy sheet pan or a cast iron skillet inside the oven and heat it at 500°F for 30 minutes, then cook the naan on the preheated surface. You can also bake naan directly on a rack at 450°F for 8 to 10 minutes, or use the broiler for 2 to 3 minutes for faster blistering, though it browns faster than a tandoor.
Conclusion
Start by giving the dough the time it needs, one to one and a half hours until doubled, plus a 15 minute rest. That is the single biggest difference between flat, dense naan and bread that puffs. Then preheat the skillet properly, cook each round 60 to 90 seconds a side, and brush it with ghee while it is hot.
After the first batch you will be adjusting to your own stove. Thinner for a lighter bake, more oil for more blistering, lower heat if the bottom browns too fast. Once that calibration clicks, this is a weeknight bread, not a weekend project.