
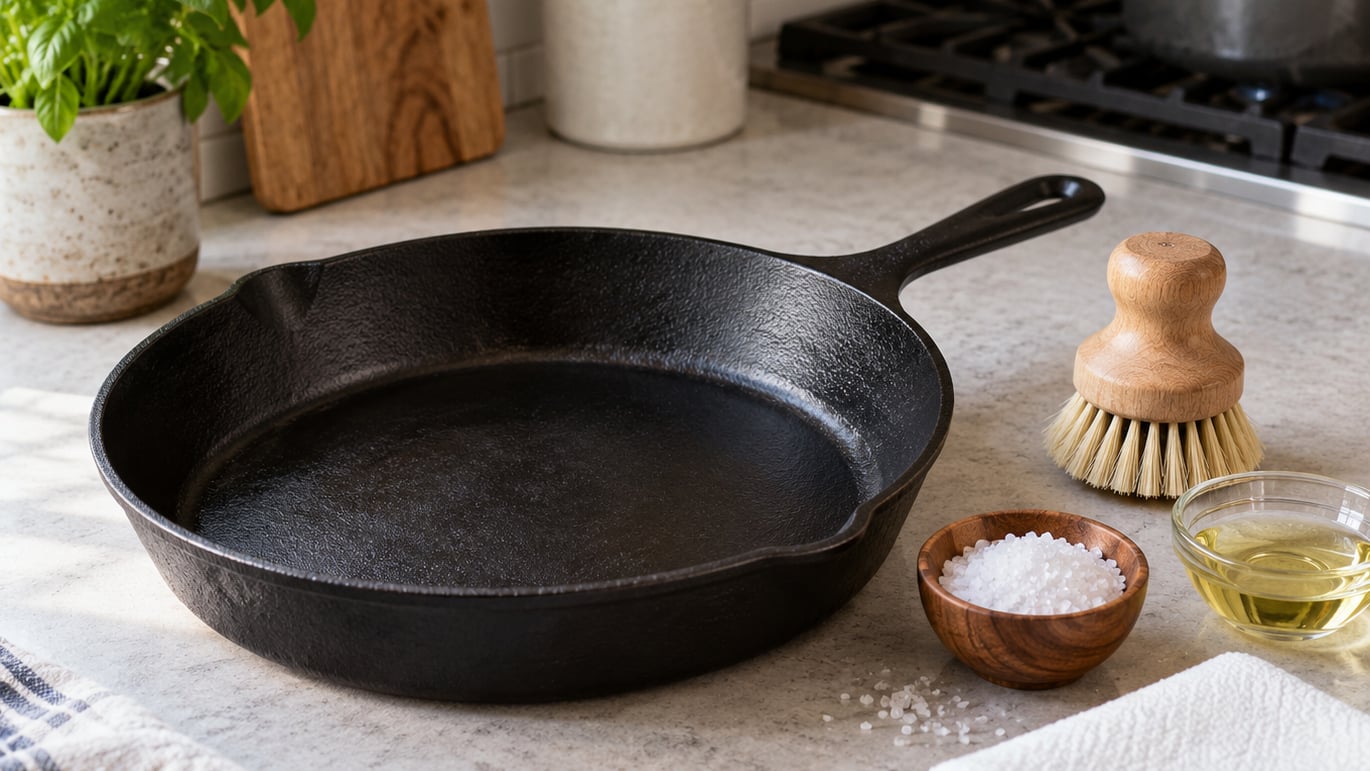
How to clean a cast iron skillet comes down to four things: scrape it, wash it with hot water and a little mild dish soap, heat it dry on the stove, and wipe on the thinnest coat of oil you can manage. Skip any one of those and the seasoning goes dull or orange rust starts appearing, and both take real work to undo. The whole routine takes about ten minutes once you know it, and most of that is waiting for the pan to cool.
Good cast iron is nearly indestructible, but it is not self-cleaning. Food that sits and dries turns into a carbonized layer that traps moisture against the iron, and that moisture is what rust actually needs. Clean the pan right after cooking instead of letting it harden overnight and you will rarely have to think about rust at all.
Table of Contents
What You Need
Almost nothing. If you own a skillet, a sink and a bottle of dish soap, you can do this properly today.
- The skillet itself and a heat-safe surface to set it on, like a folded towel or a wooden trivet. A cold granite counter will crack if you drop a hot pan on it.
- A wooden spatula or flat pan scraper for the first pass, before any water touches the pan.
- Hot water and a mild dish soap. Regular dish soap is fine. A stiff nylon brush or a sponge with a scrubby side works well too.
- Coarse salt for a scrub paste, plus a little neutral oil if you have it.
- A neutral cooking oil such as vegetable, canola, grapeseed or avocado oil. A paper towel and a clean cotton cloth finish the job.
A chainmail scrubber is genuinely useful and worth buying eventually, but it is not a requirement. Salt and a little elbow grease handle the same jobs on a well-seasoned pan.
How to Clean a Cast Iron Skillet Step by Step
How to clean a cast iron skillet after cooking
Let the skillet sit on the burner for a minute after the heat is off, just until it stops radiating enough heat to fog a window. Then pour out the grease, scrape the solid bits loose with a wooden spatula, and wipe the interior with a folded paper towel until it looks dry to the touch.
Now run hot water over the surface and add a small squeeze of dish soap. Work it around with a brush or the rough side of a sponge. You are not trying to preserve some mythical soap-free seasoning. Modern detergents are synthetic surfactants, and the seasoning layer is a baked polymerized oil film that ordinary soap will not dissolve in a thirty-second wash.
One caution here matters more than any other rule in this guide. Never put a very hot skillet under cold tap water. Cast iron is brittle, and the sudden temperature change called thermal shock can warp the base or crack the pan outright. Warm water on a warm pan is fine; ice water on a searing-hot pan is how people end up with a skillet that wobbles on a flat burner.
You will know the wash worked when the surface feels bare metal under your fingertips with no slick film left behind. That is the right moment to stop scrubbing. Over-cleaning is a real problem and it strips healthy seasoning for no benefit.
Scrub away stuck food without stripping the seasoning
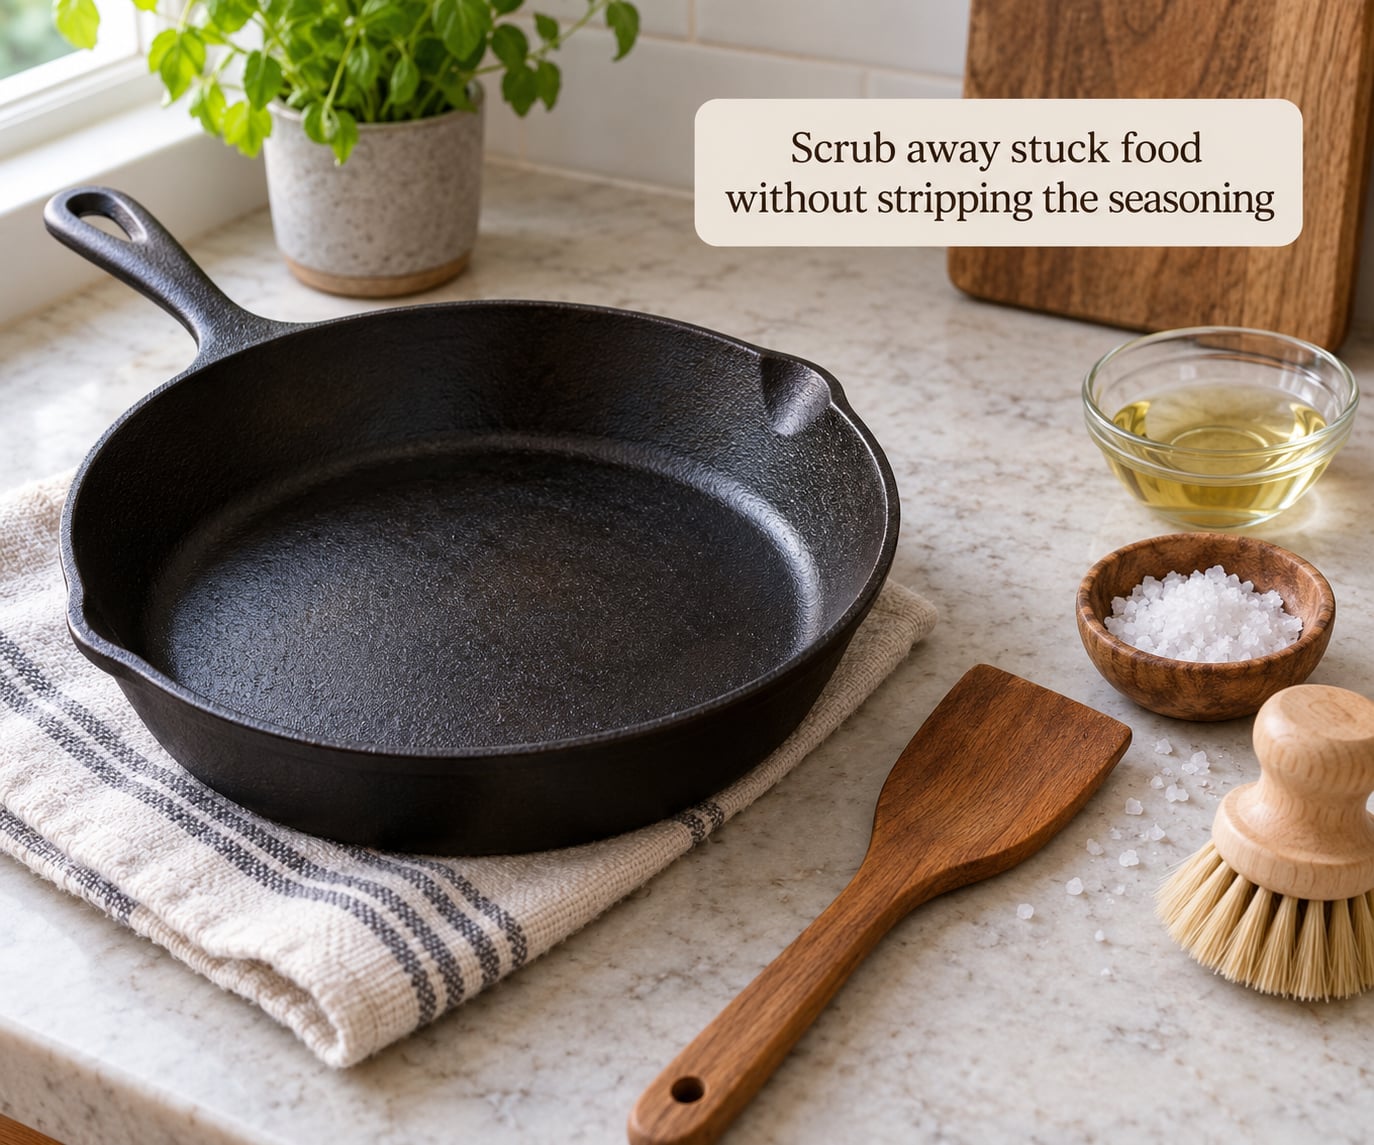
For carbonized bits that survived the wash, make a paste of coarse salt and a small amount of oil and scrub it in circles with your fingers or a cloth. The salt does the grinding and the oil keeps it from grinding the seasoning down with it. Five minutes of circular scrubbing will take off food that a steel wool pad would only scar around.
A boiled potato works too, and it is one of those kitchen hacks that actually earns its reputation. The starch in a cooked potato softens burnt residue without any abrasive at all. Reviewers are split on it, though, so treat it as a decent backup rather than a first choice.
Reach for a chainmail scrubber or a rough synthetic pad when the mess is real: blackened bits in the grooves of a grill pan, a chunk of carbon welded to the base, or the slightly tacky film that builds up after months of cooking fatty food. Those tools will remove some seasoning along with the grime, and that is acceptable, because the reseasoning steps below rebuild it in a single session. A soak is not. Leaving bare iron submerged in water is the fastest route to a rusty skillet.
The same carbon problem shows up on hinged cast iron presses, where the plates trap grease in a seam a sponge cannot reach. Our guide to the best cast iron sandwich presses and grill presses covers which ones open up far enough to actually get clean.
Skip the dishwasher for the same reason. The long soak, the harsh detergent and the heating element all work against seasoning at once, and the dry heat can craze an enameled or seasoned surface.
Remove light surface rust
Light rust looks like dull orange or brown patches, usually around the rim, in the pouring channels or on the underside where water sat. It is not the same as seasoning, which is smooth, dark and even. The way to tell them apart is simple: seasoning has a slight sheen and feels slick, while rust is rough, dull and stains a paper towel orange when you wipe it.
For light rust, dry the pan fully, then scrub the affected spot with coarse salt and a little oil, or a piece of stainless scrubber, working the grit into the patch. Rinse, dry, and move straight to the oiling and reheating steps. If bare grey metal shows through in small flecks, that is normal and harmless, and it will darken again with the next seasoning.
Deep pitting is a different problem. If the metal is pitted, flaking, or the pan has a crack running through the base, no amount of scrubbing will fix it. Sand a pitted spot flat and it just comes back, because the corrosion went into the iron itself. Check a heavily rusted vintage piece by holding it up to a light: if the wall looks moth-eaten, the pan is finished and belongs in a scrap bin, not on your stove. I have a drawer of retired pans that failed this test, and I keep them because looking at them reminds me not to skip the drying step.
Dry the skillet immediately and completely
This is the step that decides whether the pan lasts a decade or a season. After rinsing, set the skillet on the stovetop over low or medium heat for a couple of minutes, then turn the heat off and let it cool there. A quick towel blot first removes most of the water, and the stovetop finishes whatever the towel missed.
For a full de-rust or a fresh seasoning, dry it in a warm oven instead. Put the pan in at about 250 degrees Fahrenheit for ten minutes, which drives the trapped moisture out of the pores rather than just evaporating the surface. Handle it with an oven mitt and let it cool on the burner, not on a cold counter.
You know it is dry when the iron has gone from dull black-grey to a uniform matte dark grey, with no bright wet patches anywhere including the handle base and the underside. A flashlight held at a low angle helps find a last bead hiding under the rim.
Apply a thin coat of oil
Put a drop of neutral oil in the center of the warm pan and rub it around the entire surface with a folded paper towel, then wipe again with a clean section of the same towel. Two passes, using a nearly dry towel on the second, is the technique. The surface should look barely different from before you started, not glossy.
Too much oil is the most common seasoning mistake, and it causes more problems than too little. A thick coat stays sticky, gummy and never fully polymerizes, so food sticks to it and the layer eventually peels off in flakes. The rule of thumb is that if you can see a sheen, wipe off what is left.
For oils, reach for something neutral with a high smoke point: vegetable, canola, grapeseed or avocado. Olive oil works but its low smoke point and sticky polyphenols make it a poor seasoning fat. Shortening and lard are fine and cheap. Flaxseed oil cures the hardest surface of all, but it goes rancid within months and is fussy to get right, so save it for a pan you are serious about.
Reheat the skillet to set the seasoning
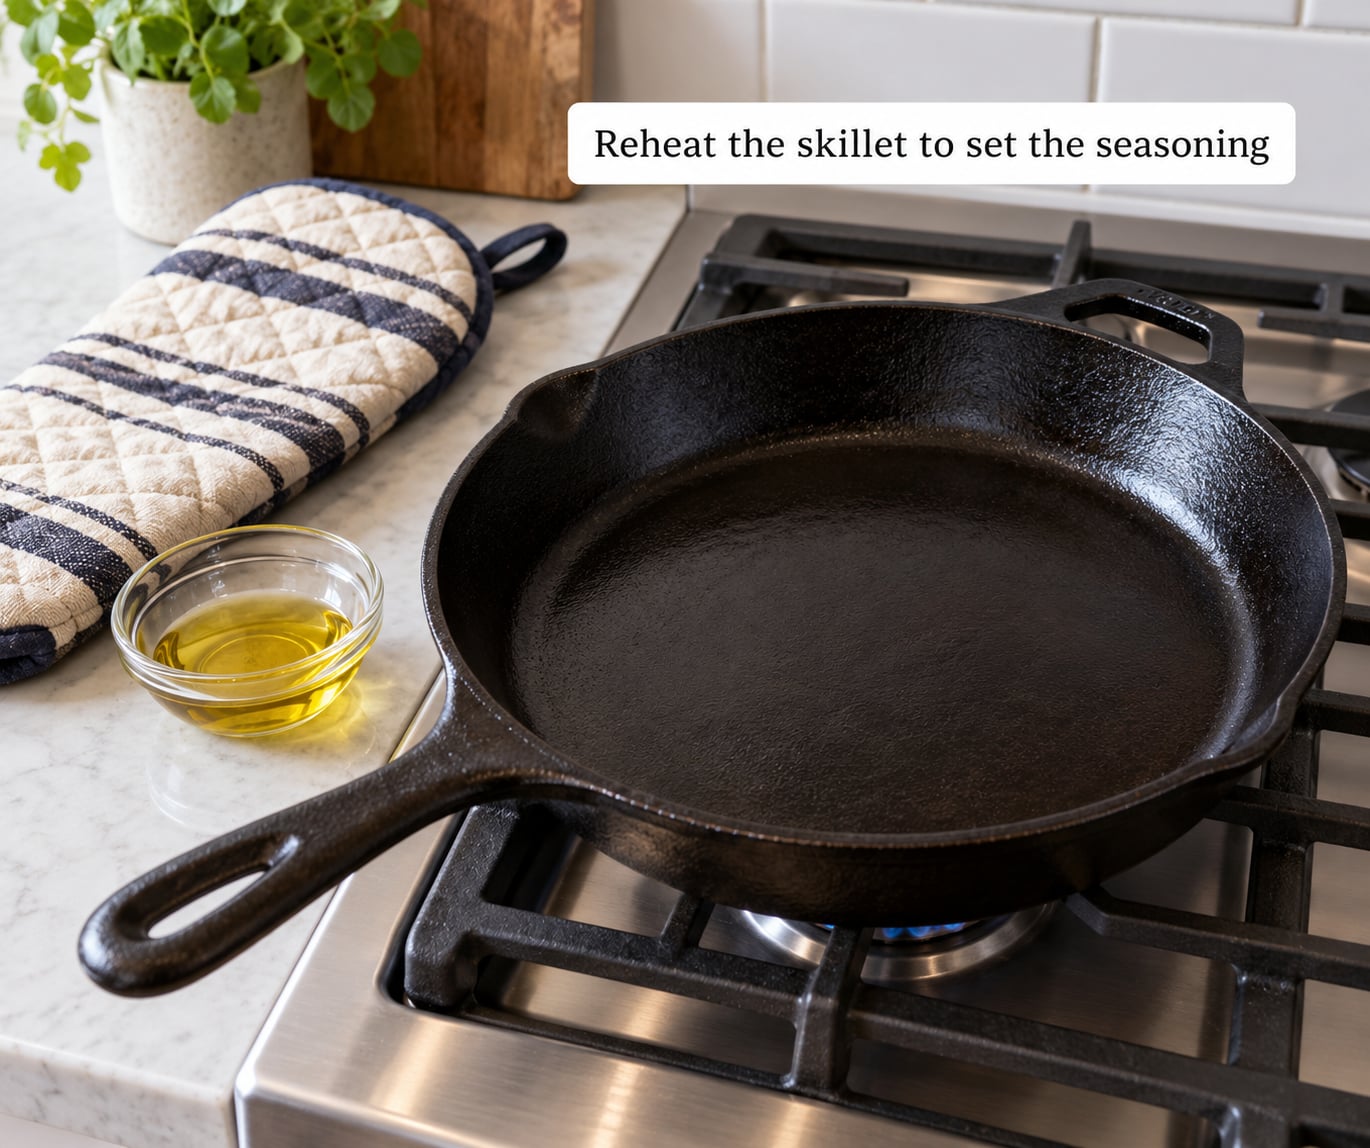
Put the wiped pan back on the burner over medium heat. When a small drop of water flicked onto the surface skitters and evaporates almost instantly rather than sitting there, the pan is hot enough. At that point the oil molecules link together into a plastic-like film, a process called polymerization, and that is your new non-stick layer.
Then turn off the heat, let the pan cool, and wipe it once more with a dry paper towel to lift any oil that pooled at the edges. The finished result should be matte and dark, closer to satin than to gloss. A slightly uneven color is fine, and a patchy new patch on an old pan is the normal look of a repaired skillet.
One stovetop pass is enough for maintenance. For a brand new pan, or one you just stripped for rust, do two or three thin coats with a full oven cure between them at 450 to 500 degrees Fahrenheit for an hour, cooling the pan in the turned-off oven each time. Multiple thin coats beat one thick coat every time.
Common Mistakes
Most ruined cast iron comes down to one of these, and the fix is usually simple.
Leaving the skillet wet
The classic. Water evaporates, minerals stay behind, and orange speckles appear within a day or two. Fix it now by drying the pan and heating it on the stove, then re-oiling.
Using steel wool on a healthy pan
Steel wool is a useful tool for stripping seasoning during a restoration and a bad habit during daily cleaning. It takes off the patina along with the food. Use chainmail, coarse salt or a stiff brush instead.
Thermal shock
Hot pan into cold water causes warping and cracks. Let the pan cool to warm first, then use warm tap water.
Applying too much oil
Heavy coats stay tacky, flake, and turn the pan into a food magnet. Wipe until the surface looks almost dry, every single time.
Relying on thin pour-on seasoning sprays
Sprays lay down an uneven film that polymerizes into patchy, sticky flakes rather than an even layer. Wipe-on oil plus a stovetop or oven cure is slower and it works.
Storing the skillet with trapped moisture
Stacking a damp skillet inside a closed cabinet, or nesting it under a damp towel, creates exactly the damp oxygen-poor environment rust needs. Store it dry, upright or on its side, with a paper towel between stacked pans if you like.
Scrubbing the handle with harsh detergent
The wooden or resin handle on a vintage-style skillet cannot take the same beating as the iron, and soaked wood swells and splits. Wipe the handle with a damp cloth and a drop of soap, then oil it occasionally with a food-safe board cream or a little neutral oil.
Cleaning cast iron safely shares one rule with cleaning any other kitchen machine: unplug it or lock it off first. Our walkthrough of how to clean a home meat slicer without cutting yourself is worth a read if you own one and have been putting it off.
Everyday Care Tips
A pan that is seasoned and kept dry rarely needs a full treatment. A few habits keep it that way.
- Cook fatty foods when it suits the recipe. Bacon, sausages, butter and oil naturally reinforce the seasoning layer, and those are the meals cast iron was built for anyway.
- Wash after every use, briefly. Wipe out the grease, hot water, a little soap, done. A quick clean right after cooking takes two minutes and prevents the carbonized mess that takes an hour to scrub.
- Dry after every wash, every time. Not when you remember. Not when it is convenient. Make it part of the same two minutes.
- Oil only when the pan looks dry or pale. A well-seasoned skillet with a dark satin finish does not need oil after every use. Over-oiling is what creates the sticky gummy surface people try to scrub off later.
- Store it where air moves. Upright in a cabinet, on a rack, or loosely covered with a paper bag or breathable cloth. No sealed plastic tubs.
Two situations deserve their own approach. Grill pans and griddles collect carbon in the ridges where a sponge cannot reach, so boil a shallow layer of water in the pan, scrape the softened bits with a wooden spatula, then salt scrub and dry as usual. On a glass or ceramic cooktop, lift the skillet rather than sliding it, since dragging bare iron across glass can leave a burr that marks the surface every time after.
If the food starts sticking even though the pan looks seasoned, the cause is almost always a sticky top layer rather than missing seasoning. Scrub it back to bare metal with chainmail or coarse salt, then do two thin oven coats. Flaking or black specks in your food point to the same fix: strip what is loose and rebuild. Thin seasoning flakes that are not polymerized properly are not a health hazard, but they will never stop shedding until you remove them.
Enameled cast iron follows different rules, in case a pan has been mixed up in the family. The enamel is glass, so no seasoning is needed and none of the heat or abrasive steps apply. Wash it like any other pan, soak off burnt sugar or dairy freely, and use any detergent. A bare iron rim on some enameled pieces can spot with rust and wants the same light oil treatment as any bare iron.
Frequently Asked Questions
Can I use dish soap to clean a cast iron skillet?
Yes. Modern dish soap is made from synthetic surfactants, not the harsh lye-based soap that damaged seasoning decades ago. A short wash with warm water and a small amount of dish soap will not strip a healthy seasoning layer, which is a baked polymerized oil film. The real risk is leaving the pan sitting in soapy water, not the soap itself. Rinse, dry on the stove, and wipe on a thin coat of oil afterwards.
How do I remove rust from a cast iron skillet without ruining it?
Dry the pan, then scrub the rusty patches with coarse salt and a little oil, or a stainless scrubber, until the orange color fades to grey metal. Rinse, dry completely on low heat, and apply two thin coats of neutral oil, curing in a 450 to 500 degree oven between them. Deep pitting and cracks cannot be scrubbed out. Those pans are finished and should be replaced.
What oil is best for seasoning a cast iron skillet?
Vegetable, canola, grapeseed and avocado oils are the practical choices, since they are neutral and tolerate oven temperatures above 450 degrees Fahrenheit. Shortening and lard work too. Olive oil has a low smoke point and a sticky texture that leaves a gummy film. Flaxseed oil cures the hardest surface, but it goes rancid within months and needs careful handling, so it suits enthusiasts rather than everyday pans.
Should I clean a cast iron skillet in the dishwasher?
No. The dishwasher combines a long soak, strong detergent and intense drying heat, and all three work against the seasoning layer. A skillet that goes through the machine often comes out grey, dull and stripped, and the drying element can craze an enameled surface. Washing by hand takes two minutes: hot water, a little dish soap, a scrub if needed, dry on the burner, wipe with oil.
Why does my cast iron skillet smell or smoke after seasoning?
A cloud of smoke during the cure is expected, since you are burning off oil. A smell that lingers after the pan cools usually means too much oil was applied or the coat was too thick to polymerize. A greasy or stale smell later in life means the seasoning is going rancid, which happens when oil sits unheated for months. Scrub the pan back to bare metal and redo the coat in two thin oven passes.
Conclusion
Knowing how to clean a cast iron skillet comes down to a sequence you can do on autopilot: scrape it, wash it with hot water and mild soap, scrub only when something is actually stuck, rinse, heat it completely dry on the burner, wipe on the thinnest coat of oil you can manage, and reheat to set it. That is the whole method.
New owners make the biggest gains by cleaning the skillet immediately after cooking rather than waiting until tomorrow. A two-minute wash and dry on a warm burner prevents the carbonized mess, the rust spots, and the long restore that follows them, and the pan you hand down one day is the one that still cooks evenly.