
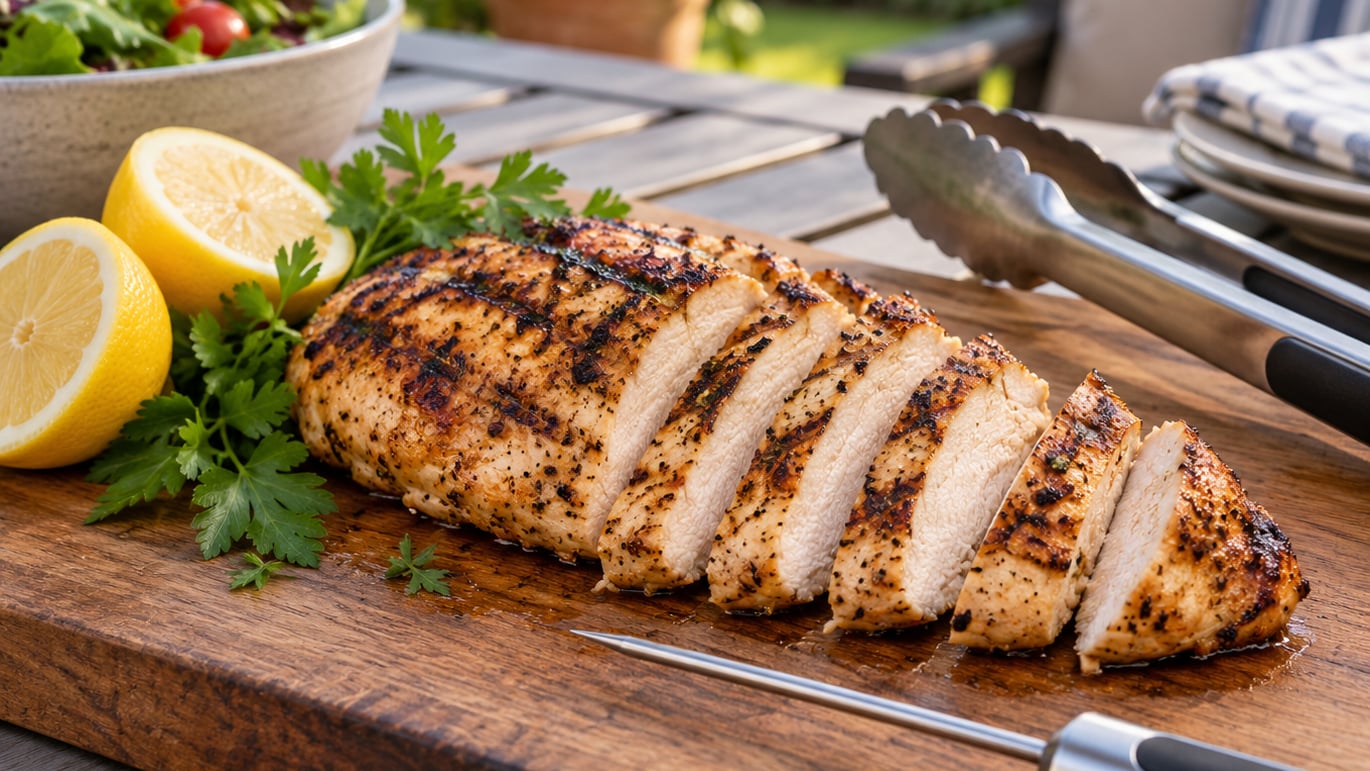
Dry chicken breast is the most common complaint at backyard grills, and it comes down to three things: uneven thickness, heat that is too fierce, and cutting too early. To grill chicken without drying it out, pound every piece to an even thickness, give it 30 minutes of salt or oil before it hits the grate, cook it over indirect heat with a thermometer in the thickest part, and rest it 5 to 10 minutes before slicing.
The whole job takes about 45 minutes, and most of that is waiting. Beginners can do it on the first try.
Table of Contents
What You Need
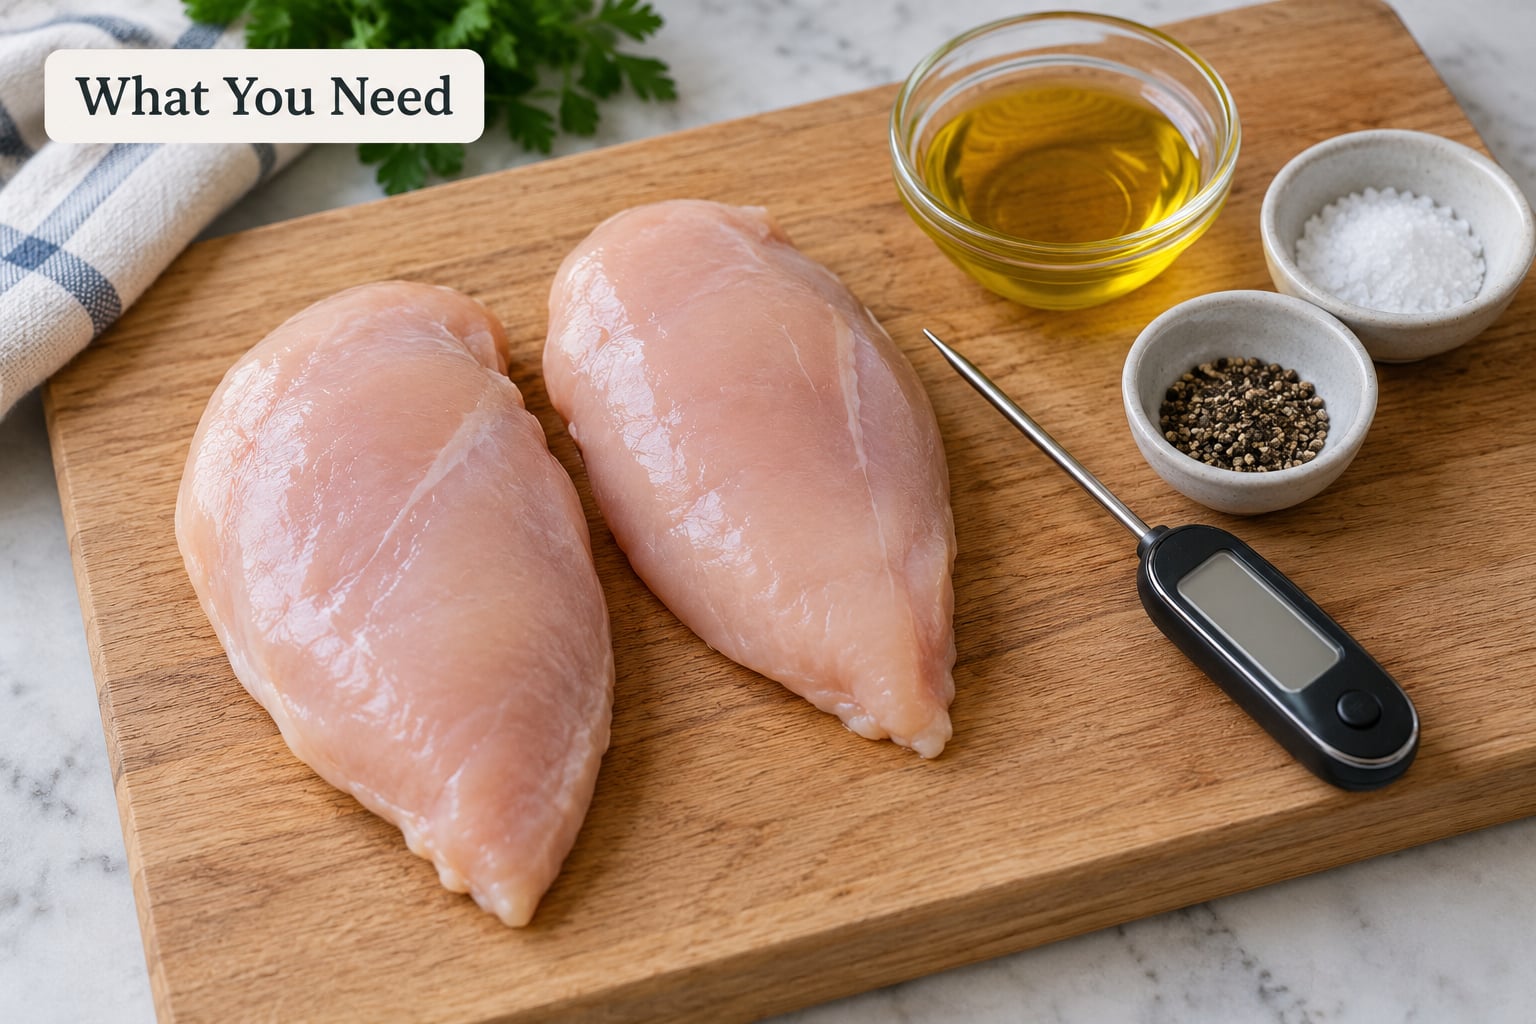
A reliable instant-read thermometer is the one tool that changes everything. Appearance lies on the grill — a piece can look finished and still be 20 degrees under, or look pale and be overcooked. Temperature does not lie.
Beyond that, you want a cutting board, a meat mallet or rolling pin, tongs, and a small bowl of neutral oil such as canola, avocado or grapeseed. Olive oil works, but its smoke point is lower, so save it for basting at the end.
For seasoning, keep it simple. Salt, black pepper, garlic powder, smoked paprika and a little dried oregano cover most of the ground. A neutral oil rubbed on before the dry seasoning gives the rub something to stick to, and it slows moisture loss on the surface.
A marinade or brine is optional, not mandatory. See step 2 for the difference.
What changes with the cut, the grill and the weather
Chicken breast is the hardest cut to keep moist because it is lean and shaped like a teardrop. One end might be three-quarters of an inch thick and the other barely a quarter inch. Thighs, drumsticks and bone-in pieces are far more forgiving because they carry more fat and cook more slowly.
Charcoal runs hotter and dries faster than gas. If you are on charcoal, push the coals to one side and cook on the other, or expect to move the chicken to the cool zone sooner.
Wind and cold also matter. Wind strips heat off the grill face and pushes the internal temperature down, so on a breezy day check the thermometer every two minutes instead of every four. Hot weather and a fully lit grill are the easier case.
Step-by-Step
1. Choose and Prepare Even-Sized Chicken
Boneless skinless breasts work best for this method, and bone-in thighs are the easiest place to start. Trim away thick patches of fat, but leave a thin layer — fat is moisture you do not want to lose. Do not shave the breast down to nothing.
Put each breast between two sheets of plastic wrap or parchment and pound it with a mallet until it is an even three-quarter inch thick. Uneven thickness is the number one reason for chicken that is overcooked at one end and raw at the other.
How you know it worked: hold the piece up edge-on and it should look like a slab, not a wedge. Pieces closer to three-eighths inch cook faster and dry faster, so thick is safer than thin.
2. Season or Marinate Ahead
The window is 30 to 60 minutes. That is long enough for salt to work on the surface without turning the outside gritty.
- Dry brine: salt and a little sugar on all sides, left 30 to 60 minutes. Best for the grill, and fewer flare-ups because there is no sugary liquid hitting hot coals.
- Oil and herb rub: a thin coat of neutral oil, then salt, pepper and your spices. Simple, fast, and the surface browns well.
- Wet marinade: oil, garlic, herbs and mild spices for 30 minutes to 4 hours. Yogurt-based marinades tenderize more gently than vinegar or citrus ones.
Keep acidic marinades short. Lemon, vinegar and tomato-based mixes break down the surface if the chicken sits in them overnight, and the result is mushy rather than tender.
How you know it worked: the chicken looks lightly glossy with seasoning clinging to it, not soaking wet. Pat off any pooled liquid before it hits the grill, because dripping marinade causes flare-ups that char the outside before the inside cooks.
3. Set Up a Two-Zone Fire
Build one hot zone and one cool zone. Everything depends on this.
On a gas grill, turn two or three burners to high and leave the others off, or start with all burners on high, sear, then turn the outside burners down for the finish. On charcoal, light the fire, let the coals turn ashy white, then push them all to one side with tongs and put the drip pan or an empty tray under the empty half.
Preheat the grate with the lid closed for 10 minutes, then wipe the grates with a paper towel held in tongs and rub them with a little oil. A hot, clean, lightly oiled grate is what keeps the chicken from tearing when you flip it.
How you know it worked: hovering your hand a few inches over the cool side feels noticeably milder than over the hot side. If both sides feel the same, you do not have two zones yet.
One more thing worth doing: let the chicken sit out 20 to 30 minutes before grilling. Straight-from-the-fridge chicken has to give up more energy before the heat reaches the middle, which slows the cooking and dries the outside.
4. How to Grill Chicken Without Drying It Out
Start with the chicken on the cool side, lid closed, and cook it there for most of the time. This is the step people skip, and it is the one that keeps the breast moist.
- Cook gently first. With the lid closed on the indirect side, aim for a grate temperature around 350 to 400 F. Let the chicken cook undisturbed for 4 to 6 minutes.
- Turn only when it lets go. If the underside is still clinging and tearing, give it another minute. When the chicken releases from the grate on its own, it is ready to flip — usually once or twice is plenty.
- Finish with color. Move the chicken to the hot side for the last 60 to 90 seconds per side to set grill marks and brown the outside.
- Watch the thermometer, not the clock. Insert the probe into the thickest part and stop pulling at 160 to 162 F.
- Check the final temperature. Chicken is safe to eat at 165 F (74 C). If you pulled at 160, the carryover cooking during the rest will carry it over the line.
Carryover cooking is simply the heat stored in the meat continuing to cook it after it leaves the grill. A thick breast gains several more degrees while it rests, which is why pulling it at 160 and letting it finish on the board is the difference between juicy and dry.
If the chicken is burning outside while still raw in the middle, it is too thick or the heat is too high. Move it back to indirect, cover the grill, and give it another few minutes. If it is sticking, it is either not hot enough or not oiled enough.
How you know it worked: the probe reads 165 F in the thickest part, and a thick piece sliced at the end shows no translucent pink.
5. Rest Before Cutting or Slicing
Resting lets the muscle fibers relax and reabsorb the juice that got pushed out during cooking. Cut too early and that juice ends up on the board instead of in the meat.
Rest the chicken on a wire rack or a cutting board for 5 to 10 minutes depending on the cut. Boneless tenders need about 5 minutes, a boneless breast 8 to 10, and a bone-in thigh or drumstick 10 to 15. A loose tent of foil keeps it from cooling too fast without steaming the crust.
Resting also gives carryover cooking time to finish the job, so the thermometer should read 165 F when you slice, even though you pulled it earlier.
How you know it worked: when you pierce the thickest piece, clear juice runs out rather than pink water.
Food safety note: keep the resting time under two hours at normal outdoor temperatures, and refrigerate leftovers within that window. On a hot day above 90 F, rest and serve within an hour.
6. Slice and Serve for Maximum Juiciness
Lay the breast flat and slice straight down from the top, cutting across the grain rather than with it. The grain in chicken breast runs at a slight angle, so look for the direction the fibers point and cut the opposite way.
Slice only what you will eat in the next 20 minutes. Cut chicken sitting on a plate loses a surprising amount of juice in half an hour, and the pieces that were sliced last are always the driest ones.
How you know it worked: the slices hold together, look glossy on the cut face, and a little juice collects on the plate.
Grilled chicken works in almost anything: over salad, folded into a sandwich with leftover roast chicken, or crisped in a cast iron grill press the next day.
Common Mistakes
- Starting over direct heat. The outside chars before the center catches up. Fix: cook on the indirect side first and add direct heat only for the last minute or two.
- Using high heat the whole time. High heat drives moisture out fast. Fix: hold the grill around 350 to 400 F, and only sear hard at the finish.
- Flipping constantly. Every flip interrupts the sear and lets heat escape. Fix: flip once or twice, and only when the underside releases from the grate.
- Grilling by time or appearance. A thick piece needs far longer than a thin one. Fix: probe the thickest part and pull at 160 F.
- Leaving a sugary marinade on the surface. Sugar and honey burn fast. Fix: wipe excess marinade away and keep a clean zone under the chicken.
- Over-trimming the breast. Removing all the fat strips off the natural fat cap. Fix: trim loose fat, keep the cap.
- Skipping the rest. Slicing straight off the grill drains the meat. Fix: rest 5 to 10 minutes, loosely tented.
- Testing by cutting into the piece. Every cut leaks juice. Fix: probe with the thermometer instead, or check the thickest piece only at the very end.
- Not preheating, or dirty grates. Chicken sticks and tears, and torn chicken dries out fast. Fix: preheat 10 minutes, then brush the grates with oil.
No grill at all? The same method works in a cast iron grill pan on the stove or under the oven broiler. Use medium heat, cover with a lid for the indirect portion, and check the temperature the same way. If your oven runs hot, set it a notch lower than the recipe suggests and start checking early.
Store leftovers within two hours, use them within three to four days, and reheat to 165 F. Grilled chicken keeps better than fried or roasted chicken because it starts drier, so a splash of dressing or broth when reheating goes a long way.
Frequently Asked Questions
Can I grill frozen chicken without thawing it first?
You can, but you lose your temperature window. Frozen chicken sears before the center thaws, so the outside burns and the middle stays cold. A quick thaw in cold water for 30 to 60 minutes works better than the grill. Salt and acid marinades soften frozen chicken a little but do not fix the uneven cooking.
Does brining help prevent grilled chicken from drying out?
Yes, and it is the easiest step to do right. A dry brine of salt and a little sugar for 30 to 60 minutes draws moisture into the surface and leaves a buffer against drying out. A wet brine with water, sugar and salt works too, but dry brine causes fewer flare-ups on a grill because nothing sugary drips onto the coals.
How should I adjust cooking time for boneless and bone-in chicken?
Bone conducts heat and cooks the meat slower, so bone-in pieces need more time, roughly 10 to 15 minutes per side on indirect heat. Boneless breasts cook faster and dry faster, so they need less time and an early pull at 160 F. Thighs sit between the two because the fat gives them a wide margin before they turn dry.
Can I use this grilling method on a gas or charcoal grill?
Yes, both. The two-zone setup is the same idea on either fuel. On gas, light two or three burners and leave the rest off, then lower the outside burners after the sear. On charcoal, push the ashy coals to one side and cook on the empty half. Indirect heat does the work, direct heat only adds color at the end.
How should I store leftover grilled chicken safely?
Move it to the refrigerator within two hours of cooking, or within one hour if it is above 90 F outside. Keep it in a sealed container and eat it within three to four days. Reheat to 165 F before serving, and add a little broth or dressing when reheating because grilled chicken loses more moisture than roasted chicken.
Conclusion
Start here: pound the chicken to an even three-quarter inch, salt it 30 minutes ahead, and set up a cool side on your grill before anything else. Those three things fix most of the drying-out problem on their own.
Then cook gently on indirect heat, pull at 160 F, confirm 165 F at the rest, and wait 5 to 10 minutes before slicing across the grain. That is how to grill chicken without drying it out, and it works the same on gas, charcoal, or a grill pan on the stove.
If you like the idea of a second opinion on grilling temperatures, our guide to toasting a sub at home without a commercial oven covers the same heat-control thinking for a smaller job.