
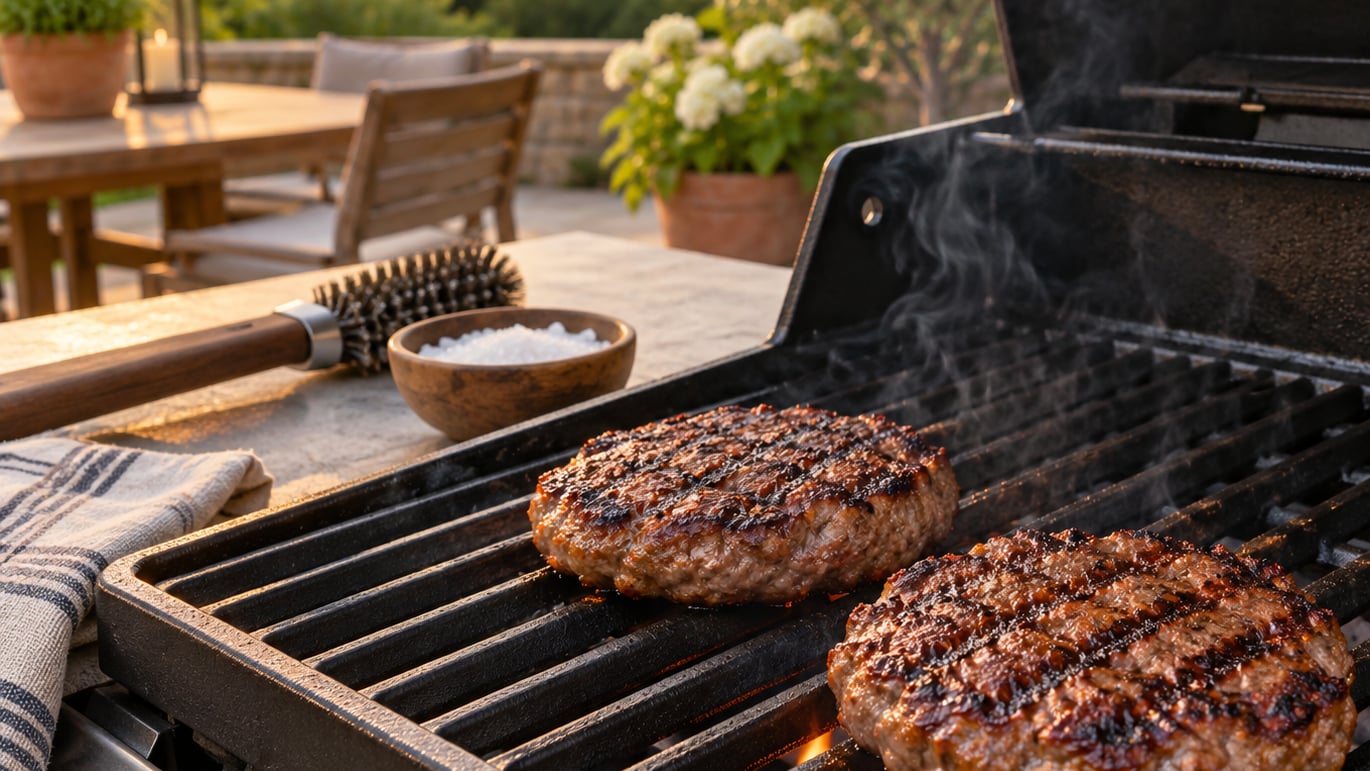
How to grill burgers perfectly comes down to four things: a hot, fully preheated grill, loosely packed patties of even thickness, one flip, and a thermometer instead of guesswork. Get those right and a bag of supermarket ground chuck turns into a burger with a crusted sear and a center that still runs pink and juicy.
Most dry, grey, overcooked burgers fail on timing, not on the meat itself. A patty that sits ten minutes on a lukewarm grate loses its moisture before it ever gets a crust. The whole method takes about 15 minutes of actual grill time, and most of that is waiting.
Below is the process I use: what you need, five steps from grate to bun, and the mistakes that quietly ruin a burger.
Table of Contents
- What You Need
- Step-by-Step
- How to Grill Burgers Perfectly Step 1: Prepare the Grill
- How to Grill Burgers Perfectly Step 2: Shape the Patties Correctly
- How to Grill Burgers Perfectly Step 3: Create a Crisp Sear
- How to Grill Burgers Perfectly Step 4: Cook the Burgers to a Safe Temperature
- How to Grill Burgers Perfectly Step 5: Rest and Serve
- Common Mistakes
- Frequently Asked Questions
- What internal temperature should a burger be cooked to?
- How do I know when to flip a burger on the grill?
- Should I press burger patties while grilling?
- How do I keep grilled burgers from drying out?
- How do I grill cheeseburgers without burning the cheese?
- Do you grill hamburgers with the lid open or closed?
- Conclusion
What You Need
A good burger needs less equipment than most people buy. You need a grill that reaches high heat, a spatula with enough surface to slide under a patty without tearing it, an instant-read thermometer, and coarse salt.
- A grill with a lid. Gas or charcoal both work. The lid matters more than the fuel because you need to close it to cook the center through and to hold heat steady between flips.
- A sturdy, wide spatula. Metal, not plastic, and wide enough that a patty sits fully on it. Thin edges catch under the crust and tear the burger in half.
- An instant-read thermometer. This is the single tool that turns opinion into measurement. Push the probe into the thickest part of the patty, not through the side.
- Coarse salt and black pepper. Coarse grains stick and dissolve into a crust. Fine table salt falls off or dissolves too fast.
- Neutral oil or softened butter. For the grates, the pan, or the buns. A high smoke point oil avoids the acrid taste that olive oil leaves on a hot grate.
On ingredients, 80/20 ground chuck is the safest pick for a home cook. The 20 percent fat gives you flavor and keeps the center from drying out, and chuck carries enough fat to survive direct heat. Leaner blends work, but they need a shorter trip on the grill or a little moisture added.
Portion size matters more than people think. Aim for patties around a third to a half pound, and make them the same thickness as each other, even if they are not the same width. Uneven patties are why one burger in a batch is dry and the next is still cool in the middle.
If you want a thicker, flatter sear than a spatula gives you, a weighted press is the upgrade path. Our cast iron sandwich press and grill press picks covers the ones worth owning.
Step-by-Step
How to Grill Burgers Perfectly Step 1: Prepare the Grill
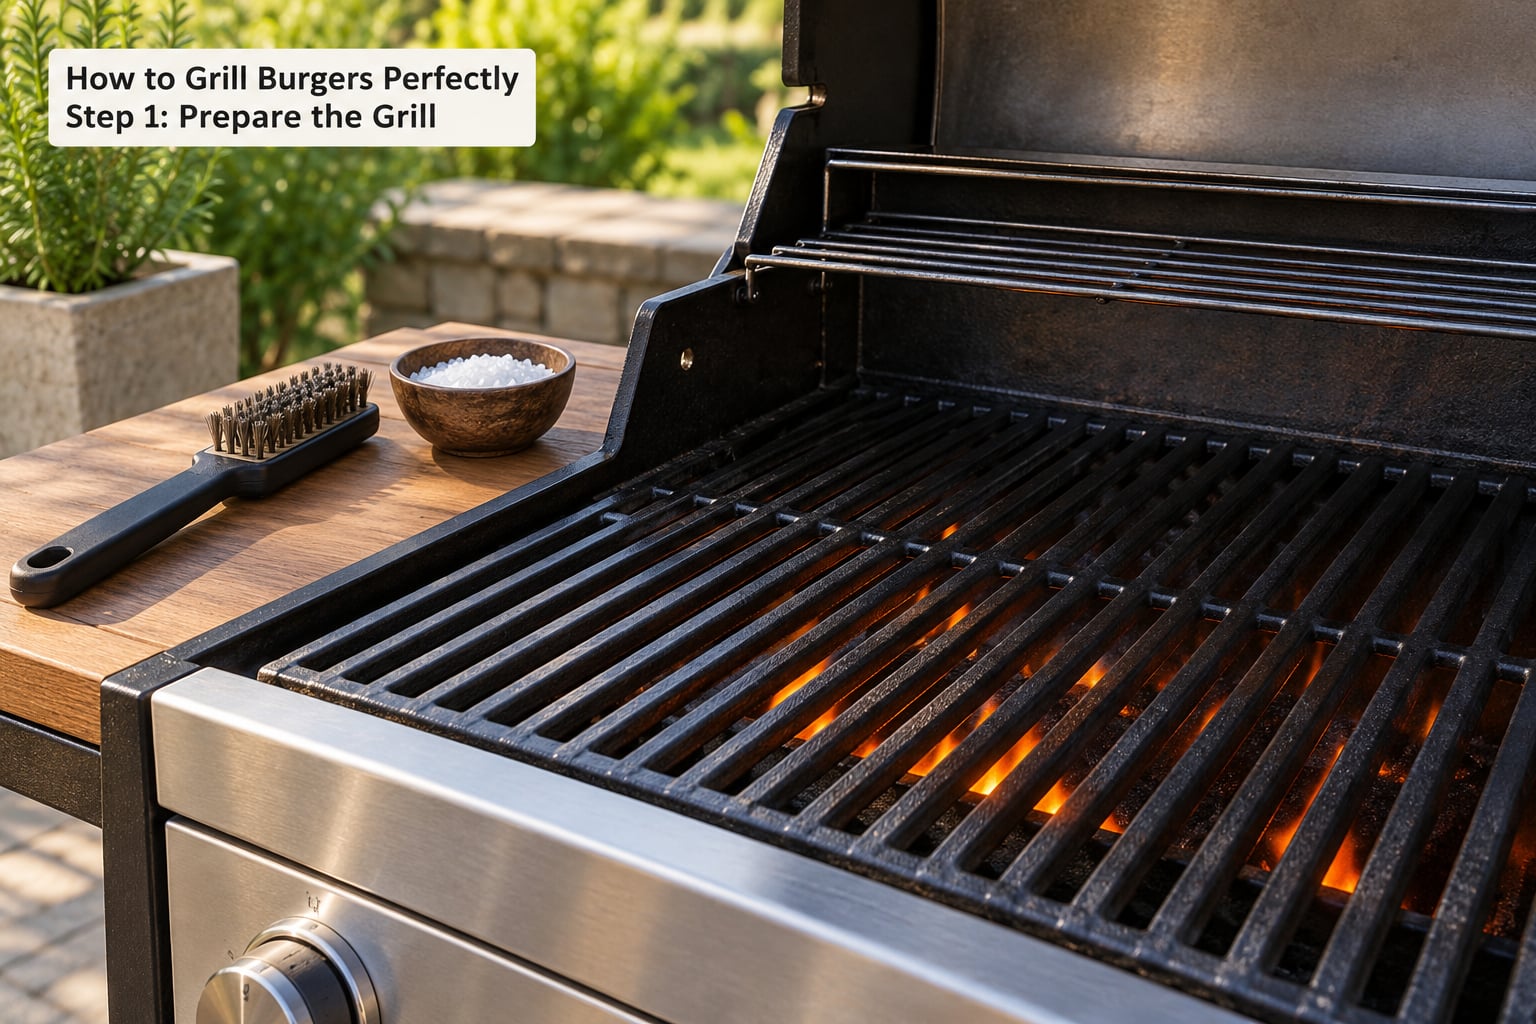
A burger needs a grill that is fully preheated, and “fully” means ten to fifteen minutes with the lid closed after the burners are on high. Give the grate a brush-down, wipe the grease cup if it has overflowed, and push two burners to high while turning off the middle or far one. That gives you a two-zone fire.
The hot zone is where the browning happens. Everything browning on a burger is the Maillard reaction, the reaction between meat proteins and sugars that needs real heat and a dry surface. The cooler zone is your landing spot for finishing a thick patty or toasting buns without scorching them.
Lid open or lid closed?
Use the lid closed for the thick, cooked-through burgers most people want at home. Closing the lid turns the grill into a convection oven, and convection is exactly what drives heat into the center of a 3/4-inch patty without burning the outside. Lid open is right for very thin smash-style patties, where you want hard direct heat on both faces and total cook time under three minutes per side.
350°F or 400°F?
Colder grill for thick patties, hotter for thin ones. The table breaks it down.
| Grill heat | Best for | Watch out for |
|---|---|---|
| 350°F | Thick 3/4-inch patties, stuffed burgers | Slow browning, long cook |
| 400°F | Standard 1/3 to 1/2-pound patties | The safe all-rounder |
| 450°F | Thin smash patties, sliders | Char outside before the center cooks |
For charcoal, the same logic applies but you manage heat with vents. Close the vents for a lower cook, open them for a hotter one, and wait until the coals are ashed over rather than flaming.
When the grates look dull and grey rather than glowing, scrape them with a sturdy wire brush and wipe with a paper towel held in tongs. Then oil the grate with a rag, holding the handle far back. Oil the grate, not the patties.
How to Grill Burgers Perfectly Step 2: Shape the Patties Correctly
Take the meat straight from the fridge and handle it fast. Cold meat is firm enough to hold shape and it sears better than a warm patty that starts cooking before it hits the grate.
Handle the ground beef as little as possible. Overworking meat compacts it, squeezes out the air pockets that keep a burger juicy, and gives you the dense, bouncy texture people mistake for well-done. Form it gently until it just holds together in your hand. If it crumbles, that is better than packing it solid.
Press a shallow dimple into the center of each patty with your thumb. A burger puffs up in the middle because the outer edge tightens as it cooks while the center stays loose and expands. The dimple gives that expansion somewhere to go and levels the top, so the patty cooks flat instead of domed.
For an even surface, make patties the same thickness rather than the same shape. A wider patty still cooks fast across the middle, so a 5-inch patty can need longer than a 4-inch one.
On seasoning, the useful split is this: season with salt and pepper right before the patties hit the grate, and go easy on the pepper if you want a pure beef flavor. Some grillers go further and season the meat just before cooking rather than mixing salt in during shaping, on the reasoning that salt pulls moisture out of the meat early and seasons the surface more slowly.
If you want to save a step, a teaspoon of Worcestershire sauce mixed into the meat adds a savoriness that reads as more complex seasoning.
How to Grill Burgers Perfectly Step 3: Create a Crisp Sear
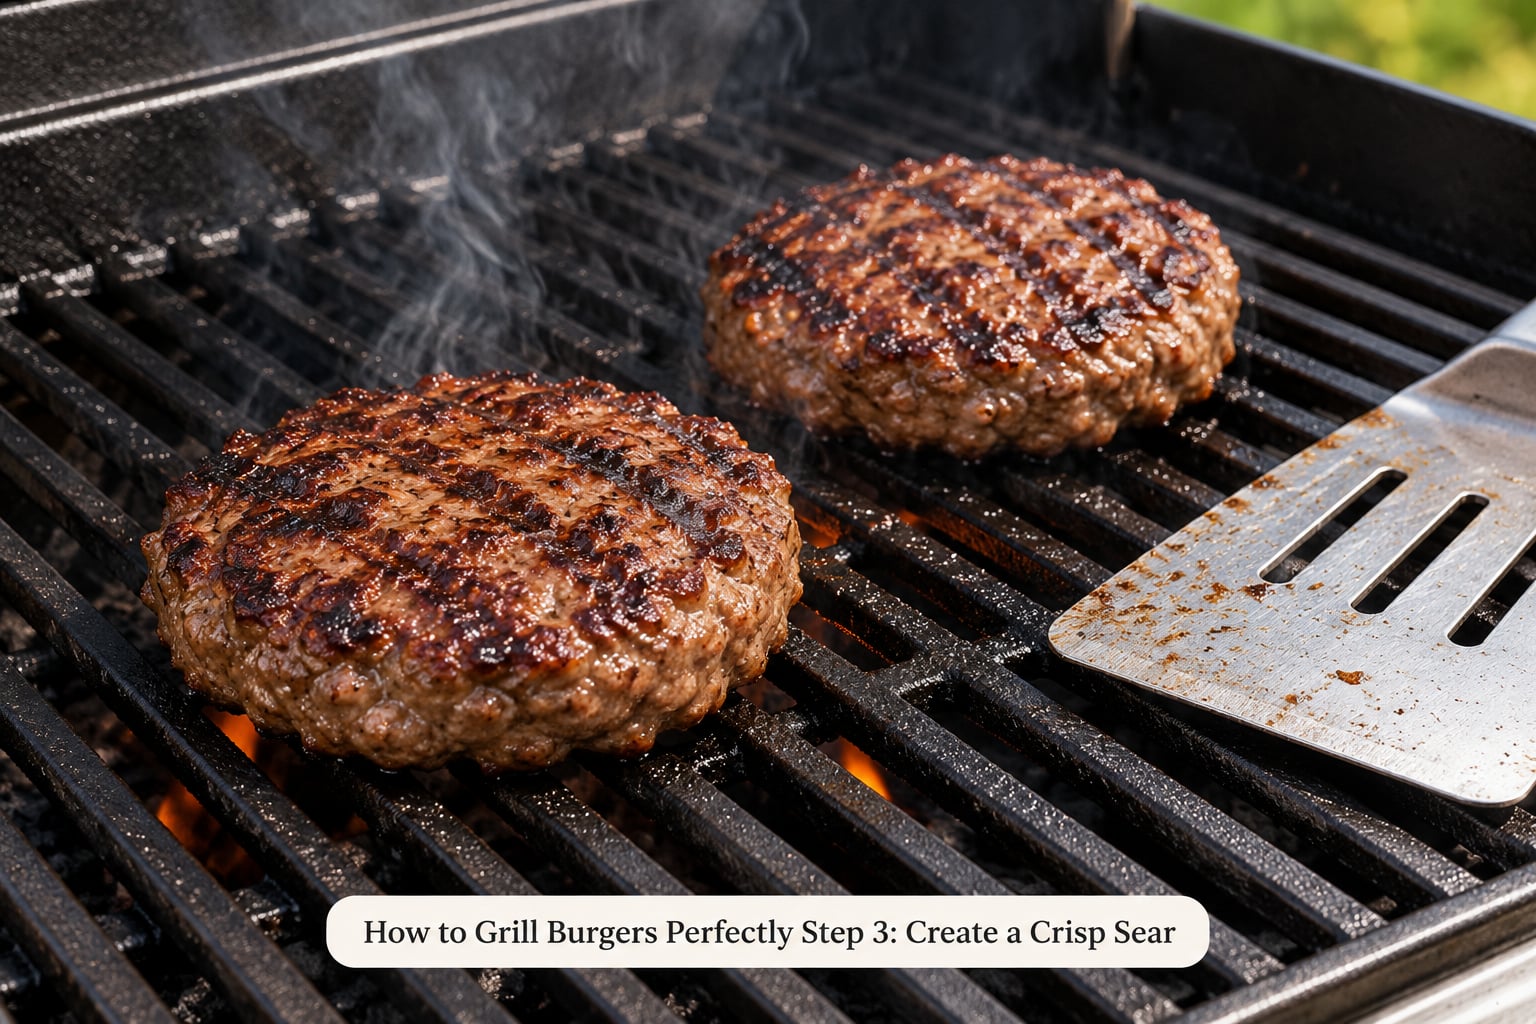
Lay the patties down on the hot zone with the spatula held flat, and do not touch them. That is the whole step. Leaving the patty alone for three to five minutes is what builds the crust, and every early peek or nudge costs you browning you cannot get back.
You will know it is time to flip when the patty releases from the grate on its own when you lift an edge with the spatula. The crust will have darkened to a deep brown and juices will be pooling on the surface of the meat. If the spatula drags and the patty tears, it is not ready. If the meat is welded to the grate, the grill was not hot enough or not oiled.
Flip once, not three times. Every flip cools the surface, resets the crust, and pushes more moisture out of the meat. Pressing with the spatula is the other thing to stop doing, and it is the biggest reason burgers come off a grill dry.
To test a burger’s release without guessing, press a fingertip lightly into the raw center of the patty before it hits the grate. It should spring back. That “loose enough to shape without packing” feel is the same thing the dimple is protecting.
How to Grill Burgers Perfectly Step 4: Cook the Burgers to a Safe Temperature
After the flip, move the patty to the cooler side of the grill, close the lid, and cook to temperature. The USDA safe minimum internal temperature for ground beef is 160°F (71°C). This matters more for burgers than for steaks, because bacteria can be distributed throughout the meat rather than sitting on the surface.
| Doneness | Pull it off the heat at | What it looks like |
|---|---|---|
| Rare | 125°F | Red center, very soft |
| Medium-rare | 130°F | Pink-red center |
| Medium | 135°F | Pink center, firmer |
| Medium-well | 145°F | Faint pink, springs back |
| Well-done | 160°F | Brown throughout |
Those pull-off numbers account for carryover cooking. A patty keeps rising about 5°F after it leaves the grill, so pull it early and let it finish on the plate.
Judge doneness with a thermometer, not with color. Meat browns from the outside in, so a well-done crust tells you nothing about the center. Cut the patty open and you release the juices you worked to keep inside, which is why poking with a knife is the worst way to check.
Cheese goes on in the last 30 to 60 seconds, right after the final flip, and you put the lid back on. American and mild cheddar melt smoothest for most people; pepper jack melts fast and stays stretchy, which is why cheeseburgers use it, while Swiss takes longer and can split the fat if you rush it. One thin slice is plenty.
How to Grill Burgers Perfectly Step 5: Rest and Serve
Rest the patty on a wire rack for three to five minutes, not a plate. The resting time lets the juices redistribute instead of running out the moment you cut in, and a rack keeps the bottom from steaming into a soggy bun.
Toast the buns on the cool side of the grill for about 30 seconds with cut butter or oil on the cut face. A dry bun absorbs burger juice and starts collapsing before you finish it, so a thin barrier of butter is what holds the sandwich together.
Build in this order: toasted bun, sauce, patty, cheese immediately after, lettuce, tomato, then condiments last. Put wet ingredients near the top so they do not soak through. Keep tall items like lettuce, tomato and pickles out of the very bottom.
If you want the meal to run past the burgers, our game day sandwiches that are not burgers roundup covers the alternatives.
Common Mistakes
Grilling on a grill that is barely warm. The patty sticks, tears, and turns grey before it browns. Fix: preheat ten to fifteen minutes with the lid closed, then hold a hand above the grate for a full ten seconds before you cook.
Pressing the patty down. You are squeezing out the juices you paid for. Fix: put the spatula down and walk away. The spatula already holds its shape if the meat is packed loosely.
Flipping too early. You lose the crust every time. Fix: wait for the release cue, the browned color and the pooling juices.
Testing by cutting. You lose moisture and you still have to wait for a second burger to check the first. Fix: an instant-read thermometer takes three seconds and tells you the truth.
Using a cool zone for everything. Six patties on the cool side steam, then need to be moved to a screaming-hot grate where they char before they cook. Fix: stagger batches, sear two or three at a time on the hot side, then move them to the cool side.
Oiling the patty instead of the grate. Oil on the meat drips and causes flare-ups. Fix: wipe the grate with an oiled paper towel and leave the meat alone.
Seasoning in a tiny amount too early and letting it sit. Salt works into the meat slowly, which is the point, but a heavy dose ten minutes ahead gives you a salty crust and an underseasoned center. Fix: salt generously just before grilling.
Worcestershire sauce in place of salt. It adds savoriness but not saltiness. Fix: use it as an addition, not a swap.
For frozen patties, grill them from frozen at a slightly lower heat, about 350 to 375°F, lid closed, and expect roughly 50 percent longer. Thawing first and patting the surface dry gives a better sear. Skip frozen patties in a cast iron pan, where the bottom burns long before the center thaws.
For thin smash patties, preheat to 450°F, press the meat down flat for ten seconds, then pull it off after about 90 seconds. Salt after the flip if you want maximum crust. Smash patties curl at the edges because the fat on the perimeter renders before the rest of the patty sets, so keep them small and do not walk away from them.
Cooking for a crowd, order the work around doneness rather than around convenience. Well-done patties first, medium next, rare last, since each batch changes the temperature in the pan and the grill gets less responsive as the fat burns off.
Two myths to drop. Color is not a doneness reading. And the finger press test works only when you have a reference point next to the patty, which at a normal cookout you do not have. A thermometer is cheaper than the burgers you will ruin guessing.
Frequently Asked Questions
What internal temperature should a burger be cooked to?
The USDA safe minimum internal temperature for ground beef is 160°F (71°C). Most cooks pull well-done burgers at 160°F, medium at 135°F and medium-rare at 130°F, and let carryover cooking add roughly 5°F on the plate. Check the thickest part of the patty, and stop probing to keep the juices inside.
How do I know when to flip a burger on the grill?
Flip when the patty releases from the grate without dragging. That happens after three to five minutes on medium-high heat, once the surface has gone deep brown and juices pool on top. If the spatula catches the meat, it is not ready yet. Leaving it alone until it lets go is what builds a sear worth having.
Should I press burger patties while grilling?
No. Pressing squeezes juices out of the meat, so the burger comes off the grill drier and the crust gets torn. Leave the spatula flat on the patty, then walk away for a few minutes. Patties packed loosely hold together on the grate without being pressed into place.
How do I keep grilled burgers from drying out?
Start with 80/20 ground chuck, form the patty loosely so air pockets survive, and stop cooking at your target temperature rather than cooking to well-done by default. A three to five minute rest on a wire rack lets the juices settle back into the meat instead of running out at the first cut.
How do I grill cheeseburgers without burning the cheese?
Add the cheese right after the final flip and close the lid immediately. Thirty to sixty seconds is enough for American or mild cheddar to melt before the burger overcooks. Pepper jack and Swiss need a little longer, and cheese on a 450°F grill should go on sooner because the surface heat is far more aggressive.
Do you grill hamburgers with the lid open or closed?
Close the lid for thick patties. It turns the grill into a convection oven, which drives heat into the center of a three-quarter-inch burger without burning the crust. Leave it open for thin smash patties under a quarter-inch thick, where you want hard direct heat on both faces and a cook time under three minutes per side.
Conclusion
The best first move is not seasoning or sauce. It is preheating the grill properly, forming patties of even thickness with a thumb dimple, and keeping an instant-read thermometer within reach.
From there it is one flip, a closed lid on the cool side of the fire, and a pull at temperature rather than at a guess. Sear first, verify second, rest third. That sequence is the whole method, and it works on a gas burner or a kettle of charcoal once you stop interfering with the meat.