
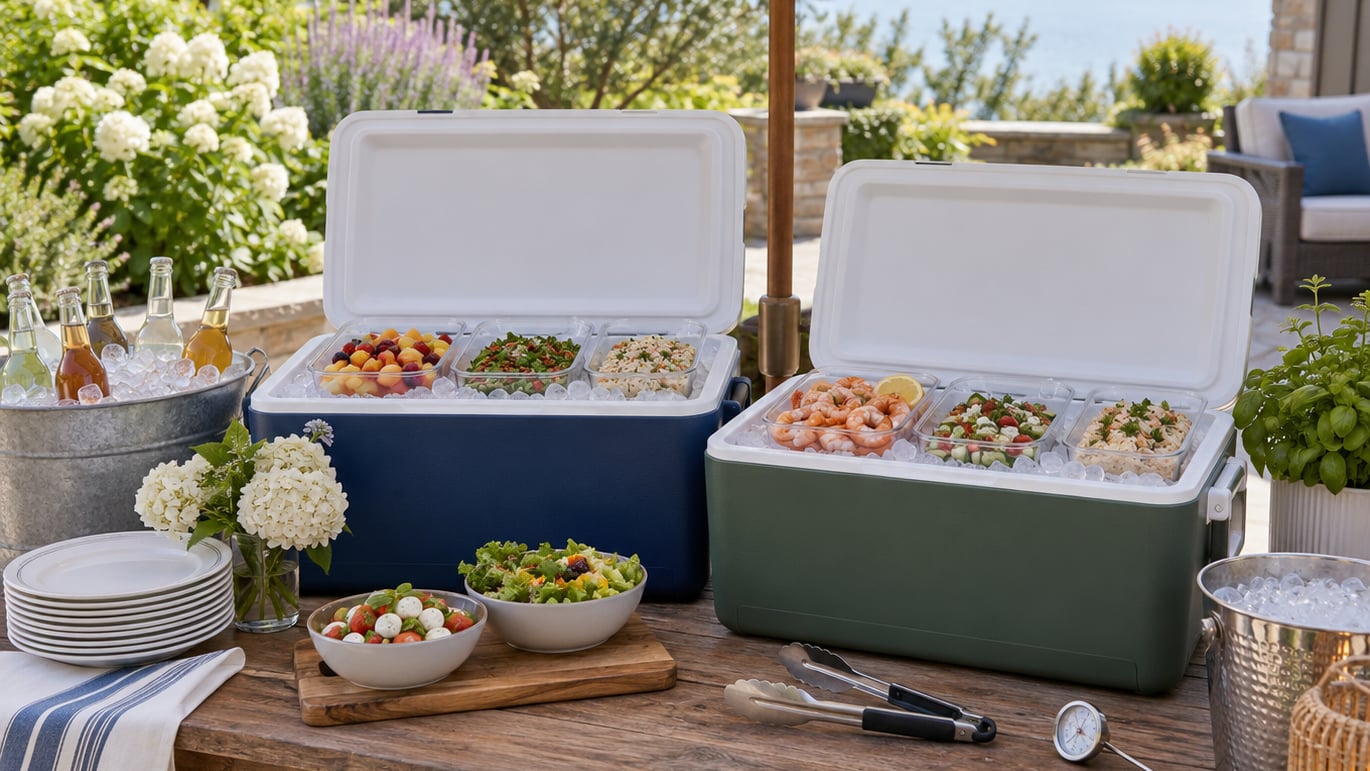
The way to keep food cold at an outdoor party is simple: chill everything before it leaves the house, then keep it in ice or an insulated cooler at or below 40°F the whole time it’s outside. Set up a shaded serving station, pack coolers in the right order, and check temperatures with a food thermometer every half hour or so. Most of the work happens the day before, not on party day.
Perishable food is the part people worry about, and rightly so. Food safety guidelines say perishable food should not sit in the danger zone between 40°F and 140°F for more than two hours, and only one hour when the outdoor air is above 90°F. Salads, shrimp cocktail, cut fruit, dips with dairy, sandwiches with meat, and charcuterie boards all fall in that window.
The good news is that the equipment is ordinary. Coolers, a few dollars’ worth of ice, sealed containers, and a cheap thermometer handle a party of twenty. Here’s the setup I use, tested through backyard cookouts, a graduation party, and one very hot July block party where the pavement was hot enough to fry an egg.
Table of Contents
What You Need
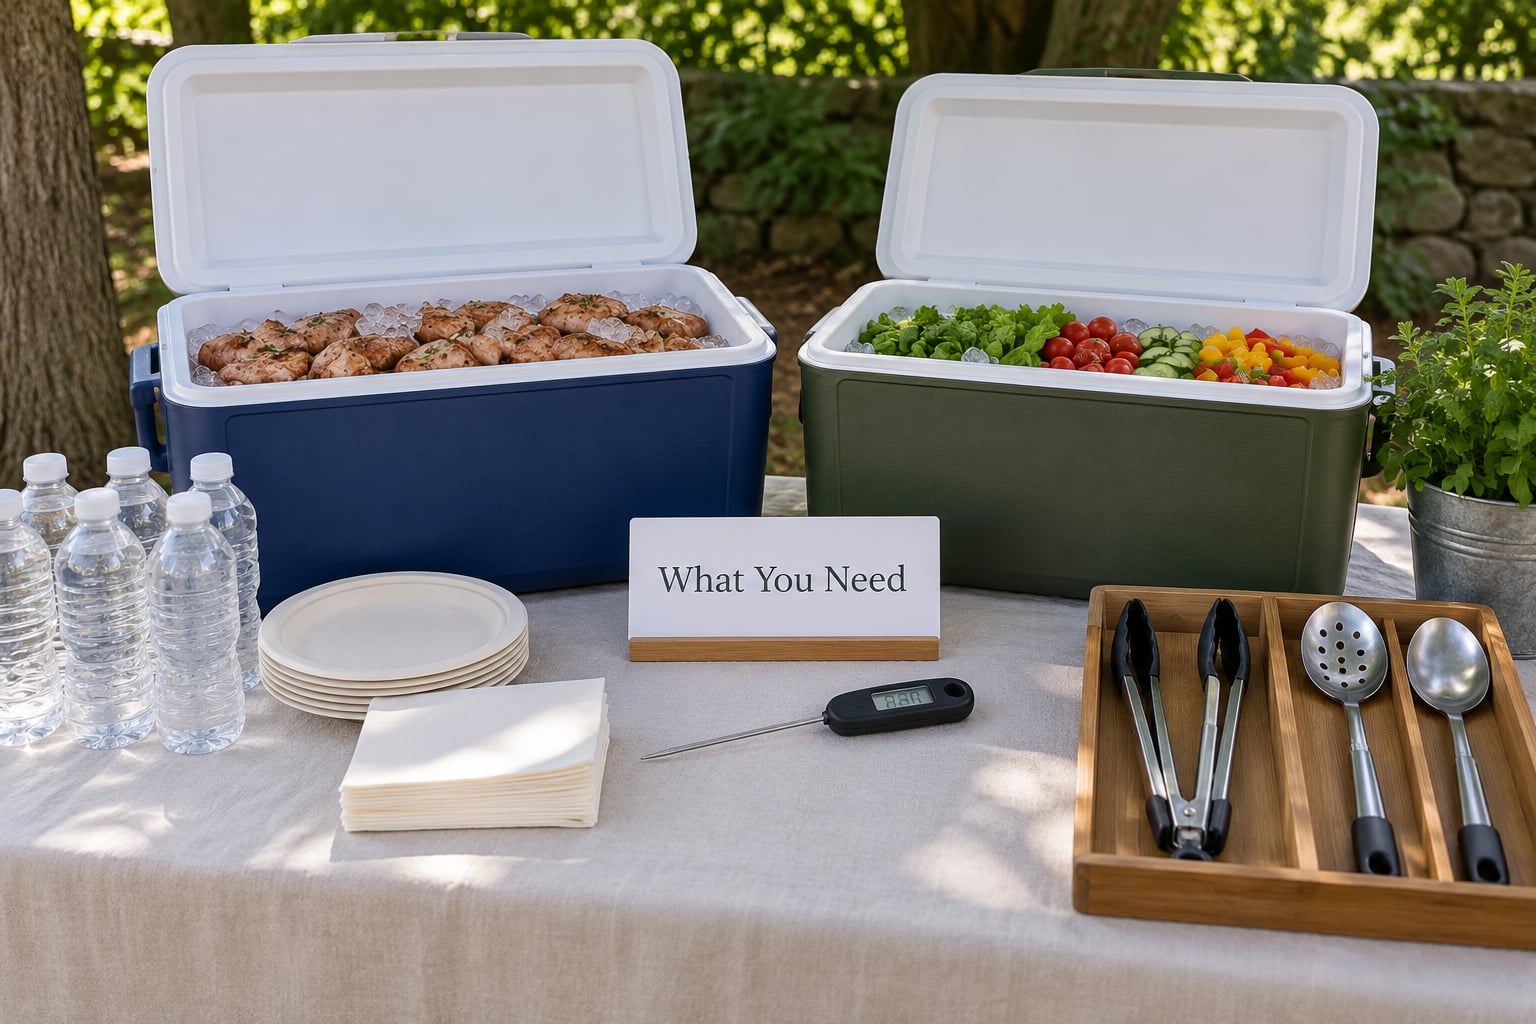
Sort what you own before you shop for anything. Most hosts already have two coolers they haven’t touched since last summer, and cooler lids hold cold for a surprisingly long time once the walls are cold too.
- Two coolers, or one cooler plus a large insulated tub. One holds food, one holds drinks. Mixing them is the single most common reason food warms up early, because everyone lifts the food cooler lid for a beer.
- Ice, in more than one form. Bags of cubes for filling gaps, plus two or three frozen blocks or frozen water bottles for the bottom of the cooler. Blocks melt far more slowly because they carry more cold mass.
- An instant-read thermometer. A cheap dial or digital model is enough. It’s the difference between guessing and knowing, and it’s the only tool that tells you the truth about a dish nobody checked.
- Sealed containers that fit inside the cooler. Leak-proof deli containers or screw-top tubs beat serving bowls you have to dig out of ice water. If a dish has to travel, it should close.
- Foil pans or nesting trays for building an ice bath on the serving table. Two foil pans, one smaller than the other, cost very little and handle dips, salads, and cut fruit.
- A tablecloth or fitted towel to drape over ice tubs and coolers. A covered cooler in the sun holds its cold noticeably longer than an open one.
- Shade. A canopy, patio umbrella, or a spot under trees. Direct sun raises the surface temperature of a dark cooler lid fast, and shade is free cooling.
- Tongs and a separate utensil per dish. Every dip gets its own spoon, and you refill small batches rather than restocking the big bowl.
- Hand sanitizer and a trash bag near the serving table, plus a bucket for meltwater so it doesn’t pool under the food.
For a spread that includes sandwiches or a build-your-own bar, our DIY sandwich bar setup guide covers the layout and labeling so meat and mayo stay cold while people build plates.
Step-by-Step
Pre-Chill Food and Equipment
Pre-chilling matters more than gear quality. A cooler that starts at room temperature has to spend the first hour just getting cold, which means it uses part of your ice budget before any food goes in.
Pre-chill the containers themselves if they will hold cold food. A thick ceramic serving dish sitting in ice water pulls heat out of the food faster than plastic does, so chilling those dishes ahead of time is free refrigeration.
Shake loose the condensation and don’t skip it. A cloth or paper towel under the containers keeps them from floating, and that towel catches the drip before it turns the bottom of the cooler into soup.
Pack Foods in the Right Order
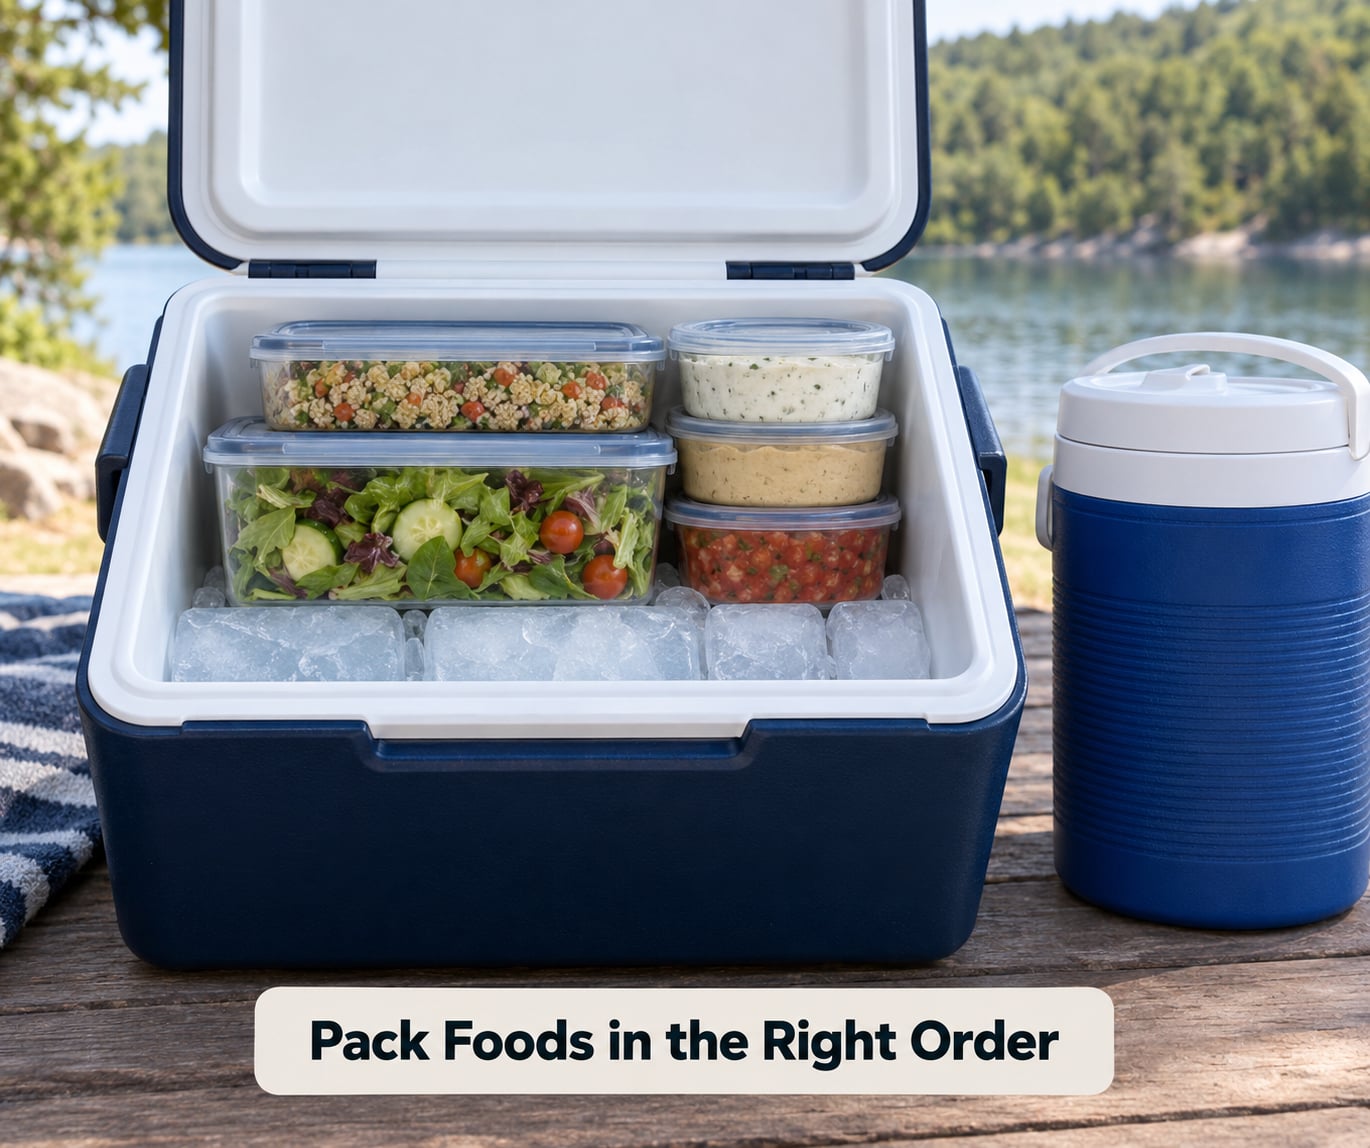
Aim for roughly a 2:1 ice-to-contents ratio by weight, so about a quarter of the cooler’s capacity holds actual food and the rest is ice and air space. Pack heavy items low and cold items high, and leave as little empty space as you can, because air is what lets heat in.
Fill any gaps with ice so there are no air pockets. That is what loose ice is for, and it is also why frozen water bottles earn their place: they are solid cold mass that does not shift or leave voids when the food containers are a slightly awkward shape.
Keep raw or leaky items in double bags and lowest in the cooler. Nobody wants a potato salad scented by chicken juices, and once that happens the whole cooler gets tossed.
Fill the drink cooler with ice and beverages last, on top, so it does not crush the food cooler. Keep it closed as much as possible and consider a soft-sided insulated bag near the seating area if people are helping themselves all afternoon.
A short timeline makes the prep repeatable. The day before, make the dishes and chill them; two hours before, load the coolers and pre-chill them with ice you don’t need; thirty minutes before, carry everything out and set up the serving station under shade; then check and replenish on a timer through the party.
Keep Cold Food Shaded and Covered
Build the serving station so cold food never sits in direct sun, even briefly. A table under a canopy or umbrella, positioned so the sun moves behind it rather than across it, keeps a tray of shrimp cocktail at a safe temperature far longer than the same tray in the open.
For items guests serve themselves, nest the dish in a larger pan of ice and meltwater. Put a wire rack, a cooling rack, or even a folded towel under the dish so it sits above the water instead of floating and going soggy at the bottom.
Elevate coolers off the ground. Pavement conducts heat straight into the base, and a cooler sitting on a folded blanket or a piece of plywood runs noticeably colder than one flat on concrete.
Replenish Ice and Check Temperatures
Set a repeating check, every thirty to forty-five minutes. Walk the setup with the thermometer, sample the coldest dish and the one guests keep coming back to, and note anything above 40°F.
Keep reserve ice in a shaded cooler or in a bucket under the table, not in the food cooler. Top up around the sides and bottom of containers rather than pouring it over the top, so you are not sitting food in meltwater.
Drain meltwater before it becomes a problem. A cooler that is half full of cold water and ice holds food just fine, but a floating sealed container in murky water is harder to lift and easier to spill. A perforated drain plug or a dry basket divider makes the difference on a long day.
Discard perishable food that has been in the danger zone past the limit, or any dish that smells off, even if it looks fine. One tossed tray is a small price next to making half the party ill.
Common Mistakes
Overfilling the cooler. Cramming food in leaves no room for ice and air stays trapped where it works against you. If a dish does not fit, put it on the table in an ice bath or use a second cooler.
Putting hot food straight into a cooler. Warm food heats everything around it. Cook or bake, then chill in shallow containers in the refrigerator so it cools fast, then pack it.
Leaving food uncovered. Sun, wind, dust, and flies all get in. Lids on containers, a tablecloth or cover over the cooler, and covered pans on the serving line fix most of this.
Using too little ice. Under-ice means warm cooler. Buy more than you think you need and stash the extras in the shade; an extra bag of ice costs almost nothing next to a spoiled tray.
Opening the food cooler constantly. Every lift lets warm air in and cold air out. Put out small batches on the table and refill from the cooler every thirty minutes instead.
Using one cooler for food and drinks. It gets opened ten times as often, so the food inside warms first. Split them if you have any container at all.
Letting food sit out because it is outdoors. Being outside is not a temperature. Once a dish is above 40°F, the clock starts, and shade is what buys you time.
Two smaller failures worth naming: waterlogged salad, which happens when food sits directly in meltwater rather than on a rack, and cross-contamination, which happens when a utensil used for serving goes back into the prep container.
Tips for Different Outdoor Party Setups
Buffets. Line the table with two or three ice tubs covered by a fitted cloth and set the trays on top. Replace trays with small refills rather than restocking the originals, and refill often enough that nobody is dipping into a warm bowl.
Barbecues. Raw meat usually goes on a grill, but keep a cooler for cooked meat, fresh burger patties waiting to go on, condiments, and side dishes that need cold. Cooked meat should hit 145°F, ground meat 160°F, and poultry 165°F before it goes back into the cooler.
Picnics. Pack in smaller boxes rather than one big cooler; a small cooler opened often stays colder than a large one opened rarely because less warm air enters each time. Keep the drink cooler at the far end so the food cooler is not the one everybody crowds.
Larger gatherings. Run stations, not one line. Keep dips and cut fruit at one end with plenty of small batches, seafood at another in a deep ice bath, and drinks somewhere else entirely. Assign one person to each station to check temperature and top up ice.
Seafood and charcuterie. These need the coldest spot you have. Shrimp cocktail in a nested pan on ice, not on a tray; cheese and cured meats on a chilled board with a cold pack underneath rather than flat on the table.
For a spread built around lunchboxes or kids’ plates, our picks for ice packs for lunch boxes work in small serving pans too, since a flat gel pack slides under a tray where loose ice will not.
Frequently Asked Questions
How long can food stay cold in a cooler at a party?
A well-packed cooler with a 2:1 ice-to-food ratio, sitting in the shade, holds perishable food at or below 40°F for roughly four to six hours. Pre-chilling the cooler and using frozen blocks or bottles instead of only cubes can stretch that to eight hours or more. In heat above 90°F, assume the shorter end of that range.
How much ice do I need for a four hour outdoor party?
Plan on about one pound of ice per guest per hour, so twenty pounds for twenty people over four hours. That is a rough figure rather than a rule. Food drinks more slowly than beverages, so if the cooler holds salads rather than cans, you can pack a bit heavier on ice and lighter on contents.
Are frozen water bottles better than ice cubes for keeping party food cold?
They are worth having at the bottom of the cooler. A frozen bottle carries more cold mass than a cup of cubes, so it melts more slowly and fills the voids that let warm air in. Guests can drink the bottles later once they thaw. Cubes are still useful for topping up around food during the party.
Can I use dry ice to keep party food cold?
Dry ice works and it drops a cooler well below 0°F, but it needs care. Handle it with insulated gloves, never seal it in an airtight container, keep it away from kids and pets, and label any dish holding it clearly. Most home hosts do fine with regular ice for a single event.
Is salt on ice safe for food?
Yes, and it genuinely works. Salt lowers the melting point of ice, so a salted bath stays colder and lasts longer. Keep the food in sealed containers or pans rather than salted ice, and note that salt can pit metal over time. Use it for the serving tub, not for a cooler you want to keep in good shape.
How do I keep food cold for 12 hours or longer?
Pre-chill the cooler overnight with sacrificial ice, pack with a 2:1 ice-to-contents ratio, keep drinks in a separate cooler, put the cooler in full shade and off hot pavement, and keep the lid closed. If twelve hours is the plan, buy more ice than you think you need and store the backup in the shade with the food.
Conclusion
Start the day before: make the dishes, chill them fast in shallow containers, and let the coolers pre-cool on ice. The day of, load in layers with ice filling the gaps, keep food and drinks in separate coolers, and set the table in shade with the serving dishes nested in ice.
Then set a timer. Check temperatures, add ice around the sides, and swap out small serving batches instead of letting one bowl sit all afternoon. That rhythm is what keeps food cold at an outdoor party for the full event, and it costs a few pounds of ice rather than the whole menu.