
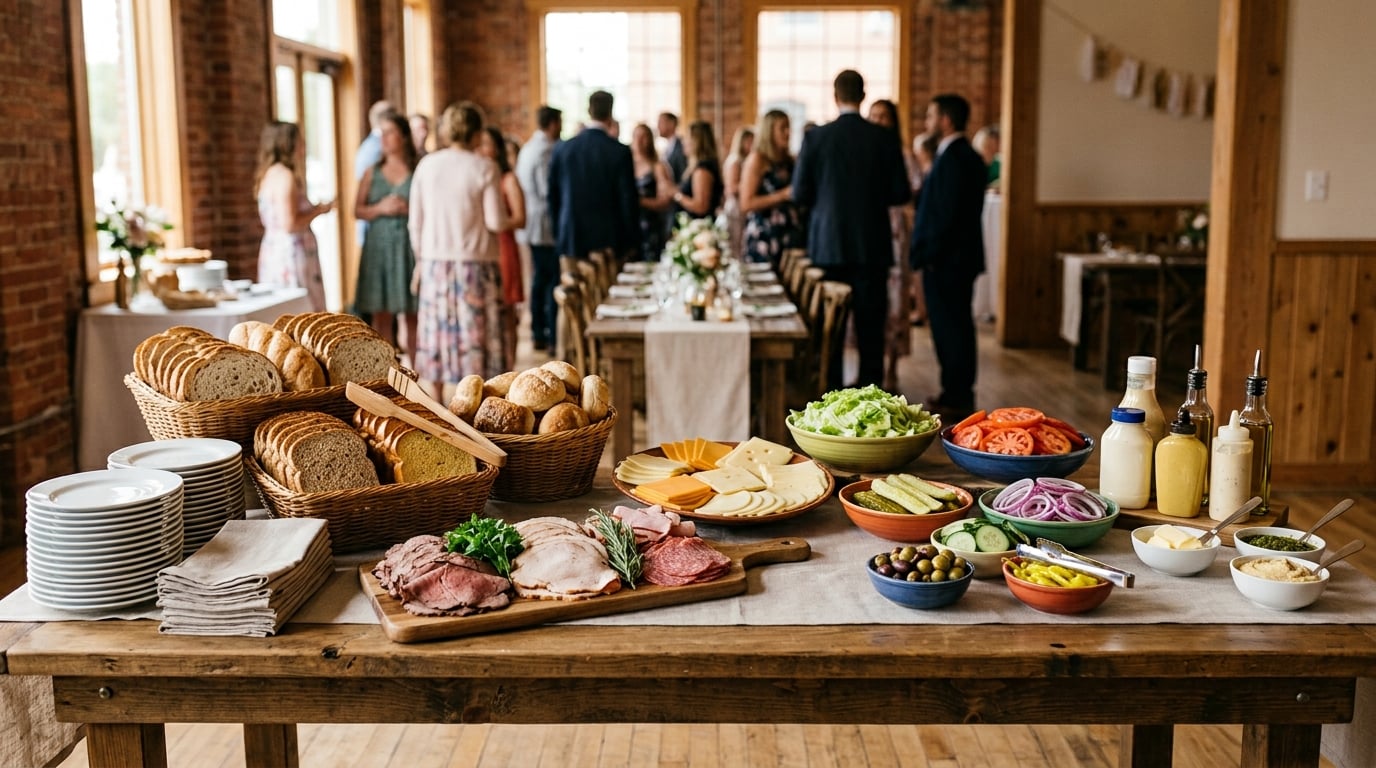
Setting up a DIY sandwich bar takes about an hour of arranging and zero cooking, so you can feed a crowd without spending the whole day in the kitchen. The rule that makes it work: plan on roughly 1/4 pound of meat, 2 slices of cheese and 2 slices of bread per person, then offer at least three options in every category so nobody stands at the table with nothing they like.
Guests move through the bar once, top to bottom, and build their own. There is no queue because nothing has to be cooked or waited for, and the host is free to sit down for once.
Here is the whole setup in a nutshell: plates first, then bread, then meats and cheeses, then toppings, then condiments, with napkins at the end. Backups live in a cooler under the table, and the perishable items go out last and go away first.
Table of Contents
- What You Need
- Step-by-Step
- 1. Choose the Best Location and Table Setup
- 2. Plan Your Sandwich Bar Menu
- 3. Estimate How Much Food to Prepare
- 4. Prepare and Arrange the Ingredients
- 5. Add Labels and Dietary-Friendly Choices
- 6. Set Up the Assembly and Serving Area
- 7. Keep Food Safe and Refresh the Bar
- What to Serve Alongside the Sandwich Bar
- Five Themed Variations
- Common Mistakes
- Tips
- Frequently Asked Questions
- How many sandwiches do I need for 20 people?
- How much bread and how much meat do I need for 25 people?
- Do I pre-make the sandwiches or let guests build them?
- What can go on a sandwich bar that needs no cooking?
- How long can sandwiches and fillings sit out at a party?
- What side dishes go with a sandwich bar?
- Conclusion
What You Need
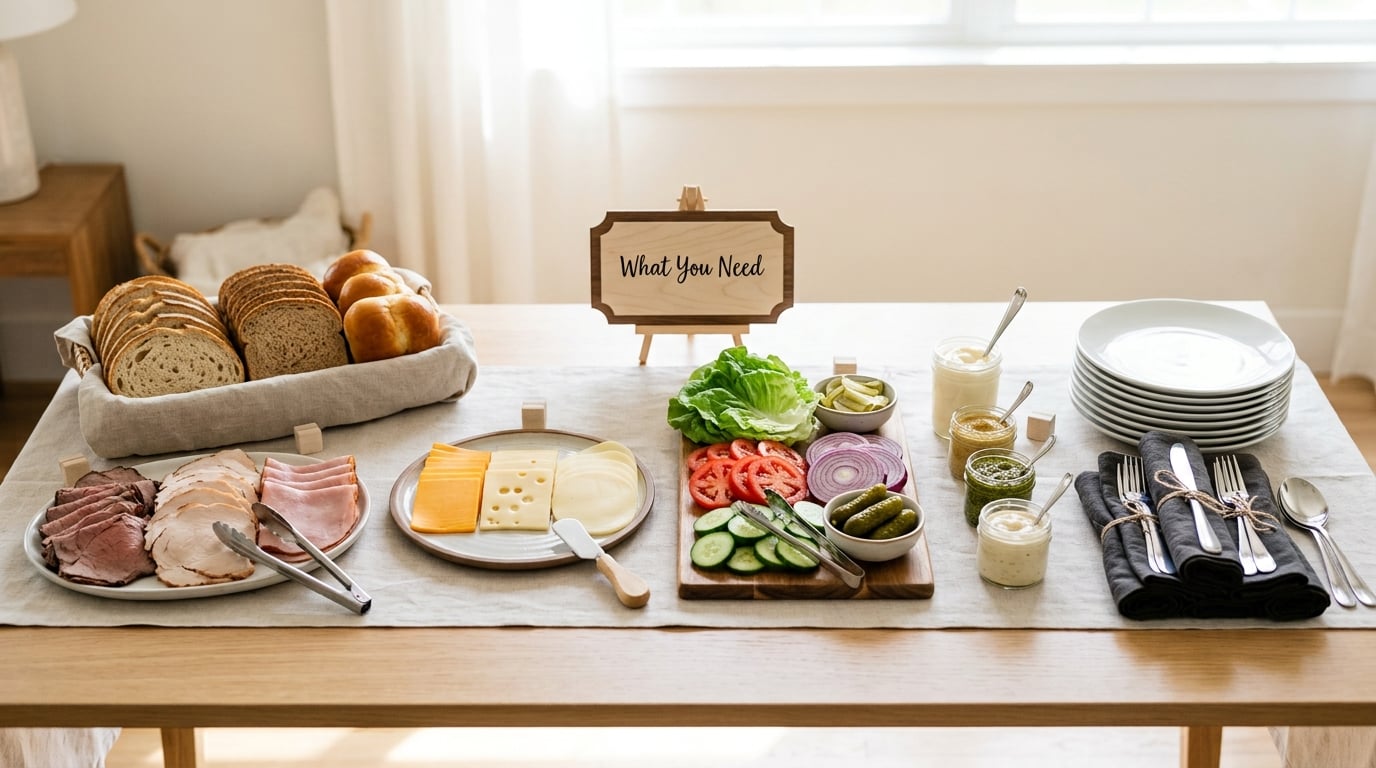
The hardware matters more than the menu. Most hosts who have done this twice will tell you the first attempt failed because there were not enough plates or no tongs for one dish, not because the food was bad.
Serving pieces
- One platter or bowl per item, plus a couple of spares
- Wood crates, baskets or a second tier to raise the bread off the table
- One set of tongs or serving spoons per dish, and one more than you think
- Plates, napkins and forks: budget two plates per guest, and a second napkin for anyone with a messy filling
- A separate plate and utensil set for gluten-free bread so nobody has to worry about cross-contact
- A trash or compost bin and a place for used plates that does not sit next to the clean food
Labels and basics
- Small tent cards, index cards, or a chalkboard for each dish
- A printed shopping list and a printed menu card with three or four named combinations
- A cooler or ice chest for the reserve trays
- Ice for the mayo and any creamy spread
Food
Three breads, three meats, three cheeses, four toppings, three condiments, and one spread that is not a condiment. That is the minimum variety rule most hosts land on, and hitting it takes about fifteen minutes of planning.
Step-by-Step
1. Choose the Best Location and Table Setup
Pick a table that guests can reach from one side, or a counter that works like an assembly line. If the party is large, run the bar along one wall or across the back of a kitchen island rather than in the middle of the room.
Give yourself about three feet of table space for every 15 guests, and leave a landing spot at the start and the end of the line. A twelve-foot table handles roughly 60 guests comfortably. If you run out of table, an ironing board or a sideboard with a fitted cloth works fine.
Put a tablecloth you do not love under everything, and keep a damp towel nearby. Mayo, pickles and iced tea all find a table eventually.
2. Plan Your Sandwich Bar Menu
Build variety across categories, not within them. Three of the same cheese does not count as variety, but one sharp, one mild and one soft does.
| Category | Minimum options | Examples that work |
|---|---|---|
| Breads | 3 | Sliced sourdough, ciabatta or party rolls, and a wheat or rye option |
| Meats | 3 | Turkey, ham, roast beef, plus one vegetarian protein such as hummus or baba ganoush |
| Cheeses | 3 | Swiss or provolone, cheddar, and a soft cheese such as goat or brie |
| Toppings | 4 | Lettuce, tomato, red onion, cucumber, pickles, sprouts, banana peppers |
| Condiments | 3 | Mayonnaise, mustard, and one sharper choice such as pesto, horseradish or a hot sauce |
| Spreads | 1-2 | Butter, cream cheese, avocado, peanut butter or a dessert spread |
Labeling solves the freeze-at-the-table problem. A printed menu card listing the combinations that work takes away most of the hesitation without you having to stand there:
- Turkey, Swiss, mayo, lettuce and tomato
- Roast beef, cheddar, mustard, raw onion and lettuce
- Ham, provolone, tomato and fresh basil with a little mustard
- Capicola, mozzarella, pesto and pepperoncini on ciabatta
- Peanut butter, honey and banana on a roll, cut into quarters for kids
3. Estimate How Much Food to Prepare
The per-person figures below assume guests build one to two sandwiches each and that you add a 10% buffer on top. The 10% buffer is the number that separates hosts who run out at 7 p.m. from hosts who do not, and it costs almost nothing to include.
| Item | Per person | Serving basis |
|---|---|---|
| Assorted meats | 1/4 lb | About a 2-3 oz portion; split across your three options |
| Assorted cheese | 2 slices | Pre-sliced, or one 10-slice pack per 5 guests |
| Bread | 2 slices | Buy one more loaf than the math says; bread disappears first |
| Rolls or sliders | 1-2 each | About 3 dozen party rolls covers 25 to 30 guests |
| Toppings | 1/4 to 1/2 cup | Lettuce, tomato and onion; cucumber and pickles are heavier |
| Condiments | 2-3 oz total | 1/4 cup of mayo, mustard and the rest |
| Plates | 2 each | Plates and napkins |
Now scale it to your actual guest list. These totals include that same 10% buffer, so buy to the number in the table and not to the bare math:
| Guests | Meat | Cheese | Bread (slices or rolls) |
|---|---|---|---|
| 10 | 2.5-3 lb | 20-25 slices | 25 slices |
| 20 | 5-5.5 lb | 45 slices | 45 slices |
| 25 | 6-6.5 lb | 55-60 slices | 55-60 slices, or 3 loaves |
| 30 | 7.5-8 lb | 65-70 slices | 70 slices |
| 50 | 12-13 lb | 110 slices | 3-4 loaves, or 6 dozen rolls |
| 75 | 19-20 lb | 165 slices | 165 slices, or 10 dozen rolls |
| 100 | 25 lb | 200-220 slices | 220 slices, or 13 dozen rolls |
Teen and adult-heavy crowds eat more. If your guest list skews toward high-schoolers, add 25-30% and expect bread and condiments to move faster than the meats. A drop-in open house is the opposite case: not everyone arrives at once, so put out two-thirds and hold the rest in the cooler for a second round.
A useful cross-check: 1/4 pound of meat per person equals about 2-3 ounces, which is a normal sandwich portion. If your guests are known big eaters, adjust that one number up and leave the rest of the list alone.
4. Prepare and Arrange the Ingredients
Everything on the bar should already be sliced, and the only knife work that happens during the party is a tomato or a lettuce leaf. Slice deli meat and cheese the night before, store them in their packaging or between sheets of parchment, and refrigerate.
Wash lettuce the day before, spin it dry, and store it in a lidded container with a paper towel. Wet lettuce is the fastest way to make bread go soft.
Slice tomatoes thin and vertically, then lay the slices on a paper towel and blot the tops. The seeds are the water, and pulling them out keeps a tomato sandwich from turning into a puddle by the second hour.
On the table, group by category rather than mixing, put the most popular item in the middle of its group where hands reach first, and give every dish its own utensil. Wooden crates or napkin-lined baskets under the bread add height and make the bar look styled rather than dumped on a table.
5. Add Labels and Dietary-Friendly Choices
Every dish gets a card. Name the item and name the allergen: ham and provolone, contains pork and dairy; the hummus is dairy-free but made with sesame. Keep the allergen list short and honest.
Always put out at least one filling with no meat in it. Hummus and roasted vegetables, egg salad, or a simple peanut butter and banana on the side works for vegetarians, and kids will eat it before they touch anything else.
For a gluten-free guest, put gluten-free bread in a separate basket with its own tongs and put the spreads in a dish rather than straight from the jar. It is a small amount of extra work and it avoids a problem mid-party.
6. Set Up the Assembly and Serving Area
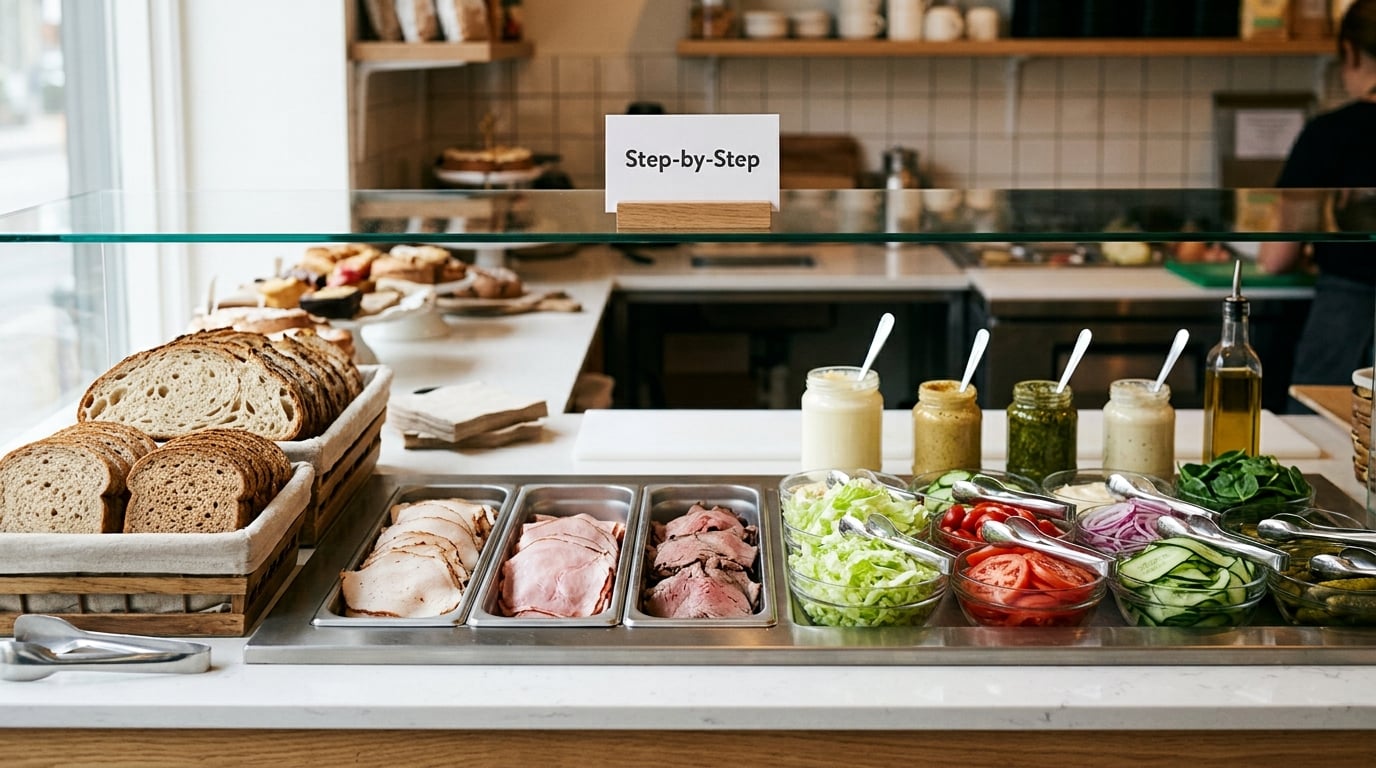
Order of the line is what keeps traffic moving. Left to right, it goes: plates, then bread, then meats and cheeses together, then toppings, then condiments and spreads, then napkins and forks at the very end.
Napkins go last on purpose. Guests pick up a plate, move forward, and grab a handful only at the end, so nobody walks away with a pile of napkins they never used.
Put a trash bin for used plates and wrappers at the exit end of the bar, not under the food. If you have room for a second small table, move bread and the drinks there so the main line only handles fillings.
7. Keep Food Safe and Refresh the Bar
Everything sliced here is a perishable food. USDA guidance puts the safe minimum internal temperature at 165°F for poultry, 160°F for ground meat, and 145°F for whole cuts and fish, but a no-cook sandwich bar never reaches those temperatures, so the rule that matters is time and temperature.
Do not leave sliced meat, sliced cheese, egg salad, tuna salad or creamy spreads out at room temperature for more than two hours. If the party runs past that, put those dishes away and bring out a fresh tray. Most hosts solve this simply by not putting perishable items out until the last 20-30 minutes.
Mayonnaise, potato salad and ranch-style dips belong in a bowl set in a larger bowl of ice, or in a shallow pan over an ice tray. It is the same work as setting out a drink dispenser with ice under it.
Replenish in small rounds rather than putting everything out at the start. A bar that was refilled at the halfway point looks fresh; a bar that was set out at once looks picked over by hour two. Bring out half your meat, half your cheese and half your condiments, and keep the rest in the cooler.
What to Serve Alongside the Sandwich Bar
A sandwich bar needs exactly one hot side and one cool, crunchy side, and it needs a drink station more than it needs a fourth cheese. Chicken and rice soup, a pot of chili, or a tomato soup in a crockpot covers the warm option and gives the room a smell worth arriving for.
For the cool side, pick two: a green salad, a pasta or potato salad, or a tray of pickles and olives. A heavy side makes guests eat fewer sandwiches, which is a useful lever when you are serving a large group on a smaller budget.
Finger foods sit better on a second table than next to the bread: chips in a bowl, crackers, deviled eggs, pinwheel sandwiches, small sliders, and a bowl of fruit with something to dip it in.
For drinks, a self-serve station of iced tea, lemonade and sparkling water with ice in a tub takes care of itself and keeps drink traffic away from the food line.
Five Themed Variations
- Italian bar — ciabatta and rolls, salami, prosciutto, capicola, mozzarella, roasted red peppers, pesto and giardiniera.
- Deli and cheese — a dozen pre-sliced meats, three cheeses, a tray of olives and a mustard station on a board.
- Vegetarian — three beans or grain salads, sliced cheese, roasted vegetables, hummus, avocado and four spreads, all in wide bowls with a spoon in each.
- Hot and pressed — sliced fillings on a station with two griddles or sandwich presses. Add a 10-minute space in your plan per batch; the payoff is that it smells incredible and needs no utensils at the table.
- Brunch bar — brioche and bagels, smoked salmon, cream cheese, egg salad, cucumber, tomatoes and a yogurt-and-fruit bowl on the side.
Common Mistakes
- Too few options in a category. Two meats means anyone who dislikes both is stuck. Fix: three in every category, minimum.
- Everything out from the start. The second hour looks like a buffet picked clean. Fix: half out, half in the cooler.
- No vegetarian or kid option. At least one filling should have no meat, and something small and plain for children.
- Condiments in open jars on a warm table. Fix: squeeze bottles or a dollop, and a shallow pan over ice for anything with mayo or dairy.
- Tomatoes added too early. Slice them thin, blot the seeds, and put them out on the bar rather than on pre-made sandwiches.
- Too little bread. It runs out long before the meat does. Buy one extra loaf, and keep a sealed backup in the kitchen.
- Not enough plates and napkins. Two plates and two napkins per guest, plus 10%.
- A crowded line in both directions. Fix: one side only, and a bin for dirty plates at the end.
Tips
- Name the dishes. A card saying “Hot Roast Beef and Cheddar” makes a tray sell itself.
- Print three or four combinations on a menu card. Guests who hesitate at an unlabelled bar will copy the first one they see.
- Put out a tenth of the food at a time when you can. Little round platters look fuller than one big tray with a crater in the middle.
- Use white or clear glassware so the sliced and shredded ingredients pop against it.
- Slice everything the night before and leave a list of what needs a final touch the next morning.
- Pack a take-home container station near the exit for leftover rolls, cheese blocks and cookies. It ends the awkward leftovers question before anyone asks.
Frequently Asked Questions
How many sandwiches do I need for 20 people?
Plan on 40 to 45 sandwiches for 20 guests, since most people build one or two. That works out to about 5 to 5.5 pounds of assorted meat, 45 slices of cheese and 45 slices of bread including a 10 percent buffer. Put out two-thirds of it first and hold the rest in a cooler, because bread and condiments run out before the meat does.
How much bread and how much meat do I need for 25 people?
For 25 guests buy about 6 to 6.5 pounds of assorted meat, 55 to 60 slices of cheese and 55 to 60 slices of bread. Three standard loaves covers it, or about 3 dozen rolls if you are doing sliders. Add the extra loaf anyway; bread is the item that disappears first at any party.
Do I pre-make the sandwiches or let guests build them?
For a build-your-own bar you pre-make nothing. That is the whole point, since the food stays fresh and guests take only what they want, so there is almost no waste. If you want pre-made sandwiches instead, make them no more than a day ahead, keep cream cheese and mayo-based fillings to the same day, refrigerate without stacking the trays and discard anything left out past two hours.
What can go on a sandwich bar that needs no cooking?
Sliced deli meat, sliced cheese, pre-washed lettuce, cucumber, olives, pickles, roasted red peppers and three or four spreads such as mustard, mayo, pesto and hummus. Add hummus or peanut butter as a filling so vegetarian guests and young children have a real option rather than a bread with lettuce on it.
How long can sandwiches and fillings sit out at a party?
Sliced meat, sliced cheese, egg salad, tuna salad and any creamy spread should not be at room temperature for more than two hours. Set those dishes out in the last 20 to 30 minutes, or put them in a shallow pan over ice, and take them down when two hours are up. Whole cuts and reheated fillings follow USDA minimum internal temperatures of 145°F, while poultry needs 165°F and ground meat 160°F.
What side dishes go with a sandwich bar?
Pick one hot side such as chicken and rice soup, chili or tomato soup, plus one cool side such as a green salad, pasta salad or potato salad, and one crunchy item like chips, crackers or a pickle and olive tray. A heavy side like potato salad actually reduces how many sandwiches guests build, which helps when the guest list is large.
Conclusion
Start with your guest count and multiply by a quarter pound of meat, two slices of cheese and two slices of bread, then add ten percent. Pick three reliable combinations you know people like, and lay those ingredients out in flow order on a table with tongs, cards and napkins before anyone arrives.
The rest is small decisions made in advance: a vegetarian option, a cooler full of backups, and perishable dishes that go out late. Updated for October 2026, this method scales from a family dinner to a hundred-person open house without changing the layout.