
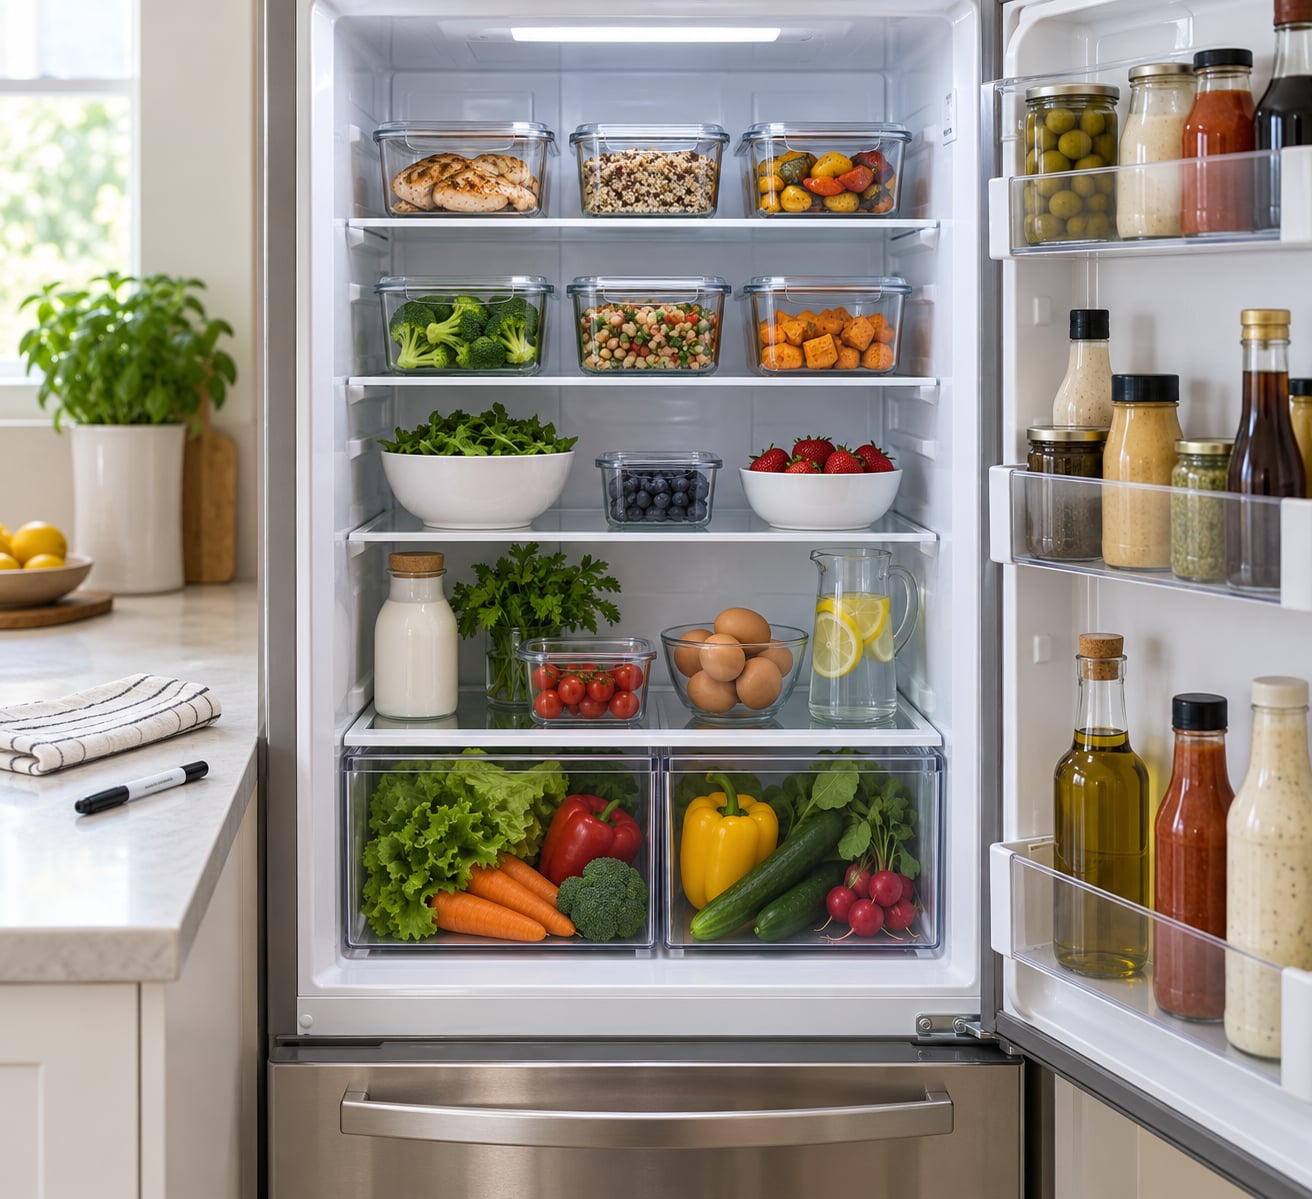
Most refrigerator waste happens the same way: someone buys food, puts it on a shelf, and forgets it exists. If you know how to organize a refrigerator to reduce food waste, you fix that in about 45 minutes with an empty fridge, clear containers, and a first-in, first-out rotation. The system is simple enough to keep up on a ten-minute weekly reset.
The whole thing rests on three habits: group food by how soon it needs eating, put older food at the front, and label what you cannot identify by sight. You do not need a matching storage set or a magnetic shelf diagram. You need to see your food.
Table of Contents
- What You Need
- Step-by-Step
- Step 1: Empty and Check Everything
- Step 2: Group Food by Use and Storage Time
- Step 3: Place Older Food at the Front
- Step 4: Create Simple Refrigerator Zones
- Step 5: Use Clear Containers and Labels
- Step 6: Set Up an Accessible Freezer System
- Step 7: Replenish Without Crowding
- Step 8: Finish With a 10-Minute Weekly Reset
- Common Mistakes
- Frequently Asked Questions
- Start With One Practical Fridge Reset
What You Need
Gather these before you start, because hunting for supplies mid-reset is how a 45-minute job turns into two hours.
- Removable bins or clear containers for loose items and cooked food. Food-safe and leak-resistant, with lids that stack flat.
- Shelf labels — masking tape, sticky notes, or reusable dry-erase strips depending on how often you re-label.
- A permanent marker and, if you prefer, a piece of painter’s tape for dates.
- Mild dish soap and clean towels for wiping spills and shelf fronts.
- Optional dry-erase labels if you plan to adjust zones often and hate rewriting.
None of this needs to match. Mixed containers work fine as long as they are clear enough that you can see the food inside from the door.
Step-by-Step
Step 1: Empty and Check Everything
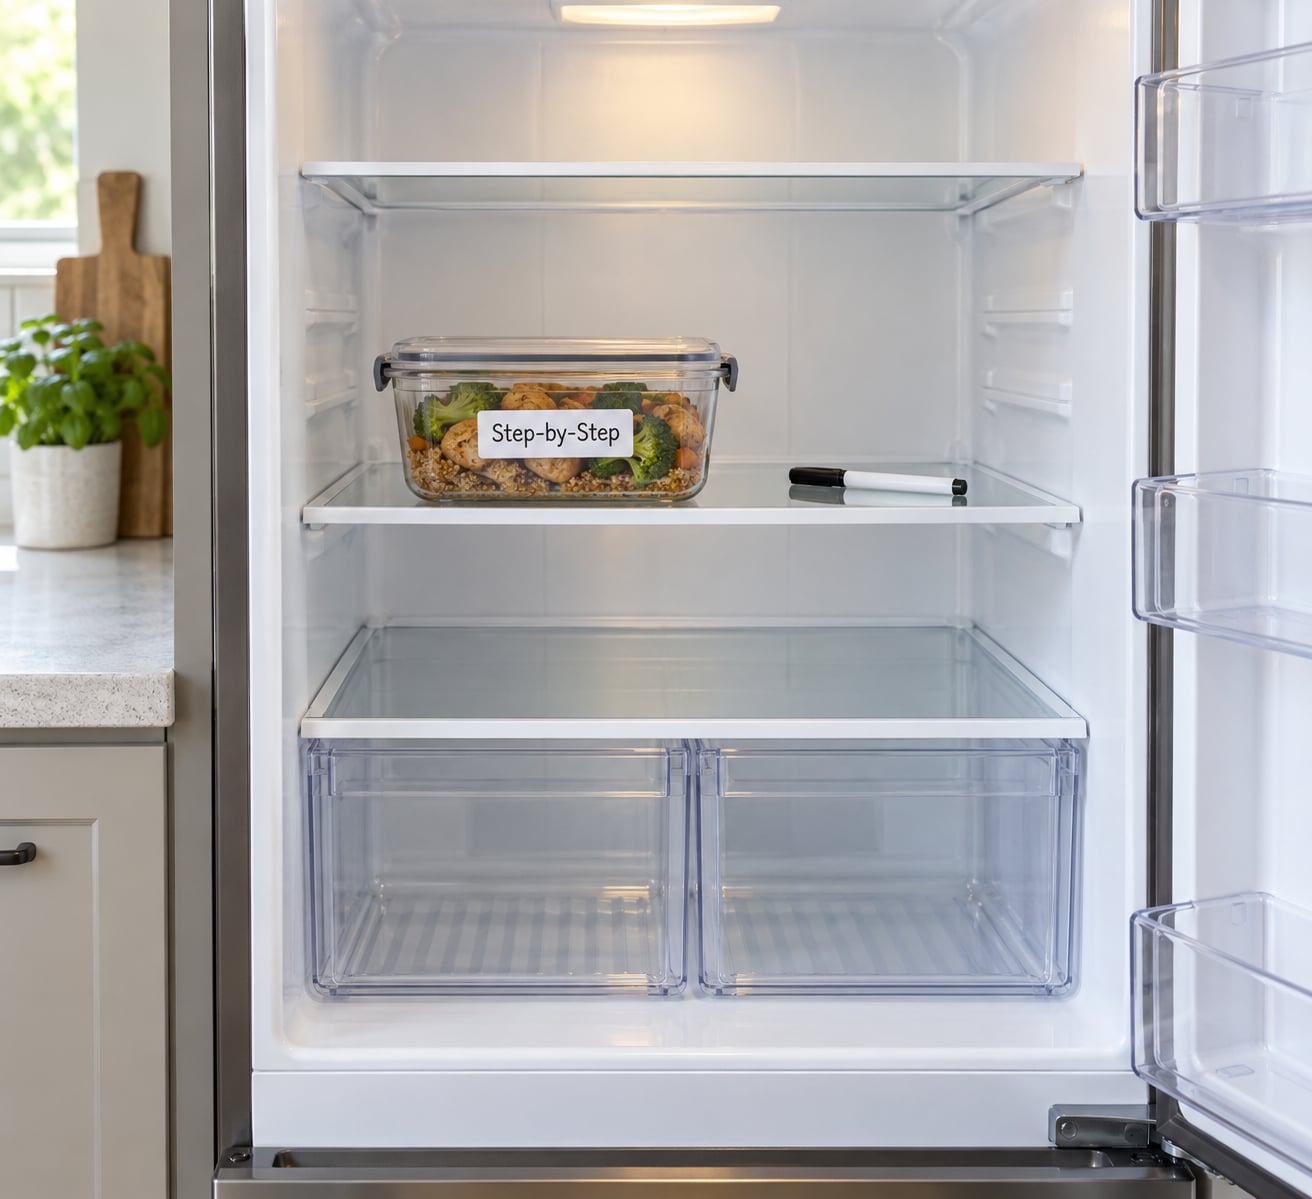
Pull every single item out and spread it across the counter or a clean towel. This is the step people skip, and it is the one that surfaces the food you have been paying for but never eating. Budget 15 to 20 minutes for a family fridge, less for a small one.
As each item comes out, make an immediate decision: use it, freeze it, or discard it. Do not put questionable items back “to decide later” — that is how the back of the fridge becomes a graveyard.
Know your safety limits before you start. Cooked leftovers keep three to four days in the refrigerator. Raw poultry and raw ground meat keep one to two days. Anything past that, or anything that smells off, slimy, or shows mold on a soft food, goes in the trash regardless of how recent the date looks.
Wipe up any spilled liquid with warm water and mild dish soap, then dry the surface. How you know step one worked: every remaining item has a plan attached to it.
Step 2: Group Food by Use and Storage Time
Sort what survived into four piles: everyday items you reach for daily, ready-to-eat food, ingredients you cook with, and anything that must be eaten or frozen soon. Learning how to organize a refrigerator to reduce food waste starts here, because food grouped by urgency is impossible to ignore.
Keep the short-lived food together in one group — deli meat, fresh dairy, cut fruit, cooked leftovers, and wilted greens. When they share a shelf, you check them at the same time you check the milk, instead of finding wilted greens weeks later behind the yogurt.
Ingredients go in their own group, and so does the food you will realistically cook this week. If you are cooking for a group rather than two people, our guide to how much food to order by headcount is useful for scaling batches so you cook once and freeze the rest deliberately.
How you know step two worked: you can point at one shelf and describe its purpose in a few words.
Step 3: Place Older Food at the Front
Set up a first-in, first-out rotation. Older containers go to the front of the shelf, newer food stacks behind them. The container you grab next should automatically be the one you will use first, without thinking about dates.
Write the date on leftovers the day you cook them, using painter’s tape and a Sharpie if that is easier than labeling the container itself. For condiments and dairy, place an older bottle at the front when a newer one goes behind, even if neither is close to the end of its life.
People often ask why they waste food they technically could still eat. The reason is attention. Food at the back of a shelf is out of sight, so it never enters the decision you are making at 6pm.
How you know step three worked: open the door and the first thing you see is the food with the oldest date on it.
Step 4: Create Simple Refrigerator Zones
Cold air sinks, so shelves and the space near the back stay colder than the door. Zones follow that physics rather than fighting it.
- Top shelf: leftovers and ready-to-eat food, in date order, oldest first. This is your eat-first zone.
- Upper-middle shelf: dairy, eggs, cooked foods you have not portioned yet.
- Lower-middle shelf: ingredients, opened jars, drinks that need more cold than the door gives.
- Bottom shelf: raw meat, poultry, and fish, in a tray or bin that catches drips.
- Door shelves: condiments, butter, and items that tolerate temperature swings. Not milk, not eggs.
- Crisper drawers: produce, separated by type, with the humidity setting matched to what is inside.
Adapt this to your household. A family of four eating breakfast out of the door shelf is fine. A shared apartment fridge where nobody washes anything benefits from stricter separation.
Keep raw meat on the lowest shelf so drippings cannot fall onto food you eat without cooking. When you cook, bring poultry to 165°F (74°C), ground meat to 160°F (71°C), and whole cuts and fish to 145°F (63°C).
How you know step four worked: you can finish the sentence “raw chicken lives on the ___ shelf” without thinking.
Step 5: Use Clear Containers and Labels
Move loose food into clear containers and label each one with the contents and the date it was made. A tub of unidentified sauce at the back of a shelf is food you will throw out, because you cannot date it or smell it confidently.
Check labels on a two-day cycle during the week, and do a full review once a week. Write what the food is and when it was stored — not how long it stays good. A label claiming a week of freshness on something made on a Sunday is exactly the kind of optimistic guess that leads someone to eat it on day six.
Keep containers shallow where you can. Food you can see from above gets used; food buried in a deep tub does not. How you know step five worked: every tub in the fridge has a name and a date you can read without picking it up.
Step 6: Set Up an Accessible Freezer System
Give the freezer the same treatment: labeled baskets or zones, oldest at the front, newer behind. A frozen bag of mystery chili from an unknown month is a bag you will eventually discard.
Move food you will realistically not eat before it loses quality straight from the fridge into the freezer. Useful categories: bread sliced for freezing, prepared meals in single portions, meat in serving sizes, and cooked grains or vegetables waiting for a soup night.
Keep a short freezer inventory on the door or on a note in your phone — item name and approximate quantity. Follow package directions for freezing times and thaw in the refrigerator, never on the counter.
How you know step six worked: you can answer what is in the freezer without opening more than two baskets.
Step 7: Replenish Without Crowding
Put the food back with the same rules you just applied. Leave some open space so air can circulate and so you can see the back of each shelf. Packing a fridge to the edges is why nothing gets noticed until it is leaking.
Place taller items toward the back only when they do not hide shorter food in front of them. Before you shop, check the back rows and the freezer, then plan the quantities you will actually cook. If you are still buying a second jar of something, the problem is the shopping list, not the fridge.
How you know step seven worked: you can see the back of every shelf from the door.
Step 8: Finish With a 10-Minute Weekly Reset
This is the part that decides whether the reset holds. Once a week, on a schedule you actually keep, do the following:
- Move anything newly cooked to the front of the top shelf.
- Check dates and smell-test anything past its limit.
- Move food about to expire forward so it is the next thing you grab.
- Pull the produce drawers and discard anything past saving.
- Review the freezer inventory and move soon-to-be-used items forward.
- Wipe one shelf while you are there.
Understanding how to organize a refrigerator to reduce food waste is not really about the one-hour reset. It is about the ten minutes that keep the reset intact. Skip three weeks and the fridge drifts back to full; do it weekly and it stays legible.
How you know step eight worked: on Sunday evening you can see how much food you have before planning meals.
Common Mistakes
- Crowded shelves. If nothing is visible, nothing gets used. Fix: eat, freeze, or discard one item per shelf before adding anything new.
- Blocked produce drawers. A drawer packed solid with mismatched produce hides spoilage. Fix: one drawer for greens, one for fruit, one for sturdy vegetables.
- Unlabeled food. Fix: write the name and date on every container as it goes in.
- Arbitrary dates. Write the day the food was made or opened, not a guessed best-before. Fix: label on the spot, not at cleanup time.
- Constant overbuying. Fix: take a photo of the open fridge and freezer before shopping and take it with you.
- Bread stored in the refrigerator. Refrigeration dries bread out faster. Keep it at room temperature in a bag, or freeze it.
- Relying on sight and smell alone for safety. Harmful bacteria often cause no visible change. Fix: follow the time and temperature limits, and discard anything past them.
Two more habits help more than any organizer. Wipe spills as they happen rather than in the weekly reset, and do not rinse produce before storing it — the extra moisture encourages mold. Clean it right before you eat it.
Frequently Asked Questions
What is the best refrigerator layout for reducing food waste?
The layout matters less than visibility. Keep ready-to-eat food and leftovers on the top shelf with the oldest at the front, dairy and eggs on an upper-middle shelf, ingredients on a lower shelf, raw meat and poultry on the bottom shelf in a drip tray, condiments on the door, and produce in the crisper drawers. Any layout where you can see the back of every shelf from the door will cut waste.
How should I organize leftovers in the refrigerator?
Move cooked food into clear, shallow containers within two hours and label each one with the dish name and the date it was made. Put them at the front of the top shelf with the oldest container first, and keep a dedicated eat-first bin for anything past three days. Cooked leftovers are safe at 165°F (74°C) when reheated, and you can freeze them if you will not eat them in the three-to-four-day window.
When should I throw out vegetables and fruit from my fridge?
Discard produce that is slimy, moldy, leaking, or badly wilted, regardless of how it looks on the outside. Soft fruits such as berries and stone fruit usually last three to five days refrigerated, while hearty greens can hold a week or more if kept dry and unwashed. Smell is a reliable second signal for cut fruit and vegetables, but time and visible decay are better guides than guessing.
How can I stop buying food I already have at home?
Photograph the open refrigerator and freezer before every shop and glance at the pictures in the aisle, including the back rows and door shelves. A short inventory note listing what you have and how much of it is left takes less than two minutes to update weekly. Buying a smaller quantity of the things you routinely overbuy changes more than any storage system will.
Do I need special bins and organizers to reduce refrigerator waste?
No. Clear containers you already own, masking tape, and a permanent marker are enough to run the system. Bins and shelf risers help only if they let you see more of what is stored, so skip any organizer that hides food inside it. Spend on organizers only after the free method has exposed which part of your fridge actually causes the most waste.
Start With One Practical Fridge Reset
The first useful step is not buying a bin. It is emptying the fridge and sorting every item into use, freeze, or discard, then grouping the short-lived food together, placing older containers at the front, labeling what you cannot identify by sight, and booking a ten-minute check for the same day each week. That is how to organize a refrigerator to reduce food waste, and it costs nothing but an afternoon and a habit you can keep in a busy week. Updated for 2026.