
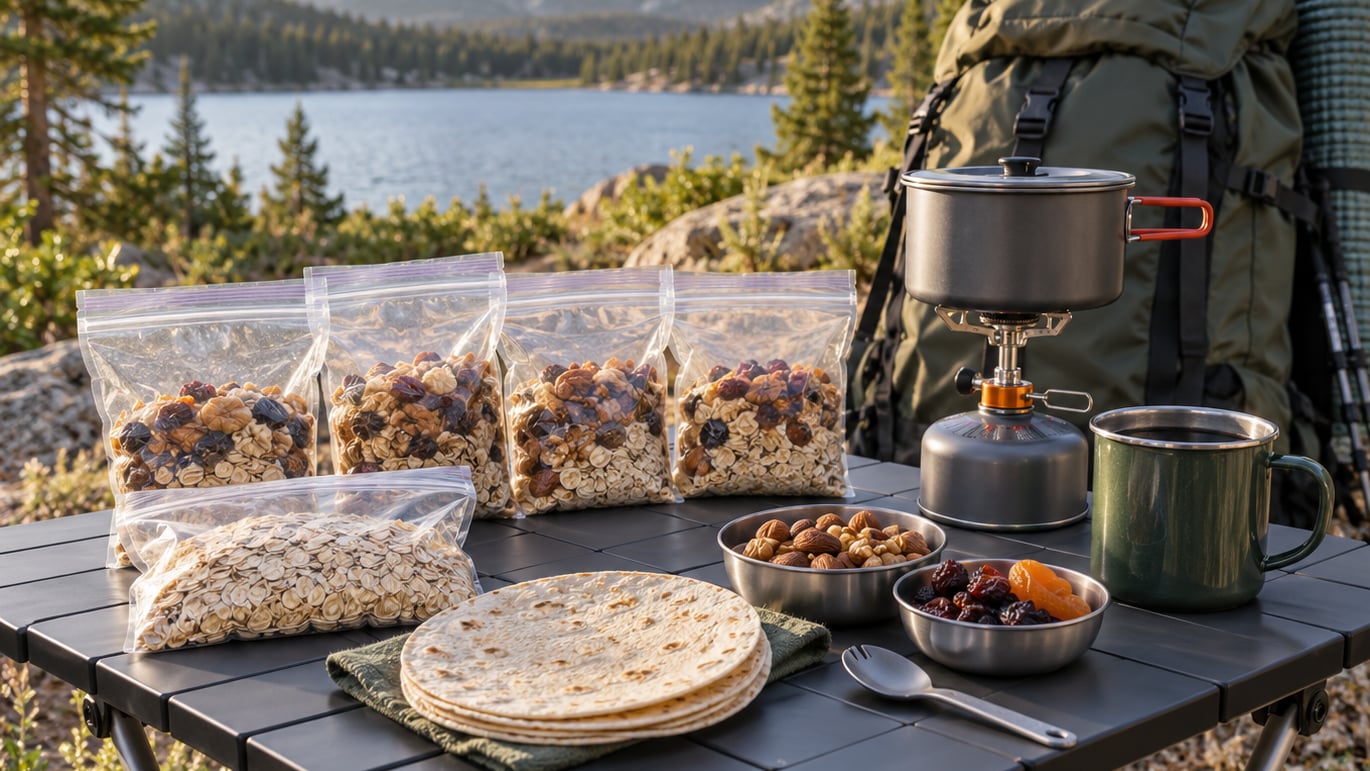
To plan meals for a backpacking trip, work from four numbers: calories per day, pounds of food per day, water per day, and fuel for your stove. Once you have those, you build a menu that hits them, portion every meal into bags at home, label each bag by day, and pack them in the order you will eat them. It takes about an hour for a week of food and removes the worst part of the trail: opening your pack at dusk and finding nothing you want to eat.
Last updated: October 2026
The method below assumes a 2 to 7 day trip on foot with a pack, not a car camping setup. It works whether you carry a full camp stove, a small pot, or nothing at all. If you have never planned trail food before, budget ninety minutes the weekend before departure and start there.
Table of Contents
What You Need
You need the trip details, a storage plan, and a weight budget in hand before you shop for a single item. Without those three, shopping for backpacking food turns into buying snacks, which is exactly how people end up eating six bars a day and wondering why day three feels awful.
Gather the following inputs first:
- Trip length in days, plus the number of meals you will eat before departure and after the trailhead.
- Season and time of year, which decide whether you carry a stove at all.
- Expected activity: miles per day, elevation gain, and whether you will be hauling heavy gear or a child.
- Your energy needs, which shift with body size, pace, weather and how hard the terrain is.
- Group size and how the group eats, since two people can share a stove and a pot but still need double the calories.
- Your kitchen kit: no cook, a small pot that boils a liter, or a full two-burner stove with a skillet.
- Food storage capacity, measured in bags. A typical 40 liter pack holds food for a week comfortably and ten days with discipline.
- Dietary needs, including vegetarian, vegan, gluten-free, and anything you genuinely cannot eat.
- A food budget, because meals eaten on trail cost more per serving than the same food at home.
- A plan for uneaten food, which weighs exactly as much at the end of the trip as it did at the start.
One thing to keep in mind while gathering these: a good trail meal plan balances calories, variety, preparation effort and pack weight. Choosing food purely by weight gives you a diet that is light, dull, and hard to eat on day four.
Step-by-Step
1. Define the Trip and Meals You Need
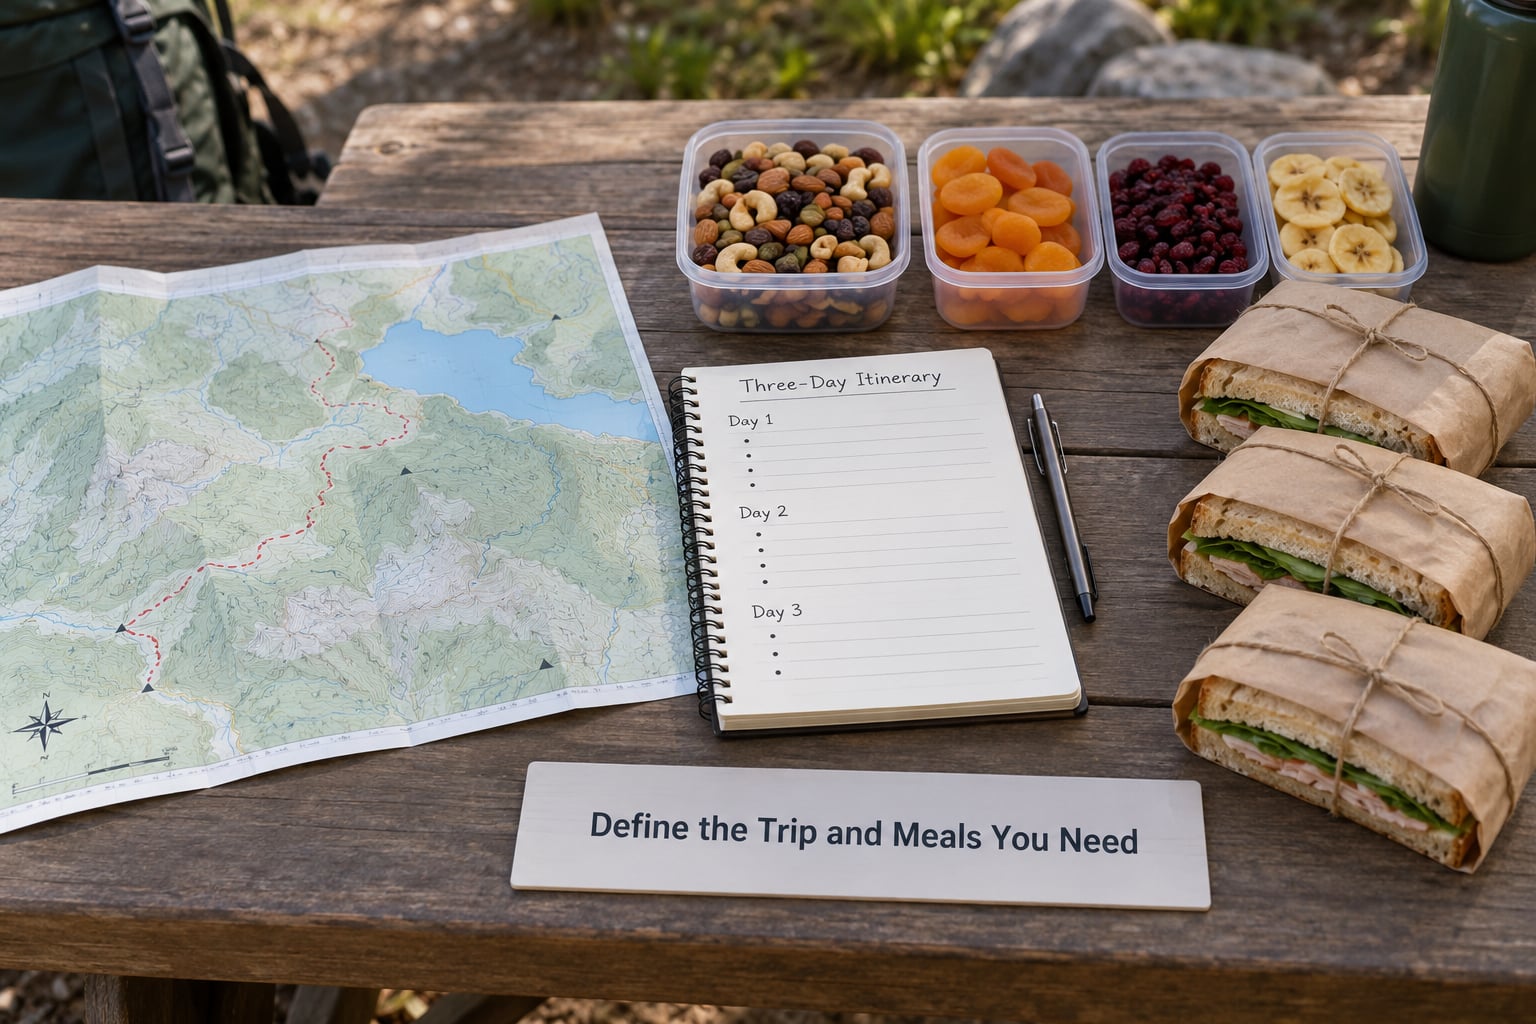
Turn the trip into a meal-counting problem before you think about food at all. Most people get this wrong in the same direction: they plan generously for day five on a three-day trip, or they forget the transition day.
Count breakfasts, lunches, dinners and snacks for each day on the trail, then subtract the meals you will eat somewhere else. For a three-day, two-night trip that leaves camp on a Friday and returns to the car on Sunday, that is usually two breakfasts, three lunches, two dinners, one breakfast and one lunch from camp or the car, plus six to eight snacks. Write it down as a single number so the rest of the plan has something to aim at.
2. Set Realistic Energy Targets
Energy needs on trail vary with body size, duration, weather, elevation and load, so treat any published number as a starting point rather than a rule. A reasonable planning band for an adult carrying a loaded pack on a moderate day runs from about 2,500 to 3,500 calories, with heavier days and colder weather pushing toward 3,500 to 4,500.
Split that across the day rather than saving it all for dinner. A workable distribution puts roughly a quarter of daily calories in breakfast, a quarter in lunch, a third in dinner, and the remainder in snacks spread across the walking hours. Eat something every couple of hours rather than three large meals, because steady intake keeps energy steadier on long climbs.
Set your own number once, write it on the plan, and adjust after the trip based on how you actually felt. Anyone with specific medical or nutritional needs should get individual guidance from a registered dietitian rather than relying on a general target.
3. Build a Simple Meal Template
A reliable day is one substantial breakfast, one low-effort lunch, one hot or no-cook dinner, and two or three snacks. Repeat that skeleton daily and swap only the ingredients, which keeps planning fast and stops you from carrying ten unrelated specialty items.
Formulas that work over and over:
- Breakfast: oats plus a spread plus dried fruit, or a cold-soak bag of cereal and powdered milk eaten straight from the bag.
- Lunch: tortillas plus a filling plus salsa, assembled cold with no water and no cleanup.
- Dinner: a dry soup, rice and bean mix, or pasta with a shelf-stable sauce, cooked in one pot with measured water.
- Snacks: nuts, seeds, dried fruit, chocolate, cheese, jerky, and bars, portioned into small bags so you do not eat a whole bag in one sitting.
4. Choose Food by Shelf Life and Pack Size
Compare candidate foods on calories per ounce, prepared weight, storage life, mess and cooking water. Calorie density is the number that decides a pack weight budget: roughly 120 calories per ounce of food is the community benchmark, and anything much lower will force you to carry more pounds than you planned for.
| Food | Calories per serving | Approximate packed weight | Storage life | Cooking and mess |
|---|---|---|---|---|
| Rolled oats, dry | about 150 per ounce | 3 oz per serving | months in an airtight bag | Boiled water, sticks to the pot |
| Rice or pasta mix | about 400 to 600 per prepared cup | 2 to 4 oz dry per serving | months in an airtight bag | Boiled water, one pot to scrub |
| Tortillas | about 150 each | about 1 oz each | weeks to months | None |
| Nut and seed mix | about 170 per ounce | about 1 oz per small handful | weeks, better sooner in heat | None, but messy if opened |
| Dried fruit | about 250 per ounce | about 1 oz per small handful | months | None |
| Jerky | about 80 to 100 per ounce | about 1 oz per serving | weeks | None |
| Hard cheese | about 110 per ounce | about 1 oz per handful | a week or two unrefrigerated | None |
| Chocolate or candy | about 150 per ounce | about 1 oz per bar | months | None, melts in a hot pack |
| Dehydrated meal pouch | about 300 to 600 | 2 to 3 oz dry, about 5 oz prepared | a year or more | Hot water, package disposal |
Count water separately. A dehydrated meal that needs 2 cups of boiling water demands a fuel canister and a heavy pot, so five of those meals cost you far more weight than their calorie numbers suggest. Measure the water your menu needs and compare it with what your stove and pot actually deliver.
5. Add Variety Without Overpacking
Variety comes from flavor, texture, temperature and technique, not from carrying more kinds of food. A tortilla wrap and a cold-soak meal from the same base mix feel like different meals even when they share ingredients. Keep three or four base ingredients and change how you prepare them, which protects you from menu fatigue without adding weight.
Here is a sample three-day plan showing how the pieces fit together:
| Meal | Menu | Meals | Packed weight | Preparation | Vegetarian swap |
|---|---|---|---|---|---|
| Breakfast | Oats with peanut butter, dried fruit and nuts | 3 | about 5 oz | Boil 1 cup water, one pot | Use seed butter instead of dairy |
| Lunch | Tortillas with hard cheese, jerky and salsa | 3 | about 6 oz | No water, no cooking | Swap jerky for roasted chickpeas or extra cheese |
| Dinner | Rice and bean mix with dried vegetables | 2 | about 6 oz | Boil 2 cups water, one pot | Already vegetarian; add a dried cheese or nut packet |
| Snacks | Nuts, chocolate, dried fruit, bars | 8 | about 9 oz | None | No change needed |
That totals roughly 26 oz of food for three days, or about 8 to 9 oz per person per day. Check the number against your calorie target before you shop. If it falls short, add calories rather than volume: oil packets, cheese, nuts and drink mixes carry a lot of energy in a small weight.
6. Shop, Portion, and Label Everything
Shop for the full menu plus a small backup for each dinner, because a dropped pouch ruins a night. Then measure portions at home into daily bags and write the meal and day directly on the bag with a permanent marker, such as Day 2 dinner. Ordering meals from front to back means you unpack in sequence and pull out tomorrow’s bag without rummaging.
Use zipper bags sized to your storage capacity, and a small container for anything crushable like crackers. If you like cold sandwiches for lunch, packing technique matters more than the recipe, and the same packing logic behind keeping regional sandwiches intact on a road trip applies: keep wet ingredients separate until you eat.
Handle perishable food seriously. USDA safe minimum internal temperatures are 165°F for poultry, 160°F for ground meat, and 145°F for whole cuts of meat and fish. Anything that needs refrigeration should be eaten on the first day, kept on ice, or left at home. A week of unrefrigerated deli meat is not a reasonable risk on a trip where you may be hours from help.
Also weigh the food in your pack. Divide total ounces by the number of days and compare that with the weight budget you set in step two. This is the moment to cut, and it is far cheaper than discovering the problem at mile eighteen.
7. Test the Menu and Run a Final Pack Check
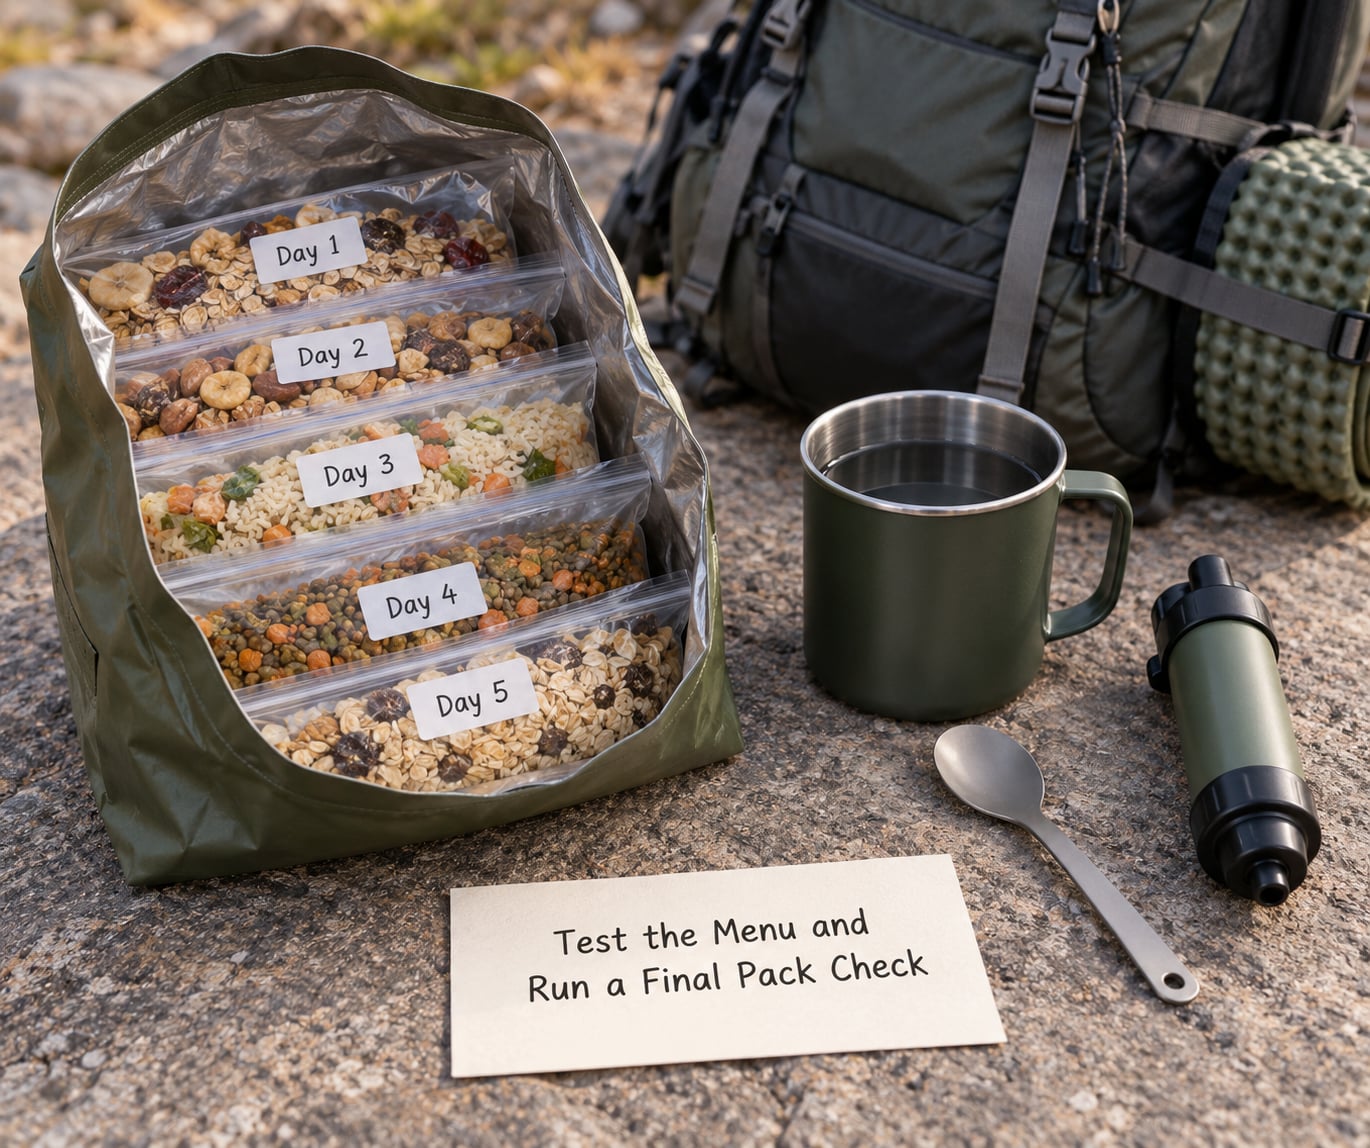
Cook and eat the unfamiliar meals at home before you go. That single step catches salt-heavy pouches you will not enjoy, mixes that need more water than you assumed, and flavors that taste fine in a shop and terrible rehydrated. It also confirms cook time, so you know whether a boil system works for the whole menu.
Run a final check against this list:
- Meal count matches the number of days you counted in step one.
- Water quantity is enough for cooking plus drinking.
- Utensils, a mug, a lighter and a trash bag are in the pack.
- Weather matches the food plan, since cold trips need more calories, not fewer.
- Dietary needs are covered for the entire trip, including one comfort item.
Common Mistakes
Most bad trail menus come from the same handful of errors. Each has a straightforward fix.
- Packing too few calories. If you feel heavy and drained on steep days, add calories before you shorten the trip. Fat and sugar are efficient fuel, not indulgence.
- Choosing only the lightest foods. Weight savings disappear if the food is so dry and bland that you skip meals. Add one item you genuinely look forward to.
- Ignoring cooking water. Meals needing a liter each turn into fuel canisters and a heavy pot. Swap some for no-cook options and recalculate the fuel.
- Duplicating flavors. Three savory pouches in a row reads as the same meal. Vary seasoning, temperature and texture instead of adding new items.
- Overpacking variety. Twenty half-used packages cost the same weight as five complete meals. Choose fewer ingredients used more ways.
- Skipping breakfast and snacks. The first two hours of hiking set the tone for the whole day. Never skip the meal before the longest climb.
- Ignoring weather. Cold and wet conditions raise energy needs while making you less likely to cook. Plan denser no-cook calories for those days.
- Mishandling perishable food. Buy it for the first day, chill it, or choose a shelf-stable replacement.
- Forgetting utensils and a backup meal. A stove with no lighter is dead weight. Carry one extra dinner that needs no cooking at all.
- Planning food for a trip you are not taking. Cut the plan to the days you have. Every unused pound is carried for nothing.
A few habits make the whole plan better. Home-dehydrating your own meals lets you control portions and cost, and homemade jerky keeps for weeks rather than days. Repackaging by meal means you never measure food in the dark. Reading calorie labels when they are available turns shopping into math you can check. And carrying one completely familiar food as insurance protects you on the day a pouch tastes like nothing you want.
Frequently Asked Questions
How many meals should I pack for a backpacking trip?
Count three meals a day plus two or three snacks, then adjust for the meals you eat before departure or after the trailhead. A three-day, two-night trip usually needs two trail breakfasts, three lunches, two dinners, plus breakfast and lunch from camp. Write the total down before shopping, and add one backup dinner.
What foods keep longest without refrigeration?
Dehydrated and freeze-dried foods keep the longest, often a year or more when sealed airtight and dry. Rolled oats, rice, pasta, powdered milk, nuts, chocolate and dried fruit also keep for months. Hard cheese and cured meat last one to two weeks unrefrigerated, and fresh produce should be saved for the first day or kept on ice.
How much food should I pack per day?
Most hikers land between 8 and 12 ounces of food per person per day for a moderate trip. That figure assumes roughly 120 calories per ounce, the community benchmark. Carrying more weight, hiking steeper terrain or cold weather pushes the number up, and no-cook menus usually need a bit more than meals cooked with water.
Should I bring freeze-dried meals for backpacking?
They are convenient and light, but they cost more, use packaging, and pack in a lot of sodium. Eating several a day for a week leaves many hikers feeling bloated and thirsty. A mixed approach usually works better: real and dehydrated food for most meals, with one or two pouches for nights when you want zero cleanup.
How do I keep food from spoiling in a backpack?
Double-bag dry food in airtight zipper bags and keep it away from wet gear. Buy perishable items for the first day, or keep them on ice in a cooler pouch. Avoid opening meat pouches you will not finish, and follow USDA safe minimum temperatures of 165°F for poultry, 160°F for ground meat and 145°F for whole cuts and fish.
Start With One Day of Meals
Plan one complete day first, then repeat the pattern. Build a single day that hits your calorie target, weigh it, cook it at home, and you will know your real per-day number instead of an estimate. From there, keep the skeleton and change only the flavor or texture so you do not eat the same meal seven days running.