
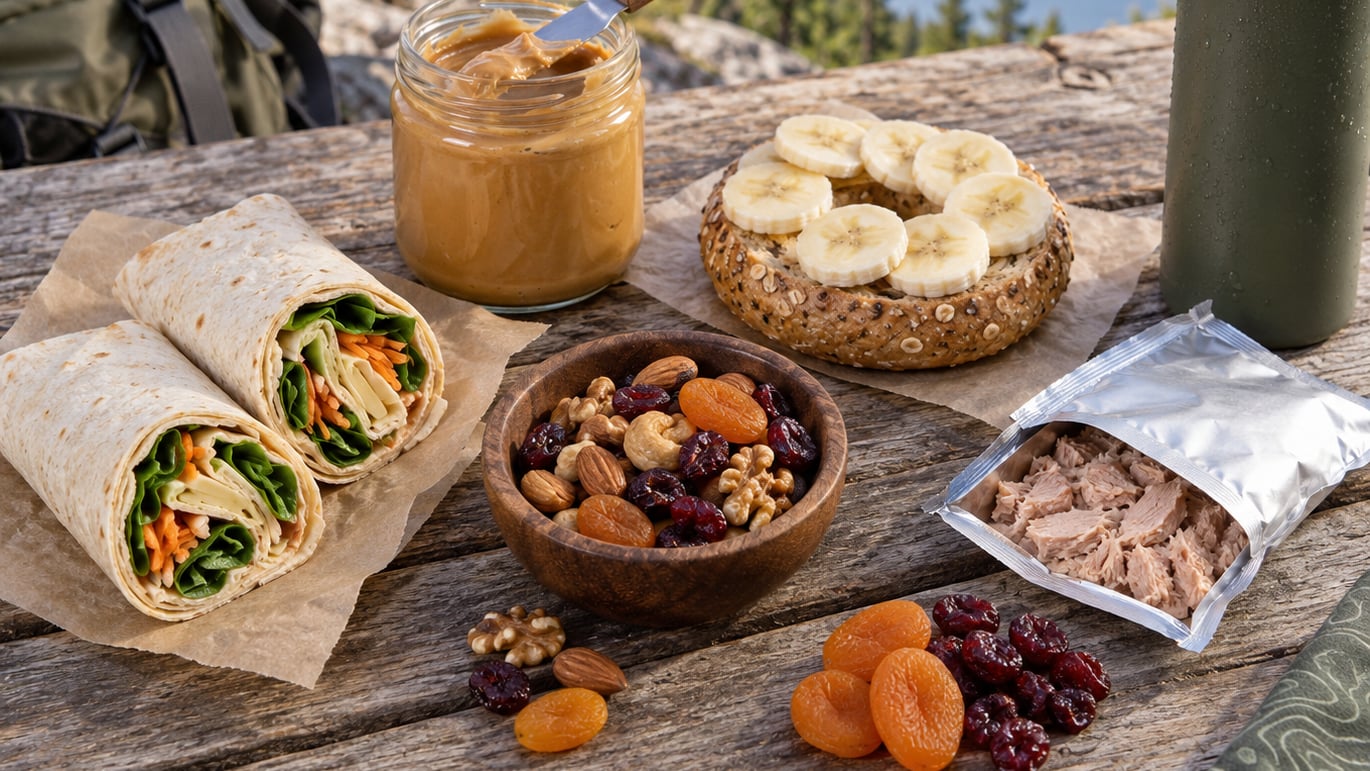
No-cook backpacking meals are ready-to-eat or cold-soaked trail foods that need no stove, no fuel, and no pot. You either eat them straight from the bag, or you pour filtered water over dried ingredients in a leakproof jar 20 to 60 minutes ahead and eat the result cold. That drops a stove, a fuel canister, a pot, and a spoon from your pack, and it takes the cooking and the cleanup with them.
They are not automatically the lighter option. You still carry every gram of water that rehydrates the food, and most ready-to-eat food is bulkier per calorie than a freeze-dried meal. The people who stick with no-cook systems are usually the ones chasing a low base weight, hiking in a fire-ban area, or feeding a group that would rather eat than cook.
The list below covers twelve meals that actually travel well, what each one costs in pack weight, how to keep it from turning to mush, and what to watch for on the food safety side. Calorie figures are realistic per-serving ranges for a moderately active adult hiker, not lab values, and they assume sensible portions of the calorie-dense add-ons rather than diet portions.
Last updated for October 2026. No stove needed for anything on this list.
Table of Contents
- No-Cook Backpacking Meals at a Glance
- 1. Peanut Butter and Apple Sandwiches
- 2. Tortilla Wraps with Hummus and Vegetables
- 3. Tuna and White Bean Rice Cups
- 4. Overnight Oats in a Jar
- 5. Bagels with Cream Cheese and Bananas
- 6. Trail Mix Energy Bites
- 7. Crackers with Cheese and Dried Fruit
- 8. Shelf-Ready Soups and Broths
- 9. Cold Sesame Noodle Cups
- 10. Rice and Bean Bowls
- 11. Nut Butter Waffle Sandwiches
- 12. Dehydrated Fruit, Nuts, and Protein Bars
- How to Pack No-Cook Meals for a Trip
- Frequently Asked Questions
- Conclusion: Where to Start With No-Cook Backpacking Meals
No-Cook Backpacking Meals at a Glance
This table is the shortcut. If you only read one thing, read this, then pick three meals you actually want to eat on day four, because boredom is the reason most no-cook trips fall apart.
| Meal | Best use | Preparation | Packing note | Approx. calories | Diet flags |
|---|---|---|---|---|---|
| Peanut butter and apple sandwich | Lunch, walking | Assemble at the trailhead | Toast the bread first; keep slices dry until eating | 450–650 | Vegetarian; nut allergen |
| Tortilla wrap with hummus and vegetables | Lunch, hiking | Roll and eat, no prep | Keep wet items in a separate container | 400–600 | Vegetarian, vegan; gluten-free with corn tortillas |
| Tuna and white bean rice cup | Dinner, lunch | Cold soak 20–30 min | Stir before the lid goes on; leave room for expansion | 500–700 | Gluten-free, nut-free if crackers are GF |
| Overnight oats in a jar | Breakfast | Soak overnight | Mix dry and wet in separate layers, combine at dawn | 500–750 | Vegetarian; nut-free with seed butter |
| Bagel with cream cheese and banana | Breakfast | Assemble at camp | Bananas bruise; pack them in a sock or soft pocket | 450–650 | Vegetarian, nut-free |
| Trail mix energy bites | Snack, share-out | Made at home, eaten cold | Chill before packing or they crumble in your lid | 150–250 each | Vegetarian; nut-free with seed butter |
| Crackers, cheese and dried fruit | Lunch, snacks | Assemble as needed | Hard cheese survives; soft cheese needs a cooler | 500–750 | Vegetarian, nut-free |
| Shelf-ready soup or broth | Dinner | Pour hot water over it | Count the cup, not just the food; it adds to your pack out | 300–600 | Vegetarian; check broth for gluten |
| Cold sesame noodle cup | Dinner, lunch | Soak 20–30 min, shake, eat | Sauce goes in a separate packet until mealtime | 550–800 | Vegan with tamari; sesame allergen |
| Rice and bean bowl | Dinner | Hot water, 10 min, or cold soak 30 min | Salsa and beans go in after the rice hydrates | 600–850 | Vegan, gluten-free, nut-free |
| Nut butter waffle sandwich | Breakfast, snack | Assemble in 1 minute | Spread on the flat side so it cannot squeeze out | 400–600 | Vegetarian; nut allergen |
| Dried fruit, nuts and protein bars | Snacks, emergency | No prep at all | Keep bars out of direct sun; chocolate melts in a hot pack | 200–500 per serving | Vegetarian; varies by bar |
1. Peanut Butter and Apple Sandwiches
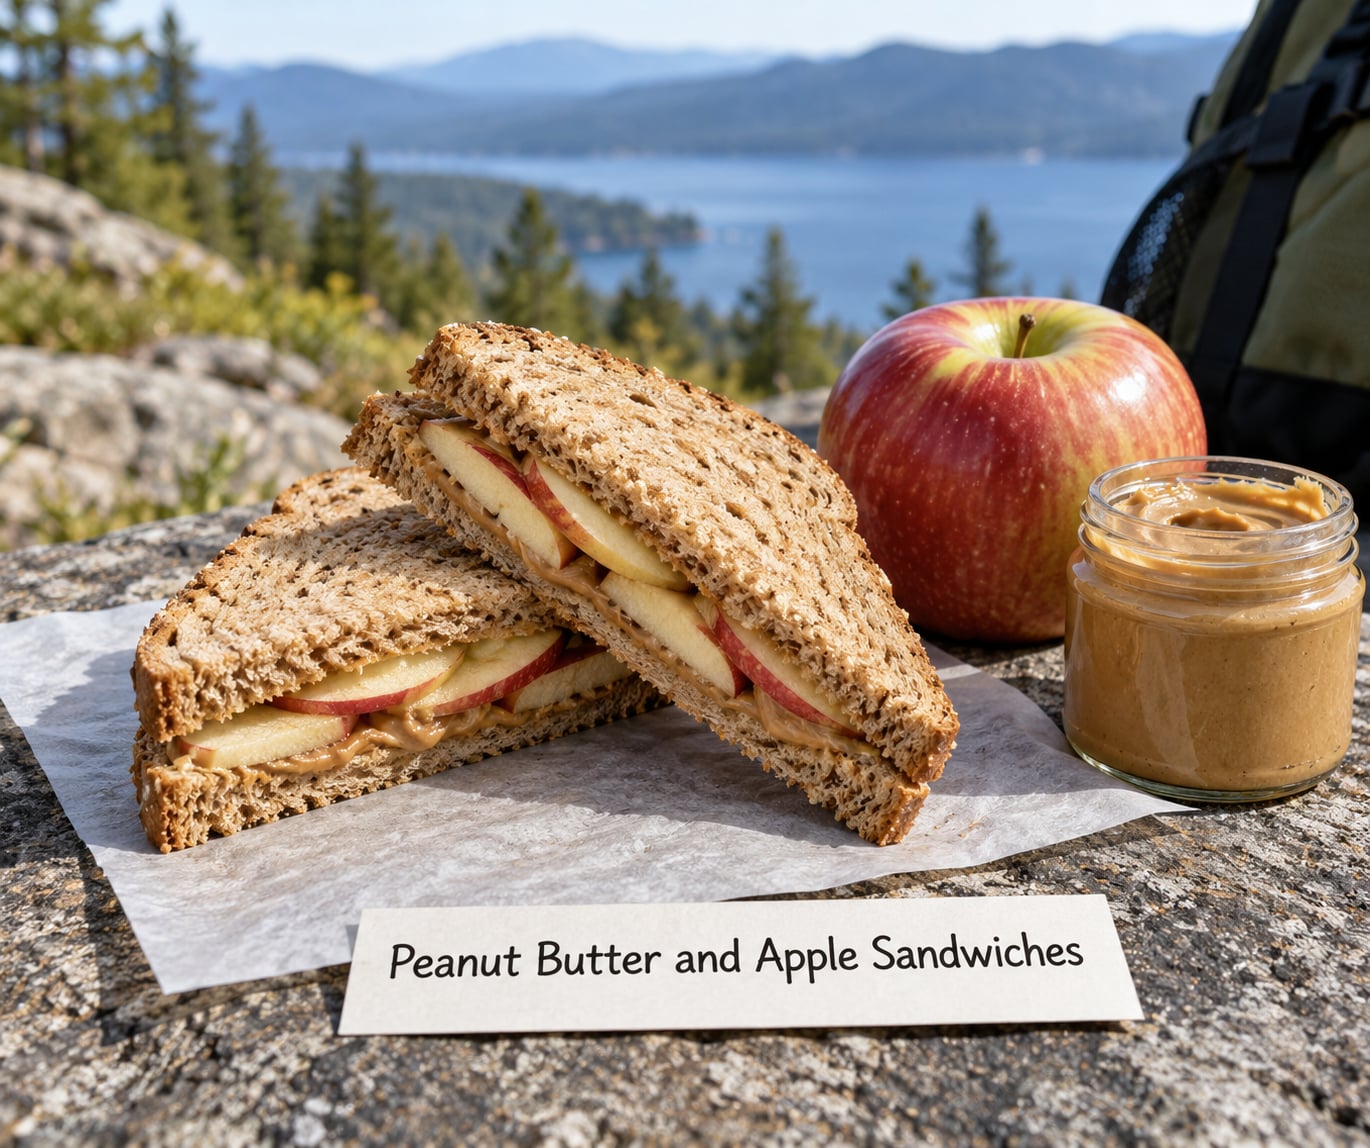
This is the meal most people try first, and the reason it works is that it is a sandwich you do not have to make. Peanut butter supplies fat and protein, apple supplies moisture and carbs, bread supplies the rest, and nothing needs water, a pot, or a knife beyond what fits in a small knife sheath.
The sogginess problem is the whole battle, and it is won before you leave home. Toast the bread, spread peanut butter on both slices, and put the apple on top of the filling rather than against the bread, so the wet flesh touches peanut butter instead of bread. Thin apple slices and a firm Granny Smith or Braeburn hold up better than a soft sweet apple.
Pack the sandwich cut in half in a resealable bag, and keep the apple separate if the trip is more than two days so you can add it right before eating. For calories, a tablespoon of nut butter adds roughly 90, and adding a strip of bacon or a hard-boiled egg on top turns it from a snack into a real lunch. One more thing worth doing: read the label on what it costs to cook and slice your own lunch meat at home before you buy a stack of pre-sliced deli meat for the trail, because cooked meat keeps better without a cooler than a cold cut does.
2. Tortilla Wraps with Hummus and Vegetables
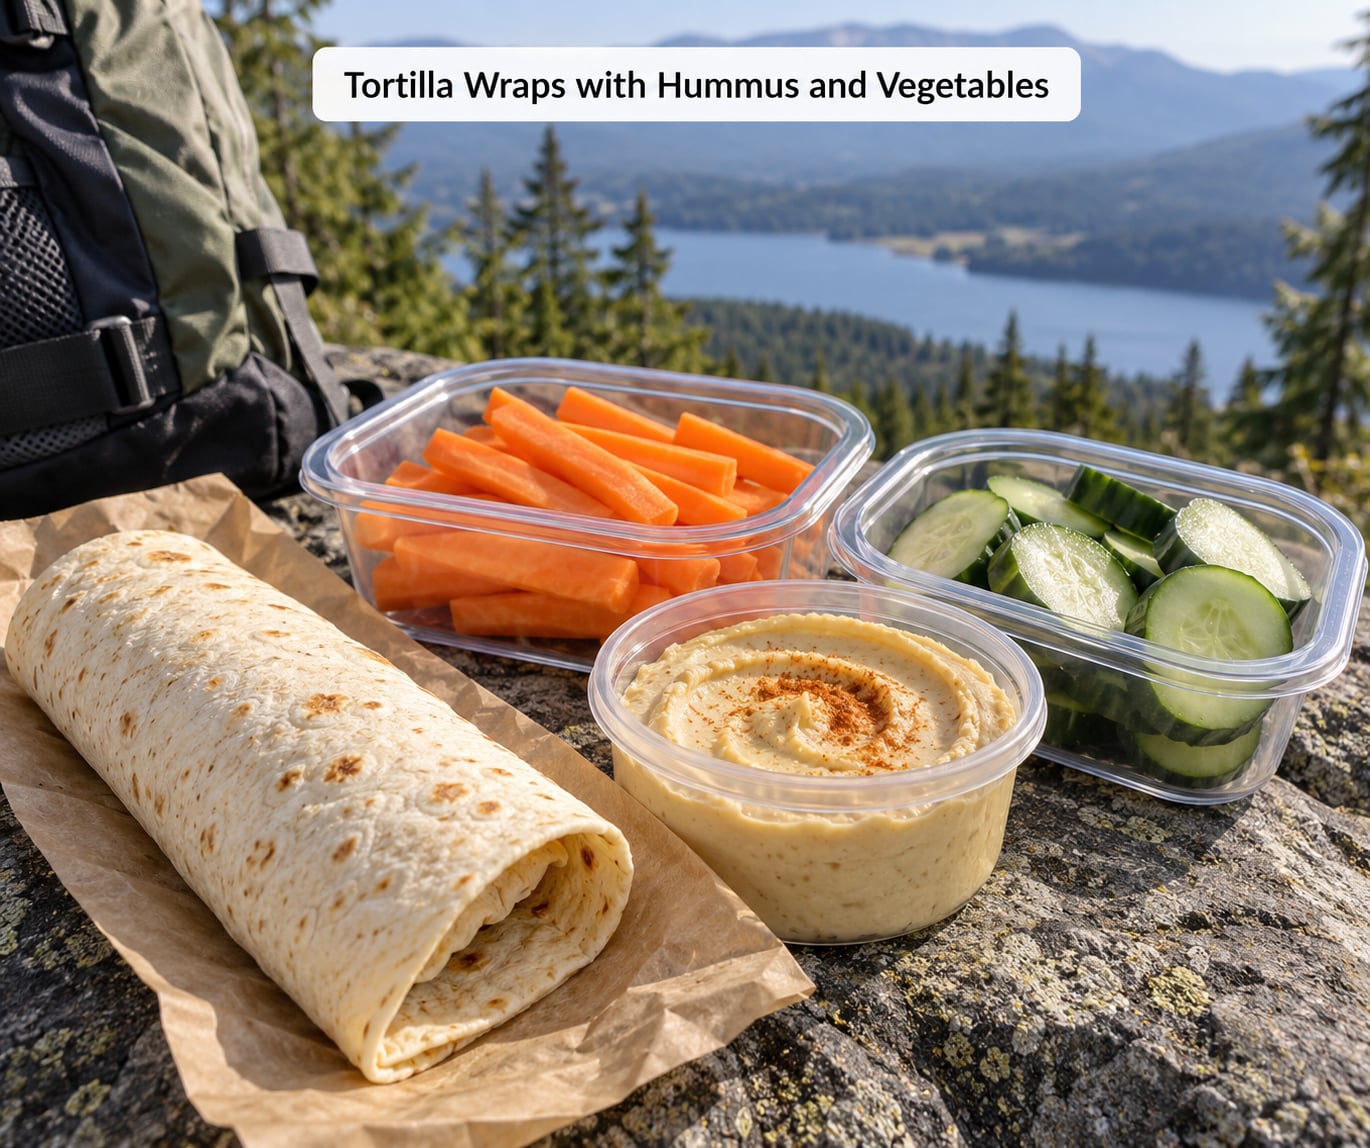
A tortilla wrap is the single most packable sandwich format there is. It compresses flat, bends instead of breaking, and survives being sat on. Hummus adds fat and a few grams of protein, and any sturdy vegetable adds volume and water without adding much weight.
Wet on wet is what ruins a trail wrap, so pack the components separately and combine at mealtime. Spread hummus on the tortilla, add carrot sticks or cucumber, roll it, and eat it like a burrito. Carrots and bell peppers hold up better than cucumber if you are carrying it for more than a couple of days, since cucumber turns limp and watery.
The store-bought version is a single-serve hummus cup next to a stack of tortillas, which needs no cooler and no spoon beyond a spork. The nutrition story is decent but not complete: mostly carbohydrate with moderate fat and light protein, so pair it with something extra if you are walking hard. A strip of salami, a handful of roasted chickpeas, or a spoon of sunflower seed butter fills the gap.
3. Tuna and White Bean Rice Cups
Combining a shelf-stable tuna pouch, drained white beans, instant rice, and a splash of oil gives you a bowl with real protein in a jar, and it is one of the few no-cook dinners that feels like dinner. On a Backpacking Light thread, seasoned hikers kept naming couscous with a tuna packet and hot sauce as the combination that kept them from getting bored, and the bean version adds carbs and bulk to the same idea.
Add the dry rice to the jar first, pour in enough filtered water to cover it by a finger’s width, add the tuna and beans, then stir. Cold water and a dry grain want time, so give it 20 to 30 minutes. If you skip the beans, plan closer to 45. Leave real headroom in the jar, because rehydrated rice expands and an overfilled jar leaks into the top of your lid.
For calories, an tablespoon of olive oil is around 120 and does more for this meal than any seasoning. Salt, a squeeze of lemon, dried dill, or hot sauce handle the flatness. These meals are safe without refrigeration as long as the tuna pouch is unopened, but once you tear it, eat it the same meal rather than saving the leftovers for later, and if you ever do warm fish, cook it to 145°F.
4. Overnight Oats in a Jar
Prep the night before, wake up to breakfast with no heat and no dishes. A typical jar is rolled oats, shelf-stable milk powder, seeds, dried fruit, and a spoon of nut butter, with cold water added right before bed.
Mixing order is what determines whether you get oats or cement. Add the water first, stir, then the milk powder, then the oats on top. If the powder goes in first you get lumps, and no amount of shaking at breakfast will fix it.
Water is the real constraint here. Oats drink roughly twice their dry volume, so a half cup of dry oats needs about a cup of water, and that water has to come from your filter, your reservoir, or a reliable trail source. If the recipe has fresh banana, yogurt, or real milk in it, treat the jar as perishable and keep it cold, or swap to shelf-stable milk and dried fruit. Nut butter goes in last, in a separate blob at the top, and stirred in the morning so the nuts do not coat everything.
5. Bagels with Cream Cheese and Bananas
A bagel, a single-serve cream cheese, and a banana needs about ninety seconds and produces a breakfast that feels like breakfast. Spread the cheese on both halves, lay the banana down, put the top on, and eat it in two hands while you pack up camp.
Bananas are the weak point. A bruised banana in a pack liner becomes a sweet sticky mess within a day, so pack them in a sock or a soft pocket rather than a rigid spot against the pack wall, and buy them a day or two firmer than you want to eat them. If you do not want to risk the fruit, apple slices or a handful of dried apricots work in the same slot.
Bagels also go stale and hard, so bring one more than you think you need and use the extra slices as crackers. Cream cheese is perishable: on a warm trip or above about 40°F, keep it in a cooler and eat it early in the trip. Hard cheeses like cheddar and Parmesan are the smarter no-cook swap when the weather is warm or the trip runs long.
6. Trail Mix Energy Bites
Energy bites are the one no-cook meal you make at home, and they pay you back on the trail. A basic mix is rolled oats, nut butter, dried fruit, seeds, and a splash of honey or maple syrup, rolled into golf-ball size and chilled until firm.
Packing is the issue. Warm bites turn into crumbs in a plastic bag, so chill them for an hour, pack them in a rigid container, and put that container on top of everything else in your pack rather than at the bottom under a water bottle.
The recipe also absorbs dietary changes well. Sunflower or pumpkin seed butter makes them nut-free, cacao powder plus a little extra maple syrup makes them taste like dessert, and adding a scoop of protein powder turns a snack into something closer to a meal. A ball with a tablespoon of nut butter and a quarter cup of oats lands around 200 calories, so three to four covers a mid-day gap.
7. Crackers with Cheese and Dried Fruit
Summer sausage, cheese, and crackers is the most-cited no-cook lunch in the forums I read, and it is the meal the skeptics keep describing as the food they do not want to eat by day three. It stays good anyway, because nothing about it requires cooking.
The balance that makes it work is carbohydrate, fat, and protein in the same handful: crackers for carbs, cheese for fat and protein, dried fruit for sugar and potassium. Raisins, apricots, and dried mango all travel fine, and dried fruit is where a surprising number of calories hide, so portion it rather than pouring it in.
For cold chain, hard waxed cheese survives a warm pack indefinitely and soft fresh cheese does not. Same logic as the bagel section, and the same answer. If the trip is hot or long, buy the hard stuff, and add a pouch of tuna or a serving of summer sausage to push the protein up. You also have to pack out the cheese scraps, which is a reason to bring a dedicated trash liner instead of stuffing them into a food bag.
8. Shelf-Ready Soups and Broths
A cup of shelf-stable soup is not a no-cook meal on its own, but it becomes one fast. Most of these are dried noodles, lentils, or grains in broth powder that rehydrate in boiling water, and many of them are built for it. In practice, you carry a small pot, boil water once for a hot drink and once for the meal, and this is where a no-cook kit quietly turns into a one-pot kit.
If you want to stay fully stoveless, use the broth as the flavor base for a cold-soaked grain instead. Add instant rice or couscous to the jar first, pour in the hot or cold water, stir in the soup powder, and let it sit. You get something closer to a real meal, and the packet doubles as a seasoning source when you do bring a pot.
Sodium is the trap. A single cup of instant ramen broth runs about 1,000 to 1,400 milligrams, and multiple cups a day on a long trip is a lot for one person. It is also a hydration asset, not purely a liability, since you are drinking the water anyway. Pack one cup as a treat and spend the rest of your seasoning budget on lower-sodium mixes, curry powder, or a single-serve tuna pouch.
9. Cold Sesame Noodle Cups
Noodles are underrated here. Dried rice noodles and wheat noodles rehydrate fast in cold water, and sesame sauce, a little tamari, and dried vegetables turn them into a salad that is close enough to a bowl of noodles to feel like dinner.
Keep the sauce in its own packet until you are about to eat. Squeeze in the seasoning, add the sesame paste, cap the jar, and shake. Noodles that sit in a salty sauce for three hours turn into a mushy block you cannot stir, and packing the sauce separate also stops the noodles from going soft in the middle of the day.
Peanut or sesame sauce brings the calories up nicely, and shredded dried seaweed or dried mushrooms add salt and umami without weight. For protein, add a tuna packet or a tablespoon of protein powder mixed with a little water. Seal the cup in a zip bag, not just the lid, because cold-soaked noodles leak more than dry food does, and pack it in the middle of your pack where a leak hurts least.
10. Rice and Bean Bowls
This is the highest calorie-to-ounce option on the list and the cheapest per day, and it comes from ordinary grocery aisles. Instant rice rehydrates in about ten minutes with hot water or around thirty with cold, and shelf-stable beans need nothing but a fork.
Build it in layers so it does not turn to porridge. Rice goes in dry at the bottom, beans on top of that, then corn, then salsa and lime added last. Add the wet ingredients only when you are ready to eat, and the rice underneath keeps its texture instead of dissolving into it.
Hot water is the better choice when you have a stove or a mug and a fire ring, cold water when you do not. Season with a spoon of salsa verde, a handful of shredded cheese, a dash of hot sauce, or oil and salt. Filled with beans, corn, and salsa, a bowl like this runs roughly 600 to 850 calories and keeps its texture through a long day in a pack, which is more than can be said for most no-cook dinners.
11. Nut Butter Waffle Sandwiches
Stroopwafels and shelf-stable waffles do something a slice of bread cannot. They are sturdy, they are already portioned, and they do not need toasting, which matters when you have nothing to toast them with.
Spread the filling on the flat side, put the flat sides together, and let the waffle do the work. Pectin spreads on a smooth flat surface far better than it does on a textured face, so you can double the filling without it squeezing out. Fruit spread or a thin layer of jam adds sugar, and a slice of banana on top turns it into something between breakfast and dessert.
They are the best trail snack I have found for mornings when you are out of oats. Half a waffle with peanut butter is about 200 calories, two make a legitimate breakfast, and the round shape fits into the round pockets of a pack better than a square sandwich does. Keep them in a rigid container, not a soft bag, or you will be eating crumbs at mile four.
12. Dehydrated Fruit, Nuts, and Protein Bars
The bottom of the food pyramid is unglamorous, which is exactly why it stays in the pack when a nicer meal goes unfinished. Dried mango, apricots, raisins, salted nuts, seeds, and a bar or two cover the calorie gaps that the structured meals miss.
Portioning is the skill. Nuts are calorie dense in a good way, around 200 per handful, and a trail mix built around them plus dried fruit and chocolate will cover a long day of walking. Set out a day’s worth in a small bag or a wide-mouth container at the start of the morning rather than eating from the bulk bag all day, because the bulk bag never runs out.
Two things to watch. Heat, since chocolate melts and dried fruit gets sticky, so keep the mix out of a closed pack liner in hot weather or on top of a hot pack. And allergens, because this is the meal most likely to contain something someone in your group cannot eat, so keep the nut version and a seed or dried-fruit-only version in separate bags with a label. Bars vary widely, so read the label for grams of protein and pick on that rather than on the packaging claim.
How to Pack No-Cook Meals for a Trip
Once you have picked your meals, three things decide whether the trip works: calories, water, and safety. Here is how to handle each one before you leave.
Budget calories from the day’s mileage, not from the food
A rough rule of thumb is 3,000 to 4,000 calories a day for a loaded long-distance hiker, less on an easy weekend loop with a resupply every other day. The number that matters is not the total, it is the gap between what you pack and what you eat, because ready-to-eat food is bulkier per calorie than freeze-dried food. If you plan 2,800 calories a day, pack 3,200. The energy density numbers that circulate in the forums make the reason clear: a typical energy bar runs about 3.8 calories per gram while a freeze-dried meal runs closer to 4.8 to 5, and the stove you drop to make room for that density is part of the trade.
Count the water you are using as food weight
Cold soaking is not free. A cup of dry rice can drink a cup and a half of water, and a jar of oats wants roughly double its volume. That water is pack weight, which is the strongest argument for packing dry things in small quantities, eating some meals while walking rather than rehydrating everything at once, and choosing meals with low water demand when you know the next reliable source is ten miles away. Many hikers plan their food around their water, not the other way around.
Set the cold-chain rule before you pack the bags
Decide what stays unrefrigerated and what does not, then check it against the forecast. Shelf-stable items need nothing: unopened tuna and salmon pouches, dried beans and rice, nut butter, dried fruit, nuts, single-serve hummus, crackers, hard cheese, and anything commercially labeled shelf-stable or no-refrigeration-required. Everything else, including fresh deli meat, soft cheese, cut fruit, yogurt, and anything with real dairy, needs a cooler, and a cooler that is not cold enough is a false sense of security. If you break a seal, treat the food as perishable from that moment. For a trip above about 90°F, or one where a bear canister forces food into your sleeping bag, drop the cold items rather than managing them.
Handle the leftovers, odor, and the bear problem
Every no-cook meal generates packaging, and that packaging is what pulls wildlife to your camp. Use a dedicated trash liner that carries out cleanly, rinse nothing in a stream, and keep all scented food in a bear canister where bears are present. Cold-soaking reduces odor compared with cooking, but peanut butter, jerky, tuna, and cheese are strong enough on their own that a canister is never optional in bear country. Fire bans are the easy win for no-cook hikers, since you never need to build a fire at all.
One practical habit: soak the next dinner while you are eating the current one, and eat before you set up camp when you can. It puts dinner in your stomach while you still have energy, saves a step at camp, and gets you through bear country faster.
Frequently Asked Questions
What is the easiest food to eat while backpacking?
The easiest backpacking food is anything ready to eat, requires no water, and comes in one piece: a tortilla with peanut butter, a stuffed bagel, a hard cheese wedge with crackers, or a bar. These need no stove, no utensils, and no cleanup, and most of them can be eaten one-handed while moving. Save anything that needs a jar or rehydration for when you stop, and keep the food that does not crumble in a rigid container rather than a bag.
What are some good no-cook dinner ideas for backpacking?
The strongest no-cook dinners are cold-soaked bowls and cups. Couscous or instant rice with a tuna packet, hot sauce, and dried fruit is the most-cited combination in the forums. Add white beans and olive oil for a rice and bean bowl, or ramen-style noodles with sesame sauce and a tuna pouch for something closer to noodles. Instant rice and mashed potatoes rehydrate well because they are cooked before drying, and a bowl of beans, corn, and salsa needs nothing but hot water.
What is the best cold soak meal for backpacking?
For a one-dish answer, couscous. It rehydrates in roughly 20 minutes in cold water, doubles in volume, absorbs oil and seasoning well, and pairs with almost anything. Instant rice and ramen-style noodles are close behind, and oats work if you soak them the night before. Avoid ordinary dried pasta, which is undercooked, powdery, and chewy in the middle, and be careful with dry coconut milk powder, which will not dissolve in cold water.
How long should I cold soak food?
Most grains want 20 to 30 minutes of cold water, ramen-style noodles about 30, and oats several hours or overnight. The rule that matters is the water volume, not the clock: add enough to cover the dry food and leave room for it to expand, because a jar that is full before soaking is a jar that leaks after. Eat within a few hours of soaking rather than leaving a soaked meal all day, and use your usual judgment about water quality.
Do I need a stove for backpacking?
No, you do not need one. Plenty of experienced hikers go fully stoveless for three-season trips, and a small alcohol stove with a fireproof cup adds little weight if you want a hot drink. The reason to consider one is temperature, not cookware. Cold meals lower core temperature, and on a cold night some hikers want one hot drink a day. Many settle on a hybrid: no stove for breakfast and lunch, one hot dinner drink.
What food needs no cooking and no refrigeration?
The reliable shelf-stable list is short: unopened tuna and salmon pouches, dried beans, lentils, instant rice, couscous, dried noodles, rolled oats, nut butter, dried fruit, nuts and seeds, jerky, summer sausage, crackers, hard cheese, single-serve hummus, and anything labeled shelf-stable or no-refrigeration-required. Avoid fresh deli meat, soft cheese, cut fruit, yogurt, and anything with real dairy unless you can keep it genuinely cold. If a seal is broken, treat the food as perishable from that moment.
Conclusion: Where to Start With No-Cook Backpacking Meals
Start with two meals you already like eating, not two you found in a list. Pack them the way you would pack them on a real trip, carry the bag around the house and out to a car, and eat both cold, from the jar, without a stove anywhere nearby. That single afternoon tells you more about whether no-cook works for you than any amount of reading.
Then build a rotation around four numbers: calories, ounces, what needs a cooler, and whether you will still be excited to eat it on day four. Most trips settle into a rhythm of no-cook breakfast, wraps or crackers for lunch, and one cold-soaked bowl for dinner, with dried fruit and bars filling the gaps.