
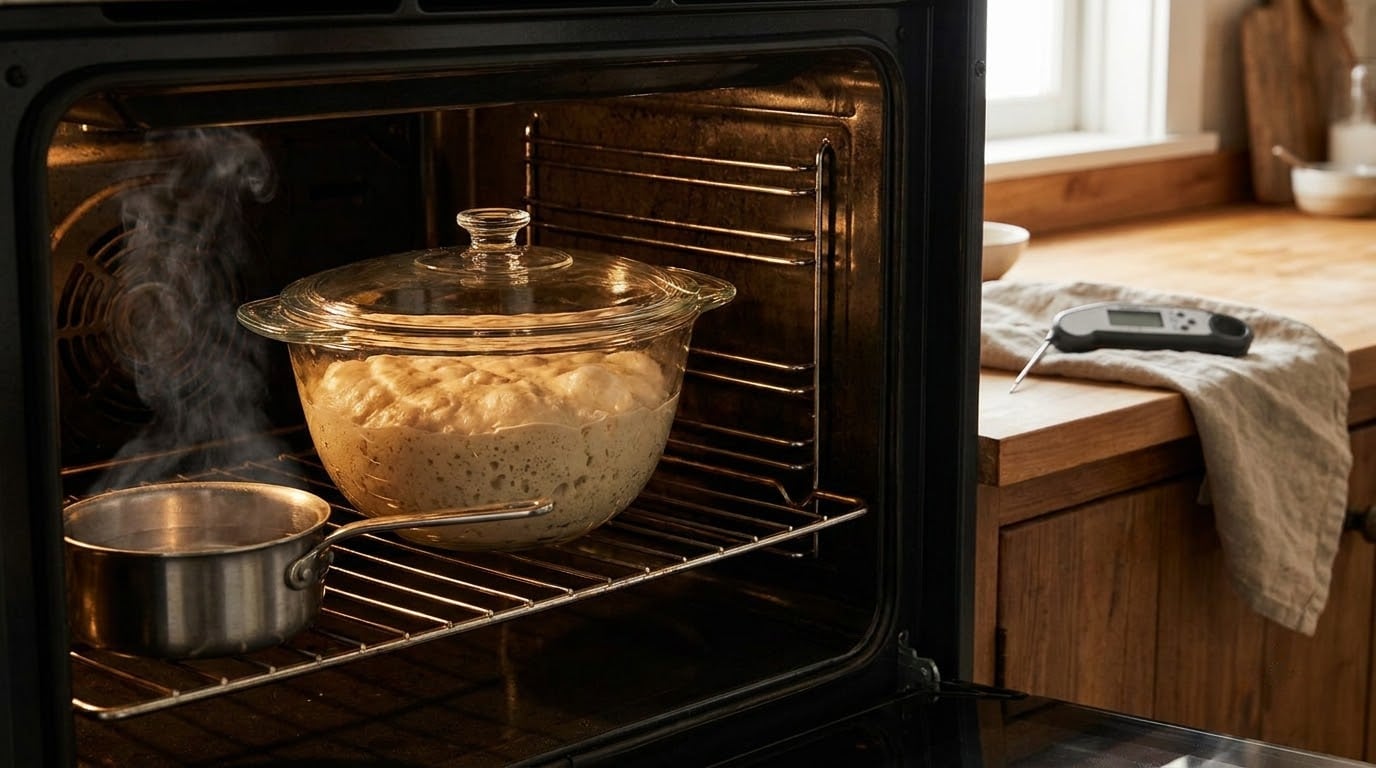
A cold kitchen does not stop bread from rising, it just makes the yeast slow down. To learn how to make bread rise in a cold kitchen, warm your mixing water to about 105°F, build a warm damp box out of your oven, microwave or cooler, and give the dough more time than the recipe prints. Then watch the dough, not the clock. A loaf is ready when it has roughly doubled, feels domed, and jiggles at the edges.
Most dense winter loaves are not a recipe problem. They are a temperature problem, and temperature is something you can fix with a hot cup of water and a couple of extra hours. The same reasoning matters if you bake most of your bread in a machine: the best bread machines for everyday sandwich loaves still rely on the dough rising before the heat starts.
Table of Contents
- What You Need
- Step-by-Step
- Common Mistakes That Stop Dough Rising in a Cold Kitchen
- Frequently Asked Questions
- How can I get my bread dough to rise in a cold house?
- How long should dough rise when the kitchen is 65 to 68°F?
- Can I use the microwave as a proofing box, and do I leave the water in?
- Should I cover dough while it rises in winter?
- Why isn’t my sourdough starter rising in winter?
- Is a bread proofer worth buying, or do the home methods work?
- Conclusion
What You Need
You need very little. Everything below is either a temperature check or a small warm container.
- An instant-read thermometer. This is the one tool that turns guessing into a decision. Without it you cannot tell whether your water is 105°F or 130°F.
- A heatproof container with a tight lid. A glass bowl, a casserole dish, a container of leftovers, or a cooler all work. The lid matters more than the bowl.
- A heat source. An oven with the light on, a microwave, or an oven switched off with a pan of hot water inside. A seedling heat mat or a heating pad on low is a bonus.
- A kettle or pot of hot water and something to pour it into safely, plus an oven mitt or folded towel for the trip.
- Your usual yeast and flour quantities. Do not change the recipe yet. Cold kitchens are fixed with heat and time, not by cutting the yeast.
- Cling film, a reusable lid, or a damp towel for covering the dough tightly.
Here are the numbers worth memorizing. Everything else on this page is a variation on this table.
| What | Target | Metric |
|---|---|---|
| Mixing water for yeast | 100-110°F | 38-43°C |
| Ideal proofing range | 75-85°F | 24-29°C |
| Still workable, just slow | 68-75°F | 20-24°C |
| Dough temperature to aim for after mixing | 75-78°F | 24-26°C |
| Water that can kill the yeast | Above 120°F | Above 49°C |
Step-by-Step
Check That the Yeast Is Active
Before you blame the kitchen, rule out dead yeast. Put a quarter cup of water at 105°F into a small bowl, stir in the yeast, and leave it for five minutes. Working yeast will form a thick foamy raft on the surface. No foam means either the water was hot enough to kill the yeast or the packet has been sitting open in a damp cupboard for a long time.
Do this test before you mix the full dough. It takes five minutes and it settles the question that arguments in bread forums never do.
Warm the Mixing Bowl and Ingredients
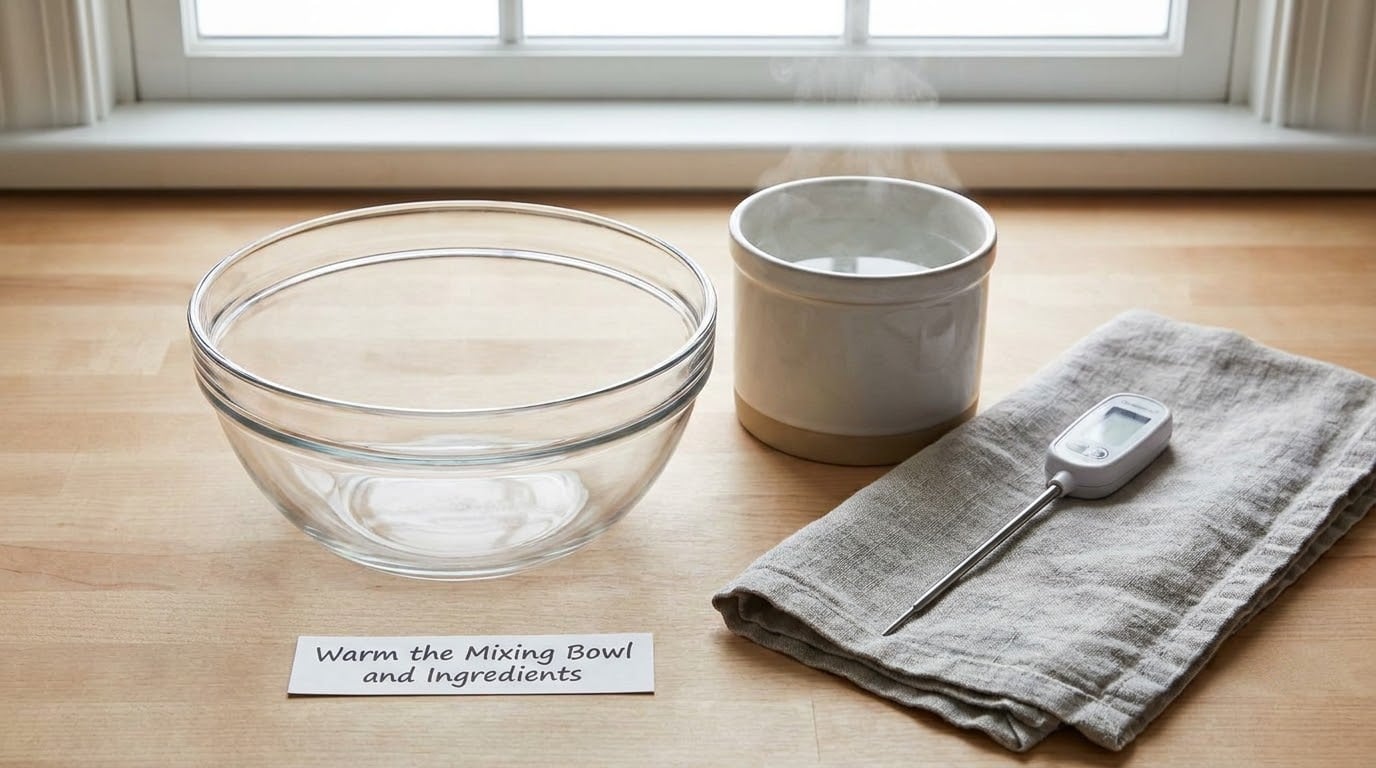
Cold bowls and cold flour pull the dough temperature down faster than people expect. Warm the bowl first by rinsing it with hot water and letting it sit for a minute, or run the hot tap over the outside of the bowl for thirty seconds. Wipe it dry, then add your flour.
Measure the water with the thermometer before it goes in. Aim for 100-110°F. Above roughly 120°F the yeast struggles and you can get a yeasty, gummy crumb instead of a rise.
For enriched doughs, warm the milk or soften the butter the same way. Cold dairy is the reason brioche sometimes comes out dense in a basement kitchen.
Use a Warm Proofing Area
This is where most of the fix lives. You are building a small, damp, draft-free box around the dough. Pick one and let it run for the whole rise, since switching mid-rise drops the temperature again.
| Method | Setup | Stays warm | Best for |
|---|---|---|---|
| Oven with the light on | Dough on the middle rack, door shut, no oven heat | 2-4 hours | Yeasted loaves, the lowest-effort option |
| Turned-off oven plus hot water | Preheat to 250°F, pour a pan of hot water on the floor, turn the oven off, put the dough in and close the door | About 1 hour of extra warmth, then it drifts down | Boosting a slow rise, adding humidity |
| Microwave proofing box | Boil two cups of water on high for three minutes, wait two minutes, slide the covered bowl in and leave the water in | About 1 hour | Sandwich bread and rolls in a hurry |
| Cooler or insulated box | Hot water bottle or a mug of boiling water in the base, dough wrapped in a towel above it, lid closed | 3-5 hours | Sourdough and overnight bulk ferments |
| Heating pad or seedling mat | Low setting, bowl wrapped in a towel, mat underneath | As long as the pad is plugged in | Cold basements, hands-free warmth |
| Warm cupboard or top of the fridge | Dough covered, away from the stove heat and any draft | Variable | Free option when you have nothing else |
| Dishwasher rinse cycle | Start the rinse, stop it while the water is still hot, stand the covered dough inside | About 30-45 minutes | A warm-up boost before baking |
A tea candle in a switched-off oven is the old-fashioned version of the oven light method. It works, it costs almost nothing, and it takes a bit of watching.
Give the Dough More Time
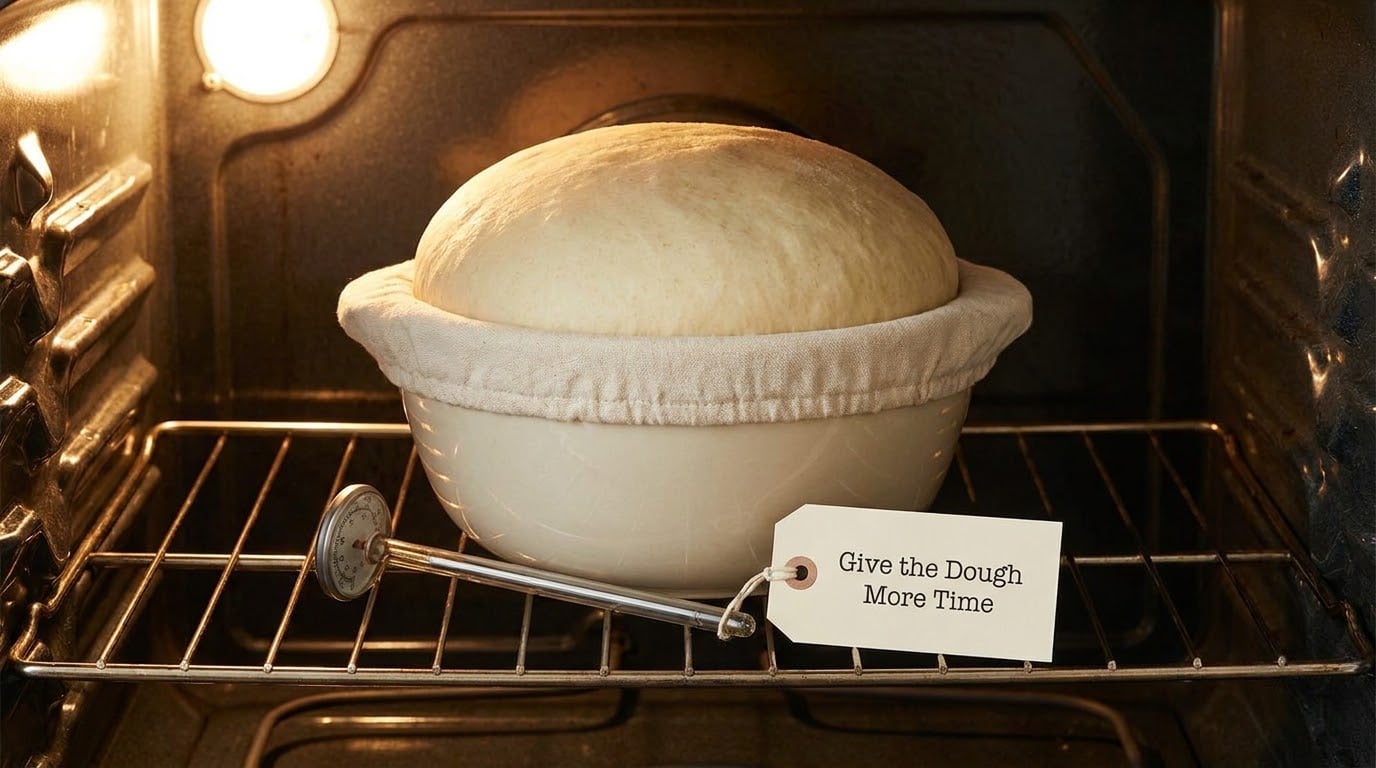
The recipe says one hour because the author had a warm kitchen. In a 65°F room that hour becomes three or four. Multiply the written time by about three when your kitchen sits below 68°F, and by about one and a half when it sits just under 75°F.
| Kitchen temperature | Typical bulk rise for a yeasted loaf | Metric |
|---|---|---|
| 60°F | 4-6 hours | 16°C |
| 65-68°F | 3-4 hours | 18-20°C |
| 72°F | 2-3 hours | 22°C |
| 75°F and up | 1-2 hours | 24°C and up |
Slower rising also changes the schedule. Mix in the evening, bulk overnight in the cooler, shape in the morning, and bake straight from the fridge. Cold dough straight from the fridge actually gives better oven spring because it heats slowly in the pan, which is a nice side effect of the problem.
Know When the Dough Is Ready to Bake
Forget the timer. Look for four things: the dough has roughly doubled in size, the surface is domed rather than flat, a finger pushed gently into the dough leaves an indentation that fills back slowly, and the edges look slightly jiggly. If the dent stays sharp, it needs more time.
Shape or refrigerate the dough at the right stage for the bread you are making. Sandwich bread usually gets its final rise in the pan, while sourdough wants a long cold retard in the fridge before baking, and overproofing a warm dough is as bad as underproofing a cold one.
Common Mistakes That Stop Dough Rising in a Cold Kitchen
Almost every cold-kitchen loaf failure is one of six things, and each has a simple fix.
- Cold ingredients. Flour straight from the freezer and milk from the fridge pull the dough temperature down. Warm the bowl, the water and the dairy before mixing.
- Inactive yeast. Test it in warm water first. If it never foams, the yeast is dead and no kitchen temperature will fix it.
- Rushing the first rise. The recipe’s one hour is a warm-room estimate. Give the bulk fermentation the extra hours and the second rise will be faster because more yeast is active.
- Overheating the proofing space. A switched-off oven with boiling water can climb past 100°F if left too long, and heat above 90°F pushes dough into overproofing. Never leave the oven on warm, and never use water hot enough to scald your hands on the trip in and out.
- Baking before the rise finishes. A dense, flat, gummy loaf with big air holes at the bottom usually means it went into the oven underproofed. Add another hour, not more yeast.
- Leaving the dough uncovered. Dry winter air stiffens the skin into a shell that traps the dough’s own moisture. Plastic wrap or a tight lid holds humidity better than a damp towel.
One last diagnostic worth memorizing. Slow dough and dead yeast look similar from across the kitchen, and the fix is completely different.
| Symptom | Dough is just cold | Yeast is dead | Fix |
|---|---|---|---|
| After 2 hours | Risen a little, smells faintly sweet | No change at all | Cold: add heat and time. Dead: new yeast. |
| After 5 hours in a warm box | Doubled, domed, elastic | Flat and slack, dough tears instead of stretching | Cold: bake it. Dead: start over with a fresh packet. |
| Yeast foams in warm water | Yes | No | Always run the test first. |
Frequently Asked Questions
How can I get my bread dough to rise in a cold house?
Warm the mixing water to 100-110°F, warm the bowl first, then put the covered dough in a warm proofing box such as an oven with the light on, a microwave with a cup of boiling water, or a cooler with a hot water bottle. Most of all, allow two to four times the written rise time and stop watching the clock. The dough is ready when it has doubled, looks domed and jiggles at the edges.
How long should dough rise when the kitchen is 65 to 68°F?
Usually three to four hours for the bulk rise of a yeasted loaf, which is roughly triple a recipe’s one-hour estimate. Cold kitchens vary a lot, so use the dough instead of the timer: it should be doubled in size, domed on top and slightly jiggly at the edges. Very wet doughs high in hydration can take even longer, because there is more water for the yeast to work through.
Can I use the microwave as a proofing box, and do I leave the water in?
Yes, and yes, leave the water in. Boil two cups of water on high for three minutes, wait two minutes so it stops bubbling violently, then slide in your covered bowl and close the door. The steam and trapped heat keep the box warm for about an hour. Do not run the microwave while the dough is inside, and use a container that will not let steam pressure build.
Should I cover dough while it rises in winter?
Cover it tightly. Winter air indoors is dry, and a dry skin forms a tough shell that blocks the dough from expanding and sticks to whatever it touches. Cling film or a lid holds humidity in far better than a damp towel, which goes cold quickly. If you use a towel, wrap it around the whole bowl rather than laying it on top.
Why isn’t my sourdough starter rising in winter?
Cold is the usual reason, not death. Below about 65°F a starter can take three days or more to double. Move it somewhere warmer, feed it with water at 80-85°F, and switch from a 1:1:1 feeding to 1:2:2 so there is more fuel for the yeast. If it still has no smell and no bubbles after a warm day, then it is actually dead and needs a fresh start.
Is a bread proofer worth buying, or do the home methods work?
The home methods work for almost everyone. An oven light, a microwave box and a cooler with a hot water bottle will get most loaves to rise, and none of them cost anything. A proofer earns its keep if you bake several times a week, run a sourdough starter that needs a warm spot every day, or live somewhere the kitchen stays under 65°F. Until then, the microwave proofing box is the best value of the bunch.
Conclusion
If you only change one thing, test the yeast. Everything after that follows: warm water at 100-110°F, a warm bowl, a covered dough sitting in a proofing box, and enough hours to get there. A cold kitchen makes bread slower, not worse, and slow ferments usually taste better anyway.
Once the loaf is baked and cooling, the best bread boxes to keep bread fresh longer help it hold onto the crumb you just worked for, and it slices better for meal prep sandwiches for the week without soggy bread.