
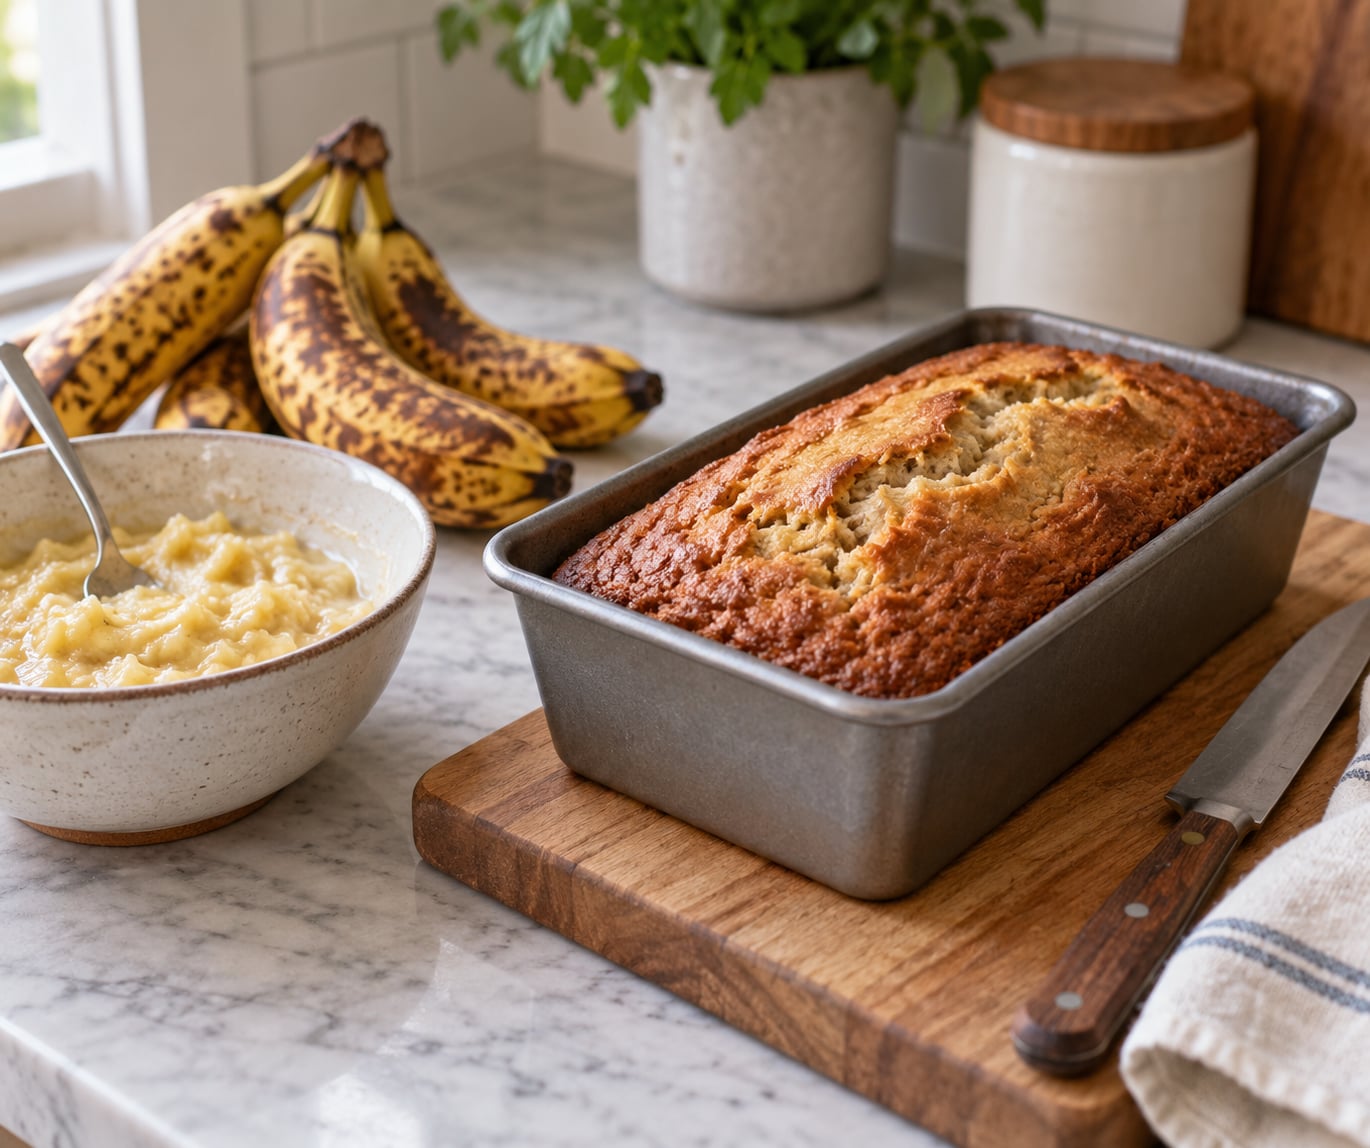
The secret to moist banana bread is very ripe bananas, brown sugar, a dairy boost like sour cream or plain Greek yogurt, and gentle mixing. That combination gives you a loaf that stays tender for days instead of turning crumbly by breakfast. Most of the method takes about 15 minutes, and the bake is an hour of mostly ignored oven time.
The two failure modes I see most often are a loaf that’s dry and crumbly and a loaf that’s dense enough to dent under a fork. Both come from the same short list of mistakes, and both are fixable without buying a single new ingredient. This guide covers what to use, how to mix it, how to tell when it’s done, and what to do if a loaf has already gone wrong.
If you’d rather let the machine handle the mixing and timing, my notes on bread machines for everyday loaves cover which programs handle a quick bread like this one well.
Table of Contents
What You Need
You need three very ripe bananas, a 9-by-5-inch loaf pan, and roughly ten ingredients that are probably already in your pantry. Nothing here is specialty. The recipe below makes one standard loaf, about 10 slices.
The ingredients
- 3 very ripe bananas, peeled. Yellow with heavy brown freckles or mostly brown is right. That’s roughly 1 1/4 cups mashed, about 320 g.
- 115 g unsalted butter, melted and cooled a few minutes, or 120 ml neutral oil for a cakier crumb.
- 150 g light brown sugar (3/4 cup). Dark brown sugar adds more molasses depth but slightly less sweetness.
- 120 g full-fat sour cream (1/2 cup). Plain Greek yogurt works too; use 115 g so the batter isn’t thinner.
- 2 large eggs, at room temperature.
- 210 g all-purpose flour (1 3/4 cups), spooned and leveled.
- 1 1/2 teaspoons baking soda, not baking powder.
- 1/2 teaspoon fine salt and 1 teaspoon vanilla extract.
- 1 teaspoon ground cinnamon, optional but worth it.
Key ingredients for moisture
- Very ripe bananas at 1 1/4 cups mashed. As bananas ripen, starch converts to sugar and the fruit holds water. A pale banana gives you flavor without moisture.
- Sour cream or Greek yogurt at 1/2 cup. Fat and water without thinning the batter, which is what keeps the crumb tender rather than gummy.
- Brown sugar at 3/4 cup. The molasses in it binds water that white sugar would let escape.
- Fat that stays liquid, melted butter or oil. Liquid fat shortens gluten strands, so the crumb doesn’t tighten up as it cools.
Equipment and pan size
Use a 9-by-5-inch metal loaf pan. Glass and ceramic hold heat differently, so a loaf in a thick ceramic pan can bake up to 10 minutes faster than the timing here.
A parchment sling is the easiest release method: lay two sheets across the pan so the long ends hang over the sides, then grease the parchment. No parchment means greasing the pan well with butter or oil and dusting it with a little flour, then running a knife around the edges before you turn the loaf out. Skip cooking spray, which leaves a sticky film.
Don’t rush bananas to ripen in the microwave; they cook unevenly and go slimy. The oven trick works better: put unpeeled bananas on a baking sheet at 200°F (95°C) for 15 to 25 minutes, until the skins turn black. Cool them a few minutes before peeling.
Step-by-Step: How to Make Moist Banana Bread
Follow these seven steps in order and the batter behaves itself. The order matters mostly because the butter needs to be melted before it meets the eggs.
1. Prepare the Bananas and Pan
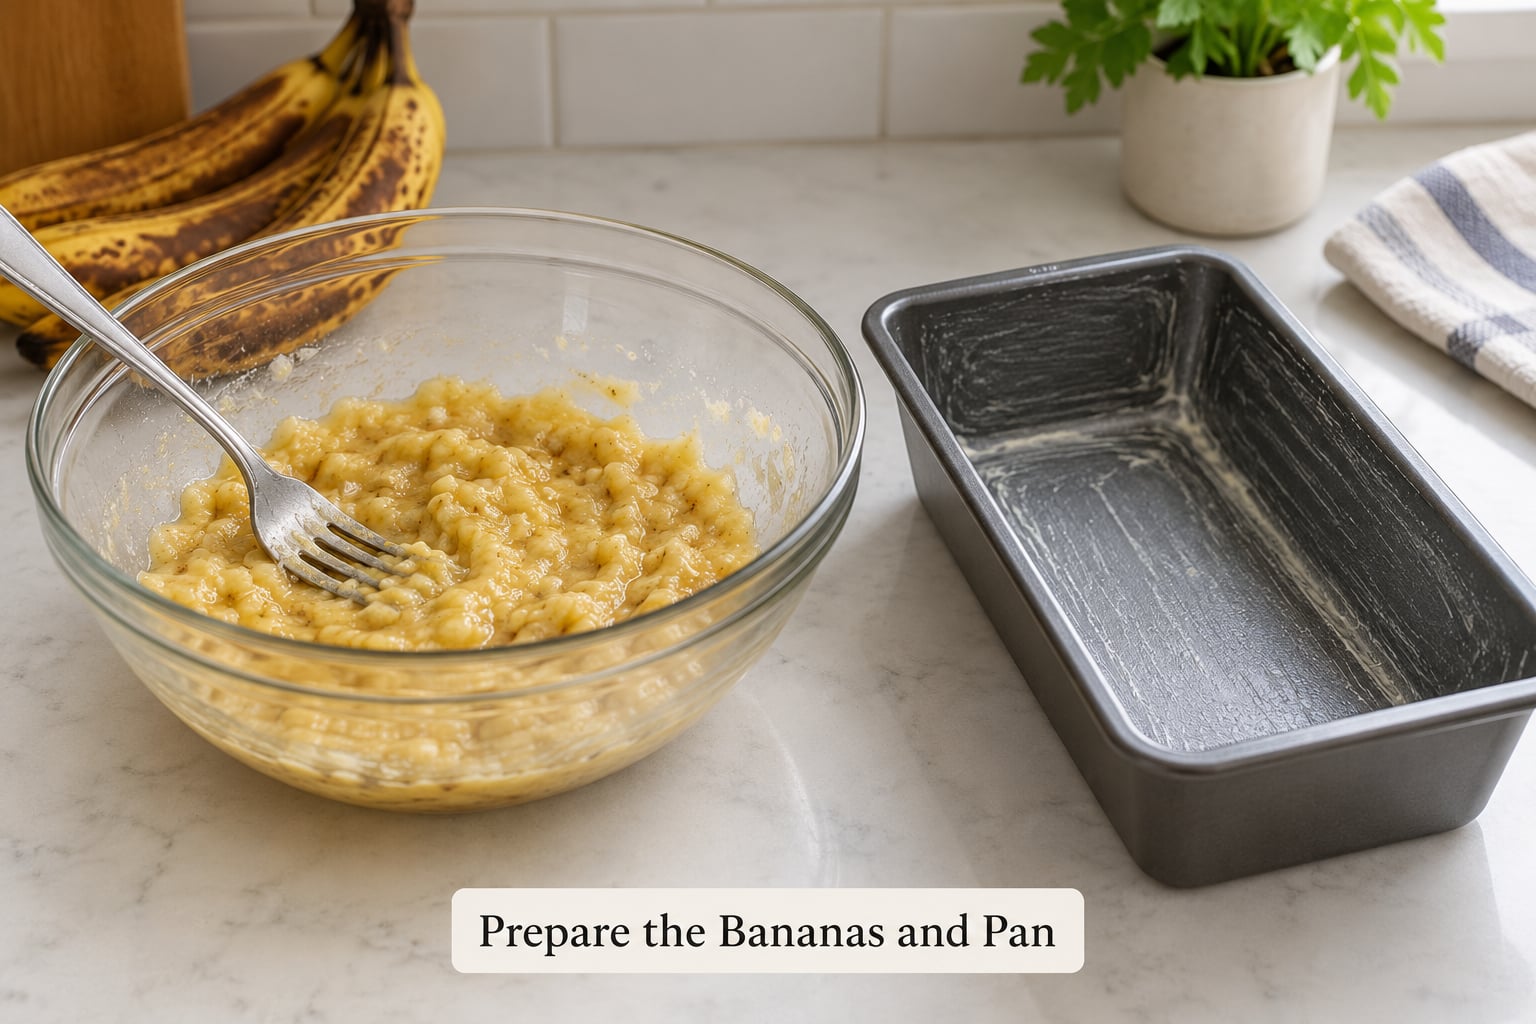
Mash the bananas in a bowl with a fork until almost no lumps remain, then measure out 1 1/4 cups. A few small lumps are fine and actually make the loaf better; big ones bake into wet pockets.
Weighing the mash is more reliable than counting bananas. Three medium bananas landed anywhere from 280 g to 380 g in my kitchen, which is the difference between a moist loaf and a wet one. If your mash comes in under 300 g, add a fourth banana.
Prepare the pan now, before the batter is mixed. Heat the oven to 350°F (175°C) with a rack in the lower third, so the loaf gets heat from below and browns on the bottom rather than only on top.
2. Mix the Dry Ingredients
Whisk the flour, baking soda, salt, and cinnamon in a medium bowl so the leavening is evenly dispersed. Baking soda is a single-crystal compound, so a pocket of it in the batter tastes bitter and the rest of the loaf may not rise.
Use baking soda, not baking powder. Banana bread gets its lift from the acid in the bananas and sour cream reacting with soda, and doubling up on leavener is the fastest route to a loaf that rises hard, collapses in the middle, and turns gummy. If you only have baking powder, use 3 teaspoons for every teaspoon of soda called for.
Check your baking soda age. It loses potency within 6 to 12 months after opening, and a dead soda is a dense loaf with no banana flavor. Stir a teaspoon into a splash of vinegar; vigorous fizzing means it’s still active.
3. Cream the Butter and Sugar
Whisk the melted butter and brown sugar together for about a minute until the mixture is smooth, glossy, and slightly thickened. If you’re creaming solid butter rather than using melted, beat it with the sugar for 2 to 3 minutes until pale and fluffy, which traps air and gives you lift.
Let the melted butter cool for 3 to 5 minutes first. Butter hot enough to sizzle the sugar will melt the eggs into the mixture and scramble the texture you’re trying to build.
4. Add the Eggs and Vanilla
Add the eggs one at a time, whisking each until it’s fully absorbed before the next goes in, then stir in the vanilla. Room-temperature eggs blend smoothly; straight-from-the-fridge eggs cause the butter to seize into small grains.
After the eggs go in, the batter may look thin and a little separated. That’s correct at this stage and it will come together once the flour lands.
5. Combine the Wet and Dry Ingredients
Stir in the mashed bananas and sour cream, then add the dry ingredients in two additions. Fold with a spatula from the bottom of the bowl, turning the bowl a quarter turn after each fold, and stop the moment the last streak of flour disappears.
The batter should look slightly lumpy and broken, almost like it’s under-mixed. That’s the right texture, and it’s why you should never send this batter to a stand mixer on low speed. Ten to fifteen slow folds is plenty.
Here’s why. All-purpose flour contains 11 to 12% protein, and every extra turn of the spatula links those proteins into longer gluten chains. Enough gluten gives bread its structure. Too much gives you a tough, chewy loaf that tastes dry even though the same amount of water went in. This is the single most reported mistake on baking forums, and it comes from people seeing a lumpy batter and assuming it needs more mixing.
6. Bake Until Golden and Tender
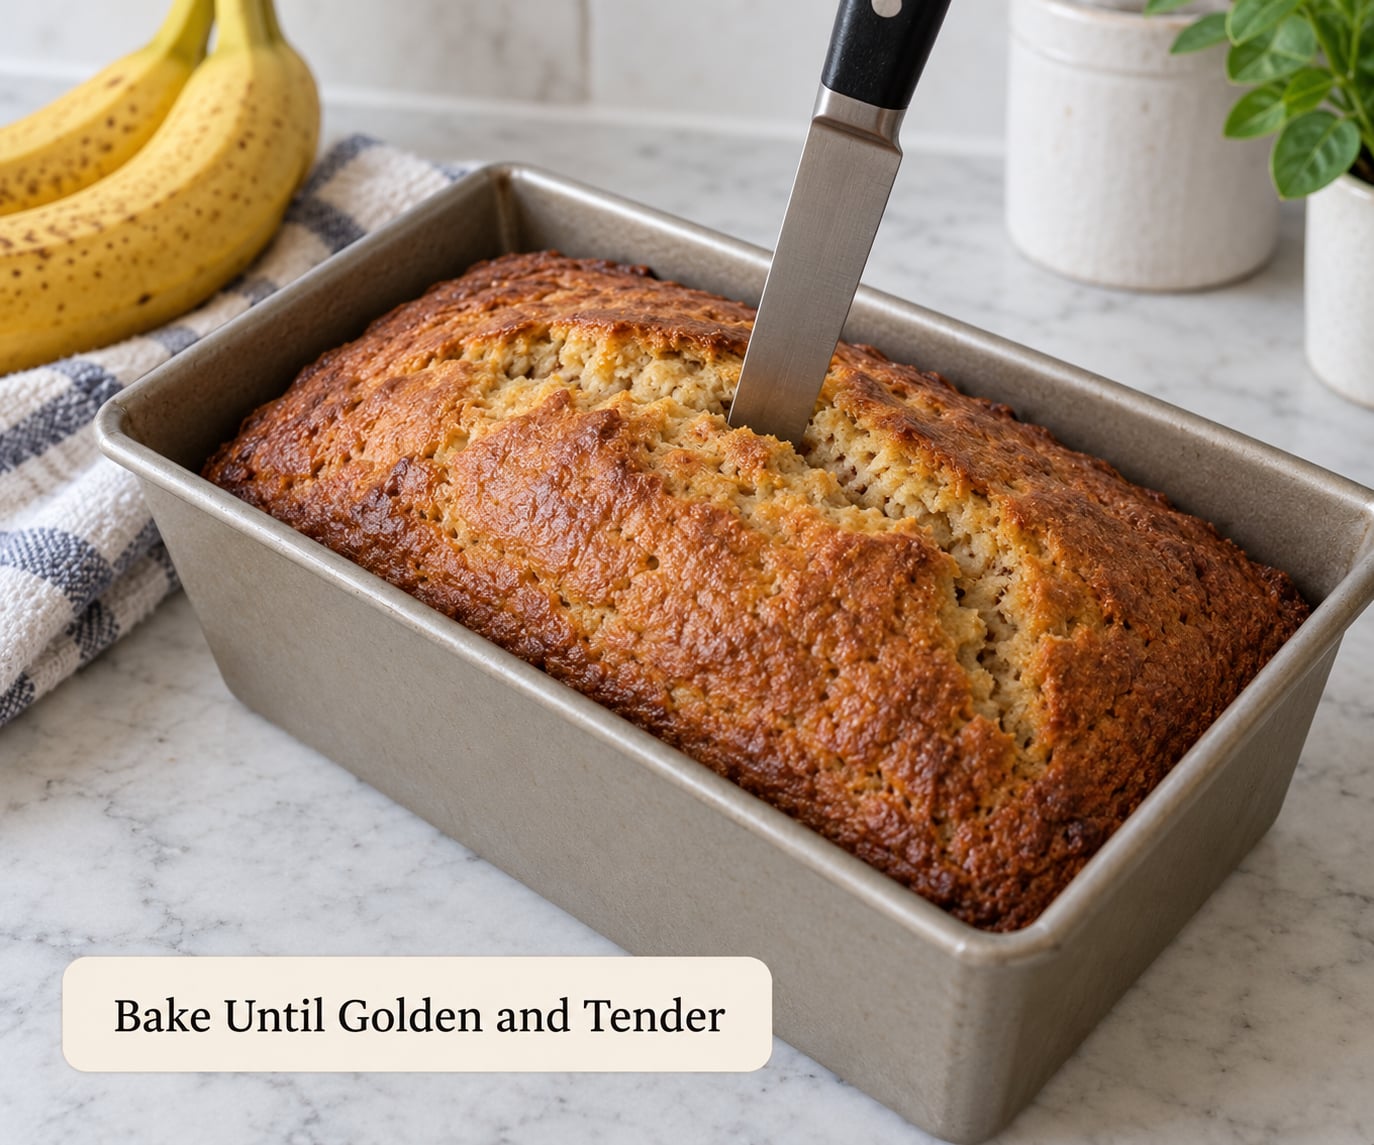
Scrape the batter into the pan and smooth the top with the back of a spoon. Bake at 350°F (175°C) for 50 to 65 minutes. Dark metal pans run fast, so start checking at 50 minutes.
Insert a toothpick or wooden skewer into the center of the loaf, avoiding the edges. Coming out clean or with a few dry crumbs means done. Coming out with wet batter means give it another 3 to 5 minutes and test again.
Wet batter on the toothpick is not underbaking, though. Raw banana batter always leaves a tacky film, so judge by how thick it looks and by the toothpick’s drag. The top should be deep golden, and a tester inserted near the crust should meet almost no resistance.
The center will look slightly sunken when it comes out. That’s normal: the loaf finishes setting as it cools. If you pull it while that dip is still high, you get a sunken middle and a gummy interior.
Pull it the moment the test comes back clean. Every extra 5 minutes past done costs you moisture you cannot get back.
7. Cool, Slice, and Store
Let the loaf sit in the pan for 10 to 20 minutes, then turn it out onto a wire rack. That rest matters because the crumb is still setting; cutting it hot releases steam and gives you a gummy slice. The loaf finishes cooling in about 2 hours, which is when it tastes best.
Slice with a serrated knife using a gentle sawing motion rather than pressing straight down. A long loaf knife makes this easier and gives you even slices on tall sandwich bread, which is worth keeping in mind if you plan to make a second loaf.
Wrap the cooled loaf tightly in plastic or a clean towel and store it at room temperature for 2 to 3 days. For longer keeping, wrap it well and freeze for up to 3 months; thaw at room temperature, still wrapped. Refrigeration is the one to avoid for a plain loaf, because cold air pulls moisture out faster than room temperature does. Keeping bread in a bread box or a sealed container at room temperature buys you a few extra days.
One more pan note: this batter is written for a 9-by-5-inch pan. Doubling it into a 13×9-inch pan works, but the layer will be shallower, so check it at 38 to 45 minutes rather than the full hour.
Common Mistakes
Nearly every disappointing banana bread traces back to one of these. Each one has a specific fix, and the tell-tale signs differ.
Bread is dry or crumbly
The usual cause is too much flour. Scooping straight into the bag and leveling with a knife can add 20 to 30% more flour than the recipe calls for. Weigh it if you own a scale, or spoon it in and level. Second on the list: overripe-looking but still firm bananas, and a loaf that sat in the pan or oven too long.
If the loaf is already baked and dry, you can soften it rather than bin it. Cut it and soak the slices briefly in milk or coffee, then drain. A short microwave burst with a damp paper towel over the slice also helps. For a whole loaf, a thin brush of simple syrup or melted butter on the cut face works well enough.
Bread is dense or gummy in the middle
Overmixing is the first suspect, and mixing in the flour too hard is the second. Check whether your recipe used baking powder as well as soda, and whether the soda still fizzes in vinegar. A sunken middle or a loaf that never rose is nearly always a leavener problem, not a banana problem.
Another common cause is banana overkill: more than about 1 1/2 cups of mash in a 9-by-5-inch pan leaves the center underbaked and sticky. Dense bread that smells normal, tastes normal, and was baked within a couple of hours is still perfectly safe to eat. Discard it if there is a sour or moldy smell, visible fuzz, or a slimy surface.
Top cracked or center dipped deeply
Too much leavener and too little liquid at the top of the batter. Use only the soda called for, keep the batter at a pourable but not runny consistency, and pull the loaf at the first clean toothpick test rather than waiting for a deep golden crust. Check that the loaf pan isn’t sitting on a cold sheet pan on a lower rack.
Not enough banana flavor
Underripe fruit and dead baking soda. Very ripe bananas plus 1 teaspoon cinnamon give you the flavor; skipping the cinnamon removes the top note that people read as “banana.” A teaspoon of vanilla in the batter and a thin vanilla glaze on top once it cools lifts it further.
Batter looked wrong before it went in the oven
Lumps, streaks, and a curdled look are all expected after the flour goes in. This is the point at which most bakers ruin the loaf by mixing it smooth. Stop early.
Five tips that hold up across bakes
- Use three bananas at 320 g mashed, not two, and don’t drain any liquid if you froze them.
- Spoon and level the flour, or weigh it. Never scoop from the bag.
- Stop mixing at 10 to 15 folds, when the last streak of flour vanishes.
- Check doneness at 50 minutes, not 60, and pull the moment the toothpick is clean.
- Cool 10 to 20 minutes in the pan before turning out, and use a wire rack underneath.
Frequently Asked Questions
How ripe should the bananas be for banana bread?
Use bananas that are yellow with heavy brown freckling, or mostly brown. Soft, heavy, and slightly leaking at the stem is the target. As bananas ripen, starch turns to sugar and the fruit holds more water, which is exactly what keeps the loaf moist. Yellow bananas with no spots work, but the bread will taste milder and dry out faster. If your bananas are still green, bake them unpeeled at 200 F until the skins blacken, then cool and mash.
Can I use frozen bananas in banana bread?
Yes, and frozen bananas often work better than fresh ones because the freezing breaks down the fruit. Thaw them in a bowl at room temperature and mash them with a fork. Use the mash straight from the bowl and do not drain the liquid at the bottom, because that liquid is where much of the moisture and banana flavor went. You can also freeze unpeeled whole bananas and peel them after thawing, which takes about 20 minutes.
Is butter or oil better for moist banana bread?
Both keep the crumb moist; they just give different results. Melted butter adds flavor and a slightly firmer, cakier crumb, and about 115 g works well in a 9-by-5-inch pan. Neutral oil like canola produces a lighter, cakier loaf with no dairy, which also makes it easier for people avoiding butter. Neither is drier than the other. If you want the softest crumb possible, keep the dairy boost and add sour cream or Greek yogurt to either version.
Why is my banana bread dense and gummy?
Three causes account for almost every case. Overmixing the batter after the flour goes in develops gluten and gives you a tight, chewy crumb. Baking soda that has lost potency, which happens within 6 to 12 months of opening, leaves the loaf dense and flat. Third, adding more banana than the pan can bake through in an hour leaves a wet center. Mix gently, test your soda in vinegar, and weigh the mash at about 320 g.
How many bananas do I need for one loaf?
Three medium to large bananas, about 1 1/4 cups mashed or 320 g, fill a standard 9-by-5-inch loaf. Two bananas makes a noticeably smaller, drier loaf, and four or more can leave the center underbaked and gummy because there is too much wet fruit for the flour to absorb. If you want to double the recipe, bake the second loaf separately rather than pouring it all into one pan, unless you switch to a 13×9-inch pan and shorten the bake to 38 to 45 minutes.
How do I store banana bread so it stays moist?
Cool the loaf completely, wrap it tightly in plastic wrap or a clean kitchen towel, and keep it at room temperature for 2 to 3 days. A sealed container or a bread box stretches that to about 4 days. Skip the refrigerator for a plain loaf, since cold air dries it out faster than room temperature does. For longer storage, wrap the whole loaf and freeze it for up to 3 months, then thaw it at room temperature without opening the wrap.
Before your next bake, pick up a kitchen scale if you do not own one. Weighing flour and mashed bananas removes the two errors that cause most banana bread problems, and everything else on this list is a matter of timing.
Conclusion
Start with three very ripe bananas mashed to about 320 g, and measure your flour by spooning it into the cup and leveling it. Cream the butter and brown sugar, add room-temperature eggs one at a time, then fold the dry ingredients in about 10 to 15 times and stop before the batter looks smooth. Bake at 350°F for 50 to 65 minutes and pull the loaf at the first clean toothpick test. Let it rest 10 to 20 minutes in the pan before turning it out, and wrap it tightly once cool. Those four habits cover nearly every way banana bread goes wrong. If you want a visual on how the finished loaf should look next time you slice it, my notes on slicing soft sandwich loaves cleanly cover the last step.