
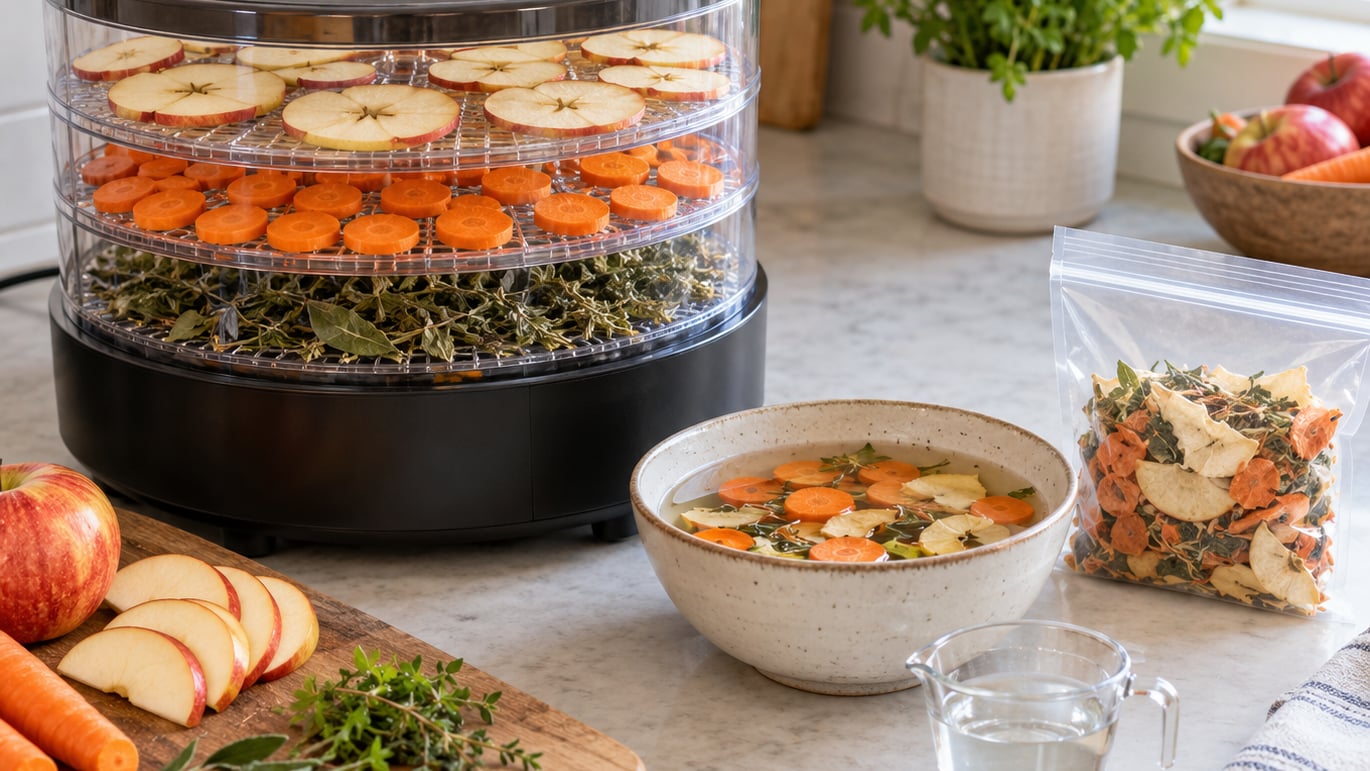
Learning how to dehydrate food for backpacking is mostly a matter of cutting things small, drying them slowly, and sealing them the moment they cool. A food dehydrator pulls 90 to 95 percent of the moisture out of fresh food, which cuts the weight of a meal by roughly 60 to 80 percent and leaves something that keeps for months in a pack. Most first batches take 8 to 18 hours of drying plus a few days of conditioning, so plan on a weekend at home rather than an evening.
I started because store-bought meals tasted flat after day three, and I kept buying the same six things. Once I had the method down, my dinners changed completely and my pack got lighter. This guide covers the whole cycle, from picking what to dry through storing it and eating it cold on a ridge with no stove.
Table of Contents
- What You Need
- Step-by-Step: How to Dehydrate Food for Backpacking
- Common Mistakes and How to Fix Them
- Frequently Asked Questions
- Can I dehydrate food with a regular oven?
- How do I know dehydrated food is dry enough to store?
- Which foods are best for lightweight backpacking meals?
- How long does dehydrated food last when stored correctly?
- Can I rehydrate dehydrated food without cooking?
- Do I need to blanch vegetables before dehydrating them?
- Conclusion
What You Need
The gear list is short, and most of it you already own.
A dehydrator or an oven. A countertop food dehydrator with an adjustable thermostat and a horizontal fan does the best job, because air moves across the trays instead of up through them. An oven works, but you need the smallest setting your range offers, an oven thermometer to confirm what that setting really is, and a door cracked with a wooden spoon. Expect to rotate trays in an oven; a good dehydrator mostly does not need it.
Trays, liners and small tools. Nylon or silicone mesh mats let small pieces like diced pepper and diced onion fall through if your trays have gaps. Parchment paper works better for meat and for fruit leather. A digital thermometer with a probe, a vegetable peeler, and a sharp knife do most of the prep. A small food mill or a stick blender turns cooked meals into bark.
Fresh food to dry. Start with what you already eat. Frozen vegetables are the fastest entry point because they arrive blanched and can go straight onto a tray.
Storage that actually keeps air out. Mason jars and screw-top lids work well. Resealable freezer bags are fine for short trips. Mylar pouches with an oxygen absorber are the option for anything longer than a season. Add a small marker or label tape and a headlamp for checking labels in the dark.
Water, measured. Most dehydrated meals want between 1 and 2 cups of water per serving. Write the amount on the label at home. That is the difference between a good meal and a salt crust at the far end of a dry stretch.
A note on weight: a dinner that weighs 1.5 pounds fresh typically goes into the pack at 3 to 5 ounces once it is dry and portioned. That math is the whole reason people do this, and it holds as long as you slice thin and cool everything before sealing.
Step-by-Step: How to Dehydrate Food for Backpacking
How to Choose Foods to Dehydrate for Backpacking
Foods that dry well and rehydrate well share the same traits: they are not mostly water, they hold their structure, and they taste decent after soaking. That rules out a surprising number of fridge staples.
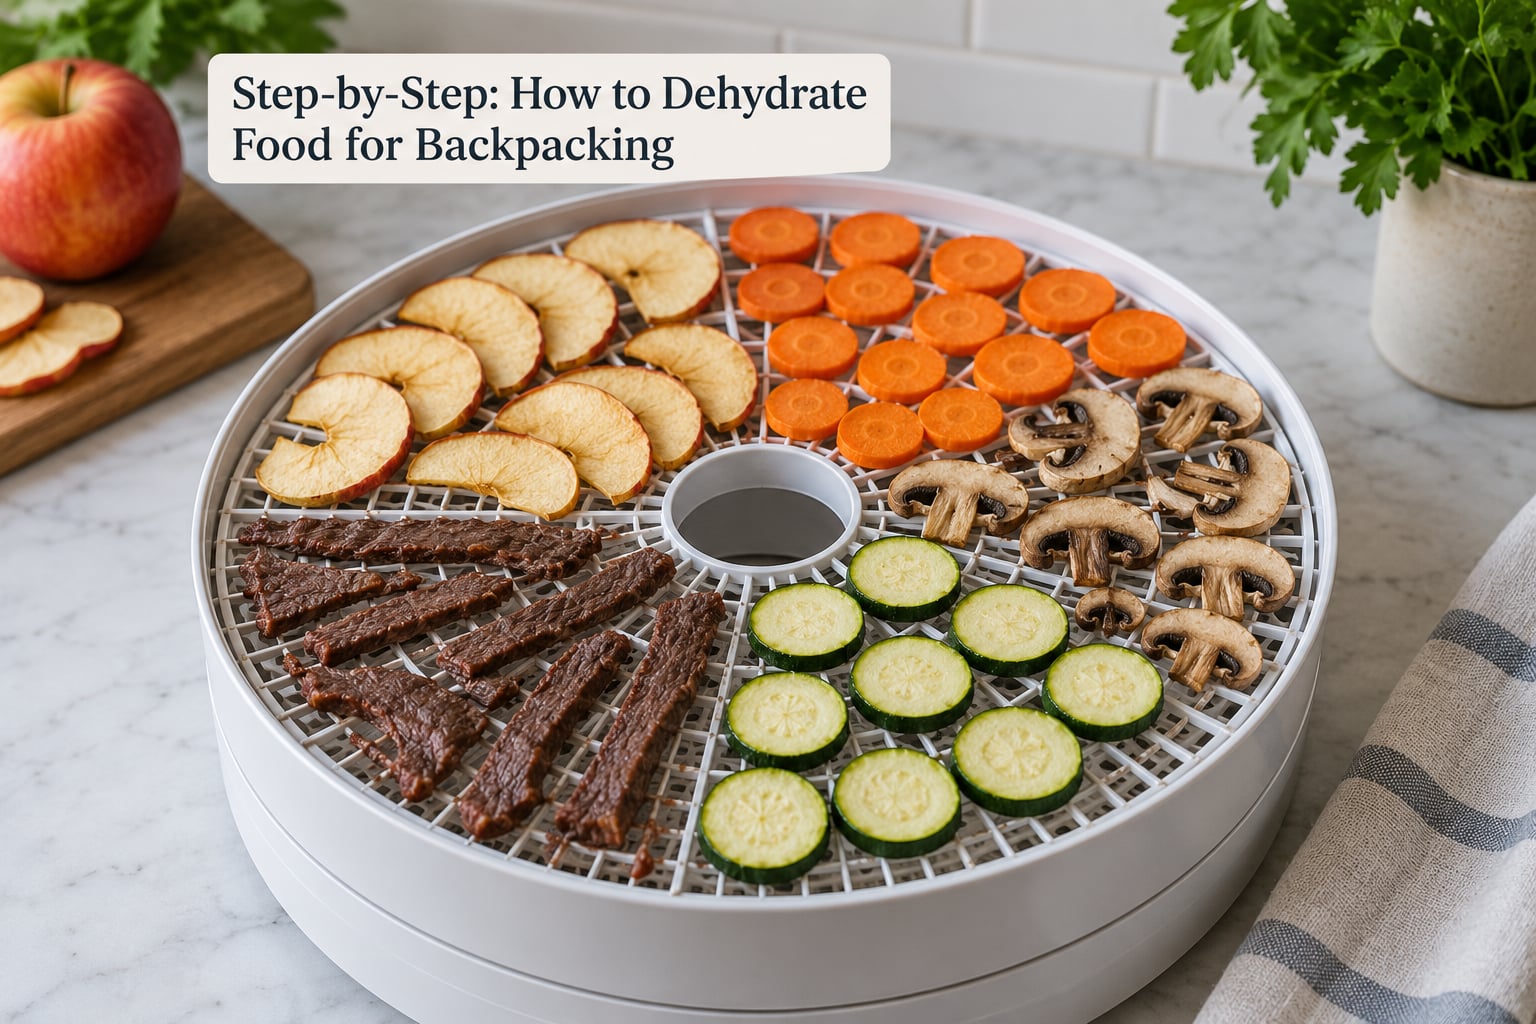
- Fruit: apples, pears, pineapples, mango, strawberries, kiwi, citrus peel, and fruit leathers made from blended fruit with no added sugar. They come out leathery and light.
- Vegetables: carrots, sweet potato, peppers, onions, tomatoes, zucchini, broccoli, mushrooms, corn, and beets. All of them rehydrate cleanly in hot water.
- Cooked grains and legumes: rice, couscous, lentils, black beans, chickpeas, split peas, macaroni, and rolled oats. Cook them in plain water with a little salt, then dry.
- Meat and fish: cooked ground beef, turkey, shredded chicken breast, tuna, and cooked strips of fish. Follow the cooking temps below.
- Full meals: chili, soups, curries, mac and cheese, and pasta bolognese. Spread them thin in single layers rather than in lumps.
- Seasonings: onion powder, garlic powder, dried herbs, grated cheese made at home from hard cheese, and soy sauce dried onto a tray then flaked off.
Some foods will spoil or turn inedible no matter how careful you are. Whole eggs and anything with raw egg, milk or cream, avocado, and soft high-moisture cheeses do not dry safely. Fatty pork and duck go rancid long before a long trip ends. Skip all of them.
Prepare and Cut the Food for Even Drying
Everything you dry should be cooked, safe to eat raw, or already handled safely. What that means in practice: cook all meat and poultry through to the USDA safe minimum internal temperature before it ever reaches a tray. That is 165 F for poultry, 160 F for ground meat, and 145 F for whole cuts and fish.
Wash fruit and vegetables under running water, then trim and peel. Cut everything into even pieces, and thin is better than thick. Coins of carrot about a quarter inch thick dry in half the time of half-inch chunks and rehydrate faster at camp.
Blanch vegetables when it helps. Three minutes in boiling water, then a quick ice bath, locks in color and keeps broccoli and green beans from turning olive. Apples, pears and potatoes go straight on without blanching. Frozen vegetables are already blanched by the processor, so skip that step for them.
For ground beef, cook it, drain it, then rinse the crumbles with hot water several times to wash off the rendered fat. Reviewers on the Backpacking Light forums describe that rinse as the difference between beef that rehydrates like beef and beef that tastes like wax after two weeks in a pack. Break crumbles apart and spread them thin on a tray, ideally on parchment.
Do not crowd trays. If pieces touch, they dry at different rates and the ones underneath come out damp. When in doubt, run two smaller batches instead of one crowded one.
How to Dehydrate Food Until It Is Properly Dry
Set the dehydrator according to the food, not the dial. Start the trays low in the box so air can rise across every layer.
- Vegetables: around 125 F. Expect 6 to 10 hours for slices.
- Fruit: around 135 F, 6 to 10 hours. Fruit leather goes closer to 150 F once it is spread paper thin.
- Cooked grains, beans and meals: around 145 F, 6 to 12 hours. Meals and chili need longer, often 10 to 14 hours.
- Meat, poultry and fish: around 160 F. Ground beef is the exception because of its density, so give it 10 to 14 hours and test the thickest areas.
These are the ranges most home dehydrators ship with guidance for, and your machine’s manual is the authority for your unit. Some home ovens cannot hold anything below about 200 F on their lowest setting, and that is too hot for fruit and vegetables. A home oven is really only a sensible choice for meat, fish and dishes that start as wet cooked meals.
Do you ever overdry? Yes, and it is mostly cosmetic. Fruit and vegetables that go past leathery turn brittle and crumble, and some vitamins are lost with very long runs. The food stays safe. For meals and meat, extra time matters less than hitting dryness.
Check as you go. Fruit should bend without snapping and feel leathery. Vegetable slices should be dry and pliable, with no cool or damp spots on the tray. Meat crumbles should be hard and crunchy with no softness at the center of the pile, which is exactly the texture hikers complain about when a meal was packaged before it was truly dry. Use a probe thermometer on the thickest piece and look for room-temperature food with no cool pockets.
Leave the pieces on the trays to cool completely before you touch them. Warm food packs in condensation as soon as the lid closes, and that condensation is what turns a good batch into a bag of white fuzz.
Package, Label, and Store the Dehydrated Food
Cool food first, then package it. Every step past this point is about keeping the food dry.
Portion into meals you will actually eat. Put one dinner per resealable bag, press out as much air as you can, and write three things on the label with a permanent marker: the dish, the amount of water needed, and the date it went in the bag. Hikers on trail forums consistently say a labeled bag saves a trip back to the top of the pack at dusk.
For longer storage, pack jars and leave a week of headspace, then add an oxygen absorber to each jar and seal it. Store jars in a cool, dark, dry cupboard out of sunlight. Do not use a fresh piece of produce as a desiccant inside the jar; onions and peppers are what produced the tomato seeds you are trying to keep out of the bag.
Resealable bags are the middle option. Forum reports put them at roughly a few months for a trip, sometimes longer in cool, dry storage, and that is fine for weekend food. Mylar pouches with an oxygen absorber reach several years.
Conditioning is the step people skip and later regret. Put your dried food into jars for 3 to 7 days, shake or tip each jar every day, and watch for any moisture forming against the glass. That is trapped moisture finding its level, which is the same reason shelves often say to wait before stacking jars tightly. If you spot damp food, return it to the dehydrator for 2 more hours and start conditioning over.
Rehydrate Food While Backpacking
On trail you rarely get a simmer. Most dried food needs 10 to 15 minutes in hot water or 1 to 2 hours in cold water.
- Hot water: Add the measured amount of water, stir in, cover, and wait 10 to 15 minutes. A zip-top bag works in a pot or in a food thermos, but a pot cozy sleeve holds enough heat to do the job with no fuel at all.
- Cold soak: Add cold water and wait 1 to 2 hours. Couscous, instant rice, ramen, and most grains rehydrate this way, which saves canister fuel and works in places where fire bans are strict.
- Warm soak: Between the two, lukewarm water in a sun-warmed bag or an insulated bottle gives a middle ground of roughly 30 minutes.
Test texture by squeezing a piece between your fingers. Soft and pliable means done; if it still has a hard core, add another 5 minutes or more water. If you are above treeline or in cold weather, expect rehydration to run slower, so start earlier than usual.
Common Mistakes and How to Fix Them
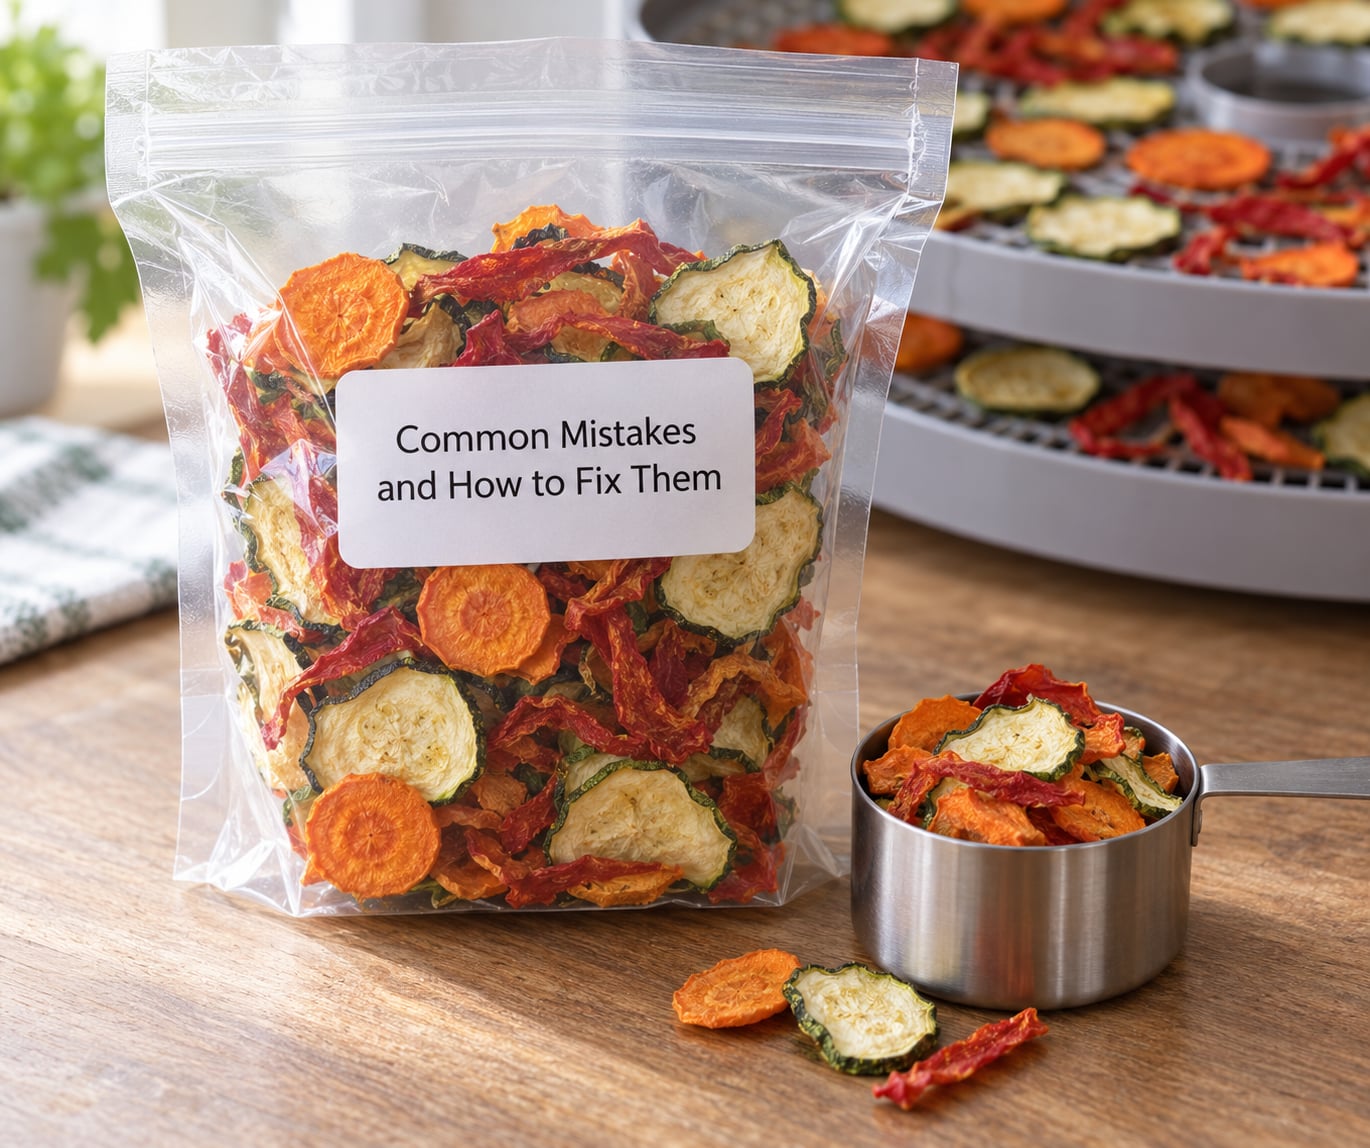
Almost every moldy bag or rubbery meal I have seen traces back to one of these.
Cutting pieces at different sizes
Uneven cuts are the single biggest cause of a half-dry batch. Whatever size you pick, measure one piece and cut everything to match, so the thin carrot and the fat pepper chunk finish at the same time.
Filling trays too full
Trays need space between pieces. Air cannot move through a solid layer, and the food underneath dries last and stores wet. Space them a fingertip apart or run an extra batch.
Drying at too low a temperature
If the box never gets above about 110 F, the water moves out slowly and mold can start before the food is done. Follow the range for the food and check your machine’s real temperature with a separate thermometer, since cheap models drift.
Trusting the clock on thick foods
Ground beef, chicken, thick fruit leather and casseroles need a test, not a timer. Break one piece open in the middle and check for dampness. On the Backpacking Light forums the advice is the same: when in doubt, give it more time, because re-drying costs nothing and a failed meal costs you a whole dinner.
Packaging food while it is warm
Warm food seals in condensation, and condensation is where mold starts. Cool on the trays, cool on a rack, then package. This one habit alone prevents most of the spoilage complaints hikers post about.
Crushing delicate pieces
Banana chips, apple slices, and fruit leather snap under pressure. Fill bags loosely, or pack them in a rigid container, and keep them near the top of the pack where nothing sits on them.
Carrying too much water
Most people overestimate what they need and then run short. Measure once at home, write the number on the lid of each container, and stick to it. Between 1 and 2 cups per person per meal is the range most dinners land in, and drinking water is counted separately.
Confusing leathery with dry
A piece can look tough and bend like leather and still hold moisture inside. Squeeze and split the thickest piece rather than trusting color or surface texture. One more drying session at home is much easier to live with than finding a problem on day four of a trip.
Packing food without labels
Even if you remember every bag, you will not remember every one at 5,000 feet in fading light. Label with dish, water amount, and date on both the bag and the lid.
A couple of habits make home prep lighter on your evenings and lighter on your pack: freeze your trimmed, cut vegetables on a sheet pan so one tray goes into the dehydrator instead of a whole chopping session, and portion into bags that match your trip length so nothing gets repacked. If you like hot meals without a stove, the same insulated gear people use for food thermoses for soup and sandwich lunches doubles as a rehydration vessel for dehydrated dinners.
Frequently Asked Questions
Can I dehydrate food with a regular oven?
You can, but only for foods cooked hot enough to begin with. Most home ovens bottom out around 200 F, which is fine for meat, fish and wet dishes like chili but too hot for fruit and vegetables, which scorch before they dry. Use the smallest dial setting, hold the door open with a wooden spoon, and place food on the lowest rack. Check the real box temperature with a separate oven thermometer, and expect to rotate trays.
How do I know dehydrated food is dry enough to store?
Test the thickest piece, not the surface. Vegetables should bend without snapping, fruit should feel leathery, and meat or cooked meals should have no cool or soft spot in the center. A probe thermometer on the biggest chunk helps with dense foods. Then cool everything fully before sealing, and condition the batch in jars for 3 to 7 days with a daily shake to catch any trapped moisture.
Which foods are best for lightweight backpacking meals?
Fruits, carrots, peppers, onions, sweet potatoes, cooked rice, lentils, beans, couscous, macaroni, cooked ground meat, shredded chicken and full cooked dishes like chili or curry all rehydrate well and weigh very little. Frozen vegetables are the fastest starting point since they arrive blanched. Avoid whole eggs, milk, avocado, soft cheese and fatty pork, which spoil or turn rancid long before a trip ends.
How long does dehydrated food last when stored correctly?
It depends on the container and the storage conditions. Resealable bags held in a cool, dry place last a few months to about six months, which suits most weekend trips. Mason jars sealed with an oxygen absorber stretch that considerably, and Mylar pouches with an absorber reach several years. Direct sun and warm garages shorten every one of those, so store sealed food in a dark cupboard and keep it dry.
Can I rehydrate dehydrated food without cooking?
Yes. Hot water straight from a thermos or a pot cozy rehydrates most meals in 10 to 15 minutes with no fuel. Couscous, instant rice, ramen and other grains also cold-soak in 1 to 2 hours, which is the easiest fuel-saving trick on a long trail. Warm water gives a middle ground of around 30 minutes. Add water slowly in two stages so you do not end up with a thin, salty soup.
Do I need to blanch vegetables before dehydrating them?
Blanching helps vegetables that lose color and texture, such as broccoli, green beans, spinach and tomatoes, and it takes about three minutes in boiling water followed by an ice bath. Skip it for fruit, and skip it for potatoes. Frozen vegetables from the grocery store are already blanched, so you can put them straight onto a tray. Skipping the blanch does not make the food unsafe, it just affects the color and how the pieces rehydrate.
Conclusion
Pick four or five foods you already enjoy eating, cut them into pieces of one consistent size, and dry a single test batch of each. Cook anything raw before it goes on a tray, give thick foods a second hour when in doubt, and let everything cool fully before you seal it. Eat one finished meal at home from the jar you will actually carry, with the water amount you wrote on the label.
That test meal tells you more in ten minutes than a week of reading will. Once you know how to dehydrate food for backpacking on your own terms, your pack gets lighter, your dinners taste like food instead of foil, and the grocery aisle stops being the plan for dinner.