
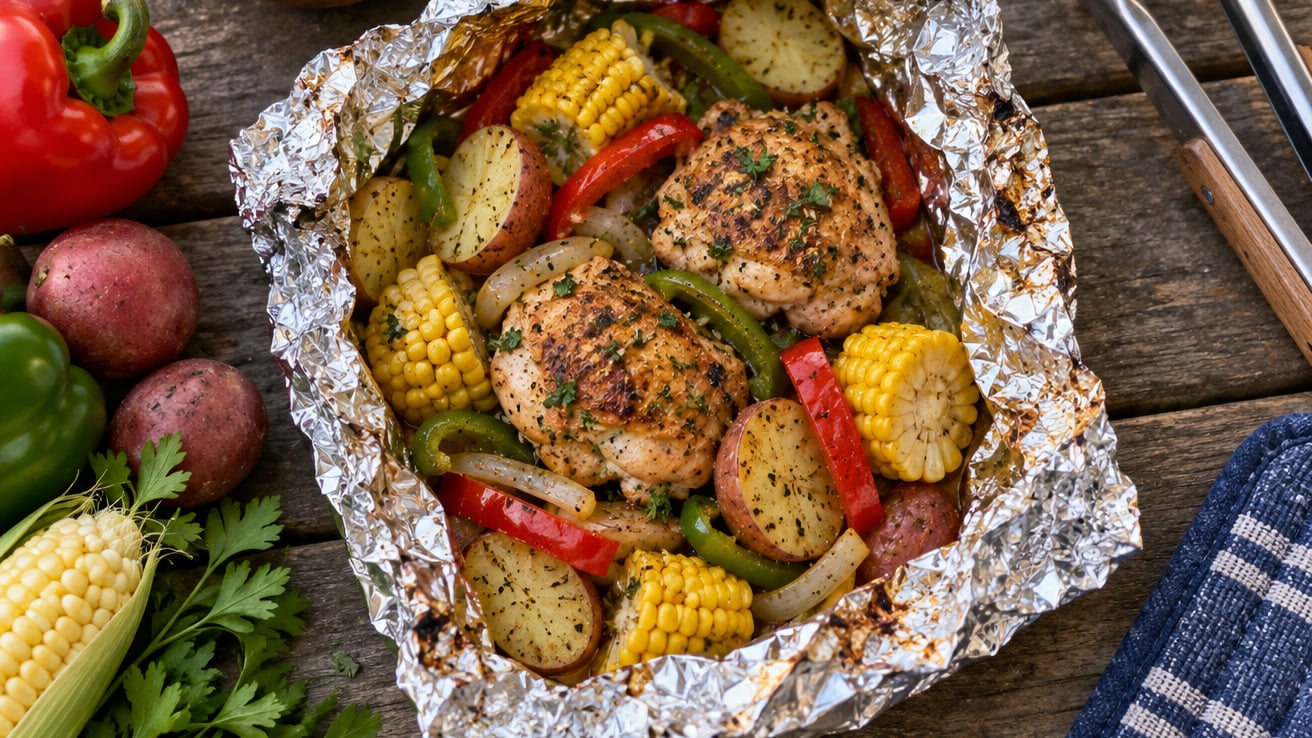
Foil packet meals for camping are ingredients — protein, starch, vegetables, seasoning — wrapped in heavy-duty aluminum foil and cooked on hot coals or a grill until the packet steams the food in its own juices. The whole dinner comes out of one sealed pouch, and the pouch goes straight in the trash.
That last part is why they keep winning over camp kitchens with ten pieces of gear. Prep takes about 20 minutes at home, cooking takes 15 to 25 minutes at the fire, and cleanup takes about three seconds. Even with no grill, no firewood, and no sink, you can still make them.
Table of Contents
- What You Need
- Step-by-Step
- Common Mistakes
- Frequently Asked Questions
- What kind of foil is best for foil packet meals for camping?
- How long do foil packet meals take to cook over a campfire?
- Can I use regular household aluminum foil for camping meals?
- What ingredients should I avoid putting in a foil packet?
- How do I keep foil packet meals safe before cooking?
- Can I cook foil packet meals on a camp stove or grill?
- Conclusion
What You Need
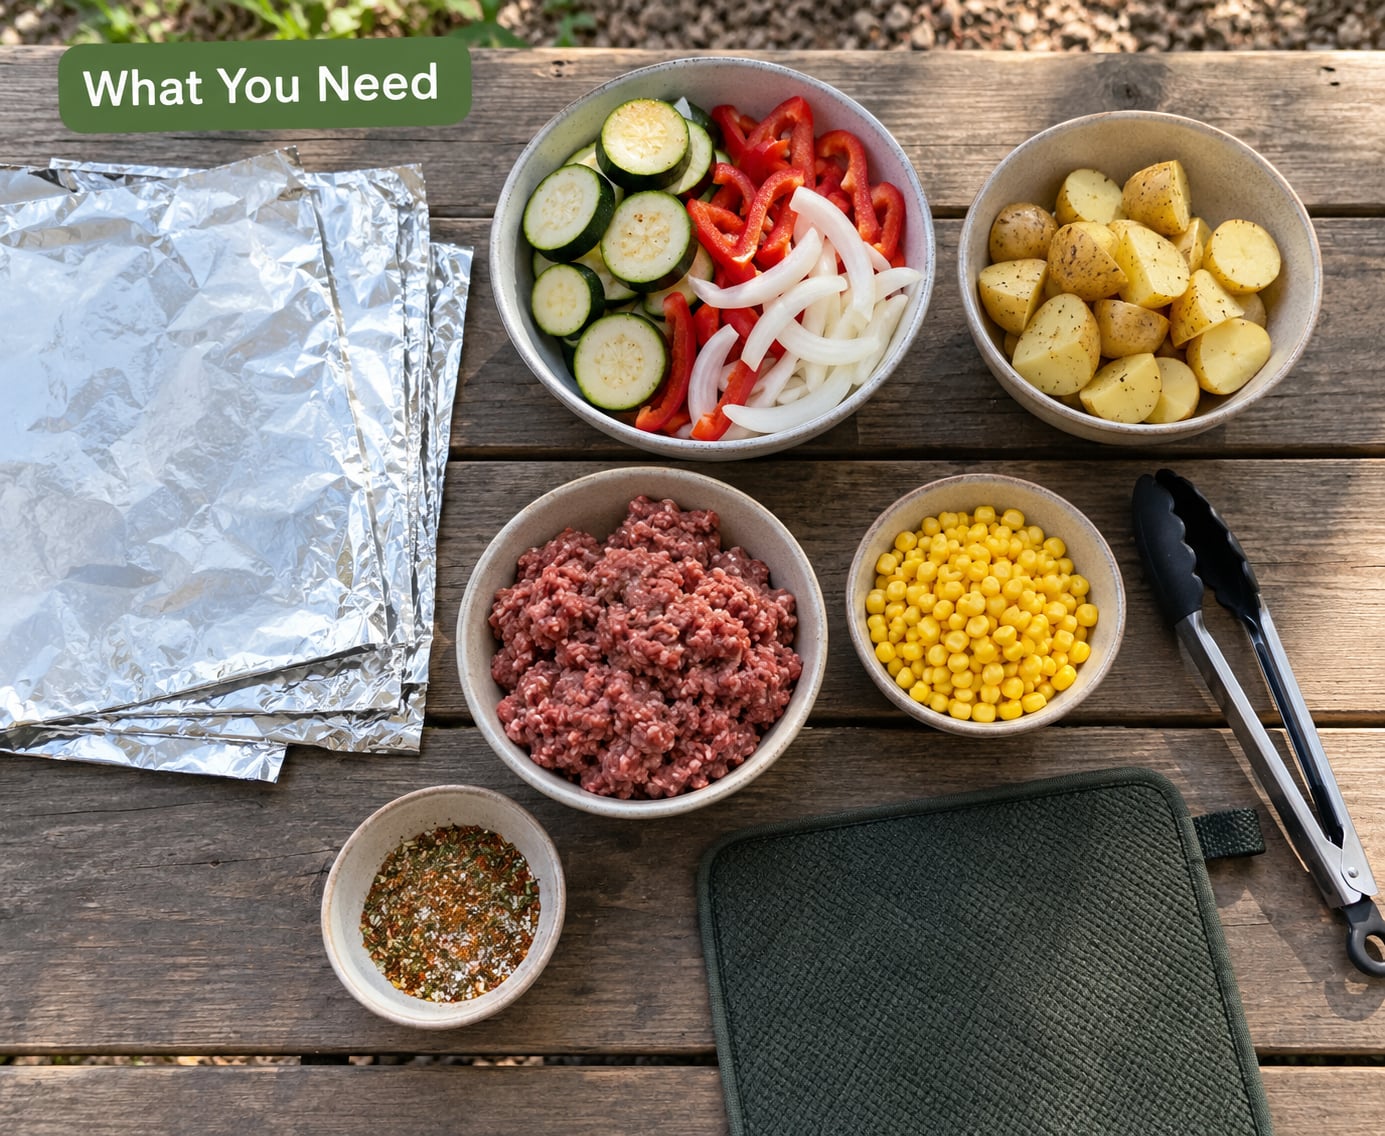
You need less than a typical camp kitchen. Here is the honest list.
- Heavy-duty aluminum foil. Not the thin, cheap stuff. It tears when you flip it and melts into a black shell over coals. Two sheets per packet is the minimum.
- A protein. Chicken, ground beef, sausage, shrimp, salmon, or a can of chickpeas for vegetarian packets.
- A starch. Sliced potatoes are the classic. Rice, pasta, pierogies, sweet potato, or couscous work too.
- A vegetable. Onions, peppers, zucchini, corn, broccoli, or green beans. Two different colors means the kids eat more of them.
- Fat and sauce. Olive oil, butter, or a tablespoon of oil and a spice mix in a zip bag. This is what stops the packet from tasting flat.
- Liquid. Two tablespoons of water or broth per packet. It turns into steam, and steam is what cooks the food evenly.
On the tool side: long tongs, an instant-read thermometer, heat-resistant gloves, and a small knife or cutting board you prep at home rather than at the site. Keeping meat cold needs a cooler with a couple of ice packs and room to breathe around the packets.
No grill and no firewood? A camp stove with a wide burner or even a single hot propane flame works — set the packet on a flat rock or the grate and give it the same 15 to 25 minutes. On a car trip, foil packets cook in a home oven at 400°F for about 20 minutes, which makes them a decent house meal too.
If you are building out the rest of your camp food list, 10 best sandwiches for camping trips covers the no-cook lunches that foil packets cannot replace.
Step-by-Step
1. Choose a Balanced Recipe
Every good packet follows the same formula: protein, starch, vegetable, fat, sauce, and a splash of liquid. A classic that campers have been cooking for decades is sliced kielbasa, butter, potato pierogies, a sweet onion, and two tablespoons of water, cooked 12 to 15 minutes and flipped once.
Use that formula as a template rather than hunting for recipes. Pick a protein, pick a starch, pick one or two vegetables, then decide whether you want Italian, Mexican, or barbecue flavor. Changing the sauce changes the whole meal without changing your shopping list.
Chunk everything small. Pieces about the size of a quarter cook at the same rate as everything else, which is the difference between a hot meal and one with a raw potato in the middle.
2. Prepare the Ingredients Before Leaving Home
All the knife work happens in your kitchen. Chop vegetables, slice potatoes thin, portion protein by person, and put each component in its own zip-top bag. Label them — you will not recognise frozen diced onion from frozen diced pepper at 7 a.m. in the dark.
Mix dry seasoning at home in a small jar or bag. One tablespoon per packet is plenty for a pound of meat.
Stack the raw protein bag on the bottom of the cooler so nothing sits under it, and keep perishables at or below 40°F until they hit the fire. Campers who prepped at home consistently report that the packets they organised in order were the ones that actually got cooked.
3. Assemble the Foil Packet
Lay one sheet of foil on a flat surface, meat first. Potato goes on top of the meat so the juices drip into it, vegetables last, then your fat and sauce, then the water or broth.
Bring the two long sides to the middle, fold over, then roll the ends inward and crimp them down hard. A loose seal is the number one reason packets leak. Fold a second sheet around the whole thing for a double wrap; it costs one more sheet and saves the meal.
Write the name and any dietary note directly on top with a permanent marker — marker on foil survives a trip in the cooler. Packets for vegetarian or gluten-free diners should be assembled with clean hands and separate utensils before the raw meat packets.
4. Cook the Packet Over Your Heat Source
Let your fire burn down to a hot coal bed first. Packets belong on coals or on a grill grate, not in open flame, and the coals are usually 10 to 15 minutes of waiting that people waste by throwing packets on too early.
Push the packets into the coals, off to one side, and space them a few inches apart so they are not stacked. Plan on 15 to 20 minutes, then flip with long tongs and give them another 5 to 10 minutes. Check the thickest piece with your thermometer rather than trusting the clock alone.
Thin vegetables like zucchini and peppers are done in about 8 minutes. Fish and shrimp need 10 to 15. Dense starch like a whole potato needs 25 to 30, which is why slicing it thin matters so much. Ground beef usually needs 20 to 25 minutes alongside the potatoes.
5. Check Doneness and Food Safety
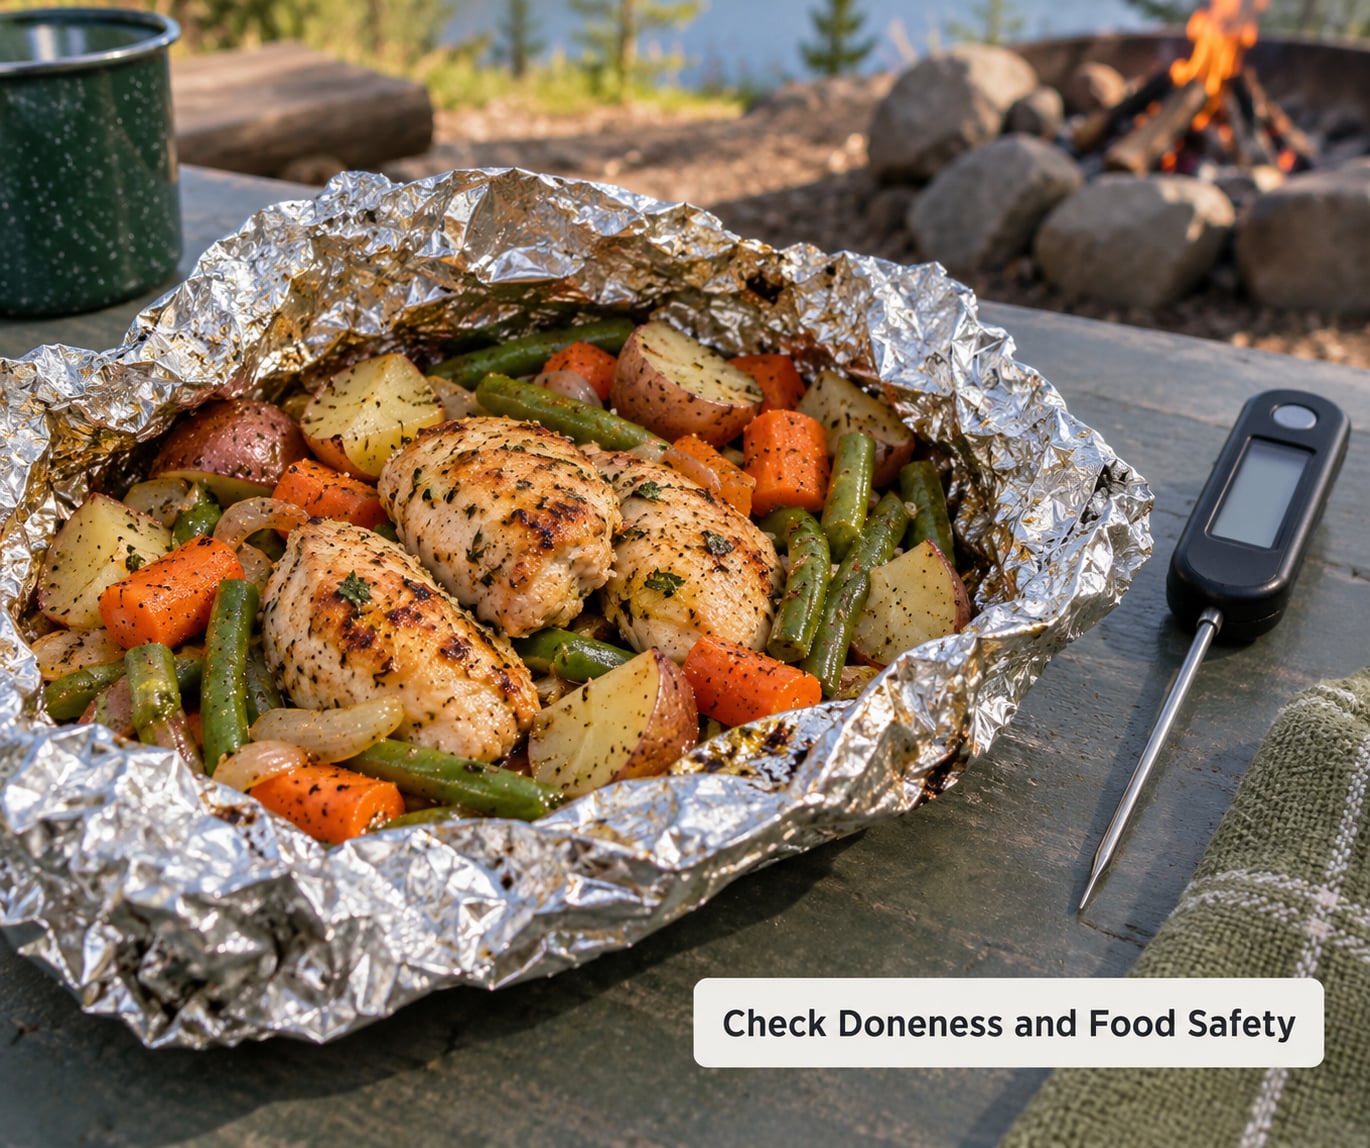
Open the packet away from your face and let the steam vent for a few seconds first. A sealed packet holds a surprising amount of pressure, and the steam burns fingers just as well as the foil does.
Check the thickest piece of protein with your instant-read thermometer and follow the USDA minimum internal temperatures: poultry reaches 165°F (74°C), ground meat reaches 160°F (71°C), and whole cuts of meat or fish reach 145°F (63°C). If you have no thermometer, pierce the meat and look for clear juices with no pink or translucent flesh.
Pork, sausage, and ground beef all need the full time. Shrimp and salmon are done when they turn opaque and flake easily.
6. Let the Packet Rest and Serve
Give the opened packet a minute to cool before you dig in. The food finishes cooking in the residual heat, and the steam escaping from a hot packet is how people end up peeling the skin off a fingertip.
Eat straight from the packet, or scrape it into a bowl if you want the full portion. If you are saving leftovers, move the food into a sealed container, get it into the cooler within two hours, and eat it within three to four days — or reheat it to 165°F (74°C) before eating.
Fold the empty foil, pocket it, and pack it out with your trash. Burying foil in a fire ring looks like nothing but stays in the ground for a very long time.
Common Mistakes
Using thin foil. Standard grocery foil tears on the flip and crisps black in the coals. Heavy-duty foil, double wrapped, is the fix and it is the cheapest upgrade in this whole guide.
Crimping loosely. Foil that is folded but not sealed lets liquid run out and dumps broth into your fire. Roll the ends inward and press down along the entire seam, then check for a pocket of air before you leave camp.
Cooking over open flame. Flames scorch the outside while the middle stays cold. Wait for coals, push packets to the edge of the bed, and flip halfway.
Crowding the fire. Packets touching each other cook unevenly and take twice as long. A few inches of space between each one is the difference between dinner and an hour of waiting.
Leaving out the liquid. A dry packet is a baked packet, and starch ends up hard in the middle. Two tablespoons of water or broth per packet costs nothing and steams the food through.
Letting perishables warm up. Meat that sits above 40°F for two hours leaves the safe zone. Keep packets on the bottom of the cooler, keep the cooler shaded, and cook the meat packets first.
Opening too fast. Tip the corner of the packet away from you and let steam escape before you spread it open. Heat-resistant gloves matter here more than anywhere else in the process.
Piling up foil afterwards. Every empty packet goes in your trash bag or a pack-it-out bag. Nothing foil gets buried in a fire ring.
Frequently Asked Questions
What kind of foil is best for foil packet meals for camping?
Heavy-duty aluminum foil is the right choice, and you want two sheets per packet. Standard grocery-store foil tears when you try to flip it and burns black in a few minutes over coals. Heavy-duty foil holds its shape, survives the tongs, and gives you a double wrap that keeps juices in. If you are buying for a whole trip, a long roll cuts down on how many sheets you need per meal.
How long do foil packet meals take to cook over a campfire?
Most packets take 15 to 25 minutes on a hot coal bed. Thin vegetables finish in about 8 minutes, fish and shrimp in 10 to 15, and ground meat with potatoes usually needs 20 to 25. Start checking at 12 minutes, flip the packet, then verify with a thermometer. Cook times stretch fast if your fire is still full of flame or if the packets are stacked on each other.
Can I use regular household aluminum foil for camping meals?
You can, but you will have a worse trip. Thin household foil splits at the crimped ends, tears when you flip it with tongs, and chars quickly against coals. If that is all you have, double or triple the wrap, keep packets on a grill grate instead of directly on coals, and expect to handle them more gently. Heavy-duty rolls are inexpensive and last for several camping seasons.
What ingredients should I avoid putting in a foil packet?
Skip anything acidic sitting directly on the meat for long cooks. Tomatoes, citrus, vinegar and wine break down proteins and can leave them stringy and dry. Add a squeeze of lemon or a splash of sauce at the end, or put the acid on the vegetables instead. Also leave out very dense whole vegetables that will not soften, and skip anything that needs deep frying or a hard sear.
How do I keep foil packet meals safe before cooking?
Keep raw protein packets below 40°F the whole time they are in the cooler, with ice packs packed around them rather than on top. Put meat at the bottom so nothing drips onto produce, and assemble vegetarian or gluten-free packets before the raw meat ones. Cook the meat packets first, and if you pre-cook the meat at home, cool it quickly and pack it cold like any other ingredient.
Can I cook foil packet meals on a camp stove or grill?
Both work well. On a grill, put the packets over medium indirect heat with the lid closed and give them 15 to 20 minutes, turning once. On a camp stove, set the packet on a grate over a medium flame and rotate it every few minutes so the heat is even. Foil packet meals also bake in a home oven at 400°F for about 20 minutes, which makes them useful for weeknight dinners too.
Conclusion
Start with one packet and get it right before you plan a week of them. Pick a balanced recipe — protein, starch, vegetable, fat, sauce, two tablespoons of liquid — chop and bag everything at home, double wrap in heavy-duty foil, and cook it on coals rather than flame. Flip it once at 12 minutes, check the thickest piece with a thermometer against the safe minimum temperatures, and let the steam out before you eat.
Get that one right and the rest of the trip writes itself. Pack 10 best sandwiches for camping trips for the lunches foil packets cannot cover, and bring home nothing but crumpled foil in your trash bag.