
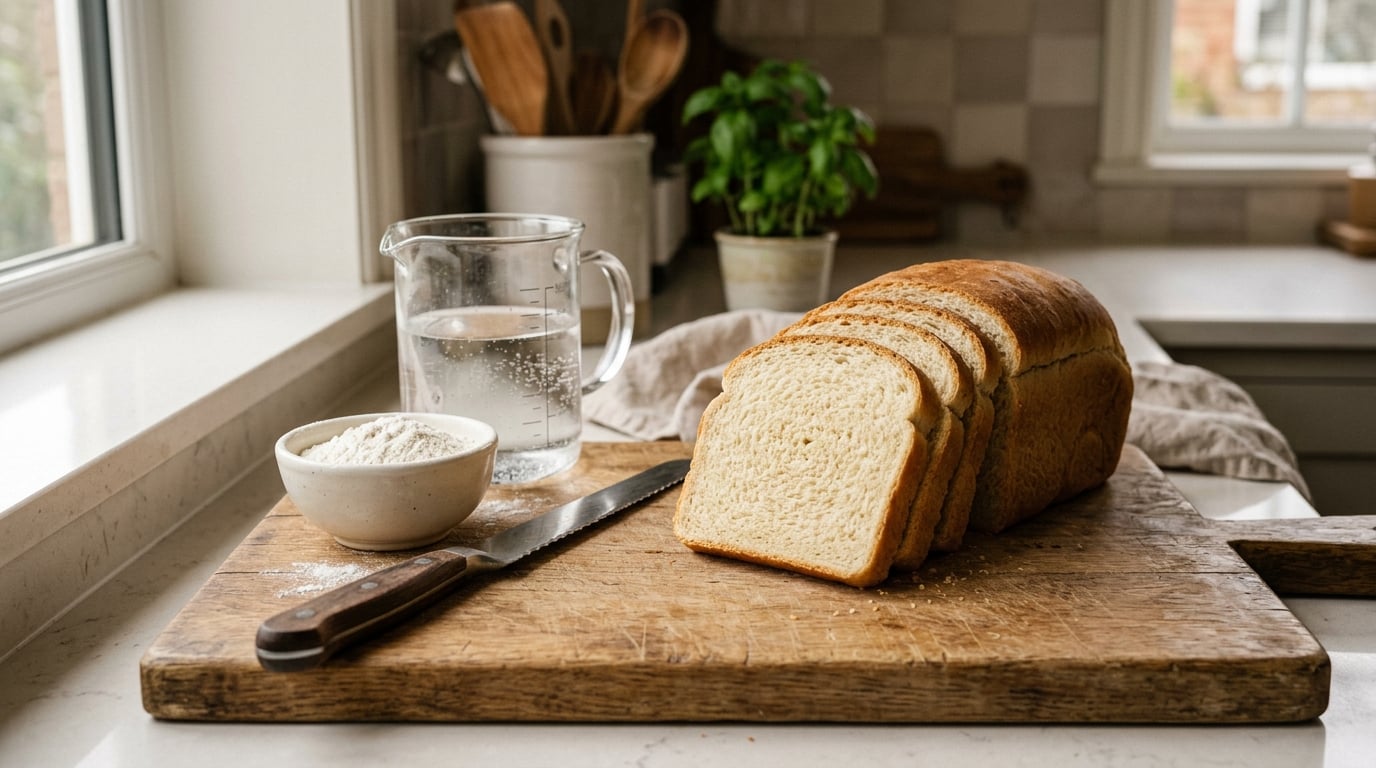
If you have ever asked why is my homemade sandwich bread so dense, the short answer is usually three things: too much flour weighed by volume, not enough proofing, and weak gluten from under-kneading. Those three account for most heavy loaves, and every one of them has a fix you can apply to your next bake rather than the one already sitting on the counter.
Here is the part most troubleshooting guides skip. A dense loaf is not a mystery, it is a report. The crumb, the crust, the shape of the top and the weight in your hand each narrow the cause down to one or two variables, which is why guessing at recipes wastes so many Saturday mornings.
Read on and you will be able to slice the loaf, read the crumb, and know which knob to turn.
Table of Contents
- Why Is My Homemade Sandwich Bread So Dense? Quick Diagnosis
- What Causes Dense Sandwich Bread?
- How Do You Fix Dense Bread Without Starting Over?
- What Changes Should You Make First?
- Can You Fix a Dense Loaf After Baking?
- How Should You Store Homemade Sandwich Bread?
- Frequently Asked Questions
- Start With Your Crumb, Not the Clock
Why Is My Homemade Sandwich Bread So Dense? Quick Diagnosis
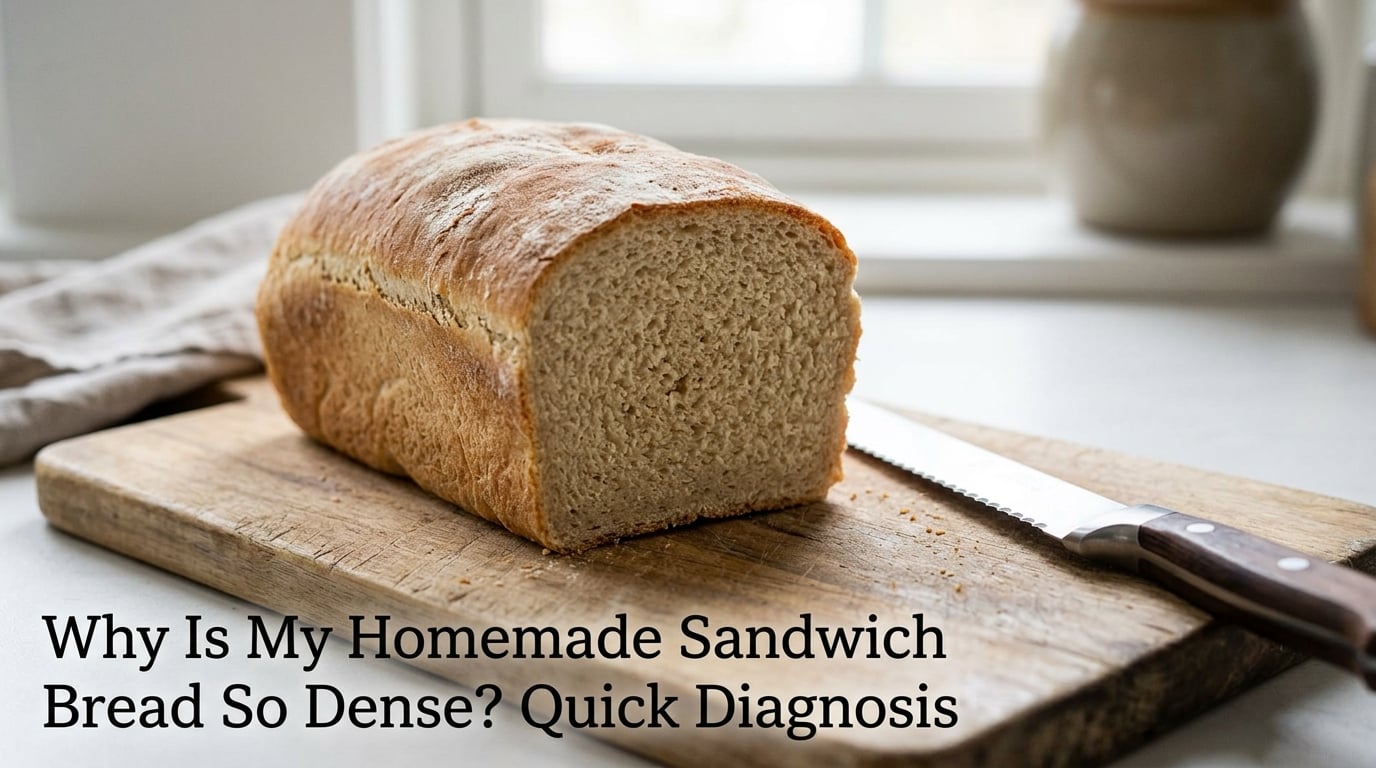
Homemade sandwich bread is dense when the dough went into the oven without enough gas or without enough structure to hold that gas. Too much flour leaves no room to expand, too little proofing leaves nothing to expand, and too little kneading leaves no gluten network to trap it. The table below maps what you see in the crumb to the cause you should investigate first.
| What the crumb looks like | Most likely cause | First thing to change |
|---|---|---|
| Heavy, but full of small holes | Under-proofed, not enough gas before baking | Let the final proof run until the dough has risen 30-50% and passes the poke test |
| Tight and compact with almost no visible holes | Too much flour, or under-kneaded dough | Weigh flour in grams and keep mixing until the windowpane test passes |
| Dense only along the bottom of the slice | Dough compressed during shaping or proofed flat in the pan | Build surface tension while shaping and let the shaped loaf rest 30-90 minutes |
| Gummy and tacky in the middle, crust is fine | Underbaked, or sliced while still warm | Bake to 190-195F internal and cool at least an hour |
| Good height, but the crumb shatters or tears when sliced | Over-proofed, gluten network broken down | Shorten the final proof and keep the dough cool |
| Spread out flat and pancake-shaped in the pan | Over-proofed, or the proof ran too warm | Use a cooler bulk and final proof, and check the yeast quantity |
Two habits make this table far more useful. Cut the loaf with a serrated knife and look at the crumb in daylight rather than judging the loaf by the crust, because a handsome crust hides almost anything. Then change one variable per bake, because a baker who changes flour weight, hydration and proofing time all at once learns nothing from the result.
What Causes Dense Sandwich Bread?
Seven causes cover the large majority of dense sandwich loaves, and each one has a mechanism behind it.
- Too much flour. Flour measured by volume instead of weight can overshoot by 15-20% per cup, and every extra percent of flour absorbs water the dough needed and stiffens the crumb.
- Under-hydration. A stiff dough with no slack in it cannot expand during the oven spring, so the loaf sets dense the moment the starches gelatinise.
- Under-kneading. Skipping enough kneading fails to build strong gluten strands, and weak gluten strands cannot trap gas or hold a rise.
- Dead or overheated yeast. Old yeast, or liquid poured at 130F or hotter, kills fermentation before it starts, and the loaf bakes up tight and heavy with no rise at all.
- Under-proofing. Not enough time in the final rise means not enough gas in the dough, and a sandwich loaf has less margin for this than a rustic loaf.
- Over-proofing. Dough that has expanded too far loses the structure that was holding it, so it spreads, slumps and bakes dense even though the volume looked fine going in.
- Underbaking and slicing too soon. The crumb is still setting and redistributing moisture when you cut it, which reads as dense and gummy rather than springy.
Dough Strength and Ingredient Balance
Gluten is a protein network that forms as you mix, and its job is to stretch around gas bubbles without tearing. Under-kneaded dough has a weak version of that network, and a weak network gives up early, which is why an under-kneaded loaf often looks decent in the pan and disappoints on the slice.
The windowpane test tells you in about ten seconds. Pull a small piece of dough and stretch it thin between your thumbs. If you get a translucent membrane with no tears, the gluten is developed. If it breaks at the halfway mark, keep going. Most hand-mixed sandwich loaves want 8-12 minutes of mixing, plus a rest if the dough fights you.
Stretch and fold is the shortcut for anyone who would rather not knead. Over the first two hours of bulk, do four sets of folds 30 minutes apart, each set being a fold in the bowl, a quarter turn, and a fold again. That produces a noticeably stronger dough than a recipe that specifies none.
Hydration is the lever most worth pulling first. For a milk-and-egg sandwich loaf, somewhere in the 65-75% range works well, and a sticky dough is not a mistake. When the dough feels slack and slightly tacky you are close to the window. If you are coming from a stiff dough, raise hydration by 5% at a time rather than 20%, hold every other variable steady, and let the extra water tell you what happens next.
Flour weight matters more than anything else in the list above. A kitchen scale costs less than one failed loaf, and it removes the single most common source of batch-to-batch inconsistency. Bread flour with more protein gives more structure, which is why a sandwich loaf made with all-purpose flour will be tight and a slice of toast made with cake flour is cake.
Whole wheat makes this worse by design. The bran cuts into gluten strands and the germ soaks up water the dough was counting on, so a whole wheat sandwich loaf usually needs 5-10% more hydration and a 20-40 minute autolyse. A lot of people prefer 68-70% hydration because higher dough is genuinely harder to handle, and that is a fair tradeoff, just know it caps how light the loaf can get.
Fat, sugar, salt and mix-ins all push in the same direction. Butter, oil, milk, sugar and egg yolks tenderise the crumb and slow fermentation, so a rich dough rises less in the same window. Sugar and salt above what the recipe calls for will make a soft loaf that stays dense for the same reason a slack dough does: not enough structure and not enough gas.
For a sandwich loaf specifically, three additions buy softness cheaply. Replace 20-30% of the flour with potato starch for a fine, tender crumb. Cook a portion of flour and liquid into a paste, called tangzhong or yudane, and the gelatinised starch keeps the crumb moist for days. Or use milk or buttermilk instead of water, which adds fat and protein that soften the loaf without loosening the structure.
Fermentation and Proofing Problems
There are two rises, and they are not interchangeable. Bulk fermentation is the long first rise where the dough builds gas and flavour, and the final proof is the second rise after shaping where the loaf gains the volume it bakes with. Sandwich loaves fail more often in the second one, because that is the rise most people shorten to save time.
Water temperature sets how fast everything runs. Warm your liquid to 105-115F, which is roughly blood-warm and feels slightly hot on the inside of your wrist. Cooler water means a slow ferment and a dough that has not generated enough gas by the time you bake it. Above 130F you kill the yeast, and the loaf comes out dense, low and heavy with no chance of recovery.
Old yeast is the quiet version of the same failure. Test it in warm water with a spoonful of sugar, and if it does not foam vigorously within about ten minutes the packet is finished. A dead dough that you proof anyway produces exactly the compact loaf people then blame on their oven.
Stop trusting the clock and use the rise. During bulk, aim for a 30-50% increase in volume and a domed, jiggly, bubbly surface. During the final proof, the same target is right, which is usually well short of doubling. Dough that reaches double in a warm kitchen has often already gone past the point where the gluten can hold it.
The poke test settles it. Press a floured finger about half an inch into the dough. If it springs back quickly and leaves no dent, it needs more time. If it springs back slowly and leaves a slight dent, bake it now. If it does not spring back at all and stays flattened, it is over-proofed and the structure has already begun to fail.
Over-proofed and under-proofed look similar going in and diverge at the table. Under-proofed dough barely rises, bakes into a tight brick with a low, flat profile and a dull crumb. Over-proofed dough rises fast, spreads in the pan, domes or splits oddly, and bakes into a flat loaf whose crumb tears and shatters when you slice it. If the crumb is dense and the loaf sank, think over-proofing first.
The cold retard deserves its own warning because it is a live complaint in home bread groups and rarely gets a clear answer. Dough that has not finished its bulk rise before it goes into the fridge will still be under-fermented when it comes out 12 hours later, and cold does not fix that, it just slows the yeast down further. Let the dough get close to doubled at room temperature, then retard it, and give the shaped loaf 90 minutes to two hours back at room temperature before baking.
Bread machines fail differently, mostly because of what the machine cannot see. Too much flour, too little water or the wrong yeast setting produce a tight loaf, and letting a machine cycle run long past the first rise is the most common reported mistake on the bread machine forums. Watch the dough through the window rather than trusting the program, and if the machine stops kneading early, switch on the additional knead cycle.
Sourdough sits in the same family. A dense, chewy loaf is normal for a sourdough sandwich bread, because long fermentation and strong gluten deliver chew rather than the soft, tearing crumb most people picture. If that is not what you want, shorten the fermentation and use a blend rather than pushing harder on hydration.
Shaping, Baking, and Cooling Problems
Shaping is where good dough quietly gets ruined. Tension the surface as you shape, and a loaf keeps its rise upward instead of spreading outward. Work quickly and aim for 20-40 seconds of handling rather than 30-60, because a long, careful shape tears gas out of the dough and cools it at the same time.
Give the shaped loaf a rest before it goes in the oven. Thirty minutes is a minimum, and 60-90 minutes in a cool room is better. The rest lets the gluten relax so the loaf holds its shape, and it is the cheapest fix in this whole guide because it costs nothing but patience.
On the pan, keep the dough centred so it does not press into the corners, and confirm the pan is the size the recipe assumes. A smaller pan gives the dough nowhere to rise and pushes the extra volume downward, which shows up later as a dense bottom on every single slice.
Ovens lie. Put a thermometer on the middle shelf and check the reading, because an oven 25F cool is the difference between a loaf that finishes baking and one that is still raw in the middle at the buzzer. Preheat properly, and if you have a cast iron combo or a covered Dutch oven, use it, because trapped steam in the first minutes of the bake is what lets the crust stay flexible long enough for oven spring.
Bake to temperature, not to colour. A soft sandwich loaf is done at 190-195F internal, whole grain at 200-205F, and a lean artisan loaf at 205-210F. An instant-read thermometer pushed into the thickest part of the loaf settles the question that colour cannot, and it is the fastest way to tell underbaking apart from every other cause on this page.
Then let it cool for one to two hours before you cut it. The crumb is still redistributing moisture and setting as it cools, and a knife through a warm loaf turns soft crumb into gum. This is the cause I would check first for a good crust with a gummy center, because it costs nothing to test.
How Do You Fix Dense Bread Without Starting Over?
Work through this order for your next loaf. Each step either fixes the most common cause or narrows the search, so stop as soon as the crumb comes out right.
- Confirm your numbers. Weigh every ingredient in grams, including the flour, and stop adding extra flour mid-knead to rescue stickiness. That single habit undoes more good dough than anything else in a home kitchen.
- Move hydration up gradually. Add 5% more water per flour weight and hold everything else steady. A dough that is slightly tacky and slack is where you want to be.
- Build the gluten. Keep mixing until the windowpane test passes, or run four sets of stretch and folds through the first two hours.
- Fix the fermentation. Use water at 105-115F, test your yeast, and watch the bulk rise for a 30-50% increase rather than for doubling.
- Correct the final proof. Poke the dough and bake when the dent stays but the dough still lifts. For a sandwich loaf, under-proofing is the more common error, so be patient here.
- Handle the dough gently. Shape in 20-40 seconds with real surface tension, then rest the shaped loaf 30-90 minutes before baking.
- Verify the pan and the oven. Check the oven with a thermometer, give the loaf steam in the opening minutes, and bake to 190-195F internal.
- Wait before slicing. One to two hours, fully cooled, no exceptions.
If you want a faster read on the whole system, log one line per bake: flour weight, hydration, bulk time and temperature, final proof time, shaped rest, internal temperature at pull. Three bakes of that log will tell you more than a year of guessing.
What Changes Should You Make First?
Change one or two things, then look for the specific result described below. More than two variables at once is why the same recipe seems to behave differently in the same kitchen twice in a row.
| What you observed | Change this first | How much | What success looks like |
|---|---|---|---|
| Same recipe, different results each bake | Switch to weighing flour and salt in grams | All of it, starting now | Bakes from 100% white bread flour start behaving the same way twice in a row |
| Dough is stiff and tears when you pull it | Raise hydration, and add an autolyse | +5% water per loaf, 20-40 minute rest | Dough ends slack and slightly tacky, and the windowpane test passes sooner |
| Loaf is low and heavy with a tight brick crumb | Lengthen the final proof | 15-30 minutes, judged by the poke test | Rise of 30-50% before baking and a taller dome in the pan |
| Loaf spreads flat and tears when sliced | Shorten the proof and cool the dough | Cut proof time 20%, work cooler | Loaf holds a rounded shape and the crumb compresses instead of shattering |
| Gummy center, good crust | Check internal temperature, then cooling time | Bake to 190-195F, cool 1-2 hours | Centre springs back and slices cleanly without smearing |
| Dense and chewy even on a good rise | Add softness for a sandwich loaf | Swap 20-30% flour for potato starch, or use milk | Fine, tender crumb that stays soft for a couple of days |
Can You Fix a Dense Loaf After Baking?
Not into an airy loaf, no. Once starches have set during baking, the structure of a dense crumb is fixed, and no amount of resting, toasting or wrapping will change it. Anyone promising otherwise is selling something.
What you can do is use it well, which matters more than it sounds. A dense slice toasts far better than an airy one and holds its shape under butter or jam. Cut it thick for grilled sandwiches and panini, where the density is exactly what keeps it from falling apart.
Dense bread also cubes beautifully for croutons, casseroles and stuffing, and it makes excellent breadcrumbs for meatballs and casseroles. Sliced dense bread also makes the best French toast, because it soaks up the custard without turning to mush. Let the loaf cool completely first, then repurpose it rather than binning a perfectly good bake.
How Should You Store Homemade Sandwich Bread?
Storage is a separate problem from density, but bakers mix them up constantly. A dense loaf usually goes stale faster because there is less moisture trapped in a tight crumb, so a dense sandwich loaf needs help to stay soft for day three.
Cool the loaf completely before you store it, which takes one to two hours on a rack. Wrapping bread that is still warm traps condensation, and that condensate is what encourages mold.
Choose the wrap for what you want. Paper or a paper bag keeps a crusty loaf crisp, and a crusty loaf is the one people expect in a sandwich. Plastic or a sealed bag softens the crust and keeps the crumb moist, which is the right call for a soft sandwich loaf that is going into lunchboxes.
Whole loaf or sliced makes a measurable difference. Slicing exposes far more crumb surface to air, so a sliced loaf goes stale one to two days faster than the same loaf left whole. If you only eat part of a loaf, freeze it whole and slice it as you need it.
For freezing, cool the loaf completely, wrap it tightly, and use it within about three months. Thaw it in the wrapper at room temperature, which takes a few hours, or reheat slices straight from the freezer in a dry pan or toaster. Skip the microwave, which heats the moisture out of the crumb and leaves the slice tough.
Plain bread does not need refrigeration, and the fridge is the fastest way to make it hard. Mold appears on bread in a few days depending on warmth and humidity, so check any loaf you are about to slice. Once mold is visible, discard the whole loaf rather than cutting around the spot and hoping.
Frequently Asked Questions
Why is my bread dense even when it has doubled in size?
Doubling is a volume measurement, not a quality one. A dough that expands quickly in a warm kitchen can pass double before its gluten has relaxed enough to hold the shape, so it spreads in the pan and bakes dense. Watch for a 30-50% rise instead of doubling, cool the dough if your kitchen runs warm, and shorten the final proof the next time. Flour weighed by weight also helps, since an over-measured cup makes the dough falsely thirsty and dense.
How do I know if sandwich bread dough is underproofed?
Press a floured finger about half an inch into the dough. A spring-back with no dent means it needs longer, a slow spring-back that leaves a slight dent means it is ready to bake, and no spring-back at all means it is over-proofed. Under-proofed dough also rises slowly during bulk, still looks tight and slack rather than domed and bubbly, and bakes into a low loaf with a dense, hole-free crumb. Judge by the dough, not the clock.
Does a dense loaf mean the dough was not kneaded enough?
Not always, but it is a common cause. Under-kneaded dough has a weak gluten network, so it cannot trap gas or support the rise, and the loaf bakes tight. Pull a small piece of dough and stretch it thin: a translucent membrane with no tears means the gluten is developed, and a quick tear means keep mixing. Stretch and fold works just as well, with four sets of folds 30 minutes apart through the first two hours of bulk.
Why is the bottom of my homemade bread heavier than the top?
The bottom is carrying the weight of the loaf while the top rises freely, so anything that pushes the dough downward shows up there first. Common culprits are compressing the dough while shaping, a pan smaller than the recipe assumes, and proofing in a very warm spot. Shape with firm surface tension, centre the dough in the pan so it does not press into the corners, and rest the shaped loaf 30-90 minutes before baking to let the gluten relax.
How long should sandwich bread cool before slicing?
Wait one to two hours, until the loaf is completely cool to the touch on the bottom. The crumb is still setting and redistributing moisture as it cools, so cutting too early compresses soft crumb into gum and makes a fine loaf look dense. A dense bottom is also easier to judge on a cold slice, which is exactly the diagnostic you need. If you are in a hurry, the oven door ajar with the light on holds the crust reasonably well while you wait.
Start With Your Crumb, Not the Clock
Diagnostic order beats guesswork every time. Cut the loaf, read the crumb against the table at the top of this page, and you will usually land on one or two variables.
Then check dough strength with the windowpane test, check fermentation with the poke test and a 30-50% rise target, and verify the bake with an instant-read thermometer at 190-195F for a soft sandwich loaf. Change one thing in the next loaf and note what moved.
Two bakes of that kind of attention usually fix what a year of recipe hopping never will, and the loaf that comes out the other side slices cleanly enough for a sandwich, which is the whole point.