
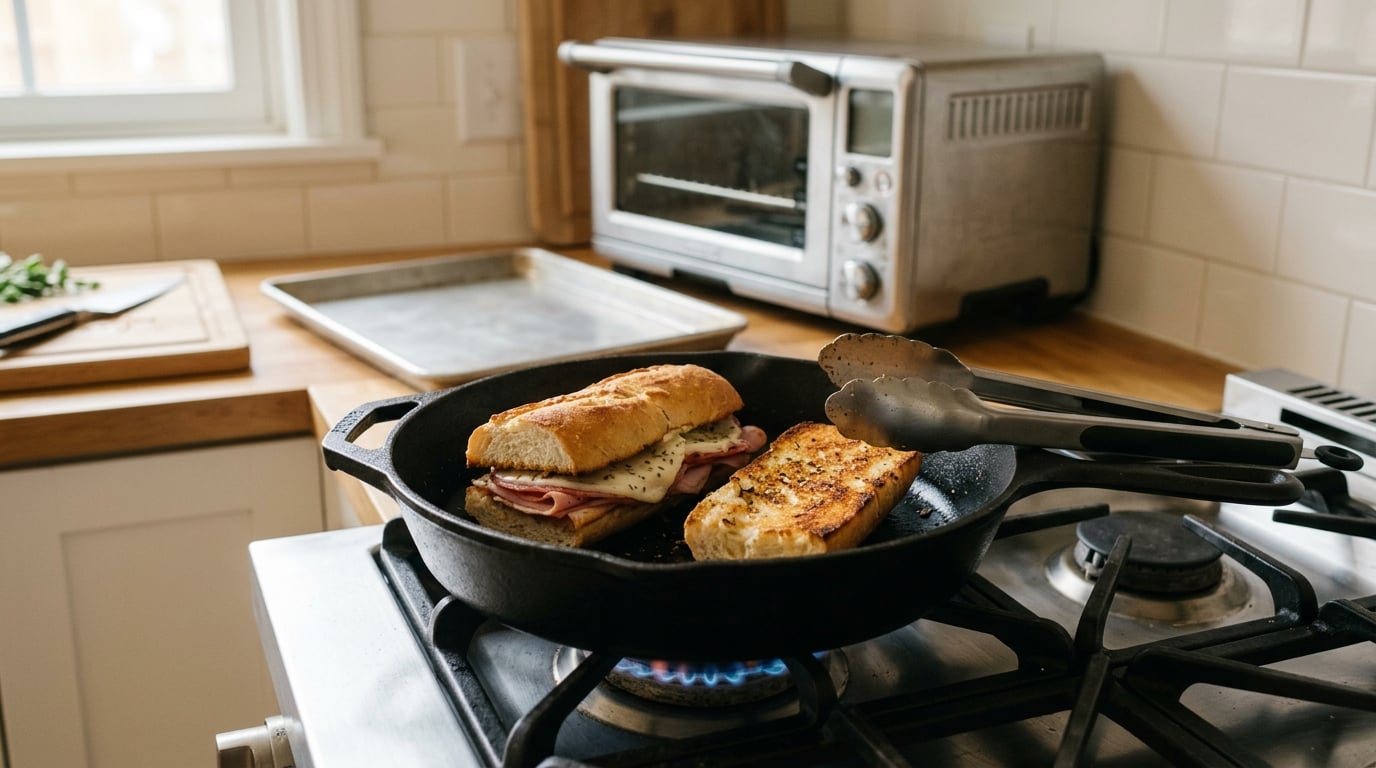
To toast a sub at home without a commercial oven, pre-toast the cut roll first, add the fillings, then hit it with fast, dry heat: 60 to 90 seconds per side in a hot skillet, 1 to 2 minutes under the broiler, or 4 to 6 minutes in a toaster oven at 375F. That is all it takes for a crisp edge and a warm center, and the whole sandwich comes together in under ten minutes.
Last updated October 2026.
Most home cooks skip the pre-toast, then wonder why the roll goes soft and floppy in the middle while the cheese melts right through it. Fix that one step and everything else gets easier.
Table of Contents
What You Need
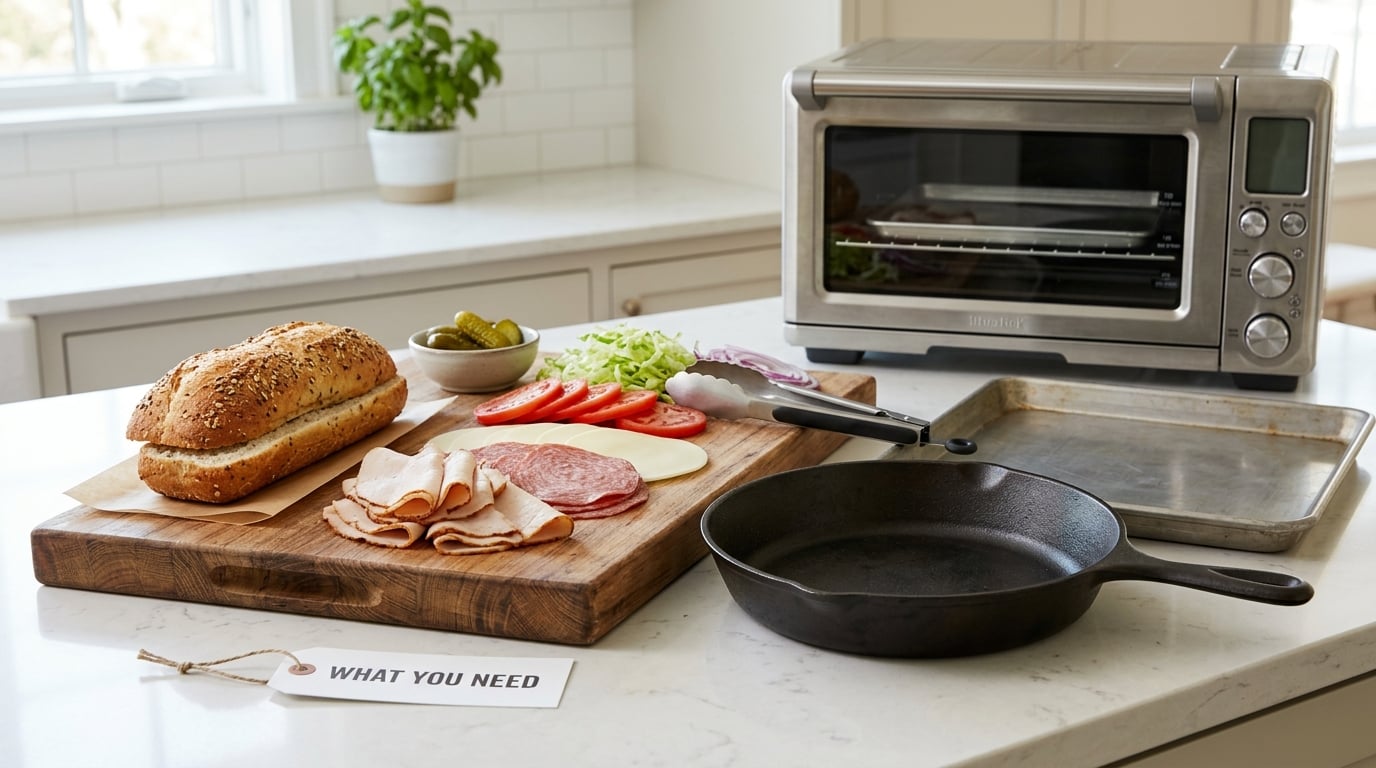
It helps to be clear about what a commercial oven means here, because it sets expectations. A sandwich shop uses a conveyor toaster or a commercial deck oven: a narrow belt that carries the sub past very hot elements for 60 to 90 seconds. A home oven broils slower and more unevenly, but a skillet, a broiler, or a toaster oven gets you to the same place.
You do not need any of that equipment. Here is what each route actually needs:
- Skillet: a 10- to 12-inch cast iron or nonstick skillet, tongs, and a small amount of neutral oil or butter.
- Broiler: a standard home oven with a broil setting, a rimmed baking sheet or wire rack, and oven mitts.
- Toaster oven: a countertop toaster oven with the rack in the middle position, a small baking sheet or a sheet of parchment, and tongs.
- Air fryer or panini press: either one works. Both are quicker than the oven and give the cut face a hard sear.
- Handy extras: an instant-read thermometer, a pastry brush for garlic butter, and a wire cooling rack so steam escapes from under the sandwich.
Pick your roll before you start, because bread decides the result. A hoagie or Italian roll toasts evenly and holds its shape under weight. French bread slices brown fast and can go from golden to black in seconds on a skillet. Potato rolls are small and soft, so drop the heat and check early.
Step-by-Step
Every method below runs on the same base process, so learn it once and switch appliances whenever you like. The table shows which route fits your kitchen and how much attention each one takes.
| Method | Time | Heat | Result | Best for |
|---|---|---|---|---|
| Skillet | 60-90 seconds per side | Medium-low on the stovetop | Hard sear, soft middle | Fastest result, no oven at all |
| Broiler | 1-2 minutes | Broil, rack 6-8 inches from the element | Crisp edges, fast melt | Deep browning, watch it closely |
| Toaster oven | 4-6 minutes | 375F, rack in the middle | Even browning, soft crumb | Small kitchens and dorm rooms |
| Oven bake | 10-15 minutes | 350F | Soft and melty, not crisp | Batches and warming through |
| Air fryer | 5-6 minutes at 400F | 400F, cut side up | Crisp with little effort | Quick lunches |
| Panini press | 3-5 minutes | Griddle heat plus pressure | Flattened and griddled | Thick, overstuffed subs |
Now the process those six methods share:
- Cut the roll on a hinge. Slice it lengthwise but stop before you reach the bottom crust, so it opens like a book. A roll cut all the way through falls apart in a skillet and slides out of the broiler.
- Toast the empty roll first. Lay it cut side up on a baking sheet at 350F for 4 to 5 minutes, or in a dry skillet for about 60 seconds per side. This sets the crust so the fillings cannot soak it.
- Add fat if you want it. Butter, garlic butter, or a brush of olive oil goes on now, while the face is still hot. It browns and crisps better than butter added to a cold roll.
- Layer thin. Deli meat first, folded loosely to add height without bulk, then cheese on top. Hold tomato, lettuce, pickles, and any mayo-based sauce until the sandwich is toasted, so moisture stays on the surface where you can see it.
- Close it and toast again. Use whichever heat source you picked, using the times in the table.
- Check before you serve. The cut face should be golden brown, the cheese fully melted, and cooked deli meat reheated to 165F according to USDA guidance. Rest it a minute on a wire rack so the juice settles instead of pooling in the bottom of the roll.
How to Toast a Sub at Home Without a Commercial Oven With a Skillet
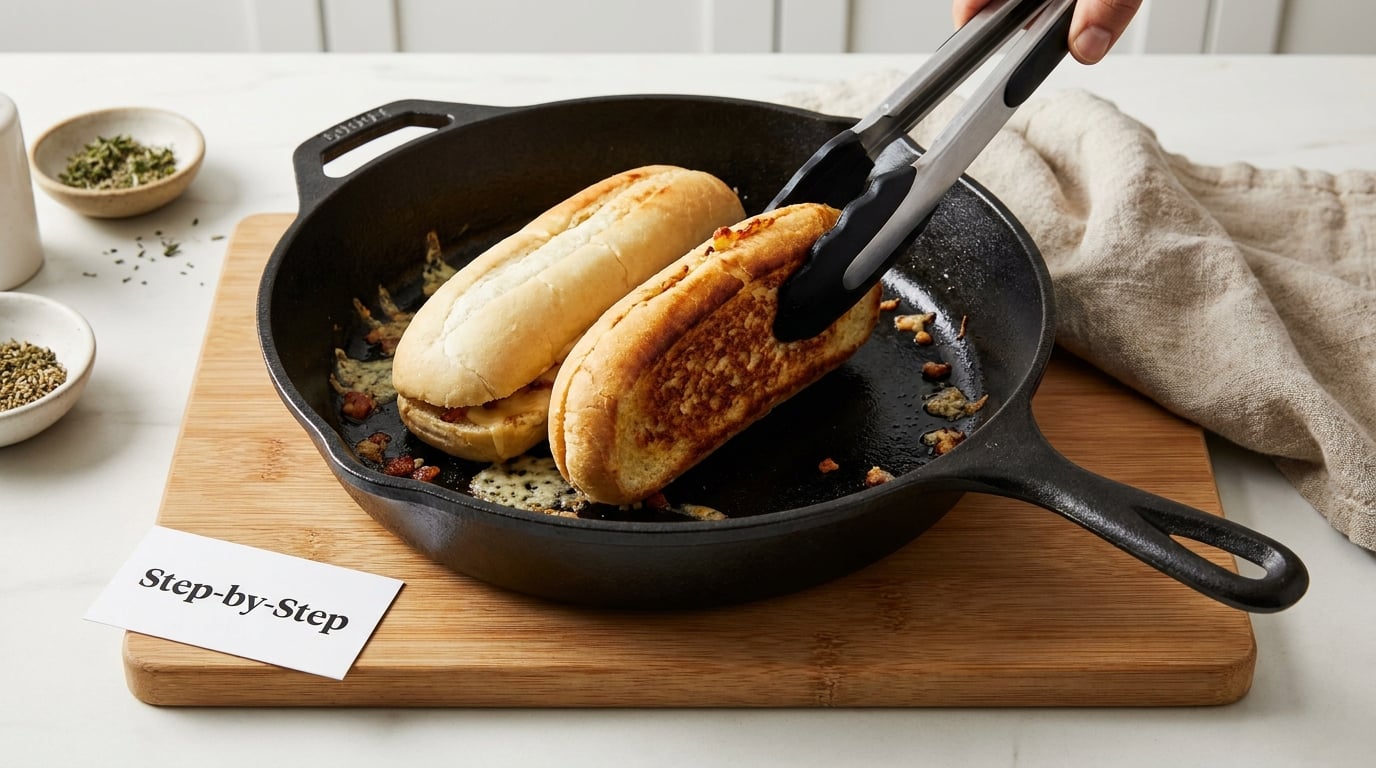
A skillet is the fastest way to toast a whole sub, and the one people ask about most. Heat a 10- to 12-inch cast iron or nonstick pan over medium-low until a drop of water skates across it, then add a thin layer of oil.
Put the sub in cut side down, hinge facing the handle so you can press it. Cook 60 to 90 seconds, then use the tongs to flip it. Add the cheese before the second side so it melts against the hot bread rather than sitting on top of a cold surface. Press gently with a spatula for the last 30 seconds on each side to catch the hinge and the crust.
Two or three rounds, 60 to 90 seconds each, and you are done. Watch the edges more than the middle; the hinge and the cut ends are where scorching happens first. If the pan is too hot, move it off the burner for 20 seconds rather than turning the heat down, since a cast iron pan holds its temperature longer than you expect.
For a sub with wet toppings, toast it closed and add tomato, lettuce, and pickles after it comes off the heat. That keeps the bread crunchy for the whole sandwich instead of for the first bite.
How to Toast a Sub at Home Without a Commercial Oven With the Broiler
Yes, a home broiler can toast a sub, and it is the closest thing to a restaurant conveyor. Set the oven to broil and let the element preheat for about 5 minutes with the door closed.
Put the closed sub cut side up on a wire rack set over a rimmed baking sheet, positioned 6 to 8 inches from the element. Rack height is the dial: too close and the top bun blackens before the cheese melts, too far and nothing browns.
Broil for 1 to 2 minutes, rotate the sub with tongs, and check the cut face. Most subs need one to three passes. This is the fastest method and the least forgiving one, so stay in the kitchen and pull it the moment the edges go deep gold rather than waiting for the whole face to brown.
Broiling works well as a finish rather than a whole method too. Bake the sub at 350F for 10 to 15 minutes until the cheese is soft, then broil for 60 to 90 seconds to crisp the top. That two-stage approach is harder to burn and easier to repeat.
How to Toast a Sub at Home Without a Commercial Oven With a Toaster Oven
A toaster oven is the most forgiving option because the heat surrounds the sandwich instead of blasting it from above. Set it to 375F with the rack in the middle position, not the top or bottom slot.
Lay a small baking sheet or a sheet of parchment on the rack and set the sub on it cut side up. Sandwich cheese over most of the meat but leave a strip of bread exposed; cheese that hangs off the edge burns before the roll browns, and a wet cheese blanket traps steam that softens the crust.
Toast for 4 to 6 minutes. Rotate at the 3-minute mark for even color, and if the roll is pale, give it another minute rather than raising the temperature, since a hotter toaster oven dries the crumb before the crust colors. Take it out when the cut face is golden brown and the cheese has just started to blister.
Open-faced subs toast faster than closed ones. Cut the sub, lay the two halves cut side up with the toppings on the bottom piece, and drop the time to 3 or 4 minutes.
Common Mistakes
Most disappointing subs come down to one of six problems, and all of them are fixable in the current batch rather than the next one.
| Problem | Why it happens | Fix |
|---|---|---|
| Bread goes soggy in the middle | Wet toppings or sauce went on before toasting | Pre-toast the roll and add wet toppings at the very end |
| Cheese soaks through the roll | Long, high-heat cook with cheese against damp meat | Toast 1-2 minutes shorter and add cheese for the last minute only |
| One side blackens, the other stays pale | Heat too high, or the sub never moved | Drop to medium-low and rotate every 60-90 seconds |
| Filling falls out | The roll was cut all the way through, or it was overstuffed | Hinge cut and fold the meat loosely instead of piling it |
| Cheese will not melt | Cold filling added straight from the fridge | Let the meat sit at room temperature 10 minutes, toast longer, or shred the cheese |
| Steamy, chewy bread | The sandwich was wrapped in foil or covered in a pan | Toast uncovered on a rack, never sealed |
A few habits do more than any single trick. Never wrap the sub in foil before toasting; the trapped steam softens the crust and steams the cheese into a rubbery sheet. Toast the bread bare, then spread the butter, then fill.
To reproduce restaurant-style results at home, keep the meat thin, butter the cut face lightly rather than heavily, and give it a short flash of heat. The same three things come up every time in sandwich forums and cooking threads: thin deli meat, minimal butter, fast heat, wet toppings last.
To feed a group without a conveyor, work in batches. A skillet holds one sub comfortably and two if the pan is large and the subs are small, set on a low burner to hold while you cook. In the oven, lay four subs on one rimmed sheet pan with 2 inches between them, and rotate the pan halfway through, since the edges of a home oven brown first.
A sub built a day ago needs a different plan than a fresh one. Skip the pre-toast for a day-old sub, since it is already dry enough, cut it open, and warm it cut side up for 3 to 4 minutes so the bread crisps instead of drying out. For food safety, reheat cooked meat to an internal temperature of 165F and use a thermometer in the thickest part.
Finally, do not add sauce for dipping until the sandwich is on the plate. Oil and vinegar served alongside are the easy fix for a sub that would have gone soggy with mayo on top.
Frequently Asked Questions
What is the easiest way to toast a sub without a commercial oven?
A preheated skillet on medium-low heat. Toast the closed sub cut side down for 60 to 90 seconds, flip with tongs, and repeat for two or three rounds until the cut face is golden and the cheese has melted. It needs one pan, no oven, and about six minutes of your attention.
Can I toast a sub in a toaster oven?
Yes, and it is the most forgiving method because heat surrounds the sandwich. Set the toaster oven to 375F with the rack in the middle, set the sub on a small baking sheet cut side up, and toast 4 to 6 minutes, rotating at the 3-minute mark. Add wet toppings after it comes out.
Should I toast a sub before adding cheese?
Toast the roll before anything goes in, then add cheese for the last 1 to 2 minutes. That empty pre-toast is what keeps the crumb soft and the crust firm once the filling is added. Adding cheese and toppings to raw bread puts moisture against un-set bread, which is where soggy subs come from.
How long does it take to toast a sub in a skillet?
Plan on 60 to 90 seconds per side, so three rounds is about six minutes total. Medium-low heat is right, since a hot pan burns the hinge and the cut ends before the center warms. Rotate every round and press the sandwich gently for the last 30 seconds on each side.
Can I use an oven broiler for a frozen sub?
Broil only after the sandwich is fully thawed and assembled. A frozen sub goes straight under the broiler with cold spots in the filling, and the outside burns long before the center heats through. Thaw it in the fridge, pre-toast the roll at 350F for 5 minutes, then broil for 1 to 2 minutes.
How do I keep a toasted sub from getting soggy?
Toast the roll bare first, add wet toppings last, and serve dipping sauce on the side. Also skip foil and any cover, since trapped steam softens the crust. If you must assemble ahead, keep the halves separate in the fridge and toast just before serving.
Start with the skillet if you have one, because it is the fastest way to learn what a properly toasted sub should feel like. Toast the empty roll cut side down, fill it thin, keep the heat at medium-low, and add tomato, lettuce, and sauce only once the sandwich is out of the pan. That sequence works the same way whether you are using a skillet, a broiler, or a toaster oven, and it gets you the restaurant crunch on a modest budget of time and equipment.