
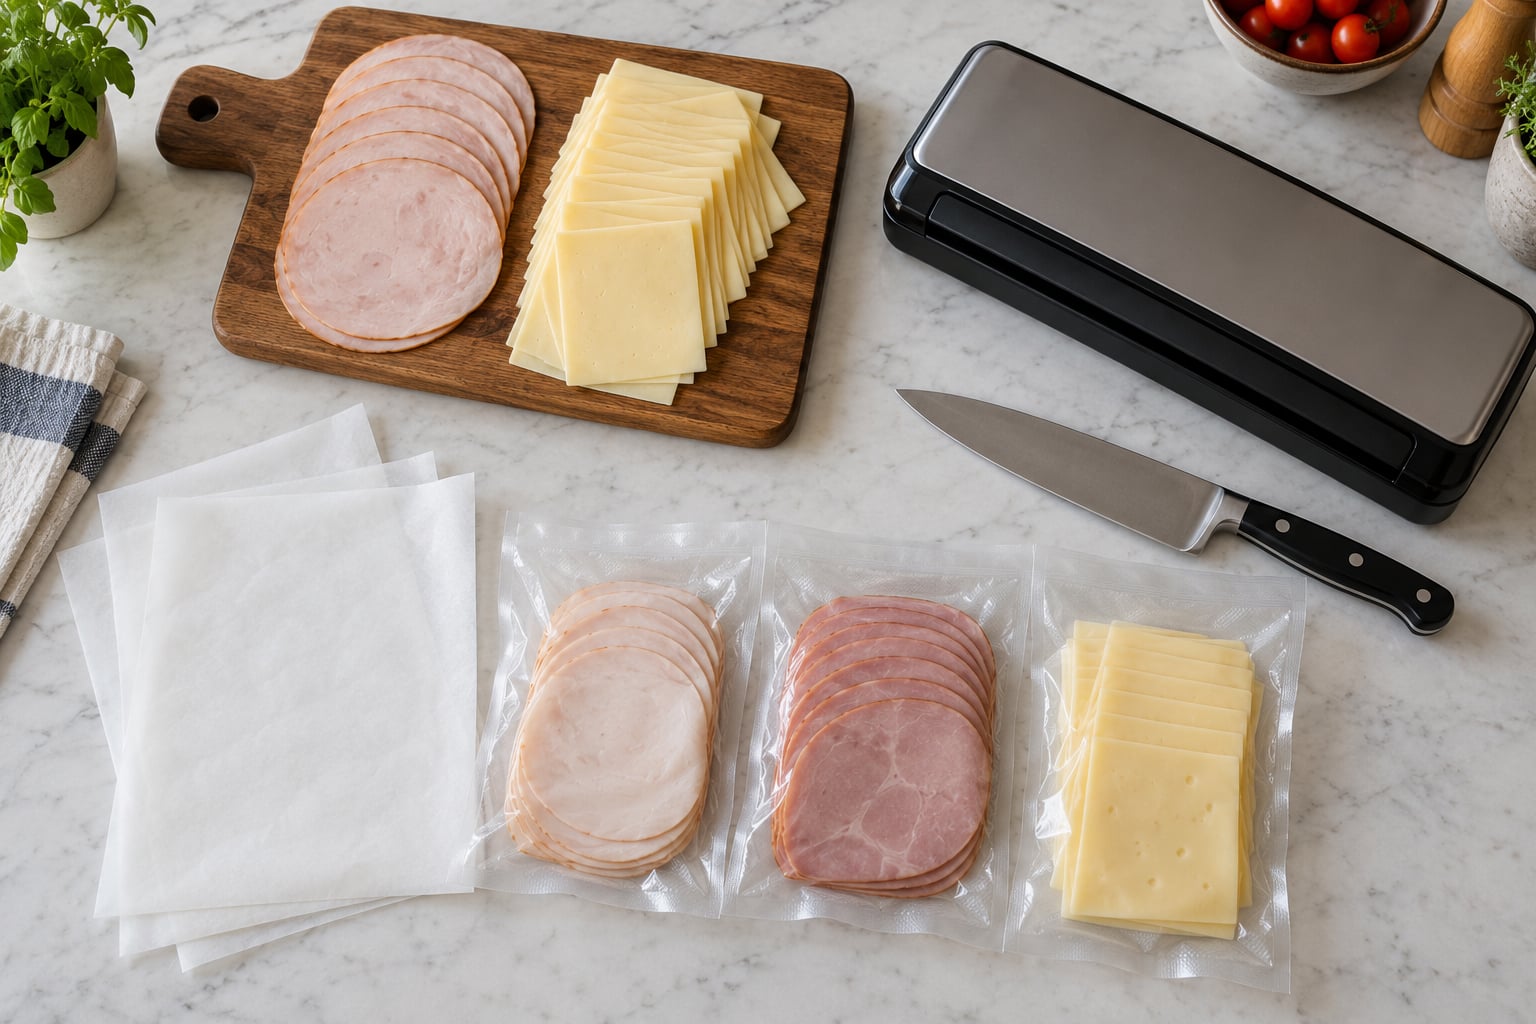
To freeze lunch meat and cheese properly, cool refrigerated ingredients completely, split them into single-meal portions, separate the layers with parchment or deli paper, press out the air, seal each portion airtight, label it with the date, and lay it flat in the freezer until solid. The whole job takes about 15 minutes and it turns an opened package of cold cuts that would last three to five days into sandwich fillers you can pull out months later.
That three-to-five-day window is the reason most people give up. You open a package of turkey, use four slices, and the rest goes sideways before you finish the block of cheese that goes with it. Freezing is the answer, and it is a simple one once you stop treating it like a science project.
Whole cured meats like salami, pepperoni and ham behave better than emulsified cold cuts such as bologna or turkey breast, because the fat and salt already in them protect the texture. Cheese splits into two camps: hard and semi-hard cheeses freeze well enough to slice and melt, while soft, fresh and cream cheeses mostly come back as something else. Getting those two facts straight saves you from disappointment later.
Table of Contents
What You Need
You do not need much, and most of it is already in the kitchen.
- A sharp chef’s knife and a clean cutting board, ideally one that does not absorb odors
- Parchment paper, wax paper or deli paper for separating slices
- Freezer bags in gallon or quart size, or rigid airtight freezer containers
- A permanent marker for labeling contents and date
- A vacuum sealer if you own one, though it is optional
- Paper towels for patting surface moisture off meat and cheese before wrapping
- An ice bath or refrigerator for thawing, plus a meat thermometer
Skip the shallow drip trays. They freeze beautifully and then get stacked on top of everything else in the drawer, where they crush and leak.
Step-by-Step
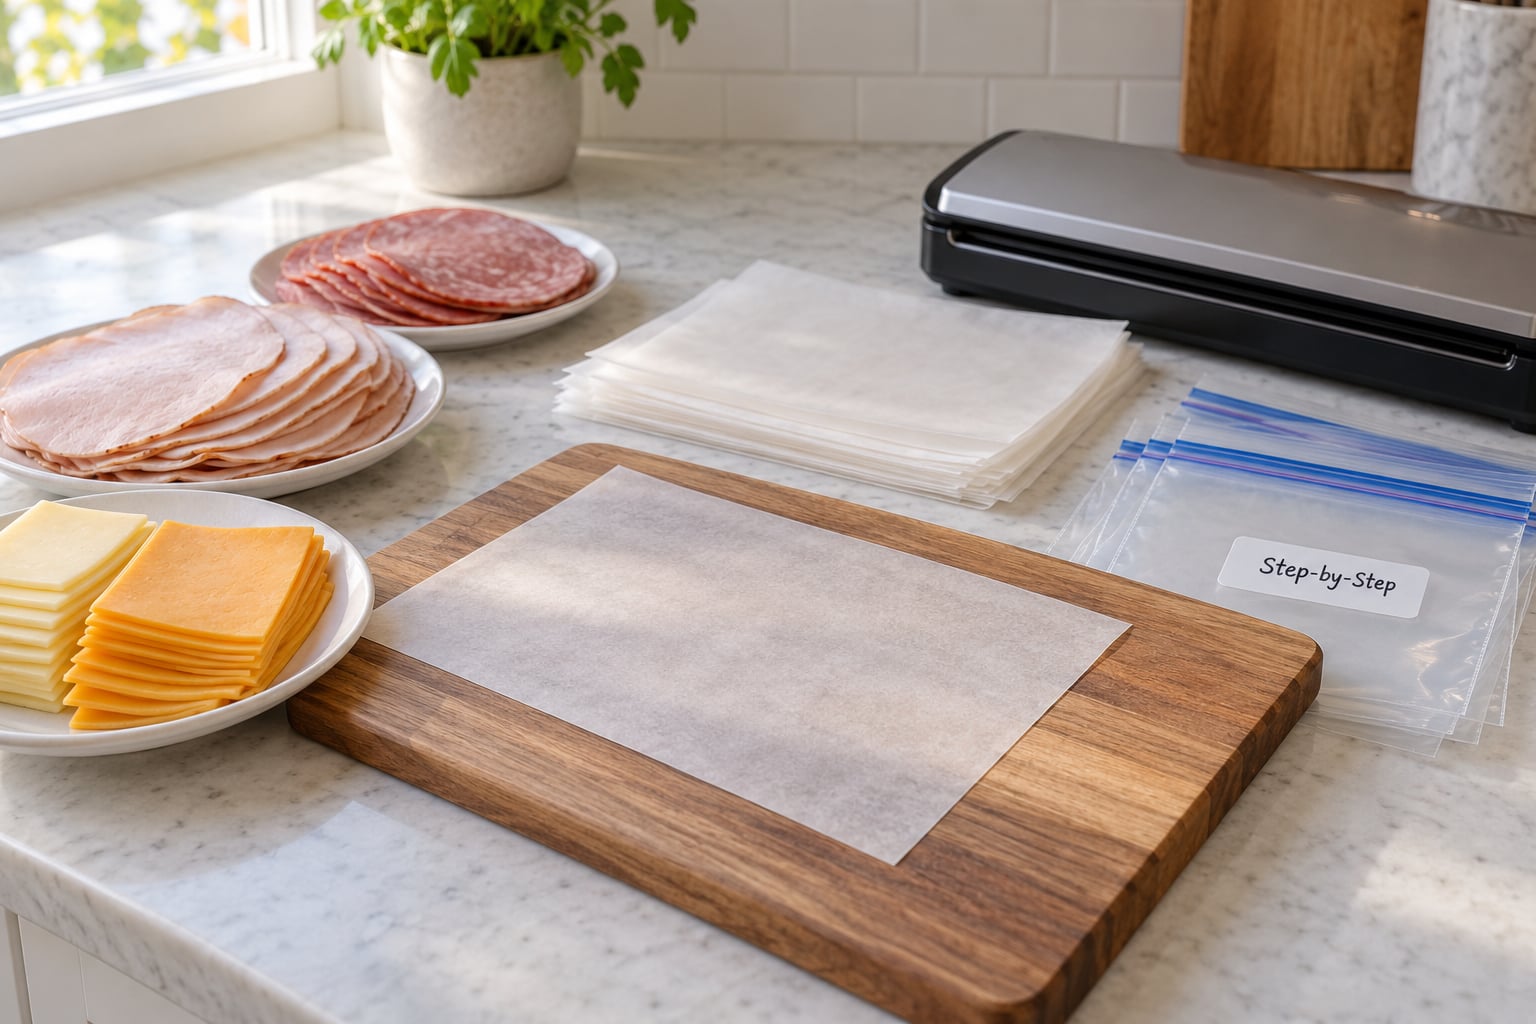
How to Freeze Lunch Meat and Cheese Properly
Start by checking both ingredients before anything else. Discard deli meat that smells sour, feels slimy or has already exceeded its use-by date, and cut away any cheese with mold. Freezing slows spoilage; it does not reverse it, so freezing questionable food just locks in the question.
Then work through these steps.
- Cool and dry the ingredients. Meat and cheese must come straight from the refrigerator, never straight from a warm counter. Pat slices dry with a paper towel, because surface moisture turns to ice and dries the meat out faster.
- Portion for real meals. Count the servings you will actually eat. For a standard sandwich, two slices of meat and two slices of cheese is the usual unit. Portions that match a meal thaw and get used; oversized blocks get forgotten until they are freezer-burned.
- Separate every layer. Lay slices in a single row rather than a stack, or slip parchment or deli paper between them. Without a barrier, cheese slices fuse into one sheet and the whole portion tears when you pull it apart.
- Remove the air. Seal the bag and press it down until you see the meat and cheese through the plastic with no cloudy gap. Air is what forms ice crystals and pulls moisture out of the food.
- Seal and label. Squeeze the bag shut along the top, or press the lid onto a rigid container. Write the contents, the portion count and the freeze date on the bag with a permanent marker.
- Freeze flat in a single layer. Lay bags on a baking sheet or the floor of the freezer and leave them until solid, usually two to four hours. Once firm, stack them into a basket and file the oldest basket in front.
That last step is where most impatience shows up. Stacking warm bags into the freezer is fine if you leave room around them for air to circulate, and it saves drawer space later.
If you want the airtight seal but not the extra expense, a double-bagged portion works nearly as well: put the wrapped portion in one freezer bag, then put that bag inside a second one and seal both. Two layers of plastic noticeably slow freezer burn. I also like the reference on vacuum sealers for deli meat and cheese when you plan to do this in volume.
Wrap method comparison
| Method | Best for | Watch out for |
|---|---|---|
| Plastic wrap pressed flat | Deli meat you will thaw one serving at a time | Punctures easily on sharp cheese edges or protruding corners |
| Heavy-duty aluminum foil | Blocks of hard cheese, strong odors, long holds | Bulky in a full freezer, and you cannot reseal it once opened |
| Single freezer bag | Everyday sandwich portions | Only as good as the seal you press out |
| Double-bagged freezer bag | Opened packages and heavily seasoned meats | More effort per portion, takes up drawer space |
| Vacuum sealer | Bulk portions and repeated use of the same cut | Do not vacuum seal grated or shredded cheese, which comes out as one solid clump |
For most homes, a doubled freezer bag with the air pressed out is the sweet spot. That is also what people on Reddit’s r/Frugal thread about buying in bulk and freezing keep recommending: the bag plus squeezing the air out consistently beats the fancy option.
Choose the Right Storage Time
USDA guidance says food kept continuously frozen at 0 degrees F stays safe indefinitely. That is a safety statement, not a quality one, and it is where a lot of the confusion online comes from. For sandwich ingredients you want the best-quality window, because texture fades long before the safety limit.
| Food | Opened, in the fridge | Frozen, best quality | Frozen, safe |
|---|---|---|---|
| Luncheon meat and cold cuts | 3 to 5 days | 1 to 2 months | Indefinitely at 0F |
| Hard cheese such as cheddar, Swiss, Parmesan | 3 to 4 weeks | 3 to 4 months | Indefinitely at 0F |
| Semi-hard cheese such as Havarti, provolone, Gouda | 3 to 4 weeks | 2 to 3 months | Indefinitely at 0F |
| Shredded or grated cheese | 3 to 4 weeks | 3 to 4 months, bagged in serving amounts | Indefinitely at 0F |
| Processed American-style slices | 3 to 4 weeks | 3 to 4 months, may grain slightly | Indefinitely at 0F |
| Soft cheese such as brie, camembert, goat | 3 to 4 weeks | Not recommended, texture turns grainy and watery | Indefinitely at 0F |
| Cream cheese and cottage cheese | 3 to 4 weeks | Not recommended, separates and goes grainy | Indefinitely at 0F |
Two rules of thumb cover most cases. If a portion is heavily seasoned, very soft, or was already close to its use-by date when you froze it, cut the recommended window roughly in half, because quality drops faster as the food gets closer to spoilage. And whenever a recipe calls for a specific cheese texture, add fresh cheese after thawing instead of relying on a frozen portion.
Thaw Lunch Meat and Cheese Safely
Thaw sealed portions in the refrigerator overnight for planned meals. Keep them in the packaging so they stay protected, and put them on a plate or in a bowl to catch any drip. This is the only method that keeps the food safely cold the entire time it is defrosting.
For a same-day need, sealed in leakproof packaging, cold water works at roughly 30 minutes per pound, with the water changed every half hour. Thawing deli meat on the counter is not safe even for a couple of hours, because the outer layer enters the bacterial growth range long before the center softens.
A frozen sandwich or cheese portion can also come out in a lunchbox or cooler with a frozen pack sitting against it. While you are shopping for that kind of setup, our ice packs that keep lunch boxes cold guide covers which packs hold temperature longest, which matters more than the thaw itself.
Once thawed, use lunch meat within three to four days in the refrigerator, and do not refreeze a portion that sat above 40 degrees for more than two hours. FoodSafety.gov notes that food thawed in the refrigerator can be refrozen without cooking, though each cycle costs texture and moisture. So one thaw, one use is the plan.
Afterwards, tell harmless ice damage from real spoilage. Freezer burn shows up as dry, papery, pale patches or a light icy crust, sometimes with a flat or stale taste, and it is a quality issue rather than a safety one. Spoilage shows up as a sour or off smell, a slimy or sticky surface, dark discoloration or fuzzy mold. If it smells wrong, toss it. Ice crystals alone are not a reason to throw anything away.
Freeze Lunch Meat and Cheese for Sandwiches
Portion by the meal you build, not by the package. For a standard sandwich, two slices of meat plus two slices of cheese is one unit. Wraps usually take three to four slices of meat, and snack boxes work best with one slice of each per box so nothing sits thawed overnight.
Separate meat and cheese into different bags when your routine calls for it. If you pack lunches at night and eat them the next afternoon, thawing happens in the cooler either way. If some sandwiches are turkey and others are ham, mixed bags force you to open two packages to build one lunch, and then you thaw twice what you needed.
For assembled sandwiches, the more common complaint is soggy bread, and the fix is structural. Wrap each sandwich tightly in plastic first, then foil, and freeze it within a couple of hours. Day-old or lightly dried bread holds up better than fresh bakery bread, which freezes wet. Add mayonnaise and other spreads before freezing, but keep the spread directly between the meat and the cheese so it forms a moisture barrier instead of soaking the bread.
Lettuce, tomato, cucumber, pickles and anything crisp wait until after thawing. They turn to mush and water the bread exactly the way you were trying to avoid. Some meal preppers in r/MealPrepSunday press their sandwiches on a panini press before freezing and report better flavor and fewer moisture problems; others freeze raw. Either works, and pressing ahead of time is worth trying if your bread tends to get soft.
Common Mistakes
Freezing food that is not already cold. Warm portions freeze slowly at the center and drop the temperature around them. Cool everything fully in the refrigerator first.
Wrapping loosely. Any trapped air becomes ice, and ice is what steals moisture. Press bags down until the food fills the shape of the bag, and double-bag when you can.
Labeling without dates. Content alone tells you nothing about order. Write the date, keep a basket for new freezes and pull from the front of the line every time.
Stacking bags before they are firm. Warm bags pressed into a pile leave flat spots and weld slices together. Give them two to four hours on a flat surface, or space them out.
Thawing on the counter. The outside of a package warms long before the inside softens, and that window is where bacteria multiply. Refrigerator overnight or cold water, never the counter.
Refreezing repeatedly. Every freeze-thaw cycle costs moisture, and sandwich ingredients have little to spare. Freeze it once, portion it right the first time.
Trusting the bag alone. A freezer bag slows freezer burn, it does not stop it. Squeeze hard, seal along the full width, and keep the freezer at 0 degrees or below.
One more that is specific to cheese: do not vacuum seal grated or shredded cheese. It comes out of the bag as a single fused block, and trapped air around it can support mold growth. A ThriftyFun user who freezes Havarti regularly keeps cheese frozen first and seals it after, which preserves the shape far better. If you are buying a sealer for this job, that is worth knowing before you grate a pound of cheddar.
Frequently Asked Questions
How long can lunch meat and cheese be frozen?
Luncheon meat keeps its best quality for 1 to 2 months frozen, and hard or semi-hard cheeses for 3 to 4 months. USDA guidance says both stay safe indefinitely when held continuously at 0 degrees F, but texture and flavor fade well before that point. For sandwich fillers, stay inside the quality window and you are fine. If a portion was already close to its use-by date when you froze it, cut that window in half.
Do I need a vacuum sealer to freeze lunch meat and cheese?
No. A doubled freezer bag with the air pressed out works nearly as well and costs far less. Vacuum sealing helps when you are freezing large blocks, buying deli meat in bulk, or storing portions longer than a couple of months, since it removes the last trace of air. One exception: never vacuum seal grated or shredded cheese, because it fuses into a solid block and trapped air can encourage mold.
Can I freeze deli-counter meat that I bought fresh?
Yes. Deli-counter meat is only a few days from purchase, so freezing it is the whole point, and it freezes better when it has never gone warm. Portion the slices you will not use within three to five days, separate them with deli paper, press the air out of a freezer bag and freeze flat. Fully cooked cured meats such as salami, pepperoni and ham hold their texture better than emulsified cold cuts like turkey or bologna.
How do I keep sliced cheese from sticking together when frozen?
Lay the slices in a single row instead of a stack, with parchment paper, wax paper or deli paper between each one. If you are freezing a whole portion, put one divider sheet between the top and bottom layers too. For shredded cheese, spread it thin in a bag so it freezes as a loose layer rather than a solid block, and skip the vacuum sealer, which turns it into a clump.
Can I refreeze lunch meat or cheese after thawing it?
Food thawed in the refrigerator can be refrozen without cooking, though each cycle costs moisture and texture, and sandwich fillings have little margin for that. Never refreeze food that was thawed on the counter, or that sat above 40 degrees for more than two hours. Plan on one thaw and one use, and thaw only what you need for the next day or two of lunches.
Conclusion
Start with the opened package that is closest to its date. Divide the cold meat and cheese into single-meal portions, separate the layers with deli paper, press the air out of a freezer bag, seal it, label it with today’s date and lay it flat until firm. Then keep a small basket at eye level and pull from the oldest portion first, thawing only what you will eat in the next day or two.