
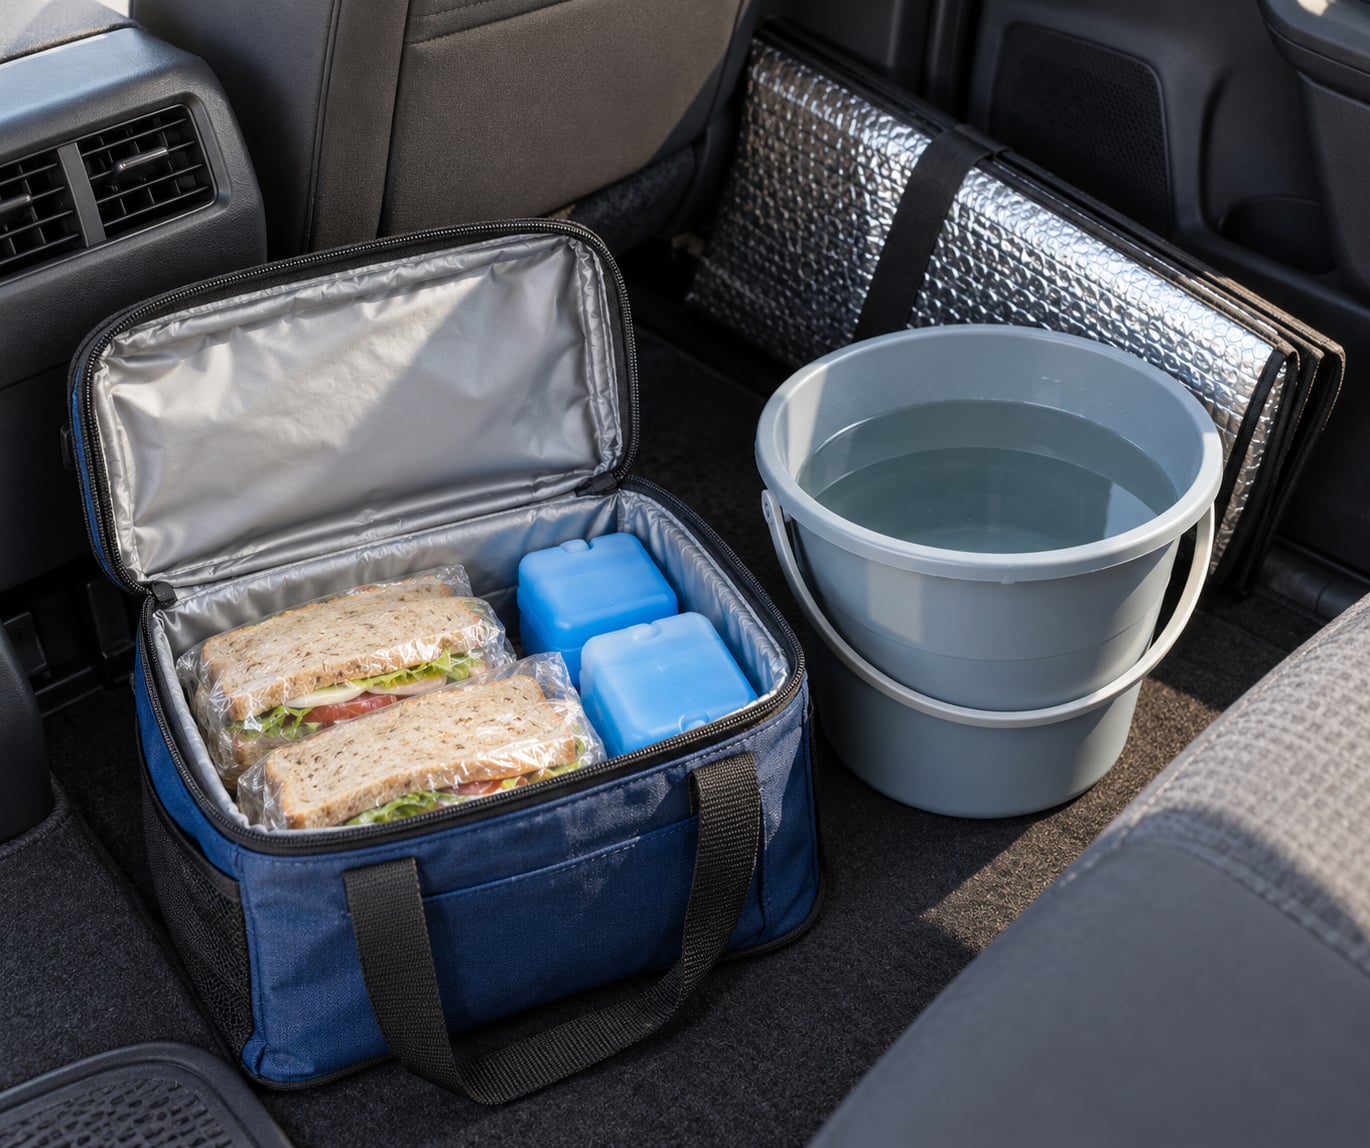
You cannot keep food truly cold on a road trip without a cooler, because cold does not last on its own. What you can do is slow the warming with three levers: a cold source, insulation around the food, and a cool place to store the bag. Get those three right and a well-packed insulated bag holds perishable food safely through most of a 6-hour drive. Here is the honest version of how to keep food cold on a road trip without a cooler, including where it falls short.
The safety numbers come from USDA guidance, so they are worth knowing before you pack anything. Perishable food belongs at 40°F or below, the danger zone runs from 40°F to 140°F, and unrefrigerated perishables should be thrown out after 2 hours, or after 1 hour when it is above 90°F outside. A parked car interior can climb past 130°F in full sun, which is why where you put the bag matters as much as what is inside it.
What You Need
The useful substitutes for a cooler are mostly things already in your kitchen or car. Gathering them takes ten minutes and it decides whether the trip works or not.
- A soft-sided insulated bag or tote. A lunch cooler bag, a reusable grocery bag, a pillowcase, or a clean bucket with a tight-fitting lid. The container matters less than the seal.
- Flexible ice packs or frozen water bottles. Reusable gel packs are tidy and reusable. Frozen water bottles fit tight spaces and turn into drinking water later, which forum travelers consistently call the best-kept secret.
- Block ice in a sealed bag. A frozen loaf-shaped block melts slower than loose cubes and keeps sandwiches out of meltwater. You can make one in a loaf tin or a flat aluminum tray.
- A food thermometer. A cheap instant-read stick probe is the only way to stop guessing. Without one you are just hoping.
- Two clean leakproof containers. Food-grade tubs, glass jars with tight lids, or sealed bags. Keeping food in its own sealed container is what stops meltwater turning a sandwich into a sponge.
- A dark towel or small reflective sun shade. Cheap, and it cuts the heat gain from direct sun.
What no improvised method can do is match a hard ice chest for hours of temperature control. An insulated bag with ice handles a single day. A 10-hour drive through the desert in July is a different problem, and pretending otherwise gets people sick.
If you are still assembling gear, our picks for the best ice packs for lunch boxes cover the cold sources, and which lunch boxes actually keep food cold all day covers the containers. Cold lunch ideas for road trips matters more than usual here, because the meals that travel best are the ones built around what you can keep cold.
Step-by-Step
Pre-Chill and Pack Food Safely
Chill food thoroughly before it leaves the house, because warm food melts ice faster. Put everything back in the refrigerator for the final few hours so nothing starts at room temperature.
Divide large portions into smaller containers. Heat moves faster through a small mass than a big one, so a sandwich box cools evenly and a whole casserole does not. Keep raw meat sealed and separate from anything ready to eat, and refrigerate anything you cook within two hours of finishing it.
How do you know this step worked? The food should come out of the fridge at or below 40°F, and your thermometer should say so.
Use an Insulated Bag With Flexible Ice Packs
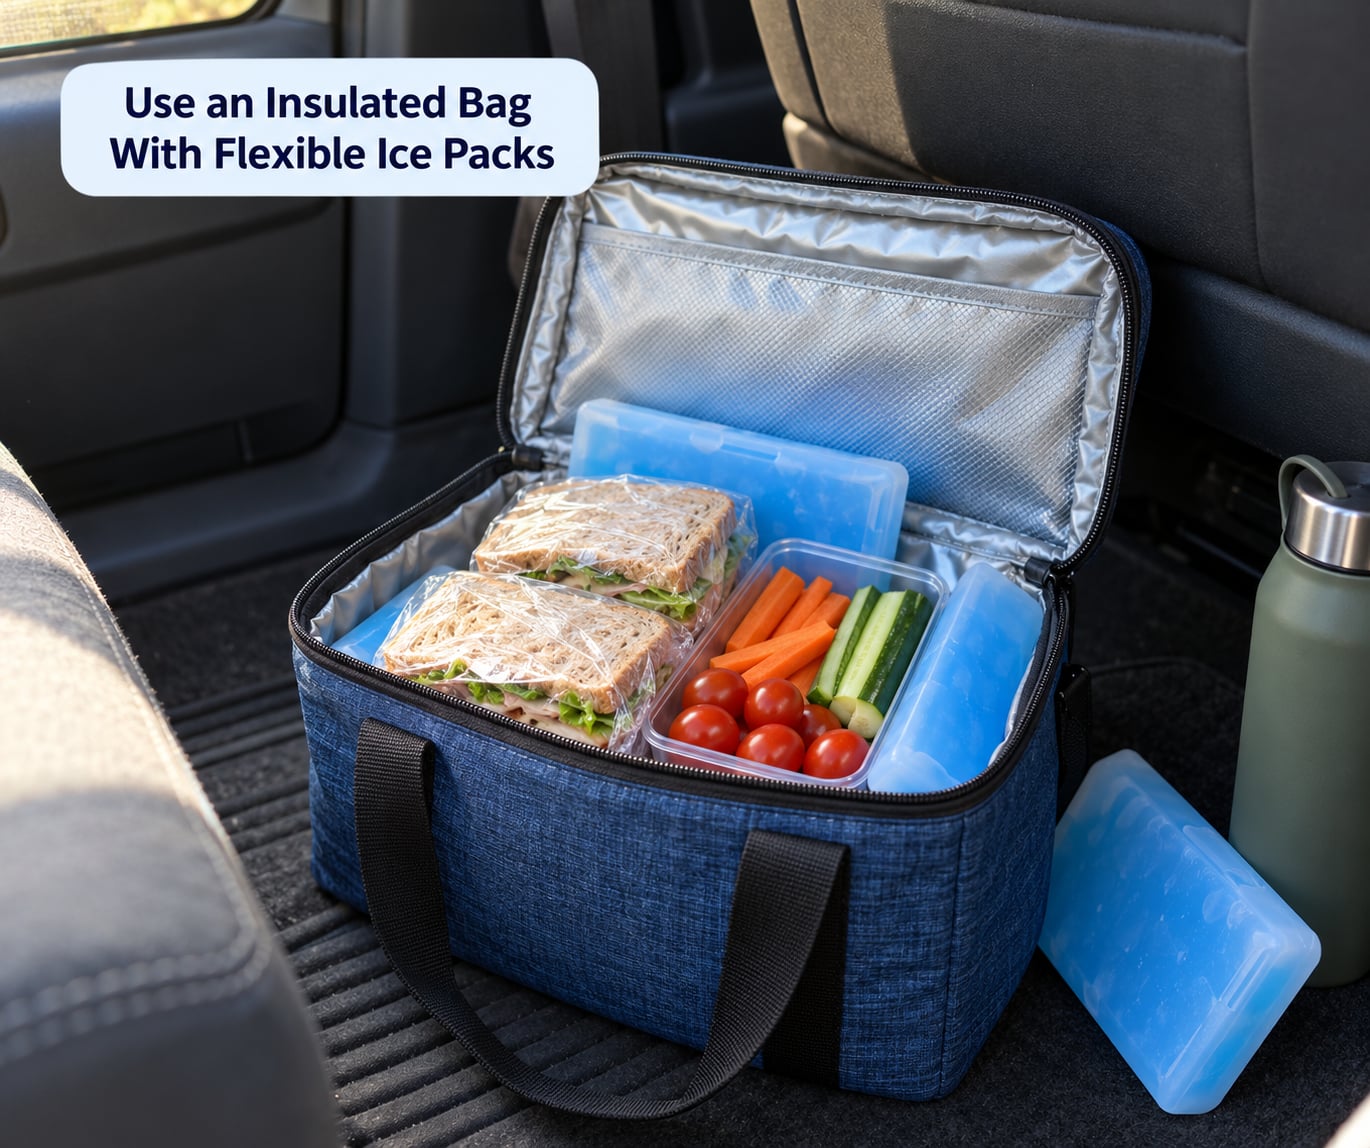
This is the workhorse method, and it is the one most people mean when they ask how to keep food cold on a road trip without a cooler. Freeze your gel packs or water bottles solid the night before. Put a layer beneath the food and another on top, because cold sinks and heat rises inside the bag as well as inside a room.
Fill the empty space. Air is a poor conductor, but a half-empty bag with a gap at the top lets warm cabin air circulate in every time you shut the lid. Nest the food tightly, then wedge in a rolled towel or a folded jacket.
Limit openings. Every lift of the lid resets the clock, so open it once, take everything you want for the next few hours, and close it again. It is the single habit that separates a bag that stays cold from one that does not.
The limitation is honest: a soft-sided bag with four or five ice packs holds food safely for roughly 4 to 8 hours in mild weather, and closer to 3 hours once the outside temperature passes 90°F. Check the internal temperature every couple of hours and you will know well before the food is in trouble.
How to Keep Food Cold on a Road Trip Without a Cooler
Every reliable improvisation combines four things: the coldest possible food, the most insulation you can find, as little air exposure as possible, and the shortest practical time outside refrigeration. Miss any one and the other three stop carrying you.
That last point is where most plans quietly fail. A driver who packs beautifully at 7am and then sits in a parking lot for three hours has used up most of the margin by noon. Build the food plan around the slowest part of your day, not the average one.
In real terms, expect a good insulated bag with a solid ice load to hold perishable food safely for about 6 hours in mild weather, roughly 3 to 4 hours above 90°F, and close to nothing beyond 10 hours without a cold source. Frozen, pre-made meals are useful here: a frozen pizza or a bag of frozen vegetables added to the bag works as cold mass that you also eat.
Create a Cold-Water Holding Station
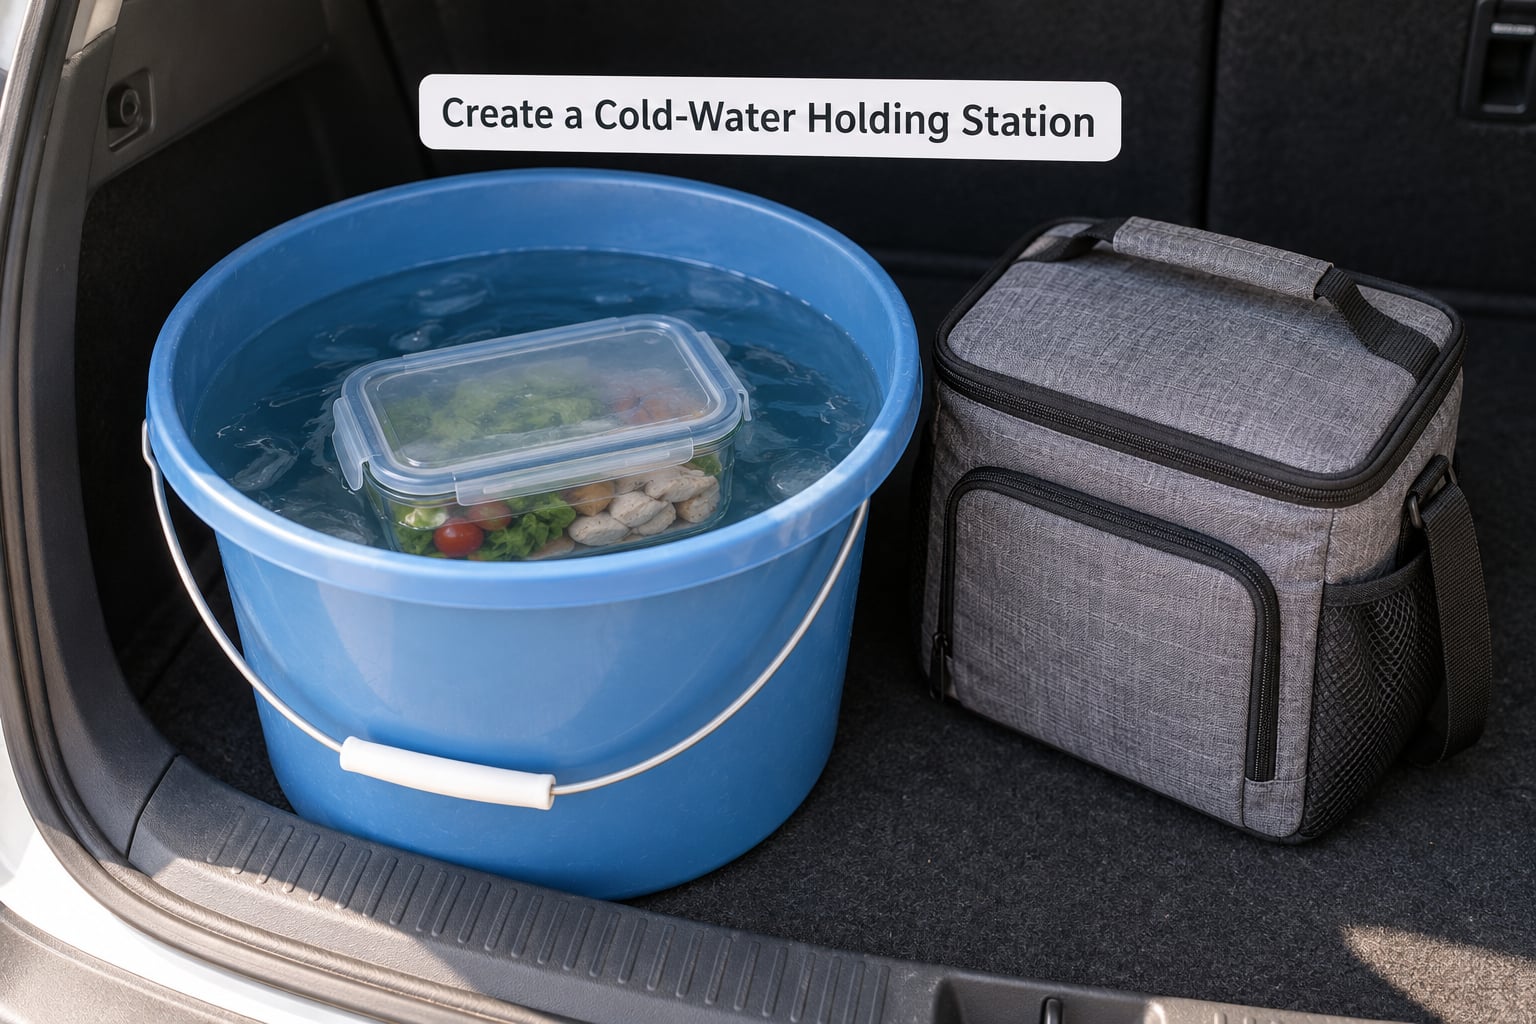
When a bag is not available or has lost its ice, cold water does the job. Put the sealed food container in a clean bucket, then fill the bucket with cold water until the food is submerged.
Water conducts heat far better than air, so submerged food cools faster than food sitting in a warm bag. Keep the container sealed to prevent cross-contamination and to stop the food absorbing water, and refresh the water when it turns tepid. Water from a rest stop tap or a bottle works fine.
Expect this to buy you a few hours, not a day. It is a genuine fallback rather than a substitute for ice.
Use Parking Shade and Air Conditioning Conservatively
Where the bag sits can be worth an hour of cold time. Put it on the passenger floor or under a seat rather than in the trunk, and cover it with a towel or shade if you are parked in open sun.
A parked trunk with no cooling can exceed 130°F, while the shaded cabin under a sun shade sits far lower. That difference decides whether hour five is still safe.
Running the air conditioning for a few minutes before you get back in helps you, not the food. It cools the cabin air your body is sitting in, and it does not chill a sealed bag to 40°F. Be clear about that distinction, because it is a common and expensive misunderstanding.
Check the Temperature and Change Your Plan
Measure rather than assume. Push the probe into the thickest part of the food, avoid touching the container wall, and take a reading every two hours or after every stop.
Food that still reads 40°F or below is fine. Food between 40°F and 140°F is in the danger zone, and the clock starts now. Perishable food that has sat in that range for more than 2 hours, or more than 1 hour above 90°F, gets discarded.
When in doubt, throw it out. A wasted sandwich costs less than a day of illness on a trip you cannot afford to shorten.
If you are also cooking, remember the minimum internal temperatures: 165°F for poultry, 160°F for ground meat, and 145°F for whole cuts and fish.
Common Mistakes
1. Packing food that is already warm. Room-temperature food entering the bag burns through the cold source in the first hour. Fix: chill everything until the moment you leave, and cool cooked dishes in shallow containers before sealing them.
2. Overfilling the insulated bag. A crammed bag has no room for ice, so the cold mass shrinks and heat moves through every gap. Fix: pack to about three-quarters full and use frozen food items as part of the ice load.
3. Leaving the bag in direct sun on the passenger seat. Sun through a window beats the ambient temperature by a wide margin, and the bag absorbs both. Fix: floor, under-seat, or trunk with a shade over it, never the dashboard.
4. Letting melted ice drain onto the food. Soggy bread and pooled water are the most complained-about problem on road trip forums. Fix: keep ice in sealed freezer bags or bottles, and put a layer of ice beneath the food rather than loose cubes on top.
5. Trusting a cold bag in extreme heat. A bag rated for a summer day does not cover a 100°F desert afternoon. Fix: shorten the outside time, move perishables into the cold-water bucket, or switch to shelf-stable food for the back half of the drive.
One last tip that costs nothing: buy your ice in a single large bag at a grocery store rather than paying for several small bags at fuel stops. It stays colder, and it solves the soggy-food problem at the same time.
Frequently Asked Questions
How long can food stay cold without a cooler?
With a good insulated bag and a solid ice load, perishable food stays safely cold for roughly 6 hours in mild weather and about 3 to 4 hours once the outside temperature passes 90F. Without any cold source at all, you are relying on food that started frozen. USDA guidance says discard perishable food left between 40F and 140F for more than 2 hours, or 1 hour above 90F.
Can I keep food cold in a regular backpack or suitcase?
A regular backpack or suitcase will hold cold food for an hour or two, nowhere near a safe travel window, because neither one is insulated. A thick tote bag lined with a towel, packed with sealed ice, gets you several times further. If all you have is a backpack, use the frozen-food-as-cold-mass trick and keep the bag in the shade.
What is the best improvised substitute for a cooler?
The most useful substitute is a soft-sided insulated bag, tote, or pillowcase packed with frozen water bottles or reusable ice packs and closed as tightly as possible. Second best is a clean bucket with a tight lid, which holds ice well and survives a rougher trip than a bag. A hard-sided cooler is only needed when the drive runs past a full day.
Should I put ice on top of or underneath my food?
Put ice underneath and above the food if you have enough for both, since heat rises and cold sinks inside a packed bag just as it does in a room. Underneath matters most because it keeps the base of the bag cold. If you can only manage one layer, put it underneath and keep the bag closed as much as possible.
How do I know if road-trip food is still safe to eat?
Use a food thermometer rather than guessing. Perishable food at 40F or below is safe, and anything held between 40F and 140F for more than 2 hours, or 1 hour above 90F, should be discarded. Smell and appearance are unreliable indicators, so take the reading instead of taking a sniff and hoping.
What foods travel well without refrigeration?
Shelf-stable options include nut butter, jerky, dried fruit, roasted nuts, canned tuna and beans, whole apples, oranges, tortillas, crackers, hard cheese, and granola bars. Choose sandwiches with mayo, cut produce, soft cheese, or dairy-heavy fillings only when you have a cold source that will last the whole drive. Whole fruit survives a hot car far better than a prepped salad.
Conclusion
The first thing to do is pre-chill the food, then pack it in a well-insulated bag with frozen ice packs layered above and below it. Keep that bag closed, shaded, and on the passenger floor or under a seat, and check the temperature with a thermometer as the hours pass.
When the drive is long enough or hot enough that you cannot trust that margin, choose shelf-stable food instead of fighting it. Being honest about the limits is what makes the method work.