
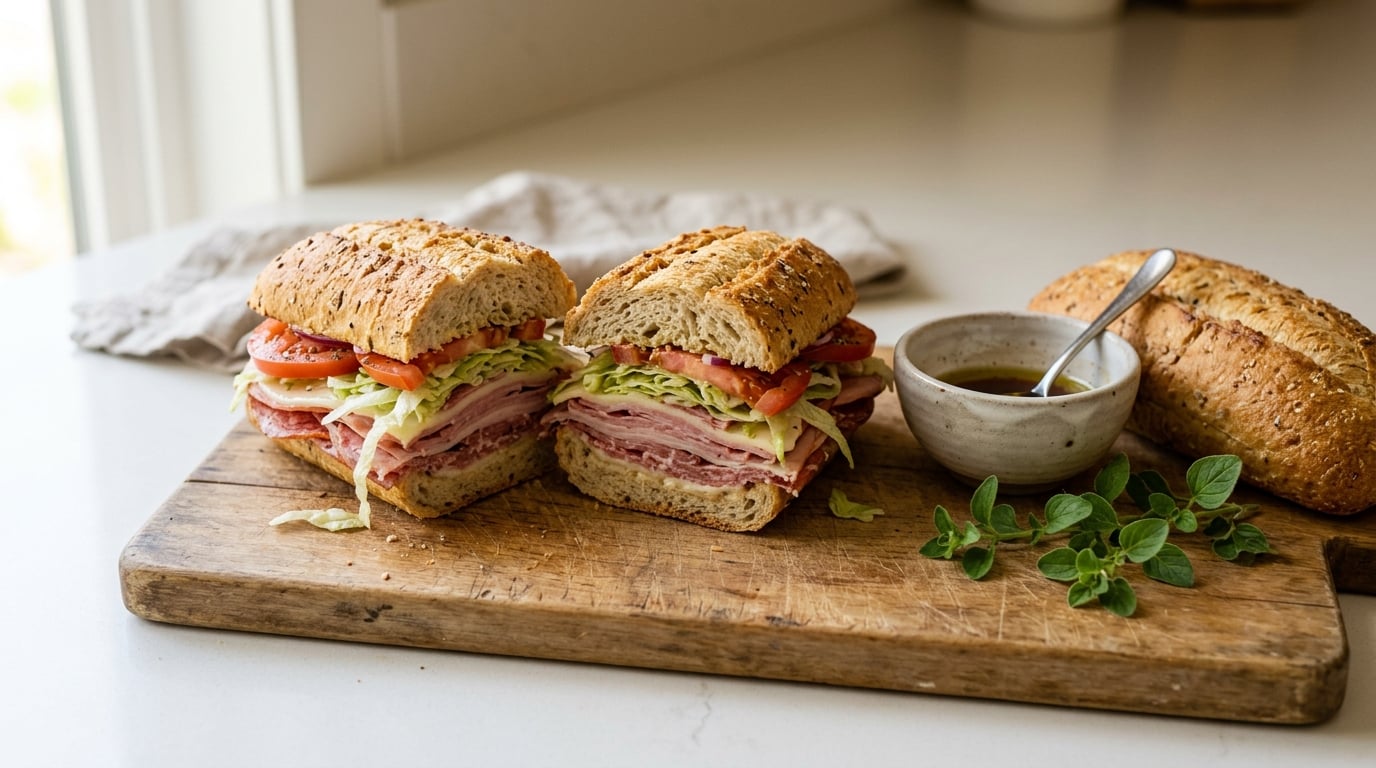
If you want to know how to make a sandwich taste like Jersey Mike’s, the recipe is not usually what is missing. It is the roll, the meat, and the fact that most home cooks reach for mayonnaise when a sandwich needs a measured drizzle of olive oil, red wine vinegar, and dried oregano instead. Fix those three things and a 20-minute sub starts tasting like it came off a real counter.
Chains do a few things consistently that nobody does at home. They bake their rolls in-store instead of finishing rolls that arrive par-baked, they slice meat and cheese to order rather than opening a plastic tray, and they finish every sandwich with the same measured seasoning, which is why a chain sub tastes the same on a Tuesday as it does on a Saturday. A home sub usually misses one of those three, sometimes all of them at once.
This is a method, not a copypat recipe. Once you follow it, you can swap the meats, the cheese, or the roll and still land somewhere close. Total time runs 20 to 30 minutes, and the only real difficulty is keeping the bread from going soft.
Table of Contents
- What You Need
- Step-by-Step: How to Make a Better-Tasting Sub
- 1. Choose a Sub Roll With Enough Structure
- 2. Season the Meat Instead of Just Slicing It
- 3. Add the Right Cheese for Contrast
- 4. Build Wet and Crunchy Ingredients in Layers
- 5. Use Finely Chopped Toppings and Pickled Vegetables
- 6. Finish With a Balanced Sauce
- 7. Press, Wrap, and Serve the Sub at the Right Moment
- Common Mistakes
- Frequently Asked Questions
What You Need
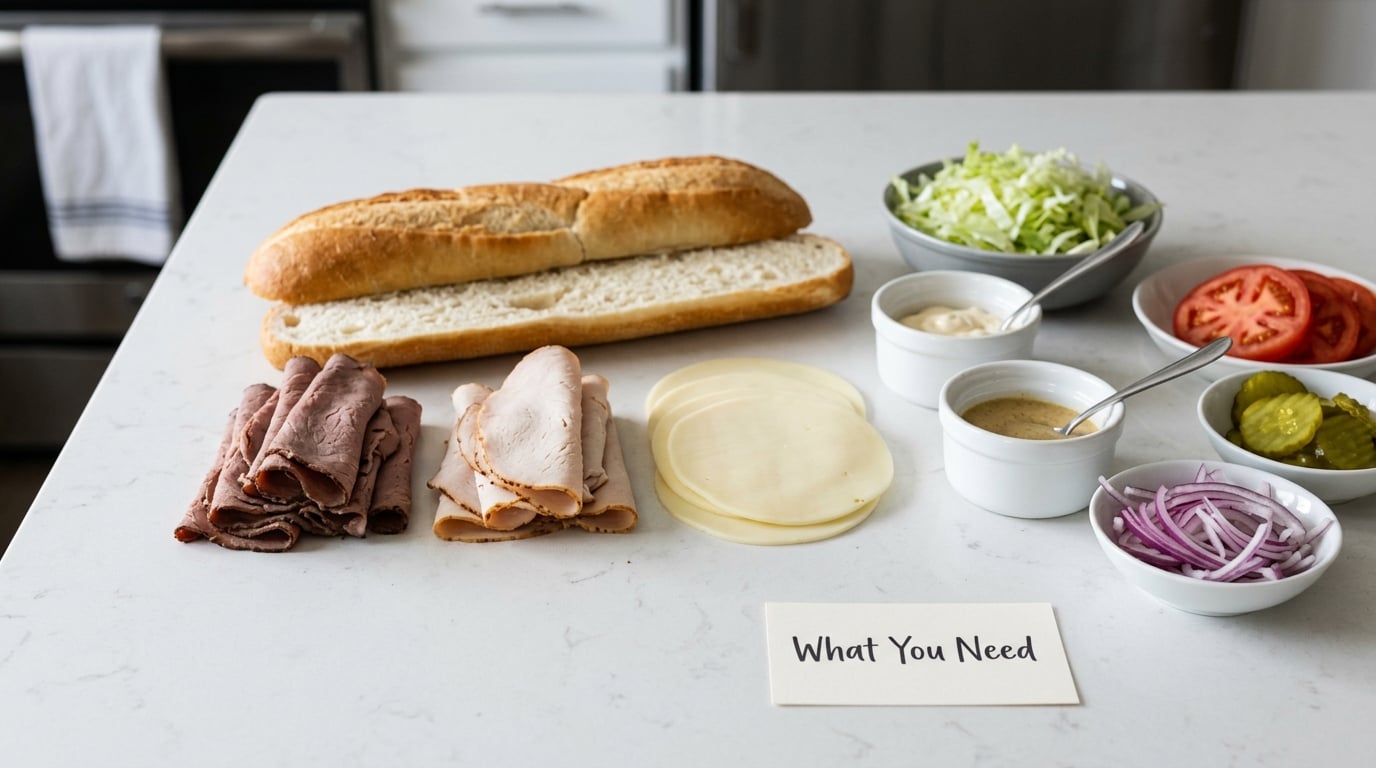
A deli sub is a balance of four textures: a sturdy shell, something salty and fatty, something sharp, and something crisp. Get those four in the right ratio and the rest is assembly.
Bread. A hoagie or sub roll that still has some structure, not the soft dinner rolls sold next to the hot dogs. Good candidates are a crusty Italian loaf cut lengthwise, a ciabatta split and pressed, or a submarine roll. Sourdough works too, with a longer bake so the crumb firms up.
Meat. Counter-sliced is worth the detour. Ask the deli for a quarter inch off a roast beef, turkey, or ham that is pink rather than grey, or buy a whole deli roast and slice it yourself. Supermarket tray meat is the single biggest reason home subs taste flat, because it is waterlogged and pre-seasoned with nothing worth repeating.
Cheese. Provolone is the default because it is firm, salty, and does not turn to glue in a warm sandwich. Swiss gives a cleaner tang, aged cheddar gives sharpness, and low-moisture mozzarella gives a milder melt. One to two slices per sub is right.
Vegetables. Iceberg lettuce shredded fine, a ripe tomato sliced thin, red onion sliced paper-thin, and a small handful of pickled peppers or banana peppers. The pickles are not traditional everywhere, but the acidity is what keeps a meat-heavy sub from tasting heavy.
Sauce and seasoning. Extra virgin olive oil and red wine vinegar, dried oregano, kosher salt, cracked black pepper, and optional garlic powder, onion powder, or Dijon mustard. Mayonnaise belongs on some sandwiches, but it is a creamy component, not the flavor. For a mixed-herb jar oregano, use it generously and check the date, because old oregano tastes like dust.
Tools. A sharp serrated or straight knife, a paper towel for drying tomatoes, a sheet pan for toasting, and a small bowl for mixing the drizzle. If you make these often, a mandoline makes the onion slicing boringly consistent.
Step-by-Step: How to Make a Better-Tasting Sub
The order below runs about half an hour, and most of that is the oven. Read it once before you start.
1. Choose a Sub Roll With Enough Structure
If you want to know how to make a sandwich taste like Jersey Mike’s, the roll is where most people lose the flavor, because a soft roll compresses into a damp wad by the second bite and takes the crispness with it. Pick bread that resists a wet filling: a crusty roll, a hoagie, or a ciabatta that has gone stale enough to hold weight.
Cut it lengthwise and toast it before you fill it. Ten minutes at 200 degrees F with the cut side up dries the crumb all the way to the crust, or a couple minutes in a hot dry pan with a slick of olive oil, cut side down, gives you a crusted surface that resists moisture. You are not making toast. You are creating a barrier.
How to tell it worked: the cut face should look pale golden and slightly rigid, and the roll should still spring back when you press it gently. If it dents and stays dented, it is too soft for a wet sub.
2. Season the Meat Instead of Just Slicing It
Deli meat is salted, but it is not seasoned. That is the gap most people miss. Put your sliced meat in a bowl and add a pinch of kosher salt, cracked black pepper, a dusting of dried oregano, and a small shake of garlic powder and onion powder, then toss with your hands so every slice is covered.
Let it sit ten minutes. That rest lets the salt and the oil in the seasoning cling instead of sliding off at the first bite, and it does more for the sandwich than any sauce you add later. If you are cooking instead of using deli meat, season the meat before it hits the heat and pull poultry at 165 degrees F, ground meat at 160 degrees F, and whole cuts at 145 degrees F.
How to tell it worked: the meat should smell like something rather than like a cold bag, and the oregano should be visible as flecks without being a dusty coating.
3. Add the Right Cheese for Contrast
Cheese contributes salt, fat, and a texture that survives the oven or the pan. Provolone is the safe, sharp choice. Swiss adds a clean tang that cuts roast beef, aged cheddar adds bite that suits turkey, and American or low-moisture mozzarella melts if you want the sub pressed warm.
Use one to two slices per sub and place the cheese on the bread first, right under the meat. That puts the cheese where it will soften without sliding out, and it keeps the melting fat away from the lettuce. A sandwich with no cheese tastes lean and tiring after three bites no matter how good the meat is.
4. Build Wet and Crunchy Ingredients in Layers
Layer order decides whether the sub survives the walk to the table. Put the wet stuff where it can go straight onto the bread, and keep the crisp things above the meat, not under it.
- Cheese on the toasted cut face.
- Seasoned meat, folded or piled loosely rather than compressed.
- Red onion and any creamy element such as mayo or butter.
- Lettuce, shredded fine, as a barrier between the meat and anything juicy above it.
- Tomato and pickles on top, closest to the second slice of bread.
- The drizzle and the dry seasoning last, so nothing gets diluted or buried.
The lettuce barrier is the trick that keeps the bottom half of the roll dry. It is not about taste, it is about hydraulics.
5. Use Finely Chopped Toppings and Pickled Vegetables
Shredded lettuce and thin onion change the whole flavor profile, because they release their flavor into the first bite instead of sitting there as a whole leaf you have to chew around. Dice the onion and let it sit in cold water for five minutes if you want to take the raw edge off without losing the bite.
Slice the tomato as thin as you can manage, then blot it. Genuinely blot it, on a paper towel, pressing down until the towel marks. A tomato that has released its water onto the bread is the number one cause of a soggy bottom. Drain sliced pickles and hot peppers the same way, and a small spoonful of giardiniera or pickled jalapenos will cut through a turkey and provolone sub nicely.
6. Finish With a Balanced Sauce
Italian deli oil and vinegar is the finish most people skip, and it is the reason a chain sub tastes seasoned all the way through rather than only on top. The ratio is two parts extra virgin olive oil to one part red wine vinegar. For a usable batch, that is half a cup of oil to a quarter cup of vinegar, with a tablespoon and a half of dried oregano, a teaspoon each of garlic powder and onion powder, salt, pepper, and half a teaspoon of Dijon to help it emulsify. Shake it in a jar before every use.
Drizzle, do not pour. A normal sub wants about a tablespoon of the mixture, split between the top and the bread. A slim one takes a teaspoon. Mayo and mustard are creamy additions layered under the meat, roughly a thin spread, and mayonnaise alone will make a sub feel heavier without adding any of the acidity that makes the meat taste brighter.
How to tell it worked: the bread should look faintly glossy, not wet, and there should be no puddle in the bottom of the roll at the first bite.
7. Press, Wrap, and Serve the Sub at the Right Moment
Wrap the finished sub tightly in parchment or deli paper, not plastic, and let it rest for about ten minutes before cutting. The paper holds the shape, the steam works the bread back to soft-but-firm, and the layers stop sliding.
Then cut it in half with a serrated knife, sawing gently so you do not press the filling out of the sides. If you want the crust version, wrap first and warm it in a 350 degree F oven for eight minutes, which re-crisps the outside while the cheese inside goes soft. A short press under something heavy for a minute or two does the same job without heat.
Eat it within about 20 minutes of cutting if you can. Past that, the tomato and the drizzle have had time to migrate into the bread, and a wrap held in a lunchbox for four hours will be soft all the way through no matter what you did at assembly.
Common Mistakes
Most bad home subs come down to one of seven things, and each has a specific correction.
- Soggy bottom bread. You did not toast the roll, or you put wet vegetables directly on it. Toast the cut face and put shredded lettuce between the meat and the tomato.
- Bland, flat meat. Deli-counter meat is salted but not seasoned. Ten minutes in salt, pepper, and oregano before assembly fixes it.
- Everything tastes like mayo. A thick spread of mayo coats the palate and buries the meat. Use a thin layer, and add the oil and vinegar drizzle on top of it.
- The whole roll is greasy. You poured instead of drizzled. One tablespoon of the mixture per sub, and no more.
- It falls apart when you cut it. Overfilling and thin crustless-style rolls. Use a sturdy roll, pile the meat loosely, and saw rather than press with the knife.
- Each bite is not the same. The filling was dumped in one blob. Layer it so every section from end to end contains cheese, meat, and crunch.
- You skipped the rest. Cut and eat immediately and the layers have not set. Wrap it and give it ten minutes.
One more worth naming: cutting the sandwich with a chef’s knife. It compresses the roll and squeezes the filling out the ends. A serrated knife saws through the crust without pressing it flat.
Frequently Asked Questions
What makes a homemade sub taste more like a restaurant sandwich?
Three things, and all three have to be right: sturdy bread that was toasted before filling, meat that is seasoned rather than just salted, and a measured drizzle of olive oil and red wine vinegar with dried oregano. Chain subs also slice to order, which is a freshness advantage you can partially match by buying from a deli counter instead of a plastic tray.
Should I toast the bread before making a sub?
Yes, and the cut face should be pale golden rather than dark. Toasting dries the crumb and leaves a sealed surface that resists moisture from the tomato and the drizzle. Ten minutes at 200 degrees F works, or a couple of minutes in a hot dry pan with a little olive oil. You are building a barrier against sogginess, not making toast.
What is the best cheese for a roast beef sub?
Provolone is the classic answer because it is firm, salty, and holds its texture in a warm sandwich. Swiss is the better choice if you want a sharper, cleaner tang against the beef, and aged cheddar suits a turkey sub. Whatever you pick, one to two slices placed on the bread under the meat keeps the melting fat away from the lettuce.
How do I keep a sub from getting soggy?
Toast the bread, blot the tomato and pickles on a paper towel, and put a layer of finely shredded iceberg lettuce between the meat and anything wet. Keep the drizzle on top, use about a tablespoon rather than a pour, and do not wrap a sub until you are about to eat it. Wrapping traps steam, which softens the crust and pulls water toward the middle.
Can I make a Jersey Mike’s-style sub ahead of time?
Assemble the dry layers ahead: bread, cheese, seasoned meat, and onion, wrapped in deli paper and refrigerated for up to a day. Add the lettuce, tomato, pickles, and the oil and vinegar drizzle within about 30 minutes of eating. Storage times follow standard guidance: refrigerate deli meat at or below 40 degrees F and use it within three to five days, or freeze it for longer.
How long can a homemade sub safely be stored?
Refrigerate the finished sub at 40 degrees F or below and eat it within a day, though the bread will be softer than when you made it. Keep any sliced meat used in it refrigerated for three to five days or frozen. Do not leave a sub, or any meat, out at room temperature for more than two hours, or one hour in hot weather.
Start with the roll, because that is the one thing that changes the outcome in a single step. Toast it, blot the tomatoes, season the meat for ten minutes, and drizzle instead of pour. Do those four and the sandwich you build at home in half an hour tastes far closer to a counter sub than anything else on this list will get you.