
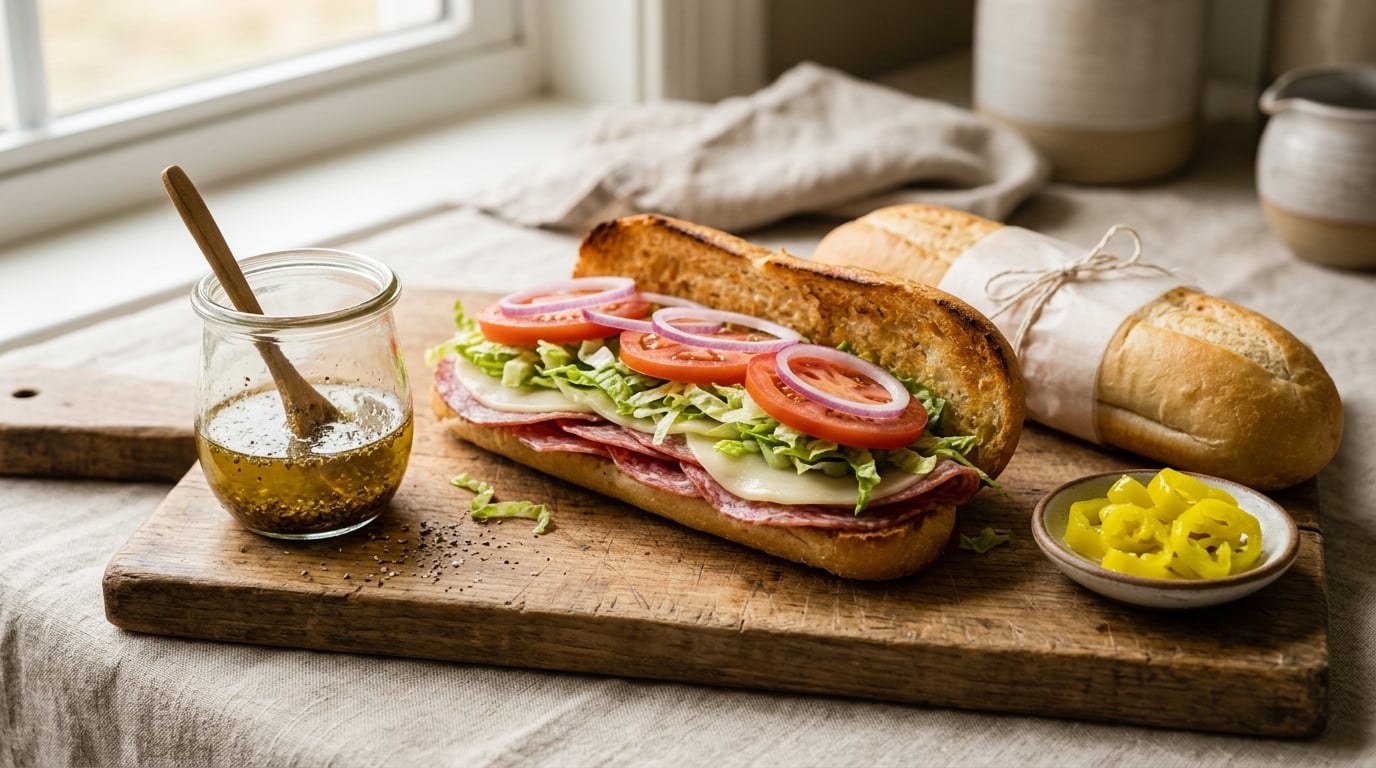
Sub shop oil and vinegar is a sharp, oregano-heavy vinaigrette that sandwich shops drizzle over cold cuts, and you can make it in five minutes with a jar and a whisk. The whole thing rests on one number: two parts oil to one part red wine vinegar, seasoned with dried oregano, salt, and cracked pepper. If you learn how to make sub shop-style oil and vinegar at home, the rest is just assembly.
A sub is not complicated food, but it fails in predictable ways. The bread goes soggy, the tomato leaks, the vinegar is sharp enough to make you wince, or the meat tastes like plain deli slices with a wet roll around them. All four problems trace back to technique, not ingredients.
What follows is a sandwich built the way a deli counter builds one: toast the roll first, mix the dressing second, prep the toppings third, and assemble it right before you cut it. Total time is about 20 minutes, and the difficulty is genuinely low.
Table of Contents
- What You Need for Sub Shop Oil and Vinegar
- Step-by-Step: Building the Sandwich
- Frequently Asked Questions
- What is the best vinegar for a sub shop-style oil and vinegar sandwich?
- Can I use apple cider vinegar instead of red wine vinegar?
- What oil works best for a sub shop-style oil and vinegar?
- What bread should I use for an oil and vinegar sub?
- How do I keep an oil and vinegar sub from getting soggy?
- Can I make an oil and vinegar sub ahead of time?
- Conclusion
What You Need for Sub Shop Oil and Vinegar
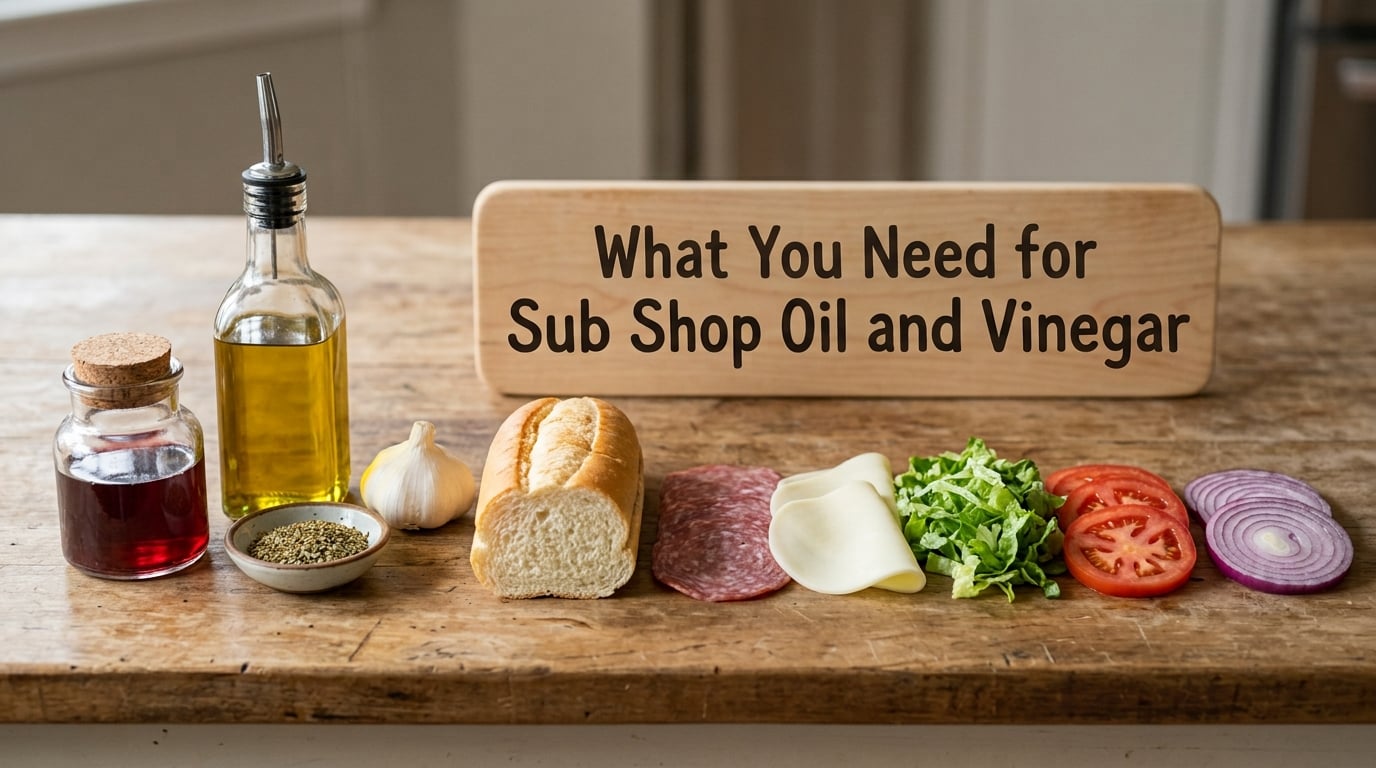
For one large sandwich, you need a sturdy roll, a vinegar, an oil, oregano, and something salty and something green. Everything else is a swap you can make later.
Bread: one 6- to 8-inch Italian or hoagie roll, or a sliced sub loaf. A sturdy roll matters more than an artisanal one. Thin, soft bread tears the moment you cut the sandwich and turns to mush under a wet dressing.
Vinegar: 3 tablespoons red wine vinegar. This is the standard and it is what a deli is chasing. White wine vinegar works and tastes cleaner, apple cider vinegar works and adds a little sweetness, and balsamic is too syrupy and too sugary to use alone.
Oil: 6 tablespoons olive oil for a 2:1 ratio. A peppery extra virgin olive oil works if you like that bite, but a light olive oil or an olive oil blend tastes closer to what the shops pour, because those are usually blends rather than expensive single-region oils.
Seasoning: 1 teaspoon dried oregano, 1/2 teaspoon garlic powder or one small grated garlic clove, 1/2 teaspoon kosher salt, and 1/4 teaspoon black pepper. Add a teaspoon of honey or a pinch of sugar if you like the edge rounded off.
Vegetables: 2 slices ripe tomato, 2 to 3 thin slices red onion, a small handful of shredded iceberg or romaine, and a few banana peppers.
Meat and cheese, optional: 4 to 6 ounces salami, capicola, ham, or turkey, plus 2 slices provolone. The sandwich works fine without either one, but cold cuts are what the dressing was designed for.
Tools: a sheet pan and oven or a pan toaster, a small jar or bowl with a lid, a whisk or fork, a knife, and tongs. A squeeze bottle is genuinely useful for assembly, but a spoon works fine.
The ratio is where recipes go wrong, mostly because online versions run from 1:1 to 3:1 with no explanation. Here is what the common styles actually look like, and where 2:1 sits among them.
- Classic deli, 2:1. Heavy oregano, kosher salt, and black pepper, nothing else in the jar. This is the everyday sub built on Italian cold cuts, and it is the version worth learning first.
- Big counter subs, 3:1. An olive oil blend, a teaspoon of salt, and light seasoning. The extra oil keeps a thick stack of salami and capicola from tasting sharp.
- Chain sub shops, 3:1. Dijon mustard, honey, garlic powder, and onion powder folded into the oil. A sweeter, creamier dressing that suits turkey and ham rather than cured meats.
- Yours, start at 2:1. Learn the middle, then move to 3:1 for salami-heavy subs or 1.5:1 for turkey and roasted vegetables once you know what you like.
Step-by-Step: Building the Sandwich
1. Toast the Sub Roll Until Crisp
Split the roll and toast both cut faces, not the crusts. Heat the oven to 400°F, lay the halves cut side up on a sheet pan, and give them 4 to 6 minutes. A pan toaster takes about the same and gets hotter on the edges.
You are looking for a very light golden color at the edges and a surface that resists a finger. Pull it while it still bends slightly. Toast bread that has gone rigid cracks when you fold it around the fillings, and bread that is barely warm turns to mush the moment the dressing lands on it.
2. Make the Oil and Vinegar Dressing
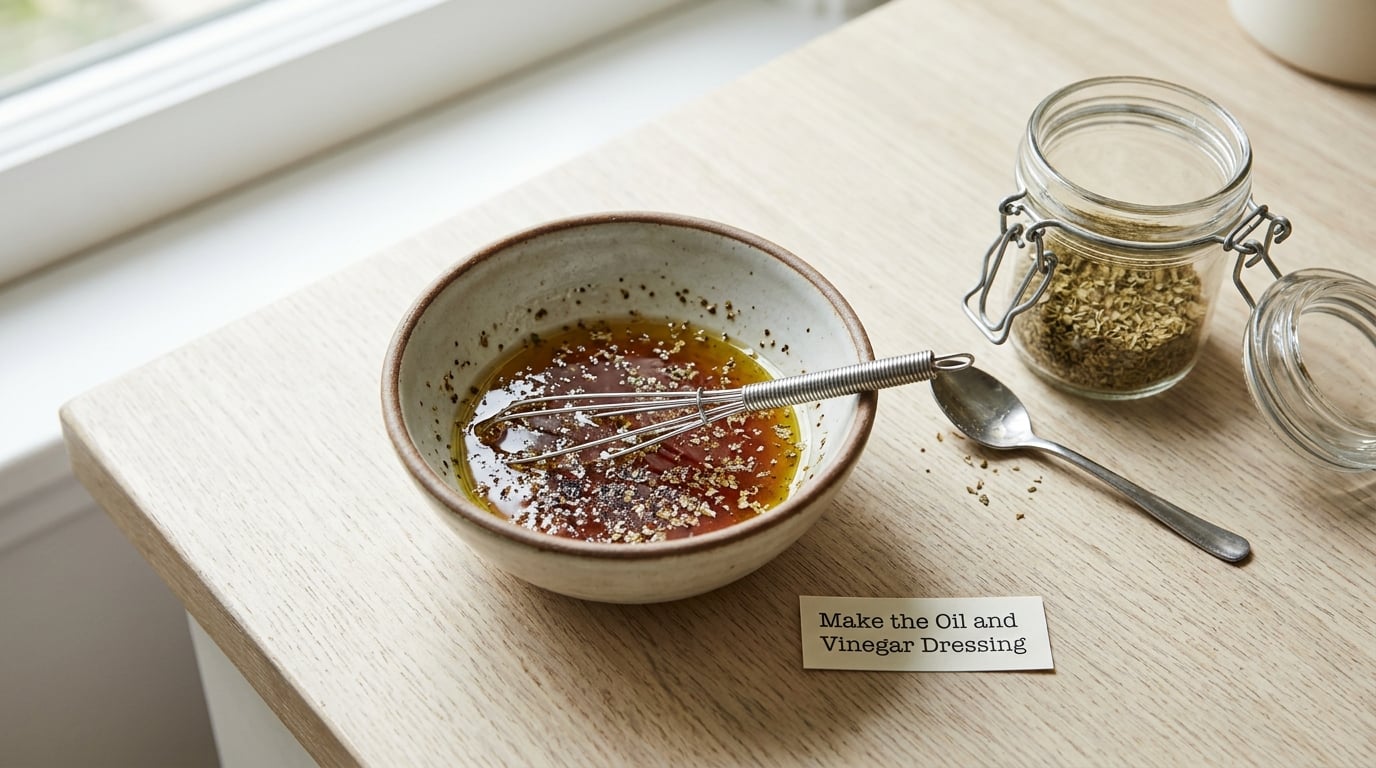
Put 3 tablespoons of red wine vinegar, 1 teaspoon of oregano, the garlic, 1/2 teaspoon salt, and 1/4 teaspoon pepper in a jar or bowl first. Whisk, then pour the 6 tablespoons of olive oil in a thin stream while whisking continuously. You are looking for a dressing that looks slightly cloudy and holds together on the spoon rather than one with a slick of oil floating on top.
Put the lid on and shake hard for 15 seconds. That is the emulsifying step. Oil and vinegar repel each other naturally, and shaking breaks the oil into tiny droplets that the vinegar suspends for a while. The result is smooth, fragrant, and tangy rather than oily and separated.
Let it sit for 15 to 30 minutes if you have time. Dried oregano needs liquid to rehydrate, and a short rest softens the raw edge of the garlic and rounds the whole dressing out.
3. Season the Vegetables
Slice the tomato thin and salt it in a bowl for 5 minutes, then pour off the water it releases. That step alone removes most of the sogginess people blame on the dressing. Slice the onion thin enough to see through, and shred the lettuce rather than tearing it into pieces, so it sits flat in the sandwich.
Toss the drained tomato, onion, lettuce, and banana peppers with 1 tablespoon of the dressing, right before assembly. You want the vegetables evenly seasoned from edge to edge, not a pool of dressing at the bottom of the bowl. Use less than you think. You can always add, you cannot scoop dressing back out.
4. Season the Meat and Cheese
Deli meat from the cold case is seasoned lightly, which is why home subs often taste flat next to the bread. Lay the salami, capicola, ham, or turkey in an even layer and give it a light scattering of salt, cracked pepper, and a pinch of oregano. Feta-style crumbly cheese or provolone both work; cheese does not need much beyond a light hit of pepper.
Keep the portions proportional to the roll. Roughly 4 to 6 ounces of meat and 2 slices of cheese fill a 6- to 8-inch sub properly. More than that and the sandwich cannot be picked up without the fillings sliding out.
If you are buying deli meat for this, treat it as a perishable refrigerated food. Keep it in the fridge until you use it, and follow the package instructions and USDA guidance on storage times.
5. Layer the Sandwich Like a Sub Shop
Build in this order on the toasted half: a thin drizzle of dressing, the seasoned vegetables, the meat, the cheese, then the top half. Dressing goes first, directly on the bread, in a thin coat. Pouring the remaining dressing over the top after it is closed traps moisture in the middle and softens the toast you worked to crisp.
Spread the fillings edge to edge so every bite is the same, but keep the center from getting a double scoop. If one side is bare, the sandwich will hang open and shed lettuce as you eat it.
Press the closed sandwich gently with your palm. That compacts the layers into something that holds together, without squashing out the tomato water you just drained away.
6. Add the Final Oregano and Pepper
Before you close it up, add one more small pinch of dried oregano and a few cracks of black pepper. Sub shops season at two points, once in the dressing and once on the finished sandwich, and the top note of oregano is a large part of why the aroma hits before the first bite.
A few drops of vinegar and a drop of oil on top is enough. If the sandwich is heavy on meat and needs lift, add the vinegar. If it is heavy on tomato and lettuce, add the oil. Everything here is restraint: the oregano should frame the vegetables, not bury them.
7. Cut, Serve, and Store the Sub
Use a serrated knife and cut on a slight angle, in one clean motion. Wipe the blade between cuts so it does not drag tomato water onto the crust. Serve right away, while the cut faces are still crisp and the lettuce still has crunch.
For storage, wrap the dressed sandwich loosely in foil or a paper towel and refrigerate it at 40°F or below, eating it within about 24 hours. The bread will soften no matter what you do, so a sandwich stored longer is a sandwich you re-crisp in a toaster.
A better lunch option is to store the components separately and dress the sub when you eat it. Keep the dressing in a jar in the fridge and use it within one to two weeks, shaking before every pour. If the oil clouds or thickens in the cold, that is normal. Warm the jar in your hands for a minute and shake.
Common Mistakes and How to Fix Them
Soggy bread. Toast the roll, drain the tomato, and dress the fillings rather than flooding the bread. Store components separately if the sandwich is for later.
Watery vegetables. Salt the tomato, wait five minutes, and pour off what comes out. Skip iceberg and use shredded romaine if the tomato is the problem, or skip the tomato entirely and go with cucumber and shredded carrot.
Too sour. You went heavy on vinegar. Add oil a tablespoon at a time until the sharpness drops, or add a teaspoon of honey and let it dissolve.
Too oily. Add a teaspoon of vinegar rather than trying to pour it off. Then shake the jar again to bring it back together.
Separated dressing. Shake it. If it splits every time, add a small spoon of Dijon mustard, which contains lecithin and holds an emulsion together longer. Rest it in the fridge for a few hours afterward.
Bitter, peppery finish. Swap the extra virgin olive oil for light olive oil or a blend. Shops use blends for exactly this reason, and the flavor will sit behind the meat instead of competing with it.
Fillings fall out. Cut a long sandwich in half rather than into thick coins, and eat it with the cut face down on a plate. Small pieces of onion, shredded lettuce, and narrow vegetable strips fall out far less than big ones.
Dry sandwich. Underdressing is easy to fix: drizzle on the plate-side of the bread rather than tearing into the fillings for more.
Underseasoned meat. Cold cuts from the case are mild. Salt the meat layer directly and add a pinch of oregano, the same way the shops do.
Assembled too early. Build the sub within a few minutes of serving. If you have to prep ahead, toast the bread and cut the vegetables separately, then assemble fresh.
Frequently Asked Questions
What is the best vinegar for a sub shop-style oil and vinegar sandwich?
Red wine vinegar is the standard because it gives the sharp, clean acidity deli subs are built on without the sweetness of cider or the syrup of balsamic. White wine vinegar is a good substitute if you prefer something milder. Avoid distilled white vinegar, which tastes flat, and avoid balsamic on its own, which will make the sandwich sweet rather than tangy.
Can I use apple cider vinegar instead of red wine vinegar?
Yes. Apple cider vinegar works and adds a mild sweetness that softens the sharp edge, which some people prefer on turkey or ham subs. Use the same 3 tablespoons and keep the ratio at two parts oil to one part vinegar. If the sandwich tastes flat, add a splash more vinegar rather than reaching for salt, which only dulls the tartness.
What oil works best for a sub shop-style oil and vinegar?
A light olive oil or an olive oil blend is closest to what sandwich shops actually pour, since most counters use a blend rather than expensive extra virgin. Extra virgin works too, and a peppery one adds a nice bite, but strong oil can overpower delicate cold cuts. Avoid vegetable oil, which contributes almost no flavor to the dressing.
What bread should I use for an oil and vinegar sub?
A sturdy 6- to 8-inch Italian or hoagie roll holds up best. It needs to be dense enough to stay intact under a wet dressing and toasted on the cut faces so it can handle the weight of the fillings. Soft sandwich bread tears and turns soggy, and thin flatbread-style rolls split when you cut the finished sub.
How do I keep an oil and vinegar sub from getting soggy?
Toast the roll on the cut faces, salt and drain sliced tomatoes for five minutes, and use a thin coat of dressing on the bread instead of pouring. Shred lettuce rather than tearing it, keep vegetable strips narrow, and assemble the sandwich only a few minutes before you eat it. For lunchboxes, pack the dressing in a separate jar.
Can I make an oil and vinegar sub ahead of time?
You can, with a drop in quality. Store the finished sandwich loosely covered in the refrigerator and eat it within about 24 hours, expecting softer bread. Better results come from storing the toasted roll, the sliced vegetables, and the meat separately, then dressing and assembling the sub when you are ready to eat it.
Conclusion
A sandwich shop sub is crisp bread, a balanced 2:1 dressing, well-drained vegetables, and fillings layered evenly enough that every bite is the same. Get those four right and the rest is seasoning preference.
The order matters more than the ingredients, and that is the part most home cooks get wrong. Toast, mix, prep, assemble, cut, in that sequence, and the sandwich eats the way it does at the counter.
Start now with the step people skip: toast the roll and mix the dressing before you touch a single vegetable. Everything after that takes about five minutes, and the sandwich will hold together all the way to the last bite.