
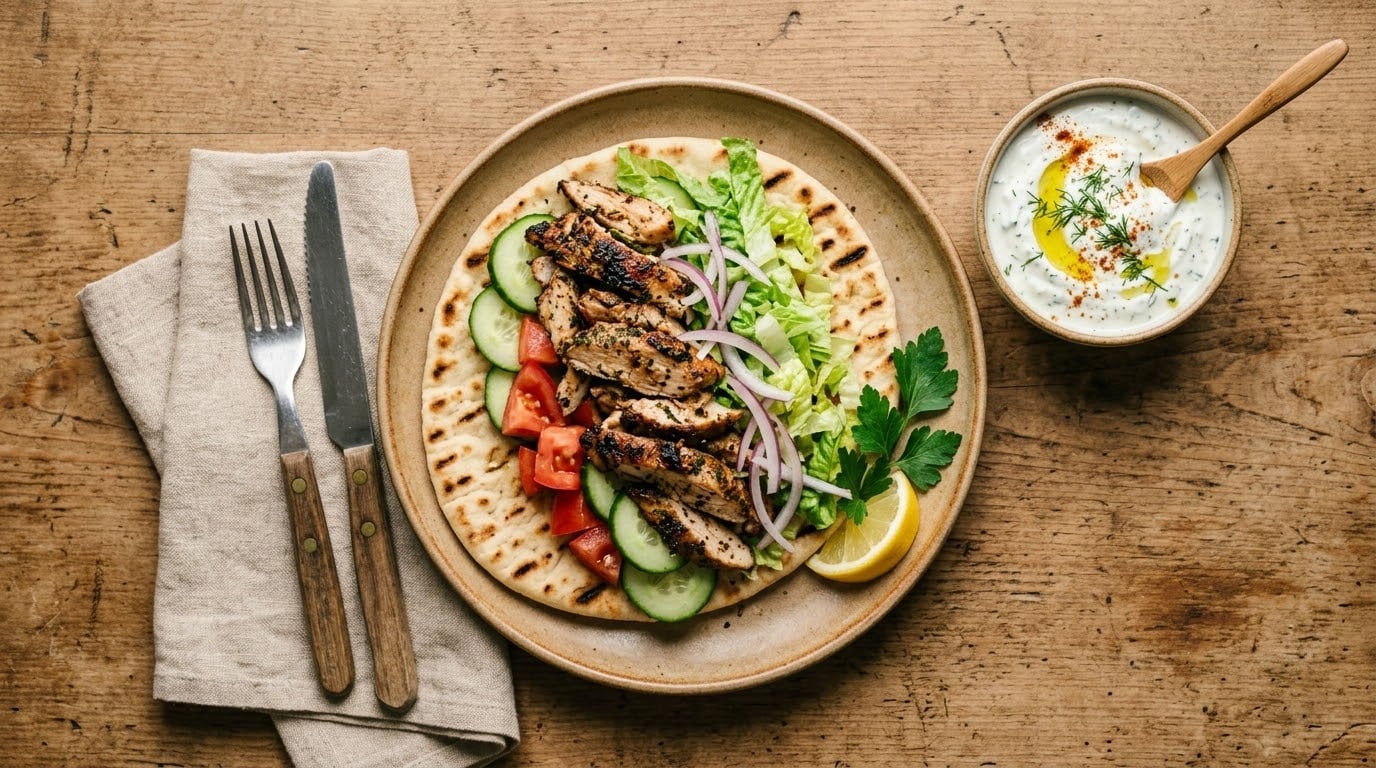
Learning how to make gyros at home is mostly about two things: a meat with real flavor and a sauce that does not turn your pita into a damp disappointment. The version below uses boneless chicken thighs marinated in garlic, oregano and lemon, cooked until browned and done, then piled into warm pita with crisp vegetables and a garlicky yogurt sauce. From the first marinade to the last fold it takes about 40 minutes, most of which is the oven doing the work while you chop. There is no spit, no vertical rotisserie, and no reason to stand over a grill.
One thing worth saying up front: the word comes from the Greek gyros, and on a real Greek rotisserie the meat turns on a vertical spit all afternoon while the fat renders and the outside chars. You can get close at home with a hot sear and a few minutes under the broiler. You cannot get the same thing from a package, and nobody reasonable expects you to.
Table of Contents
What You Need to Make Gyros at Home
For four generous gyros you need very little equipment, and almost all of it is already in your kitchen. The one piece you do not need is a vertical rotisserie.
- Boneless skinless chicken thighs, about 1.5 pounds. Thighs stay juicy while a breast dries out.
- Greek-style pita bread, four or eight small ones depending on size. Regular pita is fine.
- Plain Greek yogurt, about one cup, full-fat if you want it rich.
- Cucumber, tomato, red onion and romaine lettuce for the fillings.
- Feta cheese, optional but good.
- Garlic, dried oregano, lemon, olive oil, salt and pepper for the chicken.
- Fresh dill, lemon juice and a pinch of salt for the sauce.
For tools: a large skillet, a sheet pan, an oven set to 400F, and a sharp chef’s knife. A small food processor makes the sauce and the marinade a two-minute job, but a fork and a whisk do the same work. A meat thermometer is worth more than any other item on this list, because chicken is the one thing you cannot eyeball.
What to use instead of a vertical rotisserie
Three home methods do the same job at different levels of effort. A skillet gives you the best sear and the fastest hands-on time, about 20 minutes. A sheet pan under the broiler gives you char without the stovetop fuss and takes almost no attention. A loaf pan water bath, where you pack seasoned ground lamb and beef into a pan and pour boiling water around it, is the juicest option and the most forgiving of thick meat, but it needs 60 to 75 minutes in the oven.
There is also a store shortcut. You can skip seasoning and cooking entirely by starting with leftover roast chicken or a deli-style roasted chicken breast, sliced thin. You lose the oregano crust and the smoke, but you have a gyro on the table in fifteen minutes.
Step-by-Step: How to Make Gyros at Home
1. Season the Chicken
Mix the chicken with the marinade first, before you turn on any heat. You want six cloves of garlic minced or grated, a tablespoon of dried oregano, two tablespoons of olive oil, the juice of half a lemon, a teaspoon of salt and a decent grind of black pepper.
Toss it with your hands until every piece is coated, then cover and refrigerate. Thirty minutes is the minimum. Two hours or overnight is better, and the difference in the finished sandwich is bigger than you’d expect. While the chicken sits, you make the sauce and cut the vegetables.
If you skip the marinade entirely, at least salt the chicken and let it sit for fifteen minutes before it hits the pan. Salt needs time to travel into the meat, and that is the whole reason the rest exists.
2. How to Cook the Chicken Until Tender
Heat the oven to 400F. Get a large skillet ripping hot, add a tablespoon of olive oil, and lay the thighs in skin-side down if you have skin, or in a single layer either way. Do not move them for three minutes. You are looking for a deep golden brown crust, and every early peek peels it off.
Turn, cook three more minutes, then transfer the pieces to a sheet pan and into the oven for 10 to 14 minutes. Chicken is safe to eat at 165F, and the thighs will land between 170F and 175F, which is where you actually want them.
If you like char, finish them under the broiler for two to three minutes at the end. Watch them. Broiler heat goes from golden to black fast, and a tray of scorched thighs is a disappointing end to a good marinade.
Pull the chicken out and let it rest on the board for at least ten minutes. That pause matters: the juices settle back into the meat, and a chicken sliced the second it leaves the oven releases half of them onto the cutting board.
3. Make the Garlic Yogurt Sauce
This is the part where most home gyros go wrong, and the problem is nearly always the cucumber. Grate it, salt it, wait, and squeeze out every drop of liquid you can get your hands on. That water is what turns a creamy sauce into a puddle.
Grate one small cucumber into a strainer set over a bowl or a folded towel. Sprinkle a pinch of salt over it and leave it five to ten minutes, then squeeze it hard with both hands until the stream runs dry. Most home cooks underestimate how much liquid comes out of a single cucumber.
In a bowl, stir one cup of Greek yogurt with three grated garlic cloves, a squeeze of lemon, two tablespoons of chopped fresh dill, a pinch of salt and pepper, and the squeezed cucumber. Taste it now. If it’s too thick to drizzle, loosen it with a tablespoon of water or lemon juice at a time until it runs slowly off the spoon. If it’s looser than you like, fold in another spoonful of yogurt.
Cover and refrigerate the sauce while the chicken cooks. Cold sauce and hot pita is the correct temperature contrast.
4. Prepare the Toppings
Drain the resting chicken juices off the board before you start cutting, and slice the thighs thinly on the bias. Dice the tomato, slice the red onion thin enough to almost see through, and shred or chop the romaine. Crumble the feta into loose pieces rather than a solid slab, so it distributes across four sandwiches instead of landing in one bite.
Dry everything. This is not fussy detail. Salting the tomato and onion and letting them sit on a towel for ten minutes draws out surface water, and every drop you remove is a drop that does not end up on the bottom of your pita.
Onion has a sharp raw bite that some people find too aggressive next to yogurt. Soak the slices in cold water for ten minutes, or add a spoonful of the leftover pickle brine to the sauce, and it softens right out.
5. Warm the Pita
Cold pita tears when you roll it. Warm pita folds and holds. Put it in a dry skillet for 20 to 30 seconds a side, in a 350F oven for five minutes, or in a toaster oven until it’s pliable with a few pale spots. You want warmed through and flexible, not crisp all the way through, which is what an over-toasted pita becomes. The same low-and-slow thinking applies when you need to brown a long sub at home, which is covered in how to toast a sub without a commercial oven.
If you have a grill going for something else, warm them in the residual heat for the last few minutes before dinner. Same result, zero extra effort.
6. Assemble and Serve the Gyros
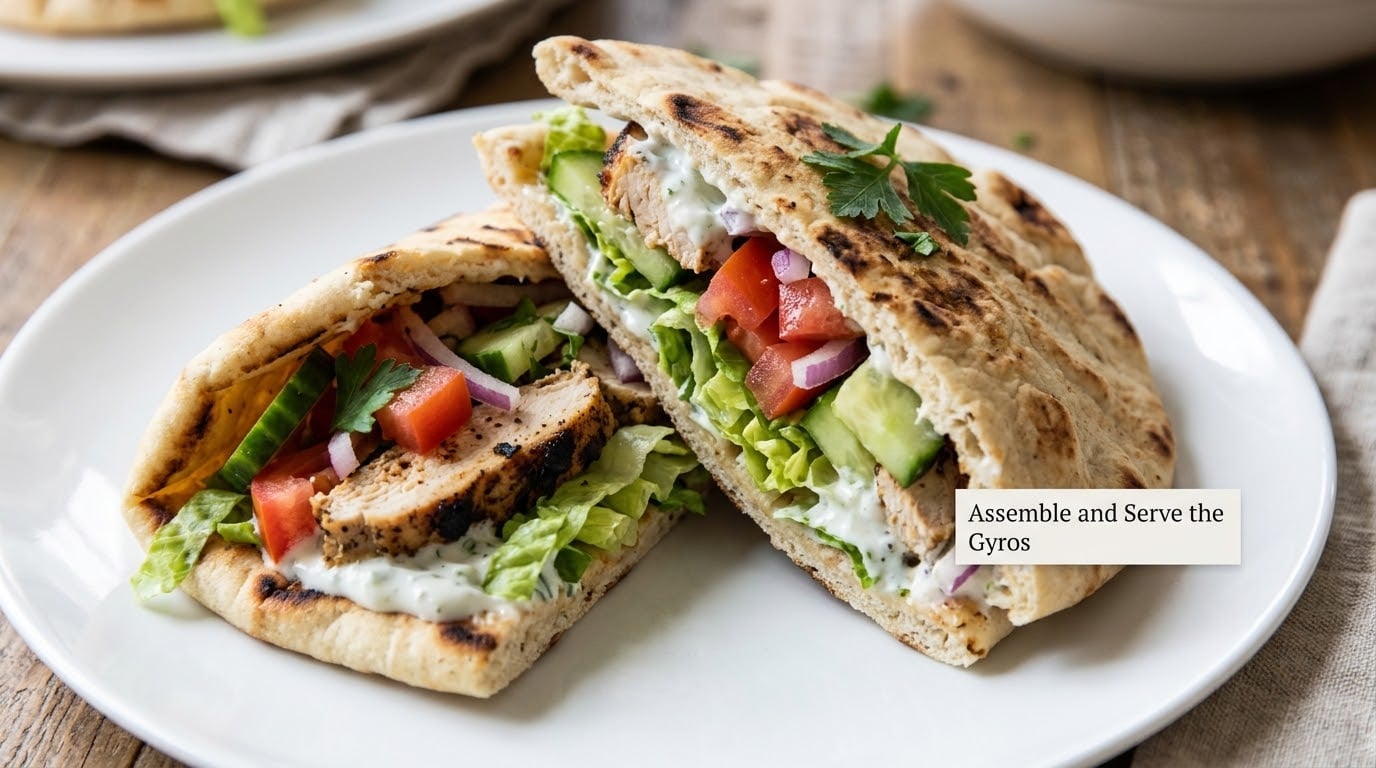
Layer from the bottom up, and sauce goes on in two places, not one. Start with a thin smear of yogurt sauce on the inside of the pita so it doesn’t slide out. Add chicken, then a second spoon of sauce over the meat so it sticks to the chicken and stays in the sandwich.
On top of the chicken: tomato, onion, lettuce, then the feta. Folding the lettuce last and loosely, rather than packing it tight, gives you air in the roll so it stays tender.
Fold the near edge over the filling, then roll the sandwich tightly from that edge, tucking as you go. Two tight folds beat one sloppy one, and it holds together well enough to eat with one hand over a plate. If it still splits on you, the fix is usually quantity rather than technique, and how to make an overstuffed sandwich hold together covers the folding and portioning tricks in detail.
Eat them right away. A gyro that’s been sitting for ten minutes in its own steam is a soggy gyro, and the fix is simply to not wrap them early.
7. Slice the Chicken for Maximum Flavor
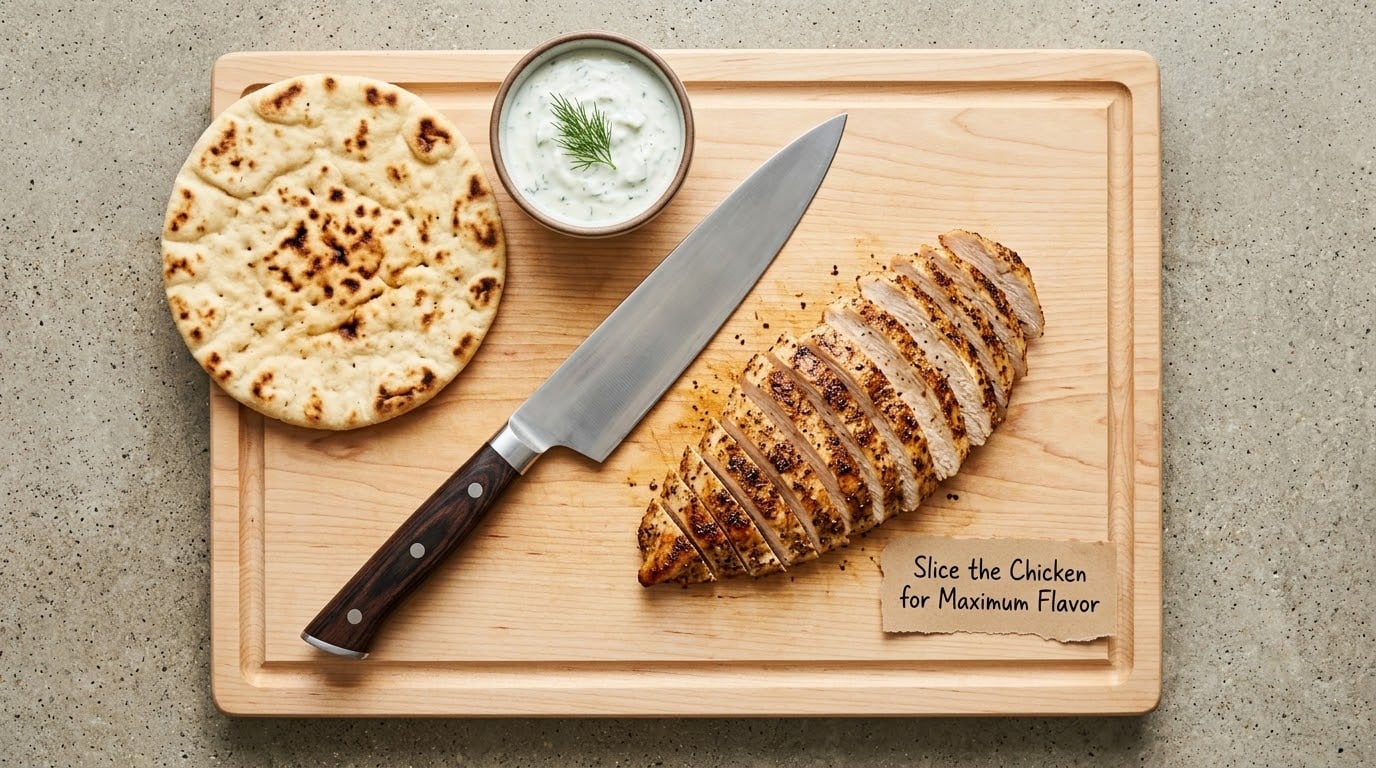
A sharp knife and a steady hand will beat a spit at home, and the difference is thinner than you’d think. Aim for slices you can see your fingers through, about an eighth of an inch, cut on the bias so each piece covers more surface area and catches more sauce.
Turn the chicken to find the grain, which usually runs along the length of the thigh. Cut across it. Meat sliced along the grain tears into long dry fibers; meat sliced across it stays tender, and on thighs that have been marinated for a couple of hours the difference is noticeable in the first bite.
Keep the knife sharp for this. A dull knife compresses the meat instead of parting it, which produces thick, ragged pieces that dry out on contact with the pita.
Common Gyro Mistakes and How to Fix Them
The chicken came out dry. You cooked it too long, or you sliced it too early. Pull the thighs at 165F, not 180F, and let them rest a full ten minutes before cutting. If you keep cooking to be safe, wrap the hot pieces in foil for the first five minutes of resting; the trapped steam finishes the cooking gently.
The sauce is watery. You didn’t drain the cucumber, or you thinned it too far. Drain cucumber into a strainer, salt it, wait, and squeeze. Store the sauce in the fridge, not on the counter, and stir again before serving since yogurt separates as it sits.
The pita went soggy. Sauce went on too early or too heavy. Assemble at the table, right before eating, and use the two-thin-layers method instead of one thick pour. If you’re packing them to take somewhere, pack the sauce in a separate small container and keep the pita out of the fridge so it does not turn to leather, the same approach described in how to make a sandwich that stays fresh until lunch.
The vegetables are mush. You seasoned them too early. Salt tomatoes and onions for serving, not for marinating, and drain them on a towel for ten minutes. Shredded lettuce is better than chopped, because big flat leaves fold into the roll without bruising.
The gyro falls apart in your hands. Too much filling and not enough fold. Use two heaped cups of chicken per pita, wrap two edges instead of one, and press the seam down firmly as you roll. Hold the seam with two fingers while you bite.
One last tip: double the sauce and save it. Extra tzatziki improves almost everything it touches for the next few days.
Frequently Asked Questions
Can I make gyros without a vertical rotisserie?
Yes, and most home cooks never use one. A hot skillet sear followed by 10 to 14 minutes in a 400F oven, or a sheet pan under the broiler, gives you the browned crust that defines a gyro. A loaf pan water bath is the juiciest option for thick meat but takes an hour. The spit is about a continuous, unattended cook, and your oven covers that.
What meat is best for homemade gyros?
For this recipe, boneless skinless chicken thighs, because they stay juicy at 165F and take on marinade well. Traditional Greek gyros use lamb and beef stacked on a spit, and many American gyro shops use seasoned pork on a flat-top. Ground lamb and beef packed into a loaf pan is the closest home version to the traditional meat, if you want the authentic texture.
How do I keep gyro sauce from getting watery?
Drain the cucumber and squeeze it dry. Grate it into a strainer, salt it, wait five to ten minutes, then wring it out with both hands. Mix it into thick full-fat Greek yogurt rather than a looser dairy yogurt, refrigerate the finished sauce, and stir it again just before serving, since yogurt separates as it stands.
Can I use pita bread instead of gyro bread?
Yes, and most people do. Greek-style pita is softer and slightly thinner than the round gyro loaves used in some shops, which makes it easier to roll and lighter to eat. Warm it first so it is pliable, and avoid over-toasting it, or it will crack when you fold. Regular pita works too, just expect a slightly thicker, breadier roll.
Can I make chicken gyros ahead of time?
Yes, as long as you store the parts separately. Cooked chicken keeps three to four days refrigerated in an airtight container, and the sauce keeps the same length of time. Keep lettuce separate until serving, since it wilts, and store the pita on its own so it does not steam itself soft. Assemble everything at the table when you are ready to eat.
How long do homemade gyros last in the fridge?
Assembled gyros are best eaten within a few hours, because the pita starts absorbing moisture from the sauce and vegetables. Stored component-wise, the cooked chicken, the sauce and the toppings each keep three to four days in the fridge at or below 40F. Cooked chicken can also be frozen in an airtight container for two to three months, then thawed in the fridge overnight.
Conclusion
Start with the chicken. Marinate it in garlic, oregano, lemon and olive oil for at least half an hour, give it a hard sear, cook it to 165F, and let it rest before you slice a single piece. Everything after that is assembly.
From there, treat the rest as your own. Swap chicken for lamb, beef or pork, trade romaine for cabbage, add hot peppers, mix a little harissa into the yogurt. The bones of it are the same: hot meat, cold sauce, dry vegetables and a warm pita you roll tightly and eat immediately. Updated for 2026, and worth making again next week.