
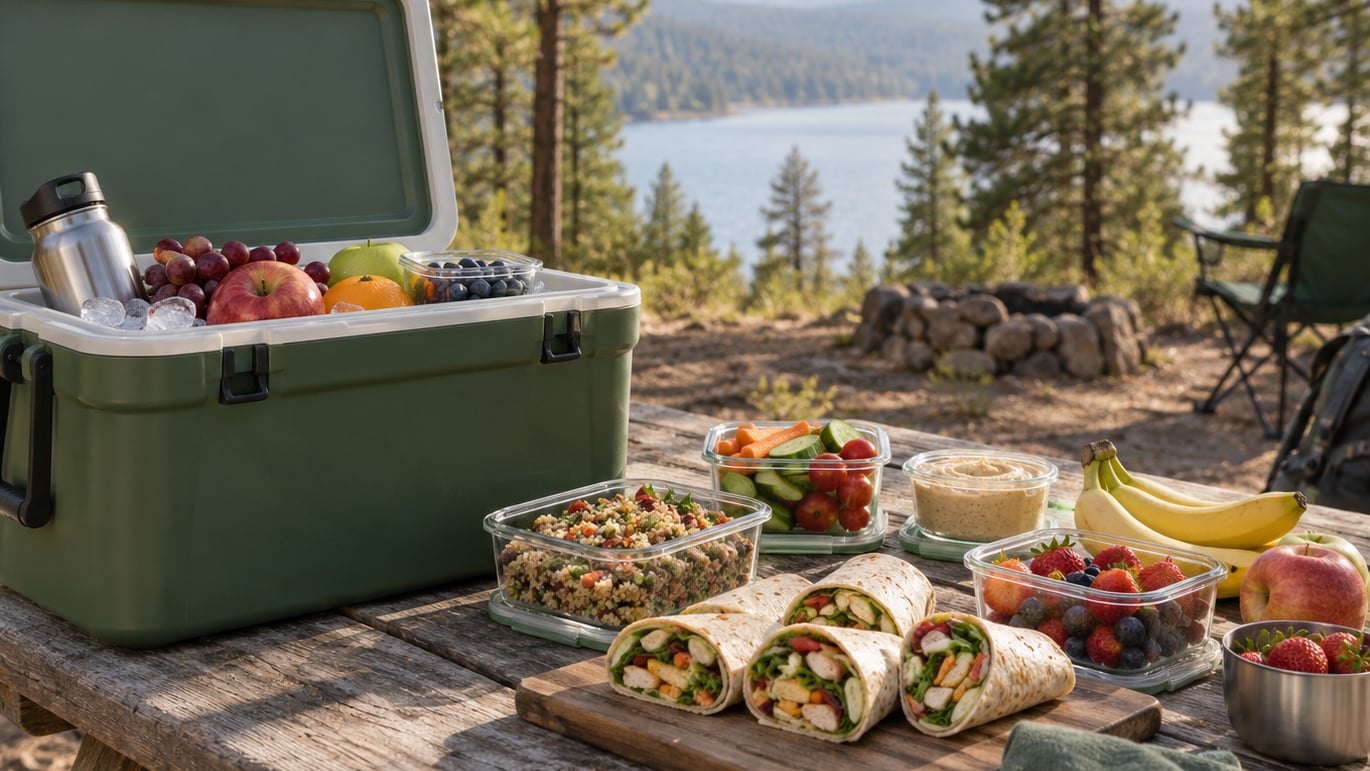
The best make-ahead camping meals are dishes you cook, assemble, or portion at home and carry to camp already finished, so at the site you only have to keep them cold, warm them in one pot, or eat them straight from the container. Most of what makes camp cooking hard is gone: no hauling a cooler full of raw ingredients, no chopping on a folding table, no washing a pile of pans in cold water. What remains is unpacking, a short reheat, and a cooler you pack once instead of opening five times a day.
That shift matters most on trips of three nights or more, but it works well for a single night too if your stove is small and the site is crowded. From a no-cook picnic table to a full RV stove, the pattern is the same: meals that travel cold and meals that reheat in a single pot win. Soggy flatbread, watery salad, and anything needing a blender loses every time.
Table of Contents
- What Makes the Best Make-Ahead Camping Meals?
- How Do You Plan Meals for a Camping Trip?
- What Foods Travel and Keep Well?
- How Do You Keep Make-Ahead Camping Meals Safe?
- How Do You Prep and Pack Meals for Camping?
- What Can You Make Ahead for a Three-Day Camp?
- Which Camping Meals Work Best Without a Refrigerator?
- Can You Make Camping Meals in a Cooler?
- How Can You Make Make-Ahead Camping Meals Easier?
- Frequently Asked Questions
- Start Your Next Camping Trip With the Right Meals
What Makes the Best Make-Ahead Camping Meals?
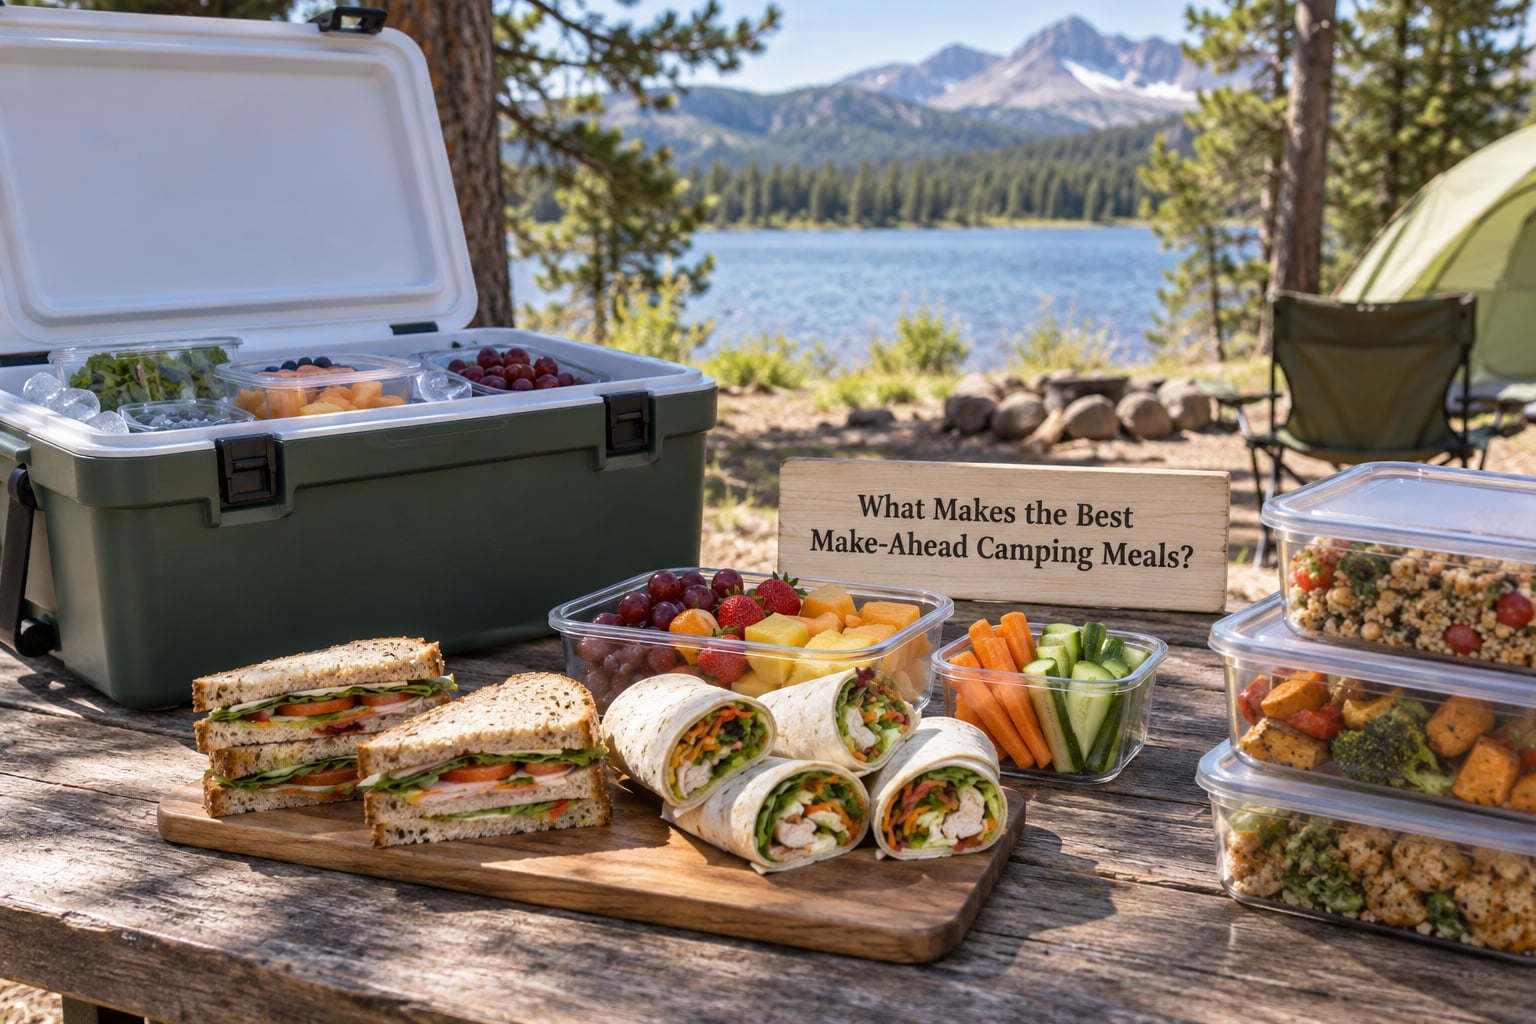
The best make-ahead camping meals are simple, durable, easy to portion, and matched to the cooking and storage you actually have. If you cook on a single camp stove, choose dishes that warm in one pot in about ten minutes. If you have no stove at all, choose food that is satisfying cold.
Four qualities separate a make-ahead meal that works from one that turns into a disappointed cooler on day three:
- It holds its texture. Rice, pasta, roasted vegetables, sliced meat, chunky salad, and oats all travel better than lettuce, cucumber, or anything crisp.
- It portions cleanly. Soups and chili can go into single-serve jars. Sandwiches and burritos stack without a plate.
- It survives the reheat. A meal that needs a skillet, an oven, and 40 minutes of tending is not a make-ahead meal for most campsites.
- It fits your cooler. Flat-frozen bags of chili or sauce take a fraction of the room that a rigid container of the same food does.
Texture is the quiet failure point. Campers on r/camping keep naming the same culprits: foil packets that weep liquid onto the coals, and pre-made sandwiches that go soft and dull after two days of cooler contact. Wrapping bread separately from the filling, and using a spread that is not watery, fixes most of it.
That is also why sandwich ideas dominate this kind of planning. If sandwiches are your thing, the best sandwiches for camping trips guide is a good companion read, and how to build a sandwich that still tastes fresh at lunch solves the moisture problem for weeknight prep too.
How Do You Plan Meals for a Camping Trip?
Plan backwards from the camp, not forward from your fridge. Five decisions determine the menu, and all five come before any recipe does: how many nights, what the site allows, how you will cook, how much cooler space you have, and how many people you are feeding.
Trip length. Two nights rewards meals you can eat cold. Four to seven nights needs food that reheats well, because cooked food loses more and more quality as it sits. Beyond a week, seriously consider a grocery run halfway through rather than trying to carry everything.
Site rules. Some campgrounds and parks restrict what you may cook, when fires are allowed, and whether you can run a stove. Check before you commit to foil-packet dinners that need a grill.
Cooking method. No stove means cold meals and no-cook assembly. A camp stove means one-pot reheat and foil packets on a grate. A Dutch oven or an RV kitchen means almost anything from the comfort of home.
Cooler space. This is the real constraint. Count your usable interior volume before you cook, and remember that ice needs room too. Repeat campers on forums routinely warn that chili and frozen casseroles eat cooler space faster than people expect.
Party size. For two people, a dinner and a breakfast are enough to start. For a family of six, plan roughly 1.5 to 2 portions per adult-equivalent per meal, then add one kid portion per child. For ten or more, cook in the biggest pot you own and portion into jars.
A three-day planning checklist
Run through this before you shop, and your menu writes itself:
- Lock the trip length and the site rules.
- List the equipment you will actually bring, not the equipment you wish you had.
- Measure or estimate your cooler capacity in quarts.
- Decide which meals travel cold and which need heat.
- Count heads and set portion sizes per meal.
- Build the snack list, because snacks get eaten first and they fill gaps.
- Add one no-cook dinner as your insurance if the cooler runs down.
That last point matters more than people expect. On multi-day trips the cooler usually gives out on the final night, so plan one dinner that needs no cold storage at all.
A simple meals-plus-snacks formula
A workable formula is one hot dinner per night, one no-reheat lunch per day, breakfasts you can eat in under five minutes, and roughly three snacks per person per day. Snacks are not filler; on a hike they are the meal that keeps the group from falling apart by three in the afternoon.
For large groups, buy snacks that do not need refrigeration: nuts, dried fruit, crackers, granola bars, jerky, and shelf-stable spreads. If you want sandwiches for lunch, make-ahead sandwiches for the whole week scales the same method up nicely.
What Foods Travel and Keep Well?
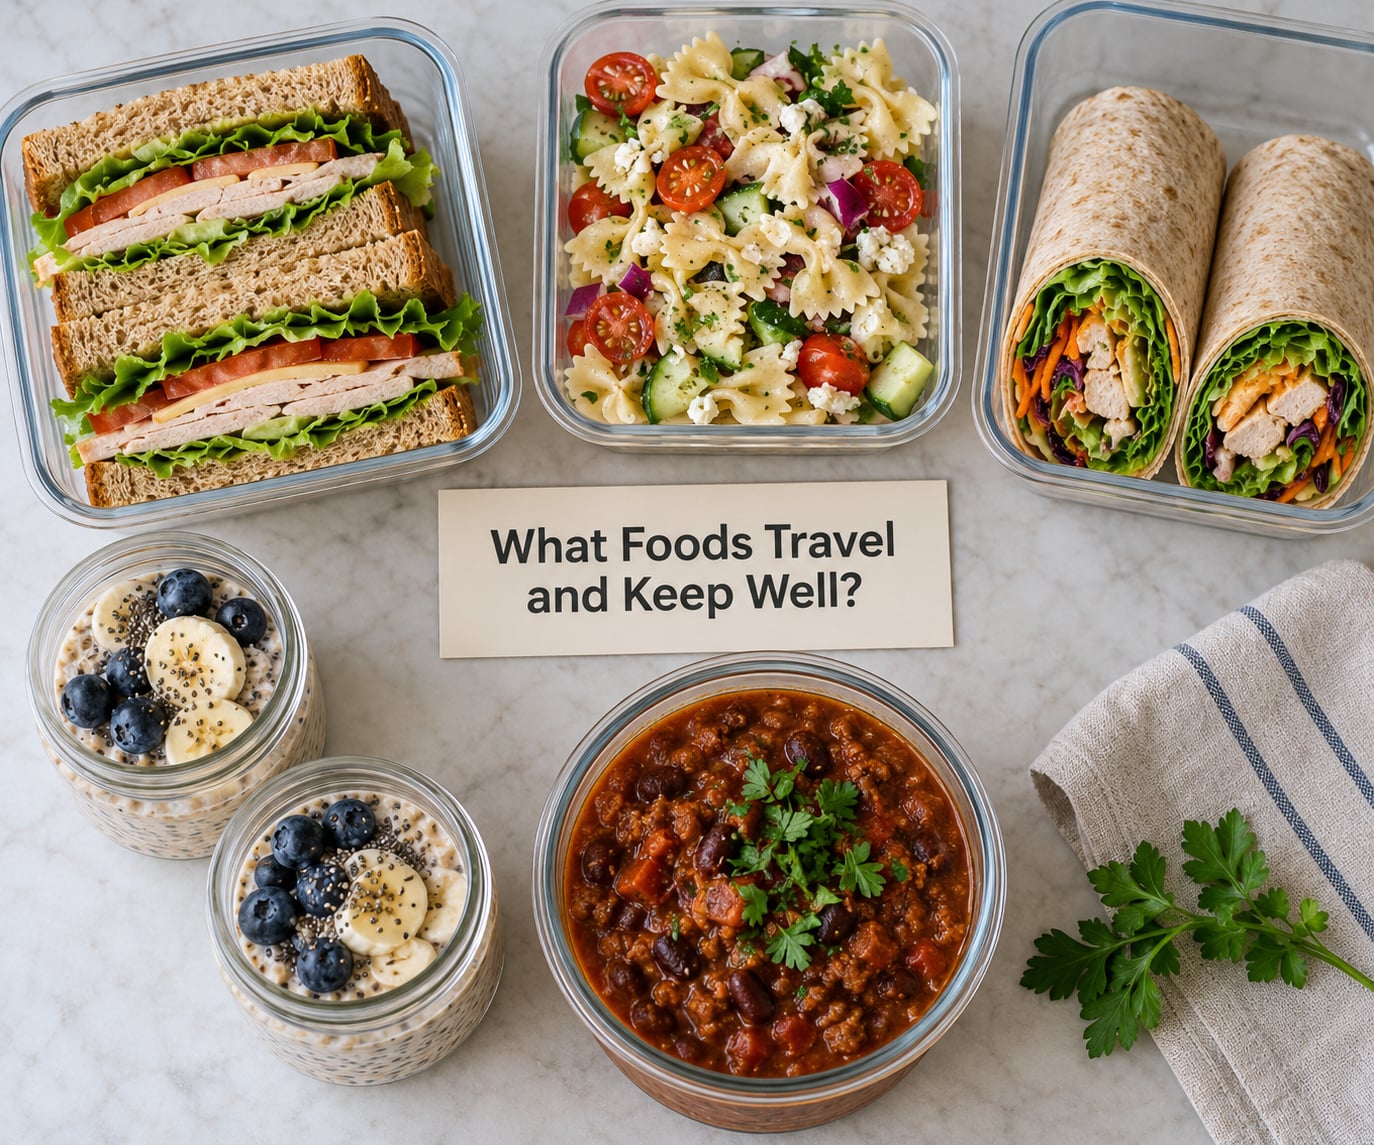
Sturdy sandwiches, wraps, grain bowls, pasta salad, chili, overnight oats, and traybake components are the reliable make-ahead choices. Each one stores differently, and the differences decide whether it survives the trip.
Sandwiches travel well when the bread is sturdy and the filling is not wet. Wraps beat sandwiches for long trips because nothing goes soggy from moisture the same way, and they need no cutting. Pasta salad with a vinaigrette keeps for a few days as long as you skip the leafy greens and the soft cheese. Grain bowls hold well when the dressing is on the side.
Chili and soups are the strongest reheat candidates: they heat in one pot, they freeze flat, and they improve overnight. Overnight oats and chia puddings are no-cook breakfasts that travel cold with no reheat at all. Traybake components are pre-cooked at home, frozen, and dropped onto a hot grate at camp for 10 to 15 minutes.
| Food | How it travels | Storage | At camp |
|---|---|---|---|
| Chili or soup | Frozen flat in bags | Cooler | Warm in one pot, about 10 minutes |
| Camping burritos | Stacked in a bag or box | Cooler | Griddle or pan, or eat cold |
| Wraps | Rolled in a damp towel | Cooler | No reheat needed |
| Pasta salad | Vinaigrette on the side | Cooler | Eat cold |
| Overnight oats | Mason jars | Cooler | Eat cold |
| Pre-cooked taco meat | Bagged and frozen flat | Cooler | Warm in a pan with a splash of liquid |
| Foil packet dinners | Assembled or frozen | Cooler | Grill 10 to 15 minutes |
| Granola bars and nuts | Dry, no cooling needed | Anywhere | No reheat needed |
Two notes on that grid. Burritos come up again and again on camper forums as the most-recommended make-ahead meal, because they stack, they reheat fast, and one hand-held item needs no plate and no water. And if you pre-cook pasta for a spaghetti dinner, cook it two minutes short of done and freeze the sauce separately, or the noodles turn to mush on day two.
How Do You Keep Make-Ahead Camping Meals Safe?
Keep perishable food at or below 40°F (4°C) and you are managing the whole problem. The danger zone is 40°F to 140°F (4°C to 60°C), where bacteria multiply fast, and the rule most camp kitchens follow is simple: after two hours in that range, perishable food goes in the trash. In heat above 90°F, that window shrinks to one hour.
Food that needs cooking has to reach safe internal temperatures, and the numbers come from USDA guidance: 165°F (74°C) for poultry, 160°F (71°C) for ground meat, and 145°F (63°C) for whole cuts of meat and fish. Reheating leftover chili or a burrito means bringing the middle to a steaming 165°F, not just warming the edges. A food thermometer is the cheapest insurance in this whole topic.
Storage times assume a cooler genuinely holding 40°F or below. Anything stored at 41°F to 59°F gets half the listed window, and food held above 60°F for two hours is discarded regardless of how it looks or smells.
| Food type | Keeps in a cooler at 40°F or below | Reheat target |
|---|---|---|
| Cooked chili, soups, stews | 3 to 4 days | 165°F (74°C) |
| Pasta salad, prepared salads | 3 to 5 days | Serve cold at or below 40°F |
| Sandwiches and wraps with deli meat | 3 to 5 days | Reheat filling to 165°F |
| Overnight oats, breakfast jars | 3 to 4 days | Serve cold |
| Hard boiled eggs | 5 to 7 days | Serve cold |
| Cooked rice and grains | 3 to 4 days | 165°F (74°C) |
| Fresh cut fruit | 3 to 5 days | Serve cold |
| Dairy, opened condiments | 5 to 7 days | Keep cold |
Two more safety habits pay off. Chill hot food fast at home: spread it in shallow containers, or drop the pot into an ice bath, so the center does not spend hours in the danger zone while it cools. And keep raw meat in a separate sealed container on the bottom of the cooler, well away from anything you will eat without reheating.
How Do You Prep and Pack Meals for Camping?
A clear order of operations avoids the mushy foil packet and the mystery container with no label. Work from cooking to cooling to packing to labeling.
Cook in batches and cool fast. One big pot of chili beats six small ones. Portion into shallow containers or flat freezer bags so the center cools within two hours, then refrigerate.
Decide what freezes. Soups, chili, cooked meat, sauce, parboiled potatoes, and traybake components freeze well and lose very little. Overnight oats, yogurt-based breakfasts, and salad dressings do not freeze well; make those fresh and refrigerate them.
Freeze flat and stack. Flat bags of chili or sauce fit cooler space far better than rigid containers. Leave the bag open while the contents freeze solid, then zip and label.
Separate the wet parts. Dressings go in their own small jar. Wet sandwich ingredients like tomato, pickles, and onions get packed separately and added at the site. This single step fixes most of the sogginess campers complain about on day three.
Use leak-resistant containers. Wide-mouth jars for liquids, snap-lid containers for solids, zip-top bags for flat frozen items. Put each container in a zip-top bag before it goes in the cooler as a second layer of protection.
Label everything. Write the dish, the date it was made, and the reheat target. In a dark tent at 7 a.m., an unlabeled container is a mystery you cannot solve with the flashlight.
Pack the cooler in access order. Bags and containers you will open first go on top. Frozen items go in last so they stay frozen longest, close to the ice. Keep a dedicated snack bin so that opening the cooler does not mean digging for lunch.
On travel day, put frozen food in the cooler last and drive straight to camp. Opening a cooler mid-drive warms everything in it at once.
What Can You Make Ahead for a Three-Day Camp?
A workable three-day menu uses one no-cook dinner, two reheat dinners, cold lunches, breakfasts you can eat quickly, and snacks that need no cooling. This is the plan I would build first, because it survives a cooler running low on day three.
Day one
- Breakfast: overnight oats in mason jars, or breakfast wraps if anyone in the group will not touch oats.
- Lunch: pre-assembled wraps with hummus, roasted peppers, and sliced turkey, packed cold.
- Dinner: chili reheated in a single pot, served over rice kept separate.
- Snacks: nuts, dried fruit, and shelf-stable crackers.
Day two
- Breakfast: make-ahead breakfast wraps with egg and cheese, warmed in a pan.
- Lunch: pasta salad with vinaigrette on the side, or a second round of wraps.
- Dinner: camping burritos or foil packets assembled at home and grilled for 10 to 15 minutes.
- Snacks: homemade granola bars and cut fruit still cold.
Day three
- Breakfast: overnight oats or shelf-stable breakfast options.
- Lunch: whatever is still fresh in the cooler, eaten early.
- Dinner: the no-cook dinner you planned in advance.
Swaps for no-cook and vegetarian trips
On a no-cook trip, replace chili and burritos with a cold dinner: pasta salad, bean and cheese wraps, or a grain salad with a lemon vinaigrette. Build these as components and let everyone assemble at the table, which also solves picky eaters.
For vegetarian groups, the same structure holds. Black bean and corn salsa with pre-cooked rice, lentil or chickpea curry, tofu or roasted vegetable foil packets, and hummus wraps all behave the way their meat counterparts do. Keep a few no-cook proteins like canned beans and jarred olives on the list so nobody relies on a single dish.
Sandwich and wrap ideas scale easily when the group is large. Browse sandwiches made ahead for the whole week and treat each one as a per-person portion that never needs a plate.
Which Camping Meals Work Best Without a Refrigerator?
Without reliable refrigeration, choose only shelf-stable food, and keep perishable items out of the menu entirely. The reliable group is shelf-stable tuna and bean wraps, nut and seed butter sandwiches, shelf-stable oats, dried fruit, nuts, crackers, roasted chickpeas, and jerky.
Read labels rather than assuming. A can of tuna, a jar of peanut butter, and sealed nut butter packets are shelf-stable. Soft cheese, cut fruit, cooked meat, and anything dairy-based are not, even in a sealed container on a cool day.
Whole fruit such as apples and oranges travels fine without cooling. Bananas bruise in a bag, and anything cut should be skipped entirely.
Most of all, plan the meals that depend on a specific brand of shelf-stable item, and carry one backup. Camper forums are full of people whose last night turned into canned chili and a bag of chips, and that is a fine ending to a trip as long as you chose it on purpose rather than out of a warm cooler.
Can You Make Camping Meals in a Cooler?
Yes. Sandwich wraps, pasta salad, overnight oats, and almost any no-cook meal work straight out of a cooler, and that is the cheapest cooking method there is. The trick is keeping the cooler cold rather than merely full.
Pre-chill the cooler with a bag of ice before you load the food. Use block ice instead of cubes when you can, because it lasts far longer. Pack the cooler full, since air is what warms it.
Keep raw meat sealed at the bottom, away from food you will eat without reheating. Put anything that might leak in a zip-top bag so meltwater never reaches other containers, and keep a drain plug handy so a wet cooler is a quick rinse rather than a lost afternoon.
Add an inexpensive thermometer to the cooler itself. If you see 50°F inside, you have a cooler problem, and knowing it early lets you move the food you can still save into a smaller cooler or a shaded car trunk.
Buy a second bag of ice on the second day. This is the single highest-return habit on any trip longer than two nights, and it is cheap enough to skip doing only by accident.
How Can You Make Make-Ahead Camping Meals Easier?
The easiest way to make-ahead camping meals work harder is to change how you assemble, not how you cook. These shortcuts remove the fiddly parts.
- Batch the assembly. Build all the wraps on one counter, line them up, then roll. Twenty wraps take 15 minutes that way and an hour one at a time.
- Buy pre-cut produce. Slaw mix, salad kits, and sliced peppers skip the cutting board and the cleanup that goes with it.
- Use zip-top bags for dressings and spreads. Squeeze them out, cut the corner, and no jar washing is needed at camp.
- Keep one mixed container per spread. One pimento cheese, one hummus, one mustard blend for the whole group.
- Favor no-reheat meals. A meal eaten cold removes one step, one pot, and one reason for the stove to be lit.
- Cook a double batch and freeze half. Future trips get cheaper and faster, and freezer bags stack flat.
- Label before it goes in the bag. Masking tape on the outside of a zip-top bag lasts the whole trip.
One habit is worth more than all the rest: plan the last night first. When the cooler is emptiest and everyone is tired, one ready meal removes the moment when a trip turns sour.
Frequently Asked Questions
How far ahead can I prepare meals for camping?
Most make-ahead camping meals can be cooked one to three days ahead and kept refrigerated, which is the sweet spot for flavor and safety. Chili, soups, cooked meat, and burrito fillings keep well that long and freeze fine for longer trips. Sandwiches and wraps are best assembled 12 to 24 hours ahead so the bread does not soften. Freeze anything you are making more than three days ahead, then move it straight from freezer to cooler.
What is the safest way to transport cold camping food?
Chill everything fully at home, freeze what you can flat in sealed bags, and load frozen items into a pre-chilled cooler last. Keep raw meat sealed at the bottom and away from food you will eat without reheating. Double-bag anything that can leak so meltwater does not reach other containers. Put an inexpensive thermometer inside the cooler and buy a second bag of ice on the second day.
Which make-ahead meals can be frozen before a trip?
Chili, soups and stews, cooked beans, braised meat, pasta sauce, pre-cooked taco meat, parboiled potatoes, and assembled foil packet dinners all freeze well and reheat without much loss. Freeze flat in sealed bags so they stack and use less cooler space. Do not freeze salad dressings, yogurt-based breakfast jars, overnight oats with fresh fruit, or anything crisp like lettuce. Those are better made fresh and refrigerated.
How long can perishable food stay in a camping cooler?
A cooler holding 40°F (4°C) or below keeps cooked chili and soups three to four days, pasta and prepared salads three to five days, sandwiches with deli meat three to five days, and hard boiled eggs five to seven days. Between 41°F and 59°F, cut those windows in half. Above 60°F, discard perishable food after two hours, or after one hour when the air temperature is over 90°F.
What should I cook the night before leaving for a camping trip?
Cook the meals that are worst after sitting: chili, soups, braised meat, and pasta sauce. Those reheat well and actually taste better the next day. Leave sandwiches, wraps, salads, and breakfast jars for the morning before you leave, and pack the salads last so they go straight into the cooler. Cool everything in shallow containers or an ice bath before it goes in the fridge, then pack the cooler last and drive straight through.
Start Your Next Camping Trip With the Right Meals
Start by estimating portions, then check what the campground allows you to cook. Choose foods that suit your cooler and the weather, pack them frozen if you can, and label every container with a name and a date.
Cool the food fast, load the cooler last, and refrigerate or freeze it within two hours of cooking. If you follow only that routine, make-ahead camping meals take the stress out of the trip and put good food on the table in minutes. Bring a few dry snacks for the last night, and you will never be stuck with a warm cooler and an empty stomach.