
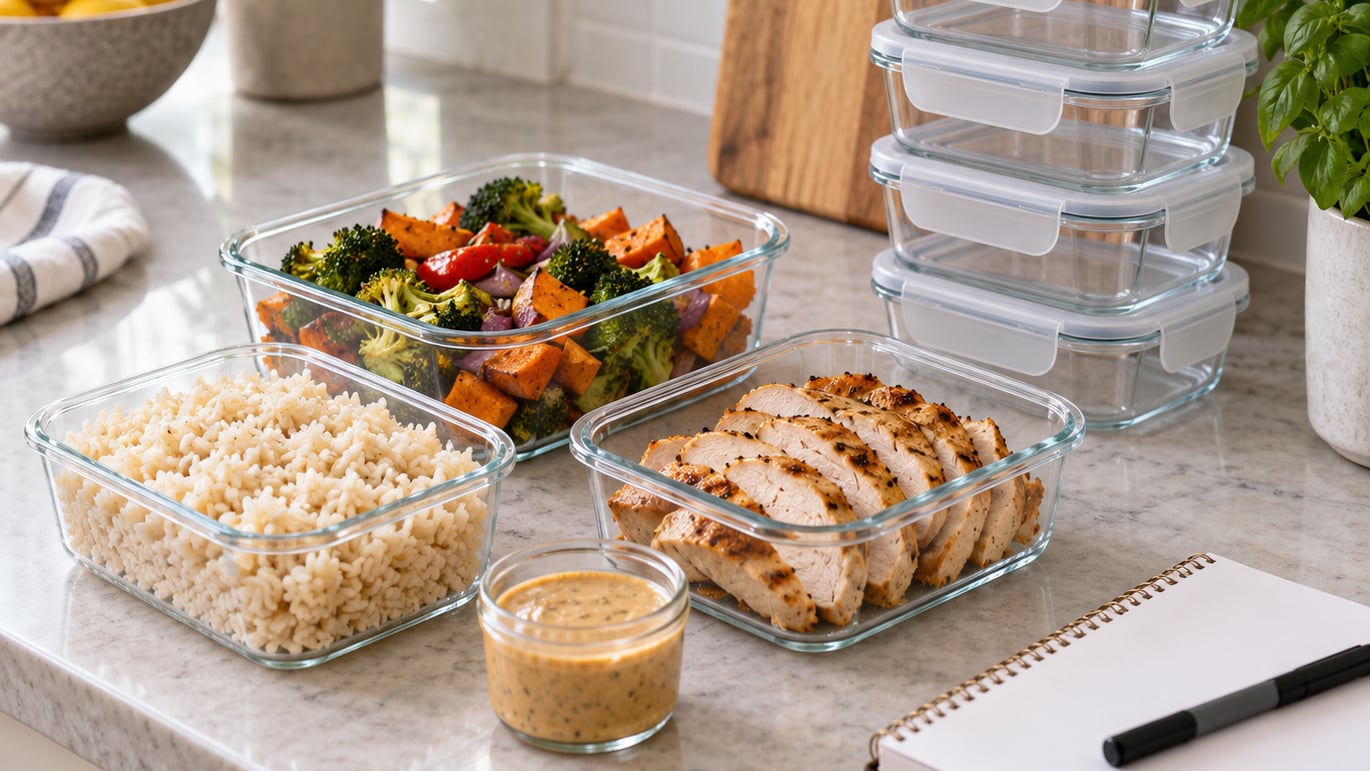
Learning how to start meal prepping for beginners is simpler than most guides make it sound: pick two or three meals that reheat well, cook the components once in a single 60-to-90-minute session, and portion everything into containers for the week. Start with two lunches, not seven. The cooking is rarely the hard part. Deciding what to cook first is.
Meal prepping means planning, shopping for and cooking food ahead of time, usually in one session, then storing it in portioned containers so a weekday lunch takes about two minutes to reheat. It is not the same as batch cooking one recipe for dinner all week, and it is not the same as cooking from scratch every night.
What follows is the seven-step system I would hand to a friend who has never done it. It is built around components instead of identical finished meals, so Wednesday’s lunch does not have to be Monday’s lunch in a different container.
Table of Contents
What You Need
You need surprisingly little to start. The gear matters less than the routine, and the routine starts a lot easier when you are not buying a knife, a set of matching containers and a spice rack on the same afternoon.
- Four to six containers you can put in the microwave. Glass or BPA-free plastic, roughly two to three cups, with lids that actually seal. Skip the matching set; buy the size that fits your lunchbox or your largest pot.
- A cutting board and a knife you can sharpen. A dull blade is what turns twenty minutes of chopping into an hour of frustration.
- One sheet pan. Roasting vegetables and protein on a single tray is the fastest way to build a week of lunches.
- Paper labels or masking tape and a marker. Dating every container is the cheapest habit in this whole article.
- A kitchen thermometer. It takes ten seconds and removes all guesswork: poultry to 165°F (74°C), ground meat to 160°F (71°C), whole cuts of meat and fish to 145°F (63°C).
- A rice cooker, if you have one. Nice, not necessary. A pot on the stove and a timer works the same way.
On the food side, aim for a short list of staples you buy every week and a handful of ingredients that overlap between meals. Cooked grains, eggs, canned beans, frozen vegetables, a rotisserie chicken or a pound of ground meat, and one or two sauces cover a surprising number of lunches. On a tight budget, rice, eggs, frozen vegetables and inexpensive cuts of protein will carry you most of the week.
Skip anything you cannot eat twice. An expensive spice you will use in one recipe is not a meal prep ingredient, and an herb-heavy salad is not a Wednesday lunch.
For storage, pick the best meal-prep containers that will not leak before you pick anything else, because a loose lid turns a crisp grain bowl into a swamp by Tuesday.
Build your shopping list in a simple order. First list each meal you are making and what it needs. Then group the items by category, produce, protein, pantry, dairy. Then add your staples to the same list. Finally, open the refrigerator and the pantry and delete anything you already own. That last step is where most of the waste disappears.
Step-by-Step: How to Start Meal Prepping for Beginners
The goal of this system is a manageable number of flexible lunches, not perfect, identical meals for the entire week. Work through the seven steps in order the first time; after that, steps 1 through 3 take fifteen minutes on your phone.
1. Choose Two or Three Reliable Meals
Choose meals you already eat. Beginners lose the habit fastest when they try something they have not cooked more than once. Grain bowls, sheet-pan chicken with vegetables, pasta with a jarred sauce, a soup and a stir-fry are all reliable first choices because the ingredients overlap and they reheat without turning to mush.
Look for meals with three parts: one protein, one grain or starch, one vegetable or fruit. That formula is what keeps a prepped lunch filling instead of leaving you hungry by 3 p.m. It also makes assembly fast, because every container gets the same building blocks.
You will know you picked well when you can name the three shared ingredients before you shop. Chicken, rice and broccoli across three different meals is a good sign that your waste bin will stay empty.
2. Plan Your Schedule and Portions
Block one session on the calendar and protect it. Ninety minutes on a Sunday afternoon, or an evening when you are not hungry, beats a vague plan to prep on weekdays. Prepping more than three or four lunches at a time usually creates leftovers you forget about.
Budget the session realistically: about 15 minutes to choose meals and write the list, 30 to 40 minutes to shop, and 45 to 60 minutes to cook, portion and clean. If that is more time than you have, halve the batch rather than skipping the routine entirely. A smaller prep you actually repeat beats a large one you abandon in week two.
For portions, count the lunches you need, not the days in the month. Five workdays means five containers, and one of them can be an assembly-only lunch built from components you already cooked. Make one or two containers smaller for lighter days, and keep an extra portion for the evening you cook something you do not want sitting in a container.
3. Make a Simple Shopping List
Write the list by meal first, then by category, the way you would read the store aisle by aisle. It is faster and it stops the classic beginner mistake of buying four kinds of vegetables because each sounded good, then discovering the meal you planned used none of them.
Add your staples to the bottom of the list and shop for those last. Fresh items get used or eaten within the first few days; shelf-stable items can wait until you are near the door.
Buy for the meals you will actually cook this week, not the meals in a plan you saved for later. Skip anything that will sit unused past its best-by date, and skip the fresh berries that look great on Saturday and turn soft by Tuesday. Frozen vegetables are a genuinely underrated swap here: cheaper, more consistent, and they reheat better than most fresh.
4. Prep the Base Ingredients
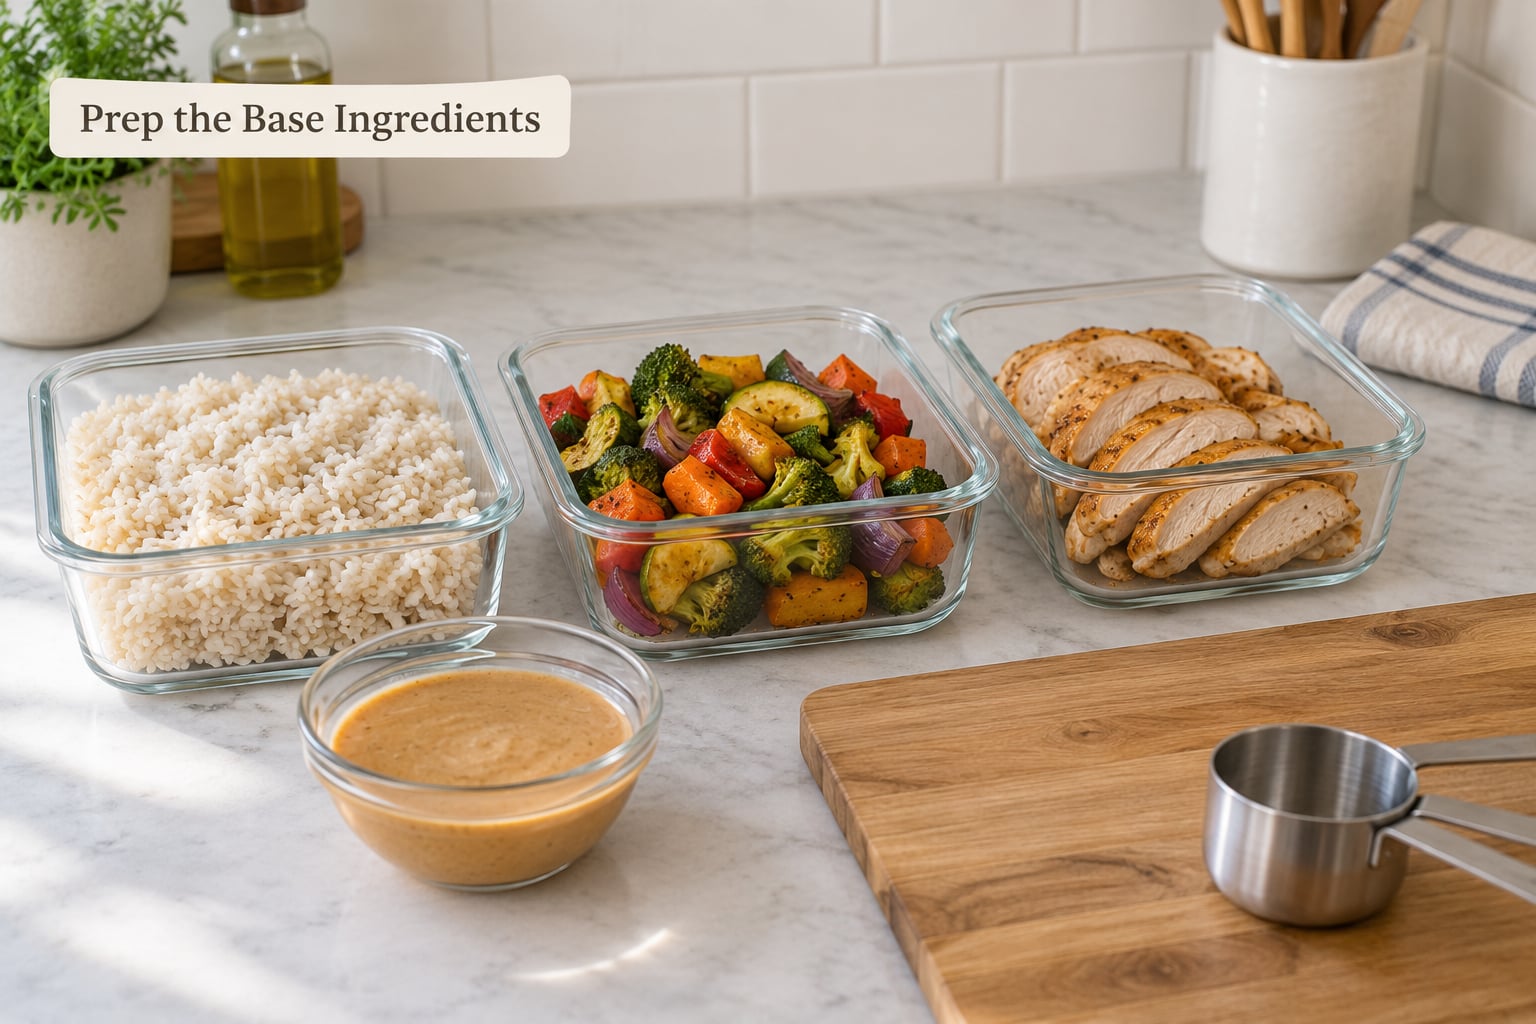
Run the oven, the rice pot and the cutting board at the same time. That overlap is the whole trick. While rice cooks, wash and chop vegetables; while vegetables roast on the sheet pan, slice the protein you roasted earlier in the week or cook a pound of ground meat in a pan.
Work in this order and nothing sits out longer than it should:
- Start the oven and the sheet pan first, since roasting takes the longest.
- Get the grain cooking, then wash and chop the vegetables while it simmers.
- Cook the protein, or pull it from the oven and slice it while it is still warm.
- Mix one sauce or dressing and set it aside in a small jar or mug.
- Let everything cool slightly and taste one piece of each component before it goes into containers.
Know what done looks like. Vegetables are tender with a little color and still a bit firm. Chicken reaches 165°F (74°C) and no longer looks pink at the thickest part. Rice is fully separated, not glued together. Sauce should taste like itself, not like it absorbed all the salt from the vegetables.
Cook vegetables a shade less done than you would for the table. They soften again when they reheat, and the difference between just-right and mush is about two minutes at the start.
5. Assemble the Meals
Portion with your hands or a big spoon: roughly a cupped palm of protein, a cupped palm of grain, and as much vegetable as you like to eat. Put the sturdy stuff in first, add the greens on top, and let the delicate items go in last so they do not get crushed or bruised.
Keep sauces, dressings, mayonnaise and pickles in a separate small container until you eat. Dressing on the bottom of a bowl gets to every layer and turns everything wet within a few hours.
Check one finished container before you seal them all. If it looks like food you would want at your desk, the batch is good. If it looks like a pile of beige, add color and add a fresh element you will add at eating time, like a salad, fruit, or a handful of chopped greens.
Do you want lunches that stay sandwich-shaped instead of bowl-shaped? Our guide on how to meal prep sandwiches for the week without soggy bread covers the component split that keeps bread dry all week.
6. Cool and Store Everything Safely
Let food cool before you seal it. The USDA advises getting perishable food into the refrigerator within two hours of cooking, and hot food sealed in a container traps condensation that makes everything damp and shortens storage life. Spread it on a shallow tray if you need to speed it up.
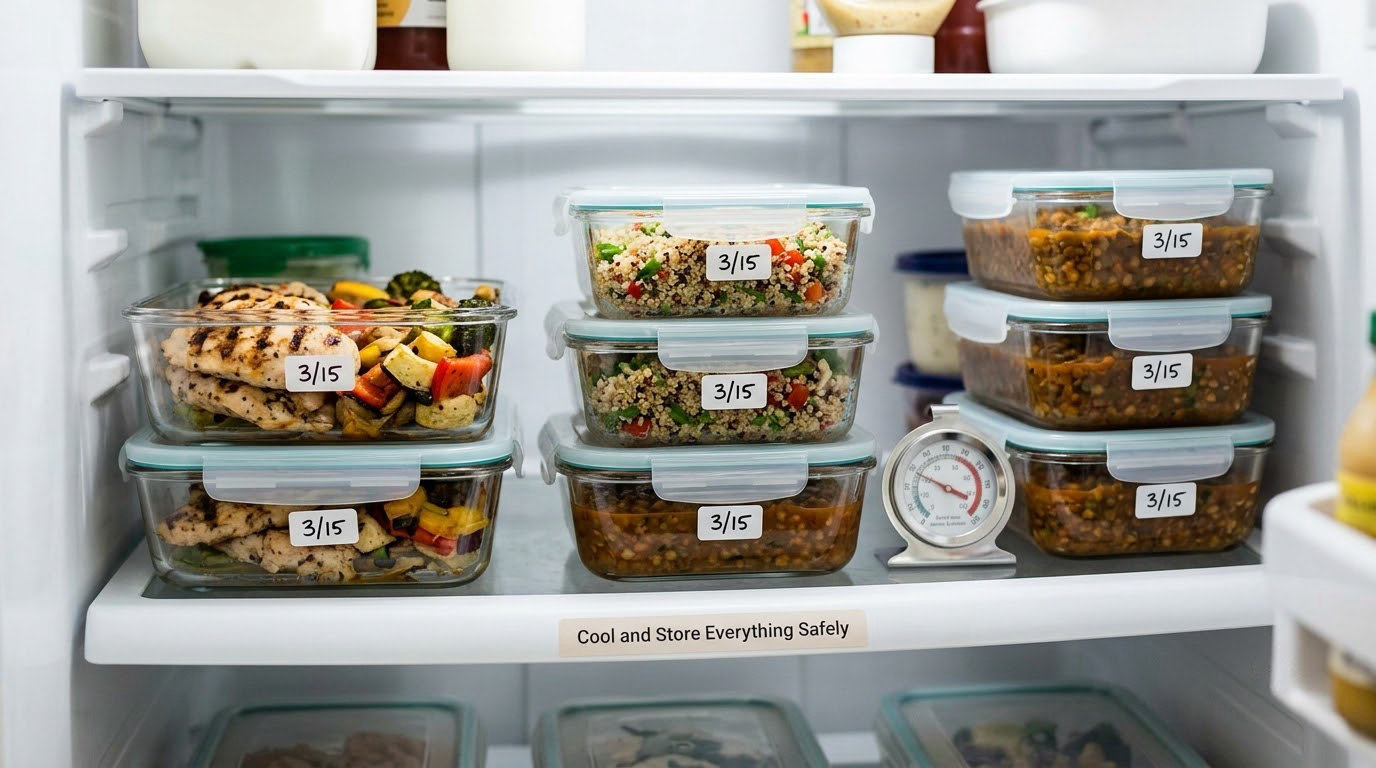
Keep your refrigerator at 40°F (4°C) or below, and your freezer at 0°F (-18°C). Refrigerate meals in the coldest part of the fridge rather than in the door, where the temperature swings every time it opens.
Label every container with the dish and the date you cooked it. When you open the fridge on Thursday, you are deciding with information instead of sniffing things and hoping.
Most cooked meals keep three to four days in the refrigerator without losing much quality. Soups, stews and curries hold longer than rice or cut vegetables. That is why the practical pattern is to eat days one through three from the fridge and freeze the rest the night you cook, not the night before you need them.
If you freeze anything, press out the air and leave a little headroom for expansion. Freeze foods flat in a tray first, then transfer them to a sealed container or bag once solid. For a full list of fridge and freezer times by food type, the USDA storage chart on foodsafety.gov is the reference to bookmark.
7. Build a Flexible Lunch Rotation
This is the step that keeps people doing meal prep past month three. Instead of five identical containers, store your components separately: rice in one container, protein in another, vegetables in a third, sauce in a fourth. Then you assemble in the morning, or in the kitchen at work, in about a minute.
By Thursday you have more options without cooking anything new. Add the sauce you did not use on Monday. Swap roasted vegetables for the bag of raw salad you packed on the side. Turn leftover rice into fried rice in a hot pan in two minutes. Put the same protein over salad greens one day and a baked potato the next.
Changing one element is enough to make a meal feel different. Most people quit prepping because of boredom, not because the chicken was boring. Our picks for meal-prep lunches that do not get boring by Thursday are all built on the same components method.
Freeze one extra portion of whatever you cooked, too. That single extra container extends a five-day batch into a ten-day supply and gives you a genuine free night mid-week.
Common Mistakes
Prepping too much on the first try. Ten containers sound productive and end up as ten lunches eaten out of order. Start with two or three and add one per week only after the routine sticks.
Choosing meals that do not travel well. Anything that needs to be eaten crisp, or that turns to paste at room temperature, belongs in a side container or out of the first batch entirely. Skip leafy salad, fried food and anything with a wet crumb.
Pouring sauce over everything at assembly time. Dressing wicking into rice and roasted vegetables is the number one reason prepped food tastes bland. Keep wet ingredients sealed separately and add them when you eat.
Eating the same lunch five days in a row. Fix this by storing components instead of finished meals, and by keeping two or three sauces you can rotate. Boredom is the top reason beginners quit, and it is a planning problem rather than a willpower problem.
Skipping the refrigerator check before shopping. Open the fridge and the pantry first, then write the list. Buying a second bag of onions because you forgot you had half a bag is how a meal prep budget disappears.
Sealing containers while food is still hot. Trapped steam condenses, everything gets damp, and shelf life drops. Cool first, seal second, date third.
Quick start: this weekend, prep two lunches. Pick two meals that share at least two ingredients, shop once, spend an hour, and label both containers. That is the entire habit. Everything else, including the freezers and the rotation system, comes after it sticks.
Frequently Asked Questions
How many meals should a beginner prep at once?
Two or three lunches for your first week, not a full five. A small batch teaches you which foods actually hold up for three or four days and which ones turn soggy, and it keeps waste low when a work week gets cancelled. Once you know what you enjoy eating cold on Wednesday, add one more meal. Most people settle at three or four prepped lunches plus dinner leftovers.
How long does meal prep take for beginners?
Plan on 60 to 90 minutes for your first full session and 45 to 60 minutes once the routine settles. A realistic split is about 15 minutes choosing meals and writing the list, 30 to 40 minutes shopping, and the remainder cooking, portioning and cleaning. Ingredient prep, meaning chopping vegetables and cooking one grain, takes roughly half the time of cooking four complete meals.
What foods are best for beginner meal prep?
Choose foods that are familiar, filling and reasonably durable: sandwiches on sturdy bread, pasta, grain bowls, soups, stews and simple stir-fries. Hold off on delicate salads, crunchy toppings and anything that softens fast. Cook vegetables a shade less than you would for the table, since they soften again when they reheat, and add fresh crunchy things at eating time instead.
Can I meal prep sandwiches without making them soggy?
Yes. Store bread, protein, cheese and vegetables separately, and keep wet ingredients such as mayonnaise, pickles or salad dressing in a small lidded container. Add them shortly before eating. Airtight containers matter here more than anywhere else, because a loose lid lets moisture move between components and damp bread follows within a few hours.
Is it okay to meal prep for 5 days?
Five days works if you manage the back half of the week. Most cooked meals hold three to four days in a refrigerator kept at 40°F (4°C) or below, so eat days one through three from the fridge and move days four and five into the freezer the same night you finish cooking. Thaw them in the refrigerator overnight rather than on the counter.
What is the 3-3-3 rule for meal prep?
It is community shorthand rather than an official standard: prep on three days a week, cover three meals a day, and rotate three core recipes. The idea is that three dependable meals give you enough structure without the boredom of one identical bowl, seven days running. Treat it as a ceiling for your first few weeks, not a target you have to hit forever.
Start with two lunches this weekend and nothing more. Pick two meals that share a couple of ingredients, shop once, spend an hour in the kitchen, and date both containers. When that goes well, add a third meal and switch from finished containers to stored components. That is how to start meal prepping for beginners without burning out in week two.