
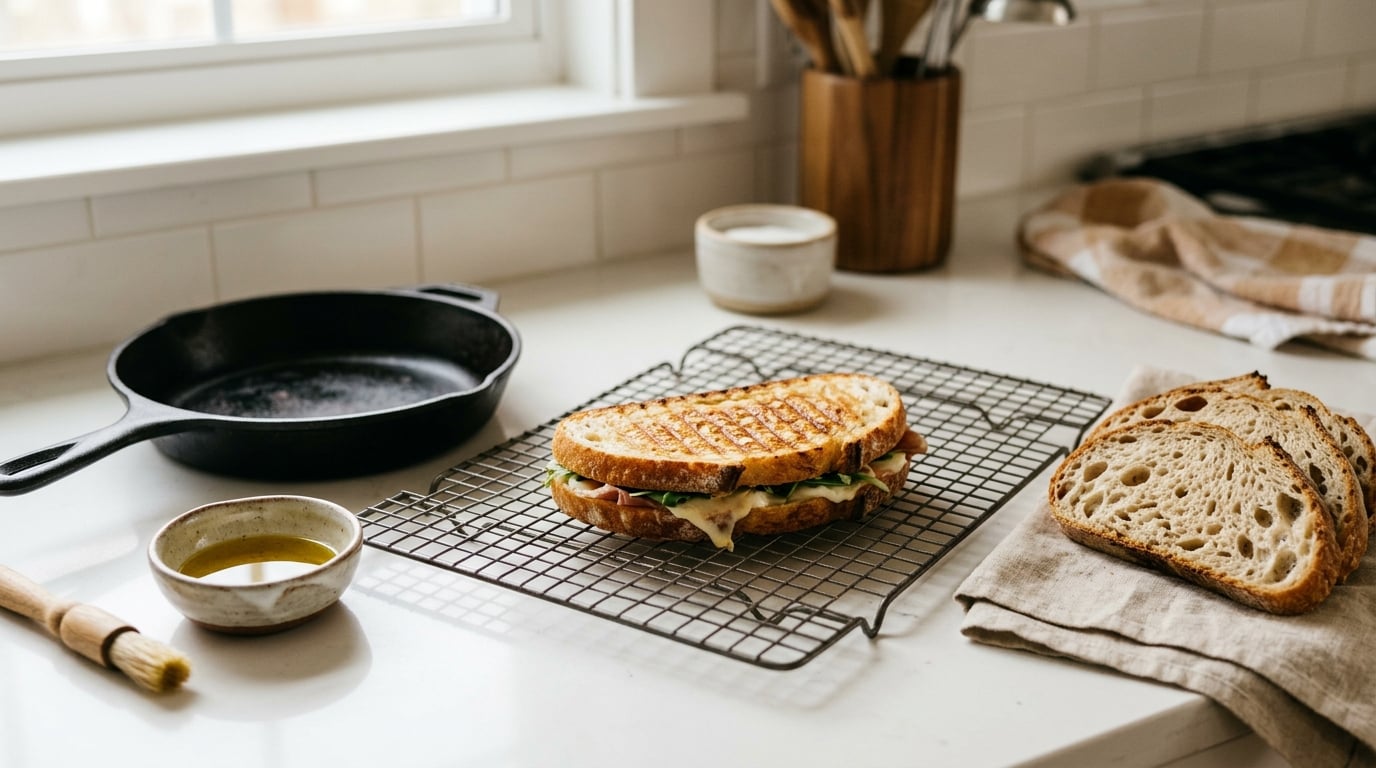
If you’re wondering why your panini is soggy in the middle, the short answer is moisture that had nowhere to go. A panini press or griddle seals the sandwich between two hot plates, so steam from wet fillings hits the cool inner crumb, condenses back into liquid, and softens the bread from the inside while the outside browns perfectly. Drain the filling, salt the wet vegetables, and let steam out at the right moment instead of trapping it for the whole cook.
Before you change anything, one distinction saves a lot of guessing. A soggy center is wet: it feels damp, the crumb is heavy and pale, and there’s usually a cold spot in the middle. A soft center is under-toasted: it’s dry but never crisped, usually because the sandwich was too thick or the heat too gentle. Those two failures get described the same way and need opposite fixes.
One more thing worth saying up front. This is physics, not a broken appliance. Readers on cooking forums almost always assume their press is faulty when the middle goes wet, and it almost never is. A sealed press is a steam chamber by design, and the fix is technique, not a new machine.
What You Need
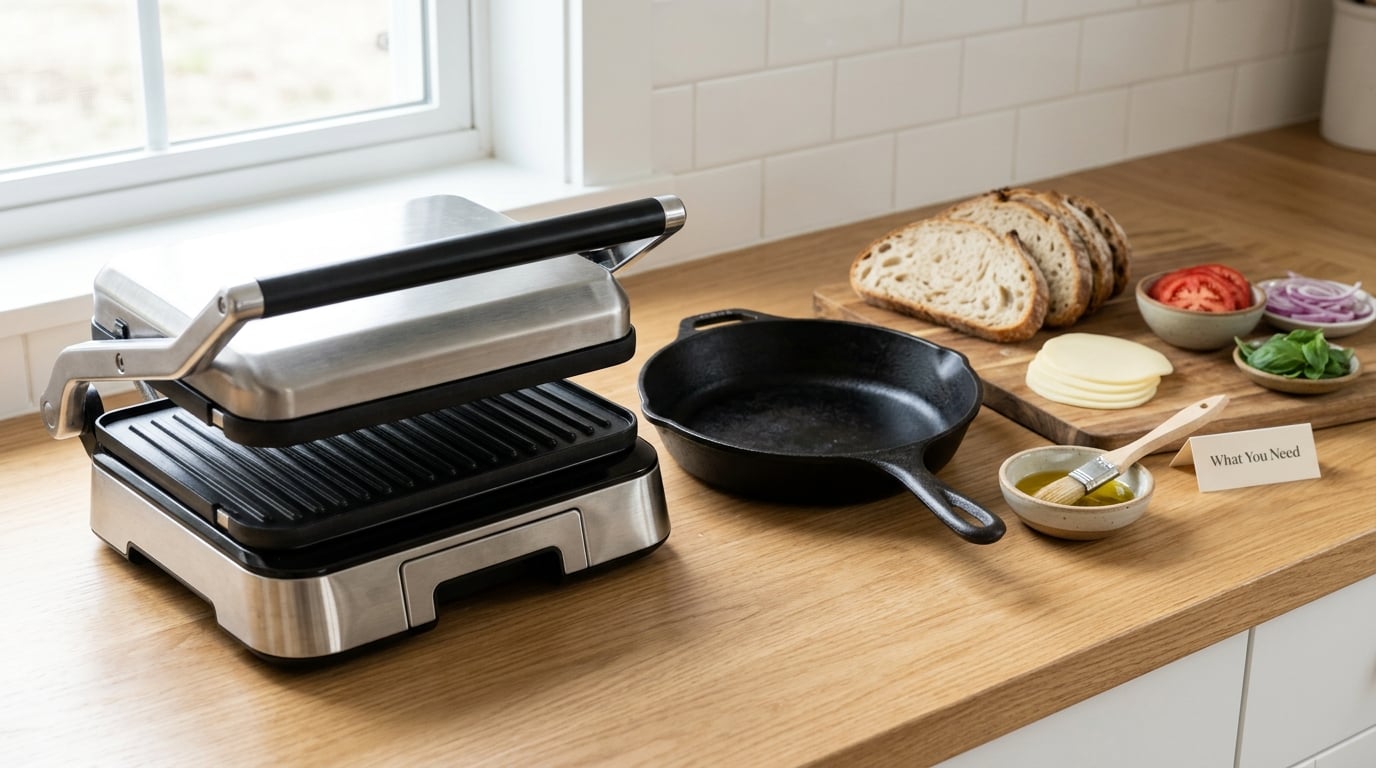
You don’t need much, and most of it you already own. The one item worth adding if you don’t have it is a wire cooling rack.
- A press, contact grill, or heavy skillet with a lid. A countertop panini press gives even contact; a cast iron skillet with a second pan or a heatproof lid works just as well if you watch the heat.
- Bread with real structure. Sourdough, ciabatta, a rustic Italian loaf, or a thick-cut focaccia. The open, aerated crumb of these breads resists moisture far better than soft sandwich bread.
- Low-moisture cheese. Provolone, aged cheddar, fontina, low-moisture mozzarella. Standard block mozzarella is wetter and leaks more when it melts.
- Vegetables that release water. Tomatoes, roasted peppers, eggplant, zucchini, and pickles are the usual suspects.
- Deli meat or roast beef if you are making a meat panini.
- Coarse salt, paper towels, or a salad spinner for pulling water out of the filling.
- Parchment paper to line the press, which keeps melted cheese off the plate.
- Olive oil or butter for the outside of the bread.
- A wire cooling rack for the rest.
Step-by-Step
Step 1: Identify the Moisture Source Behind a Soggy Middle
Cut the sandwich in half and look at where the damp crumb actually is. Dampness concentrated near one edge usually means a wet ingredient touching that slice directly, so a tomato or pickle is the first suspect.
Dampness all the way through, with a cold pocket dead center, means the center never got hot enough for long enough. That is steam that formed, condensed, and never left.
Touch the bread. If it’s damp and heavy, the fix is moisture control. If it’s dry and pale, the fix is heat and time. Run the same test on the filling: press a tomato slice between your fingers and see how much water comes out before you even assemble.
Step 2: Prepare the Bread and Filling
Dry everything that will touch the bread. Salting tomato slices, roasted pepper slices, or eggplant and letting them sit on a paper towel for 5 to 10 minutes pulls out a surprising amount of water. Pat them dry before they go in.
Skip the wetter pickles and opt for sliced olives, and drain any roasted peppers from their jar liquid. If you are using deli meat from a package, blot it. Turkey and ham straight from a sealed bag carry surface brine that soaks straight into bread.
Grate the cheese instead of laying on thick slices. A thin, even layer melts at the same rate all the way across, which removes the cold spot that comes from a slab of provolone sitting untouched in the middle.
Keep the filling layer thin. A panini that bulges when you close the lid will not cook evenly, and the middle is the last part to heat.
Step 3: Assemble the Panini Evenly
Spread the filling edge to edge with no gaps, so heat reaches every part of the sandwich rather than pooling in the middle. Layer dry items closest to the bread: meat, cheese, then the drier vegetables, with anything genuinely wet moved toward the center and used sparingly.
That layering trick is common advice, and it works, but it is not a substitute for draining. As one cooking forum poster put it plainly: keeping drier stuff near the bread still leaves you with a wet sandwich if everything else is wet. Barriers help. Dry ingredients help more.
A thin spread of mayonnaise or butter on the inner crumb faces adds a moisture barrier that slows liquid moving into the bread. Keep it away from the edges so it can’t slide out and grease the press.
Close the sandwich so the top plate sits level. If the lid rocks or has to be forced, take a layer out rather than leaning on the handle.
Step 4: Cook It Gradually and Test the Center
Start at medium or medium-low and stay there. High heat browns the outside fast, then the bread is done while the filling is still cold and the steam keeps building underneath, which is exactly the burnt-outside, soggy-inside result people complain about most.
Press gently. A press should close with a light hand, not with your shoulder. More contact pressure squeezes liquid out of the filling and drives it straight into the crumb, so a heavy press on a wet sandwich is the fastest way to make the problem worse.
Give it 3 to 4 minutes per side, then check. Look at the underside for even gold and lift a corner to peek at the center. If the cheese is still solid, the sandwich needs more time, not more heat.
Here’s the move that fixes a stubborn center: put a tablespoon of water in the pan, cover it, and leave the sandwich alone for 60 seconds. That steam carries heat into the middle and melts the cheese without burning the bread. It’s the same trick sandwich cooks have used for years, and it’s the opposite of what most people assume, since you’re adding moisture on purpose. Remove the cover, flip, and give it another 2 to 3 minutes.
If you’re reheating cooked deli meat or roast beef and eating it hot, take the meat out of the refrigerator and let the sandwich come closer to room temperature before it goes under the press, then make sure the center is heated through. USDA guidance for reheating deli meats for hot holding is 165°F (74°C).
Step 5: Let the Panini Rest Before Cutting
Move it to a wire rack and wait 2 minutes. Residual heat finishes setting the crust, and the rack keeps air under the base so it dries instead of steaming in its own moisture.
This is where a lot of good sandwiches get ruined. A panini left on a plate or inside a closed container traps the steam it just gave off, and a crisp base turns soft within a minute or two. Resting is not the same as sealing it up, and the difference is the whole point.
Then cut with a serrated knife, straight down, without sawing. Sawing compresses the crumb and can push cheese and juice out of the cut face.
Common Mistakes
- Skipping drainage. Salting and patting tomato, peppers, and deli meat removes the water before the bread ever sees it. This is the highest-leverage fix on the list.
- Soft sandwich bread. Dense, tight crumb absorbs liquid quickly. Sourdough and ciabatta hold their structure far longer.
- Overfilling. A bulging sandwich cooks unevenly and the press can’t seal it, so steam escapes unevenly and the center stays cold.
- Cooking at one high heat. The outside burns before the middle heats. Medium-low and a longer cook solves this.
- Pressing harder. The instinct to squash the moisture out is what drives it into the bread. Press lightly.
- Using too much oil or butter. Heavy fat on the outside darkens the bread fast and can make it greasy rather than crisp. A thin coat is plenty, and on a nonstick griddle you can skip it entirely.
- Leaving the top plate sealed the whole time. Steam is useful for 60 seconds to melt the center, then it needs a way out.
- Cutting immediately. Cutting straight off the heat tears the crumb and lets juice flood out. Two minutes on a rack first.
| Symptom | Likely cause | Fix | Difficulty |
|---|---|---|---|
| Wet, pale center under a golden crust | Trapped steam condensing on the inner crumb | One tablespoon of water, cover, 60 seconds, then finish uncovered on a rack | Easy |
| Burnt outside, cold and damp inside | Heat too high, cook too short, or the sandwich is too thick | Medium-low heat, 3 to 4 minutes per side, thinner filling | Easy |
| Damp ring around the edge of one slice | A wet vegetable or pickle touching the bread | Salt, drain, pat dry, and move wet items toward the center | Easy |
| Soft and pale all over, never crisped | Under-toasting rather than moisture | More time at medium heat, or a thinner sandwich | Easy |
| Greasy damp bag, cheese stuck to paper | Over-oiled bread and over-pressing | Thin the fat, press lightly, line with parchment | Moderate |
| Fine until noon in a lunchbox | Steam trapped in a sealed container | Cool it uncovered first, then wrap loosely in foil, no paper bag | Easy |
One last transport note, since soggy lunchboxes are a common complaint: let the panini cool on the rack for 2 minutes before packing, wrap it in foil rather than waxed paper, and leave the foil slightly open at one end so vapor can escape. Fully sealing a hot sandwich is the same mistake as sealing it in a container at the table.
Frequently Asked Questions
Why is my panini soggy in the middle?
A panini goes soggy in the middle because steam from the filling has nowhere to escape. A press seals the sandwich between hot plates, so that steam hits the cooler inner bread, condenses back into liquid, and softens the crumb while the outside browns. Wet ingredients, a filling that’s too thick, and heavy pressure all make it worse.
Does a panini press make a panini soggy?
A press is more likely to make a panini soggy than a skillet, because it seals the sandwich completely. That seal is exactly what gives you even contact and fast cooking, so the answer is not to avoid presses. Use the steam deliberately for about 60 seconds, then vent, and finish the sandwich uncovered so the base can dry.
What bread is best for a panini that stays crisp?
Bread with an open crumb structure holds up best: sourdough, ciabatta, a rustic Italian loaf, or thick-cut focaccia. They have bigger air pockets and less dense crumb, so they absorb less liquid than soft sandwich bread. Day-old bread is even better, since slightly stale slices toast more evenly and pull less moisture into the filling.
How do I stop vegetables from making a panini wet?
Salt sliced tomatoes, roasted peppers, or eggplant and let them sit on a paper towel for 5 to 10 minutes, then blot them dry before assembly. Drain brined deli meat, skip wet pickles for olives, and use a thin layer rather than a pile. A mayonnaise or butter barrier on the inner crumb faces slows any remaining liquid from reaching the bread.
Should I use parchment paper when cooking a panini?
Yes, a sheet of parchment cut to fit the press plates makes cleanup easier and stops melted cheese from bonding to the surface. It does not create steam, and it will not dry out an already-wet filling. The one caution is that the bottom crust stays slightly softer with paper on it, so take the liner off for the last minute if you want maximum crunch.
How long should I cook a panini on each side?
About 3 to 4 minutes per side at medium or medium-low heat in a preheated press or skillet. Thicker sandwiches with a dense filling need closer to 4, while a thin cheese-only panini may be done in 2. Look for even gold and fully melted cheese rather than timing alone, and add the water-and-cover trick for the final minute if the center is still lagging.
Conclusion
If your panini is soggy in the middle, do these five things in order: pull the water out of the filling before you assemble, pick bread with an open crumb, keep the filling thin and edge to edge, cook at medium-low with a light press, and rest the sandwich uncovered on a wire rack for two minutes before cutting. The fast one to try tonight is the tablespoon of water, cover, and 60 seconds, followed by finishing uncovered, because it rescues a center that’s cold and wet without touching anything else.